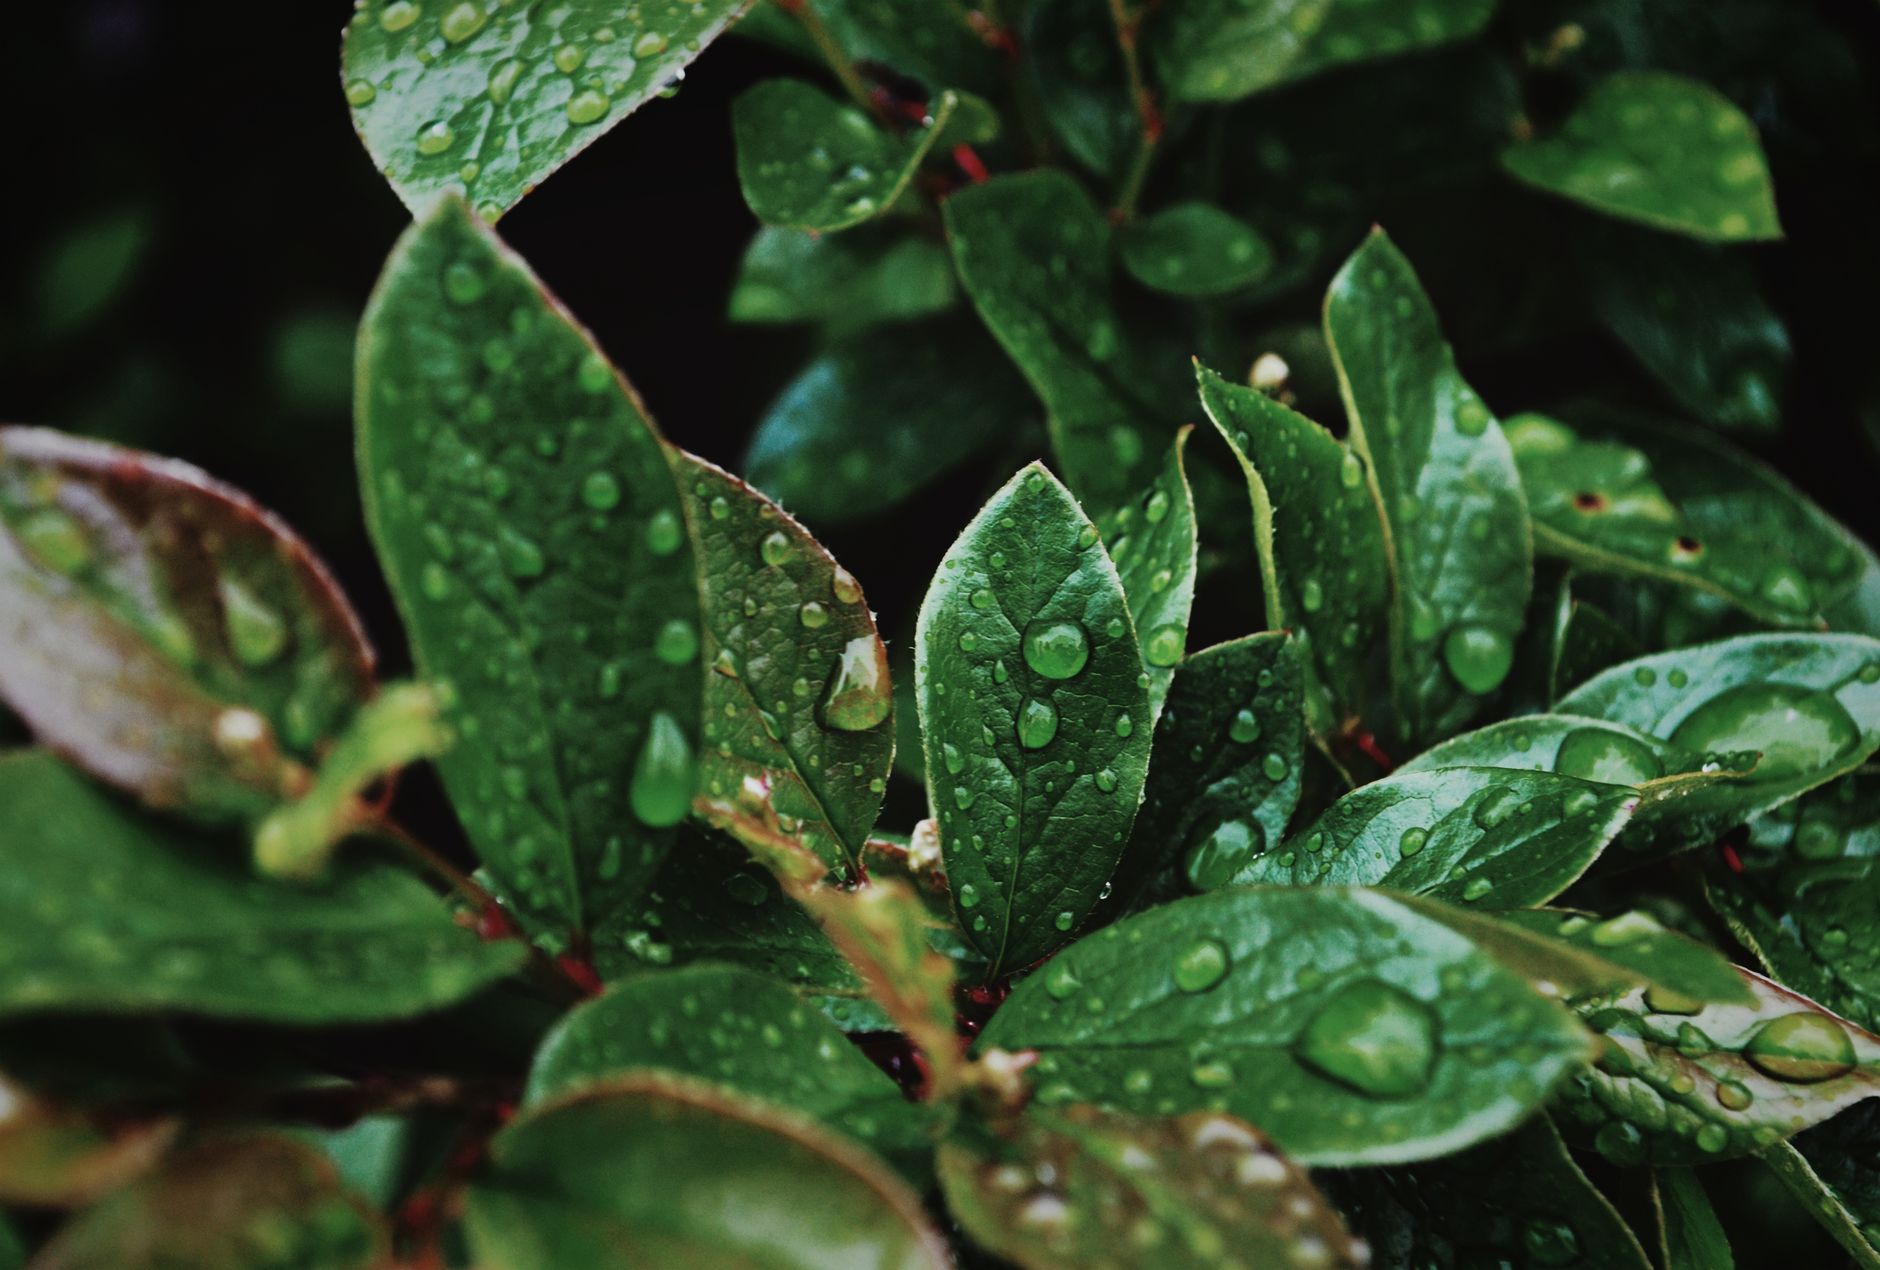
The Challenge of Even Moisture: Why Dense Plantings Need Smart Solutions
Let's be honest, we all dream of those lush, vibrant perennial borders – a riot of colour and texture, buzzing with bees and looking utterly effortless. I certainly do! Here in my 800 sq ft Midlands garden, I've spent the last five years trying to cram in as much life as possible, from my beloved heirloom tomatoes in the greenhouse to densely planted herbaceous borders and even a nascent forest garden layer system. It’s a joyful jungle, but it brings a unique challenge: keeping everything evenly watered, especially when our unpredictable British weather throws a curveball.
When I first transitioned from staring at code all day to digging in the dirt, I thought watering was simple: grab the hose, give it a good soak. Oh, how naive I was! In my established, densely planted borders – where a 'Geranium Rozanne' might be jostling for space with a fragrant 'Salvia Caradonna' and a developing patch of wild garlic – hand-watering became a logistical nightmare. Some plants would be practically swimming, while others, just inches away, would be wilting dramatically on a dry spell, particularly after one of our typically frustrating UK weeks of sun followed by a sudden downpour that barely penetrates the canopy. I’ve learned the hard way that a quick surface sprinkle just doesn't cut it, especially when you have plants competing fiercely for every drop.
This unevenness isn't just inefficient; it stresses plants, encourages disease, and ultimately undermines all the hard work we put in. My goal, and what I want to share with you, is how I've moved past the chaos of hit-or-miss watering to a more strategic, sustainable approach. It's about working with our British climate, not against it, and making sure every plant, from the thirsty hosta to the more drought-tolerant echinacea, gets precisely what it needs.
Know Your Garden: Assessing Soil Type, Slope & Plant Water Needs
Before you even think about putting in an irrigation system, you need to become a detective in your own garden. When I first got my hands dirty here in the Midlands, one of the first things I learned – often through frustrating failures – was just how much my heavy clay soil dictated everything. Understanding your specific conditions is the absolute bedrock of achieving even moisture.
Understanding Your Soil Type
I’ve got proper, stubborn Midlands clay here, which can be a blessing and a curse. It holds onto nutrients like a limpet, but after a long, dry spell, it can turn into concrete, making it incredibly difficult for water to penetrate. Conversely, if it gets too much rain, it becomes a bog. For those of you with lighter, sandier soils, you’ll have the opposite problem: water drains away quickly, taking precious nutrients with it. A simple jar test or just feeling the soil between your fingers can tell you a lot. Does it form a sticky ball (clay), crumble easily (sandy), or hold together nicely but still feel crumbly (loam)? Knowing this is crucial for how you approach watering. I've spent years amending my clay, and it's made a world of difference to how it handles our unpredictable British weather.
Considering Your Garden's Slope
My 800 sq ft garden might not be mountainous, but even subtle undulations can have a massive impact on water distribution. A slight slope means water will naturally run downhill, leaving the higher ground drier and potentially pooling at the bottom. I’ve got a slight incline towards the back fence where I’ve started some of my forest garden layers, and I quickly learned that the plants at the top needed extra attention, while those at the bottom often got more than their fair share. Identifying these micro-climates and understanding how water moves across your plot is key to strategic placement of plants and irrigation.
Matching Plant Water Needs
This is a big one. You can’t treat a moisture-loving Hosta the same way you treat a drought-tolerant Lavender. In my dense borders, I've got everything from thirsty herbaceous perennials like my beloved 'Delphinium Magic Fountains' (which always seem to wilt first in the sun) to more resilient shrubs and ground covers. Grouping plants with similar water requirements is an ideal, but not always achievable, goal in a mixed border. This is where a targeted irrigation strategy really shines. I once made the mistake of planting a water-guzzling Ligularia next to a Sedum, and one was always struggling. Live and learn!
Here's a quick guide based on my experience here in the UK:
| Soil Type | Water Retention (My UK Experience) | Drainage (My UK Experience) | Randy's Midlands Strategy Impact | Watering Strategy Impact |
|---|---|---|---|---|
| Clay | High – Holds water well once wet, but can be slow to absorb after dry spells. After amending with compost, it's much better! | Poor – Prone to waterlogging, especially in our damp British winters. | Requires significant organic matter (my homemade compost is vital) to improve absorption & drainage. | Water less frequently but deeply; monitor for surface crusting. |
| Loam | Medium – A good balance, ideal for most plants. My raised beds are mostly loamy thanks to years of amendments. | Medium – Drains well but retains enough moisture. | The dream soil! I aim for this everywhere I can with generous compost applications. | Water moderately and consistently; generally forgiving. |
| Sandy | Low – Water passes through very quickly. I've got a patch near my shed that behaves like this. | Excellent – Drains very fast, often too fast. | Needs constant organic matter top-ups to improve water-holding capacity. | Water more frequently but with smaller amounts; critical mulching. |
Building Water Resilience: Strategic Mulching and Soil Amendments
Once you understand your garden's unique characteristics, the next step is to build its inherent water resilience. This means making your soil a sponge, capable of soaking up and holding onto moisture, reducing your reliance on constant irrigation. Trust me, after a particularly dry UK summer, where hosepipe bans suddenly loom, you’ll be incredibly grateful for every drop your soil can retain.
The Power of Mulch
I learned the hard way about the magic of mulch. When I first started, I was so focused on the plants themselves that I neglected the soil surface. Then, after one particularly hot and dry spell in the Midlands, I noticed how quickly the soil in my borders dried out, cracking and pulling away from plant stems. That's when I realised evaporation was stealing precious water from my plants. Now, a thick layer of organic mulch is non-negotiable in my perennial borders.
I usually aim for a 5-10cm (2-4 inch) layer of wood chip (often from local arborists, which is great for sustainability), my own homemade compost, or spent mushroom compost. This isn't just about looking tidy; it's a powerhouse for water retention. It acts like a blanket, keeping the soil cool and drastically reducing evaporation. Plus, it suppresses weeds (less competition for water!) and slowly breaks down, feeding the soil life and adding valuable organic matter. I've seen a noticeable difference in how long my borders stay moist after a good soaking, even during our typically unpredictable British dry spells. Yes, it can sometimes be a haven for slugs in our damp climate, but I've found a good balance by ensuring the mulch isn't right up against delicate plant stems and keeping an eye out.

Enriching the Soil: Amendments for Deeper Water Retention
Mulch is fantastic for the surface, but for true water resilience, you need to improve the soil structure deeper down. This is where soil amendments come in. For my heavy Midlands clay, incorporating plenty of bulky organic matter has been a game-changer. My compost bins are always working overtime, turning kitchen scraps and garden waste into black gold. Digging in a generous amount of well-rotted compost or manure into new beds, or gently incorporating it into existing ones, works wonders.
These amendments create a more open, crumbly soil structure. In sandy soils, they act like tiny sponges, holding onto moisture. In my clay, they improve drainage by creating air pockets while also increasing water-holding capacity. It's like turning your soil into a massive, slow-release reservoir. I even dabbled with biochar last year in a couple of my raised beds – a bit of the old tech (my IT days!) meets nature, and I'm still assessing the long-term impact on water retention. The goal is to create these "water-retention zones" right where your plants' roots need them most, ensuring they have access to moisture even when the surface appears dry.
Choosing Your Micro-Irrigation: Drip Systems vs. Soaker Hoses for Established Borders
Despite all the mulching and soil amending, there will inevitably be times when our British weather demands more direct watering – particularly during those prolonged dry spells or when establishing new plants. For me, that's when micro-irrigation became a non-negotiable. My back was screaming from dragging hoses around my dense borders, and frankly, hand-watering was just too inefficient and uneven for my packed 800 sq ft plot. I needed a smarter solution, something that delivered water right where it was needed without waste.
Micro-irrigation, in its various forms, is a true game-changer for established, densely planted areas. It delivers water slowly and directly to the soil, minimising evaporation and runoff, which is crucial for water conservation here in the UK. I’ve experimented with both drip systems and soaker hoses, and each has its place in my garden, depending on the specific border and its inhabitants.
Drip Systems: Precision Watering for Specific Needs
Drip irrigation uses a network of narrow tubes with small emitters that release water slowly, drop by drop, directly to the plant roots. I primarily use a drip system in my greenhouse for my heirloom tomatoes like 'Cherokee Purple' and 'Costoluto Fiorentino', where precise watering is absolutely critical for preventing blight and ensuring consistent fruit development.
Pros for Established Borders:
- Highly Efficient: Water goes straight to the root zone, minimising waste.
- Precise: You can tailor water delivery to individual plants or small groups with different needs.
- Reduces Disease: Keeps foliage dry, which is excellent for preventing fungal diseases, especially in our often-damp UK climate.
- Automatable: Easy to connect to a timer, allowing for consistent watering even when you're away.
Cons for Established Borders:
- Installation in Dense Areas: This is the big one. Weaving the tubing and placing emitters amongst established, densely packed plants can be fiddly and disruptive. I’ve found it’s easier to install before planting or when plants are small.
- Clogging: Emitters can sometimes clog with sediment, especially if you’re using water from a butt. Regular flushing is a must.
- Initial Cost: Can be more expensive to set up initially compared to soaker hoses, particularly for a large, complex border.
- Coverage: Less effective for broad, uniform coverage; better for targeting individual plants.
Soaker Hoses: Gentle Seepage for Wider Areas
Soaker hoses are essentially porous hoses that "weep" water along their entire length, allowing it to slowly seep into the soil. They’re a more straightforward, often cheaper, option and I've found them incredibly useful in some of my less intricate perennial borders and under my fruit bushes.
Pros for Established Borders:
- Easier Installation: Much simpler to snake through existing plantings than rigid drip lines. You can often just lay them on the surface and cover with mulch.
- Good for Wider Coverage: Provides a more uniform, gentle soak over a broader area, ideal for herbaceous borders with similar water needs.
- Cost-Effective: Generally cheaper to purchase and set up than a comprehensive drip system.
- Gentle Delivery: Water seeps out slowly, preventing runoff, even on slight slopes.
Cons for Established Borders:
- Less Precise: You can't target individual plants as accurately as with drip emitters.
- Uneven Distribution: Water pressure can be lower at the end of a long soaker hose, leading to uneven wetting. I've noticed this if I've got a particularly long run or if it's not perfectly level.
- Durability: Can deteriorate over time, especially if exposed to UV light or if buried in perpetually wet soil, making them prone to leaks.
- Wetting Pattern: Can create a more linear wetting pattern, potentially missing areas between runs if not spaced correctly.
Here's a comparison to help you decide what might work best for your UK garden:
| Feature | Drip System (Randy's Experience) | Soaker Hose (Randy's Experience) | My UK Garden Application |
|---|---|---|---|
| Installation in Established Borders | Fiddly, requires careful weaving around plants, can be disruptive. | Much easier to snake through existing plants, less disruptive. | Drip for greenhouse tomatoes; Soaker for dense, less intricate perennial borders & fruit bushes. |
| Water Efficiency | Very high; precise delivery to root zone, minimal evaporation. | High; slow seepage reduces runoff, but can be less targeted. | Both save water significantly compared to hand-watering. |
| Precision | Excellent; individual emitters can be chosen for specific plants. | Moderate; provides broad, even soak along its length. | Drip for specific high-value plants; Soaker for general border coverage. |
| Cost (Initial & Maintenance) | Higher initial cost, but emitters are replaceable. | Lower initial cost, but hoses may need replacing more often. | Both are an investment, but worth it for time-saving & plant health. |
| Durability | Tubing and emitters are generally long-lasting if well-maintained. | Can degrade with UV exposure or constant burial; prone to leaks over time. | I find drip systems more robust long-term, but soaker hoses are easy to replace. |
| Automation Potential | Easily automatable with timers and pressure regulators. | Easily automatable with timers, but evenness might vary more. | Both can be automated, freeing up my time for other tasks! |
Designing Your Layout: Effective Zoning and Emitter Placement for Even Coverage
Right, now we’ve sorted out the hardware, let’s talk about getting it where it needs to go. This is where my old IT brain kicks in, seeing the garden like a network, but with more mud and fewer angry users! Designing your layout isn’t just about slinging pipes around; it’s about strategic thinking to ensure every plant, from my prize-winning 'Costoluto Fiorentino' tomatoes to my shady hostas, gets exactly what it needs.

The biggest lesson I’ve learned in my 800 sq ft Midlands garden is the importance of zoning. Trying to water a thirsty patch of sweetcorn and a drought-tolerant lavender bed on the same line is just asking for trouble. I typically create zones based on two main factors: water requirements and sun exposure. For example, my greenhouse tomatoes and cucumbers have their own high-demand zone. My main perennial border, a mix of cottage garden favourites and some more unusual woodland-edge plants, is split into two zones: one for the thirstier, sunnier spots, and another for the shadier, moisture-retaining areas.
When it comes to emitter placement, it's all about getting water directly to the root zone. For established perennials, especially those in dense borders, I generally favour individual drip emitters or inline drip tubing with closely spaced emitters. For my larger, more established shrubs or small fruit trees in the forest garden layers, I might use a ring of individual emitters around the base, ensuring the water spreads out to cover the entire drip line. In my raised beds packed with hungry vegetables like squash or brassicas, I aim for emitters every 30-40cm along the row, sometimes even closer if they're particularly thirsty or the soil is very sandy.
One mistake I made early on was underestimating how far the water from a single emitter would spread, especially in my heavy clay soil. It seemed to just trickle straight down, creating wet vertical channels but leaving the surrounding soil dry. Now, I always do a quick visual check when I first turn a zone on, watching how the water saturates the soil. If it’s not spreading adequately, I’ll add another emitter nearby or opt for a slightly higher flow rate. Remember, the goal isn’t just to get some water to the plant, it’s to provide even saturation across its root zone.
My Emitter Placement Guide (Randy's Midlands Garden Edition):
- Densely Planted Perennial Borders: Use inline drip tubing with emitters spaced 30-45cm apart, weaving it through the plants. For particularly thirsty specimens, I might add an extra spot emitter.
- Larger Shrubs/Small Trees: Two to four individual emitters placed in a ring around the plant's drip line, about 15-30cm from the main stem, depending on its size.
- Raised Veg Beds: Inline drip tubing running down rows, emitters 20-30cm apart for most vegetables. For big feeders like tomatoes or courgettes, I'll often put a dedicated 2L/hr emitter right at the base of each plant.
- Greenhouse (Heirloom Tomatoes!): Each tomato plant gets its own dedicated 2L/hr spot emitter. This focused watering is crucial for avoiding leaf diseases and ensuring consistent fruit set, especially for my beloved 'Black Krims'.
Always run your main supply line (the larger diameter pipe) along the edge of your border or bed, then branch off with smaller diameter feeder lines (often 4mm) to connect your emitters. Make sure to use appropriate fittings – elbows for corners, tees for branching, and end caps to seal off the lines. And don't forget a pressure reducer at the start of your system, especially if you're on mains water like me. It saves your connections from blowing out!
Smart Watering: Integrating Timers, Moisture Sensors & Manual Checks
Okay, so you’ve got your system laid out. Now, how do you actually use it without turning your garden into a swamp or a desert? This is where the 'smart' part comes in, but as a former IT guy who’s now covered in soil most days, I've learned that technology in the garden is best used as a tool, not a replacement for good old common sense.
I use a variety of tools in my UK garden. For my greenhouse, I have a simple digital timer on the tap that waters my tomatoes and cucumbers automatically. In the peak of summer here in the Midlands, I'll set it for two 15-minute bursts a day – one in the morning, one in the late afternoon. This consistency is vital for preventing blossom end rot on my 'Gardener's Delight' cherries.
For my outdoor borders and raised beds, it's a bit more nuanced. While I do have a timer, I rarely let it run completely unsupervised. Our British weather is just too unpredictable! One week we can be in a heatwave, the next it’s absolutely chucking it down. Relying solely on a timer in those conditions is a recipe for disaster. I learned this the hard way one spring when a sudden downpour followed a scheduled watering, leaving my newly planted chillies sitting in soggy compost. They weren't happy.
This is where moisture sensors can be useful, but again, with a pinch of salt. I experimented with a basic probe-style sensor last year. It gives you a quick reading of the moisture level in the soil, which is great for confirming if a specific spot is dry. However, it only tells you about that exact spot. It doesn't tell you if the entire root ball of a large perennial is hydrated, or if a sudden gust of wind has dried out the top layer of your raised bed while the subsoil is still moist. For me, they’re a helpful guide, but they don’t replace the most reliable sensor you have: your finger.
The "Finger Test" remains the gold standard. Stick your finger about 5-10cm into the soil near your plants. If it feels cool and damp, you're probably good. If it feels dry and dusty, it’s time to water. I do this regularly, especially when I'm out doing my daily garden checks. It’s a habit now, and it’s truly the best way to understand what's happening beneath the surface.
Beyond the finger test, observing your plants is key. Wilting leaves are an obvious sign of thirst, but try to catch it before then. Are the leaves looking a bit dull? Is the soil around the base pulling away from the stem? These are subtle cues that tell me it’s time to turn on a zone. My watering schedule for my outdoor borders is flexible: in a dry spring, maybe 30 minutes every other day. In a scorching British summer, it could be daily, but always after a quick check. My aim is always deep, infrequent watering to encourage strong root growth, rather than shallow, frequent sprinkles that only wet the topsoil.
Year-Round Care: Seasonal Adjustments and System Maintenance
Installing your micro-irrigation system isn't a "set it and forget it" job, especially not with our wonderfully distinct British seasons! To get the most out of your system and ensure it lasts for years, a bit of year-round care and maintenance is absolutely essential. I learned this the hard way when a cheap connector split after a particularly hard winter frost here in the Midlands, leading to a rather soggy start to spring!
Spring Awakening: Getting the System Ready
As the days lengthen and the ground thaws, usually around late March or early April in my garden, it's time to bring the system back to life.
- Reconnect: If you disconnected components for winter, reconnect everything securely.
- Inspect: Walk the lines, checking for any visible damage from frost, rodents, or garden tools. Look for brittle tubing, cracked emitters, or loose connections.
- Flush: Before connecting all the emitters, open the end caps of your main lines and flush the system with water for a few minutes. This clears out any sediment or debris that might have accumulated over winter and prevents clogs.
- Test: Turn on each zone individually and check every emitter. Is the water flowing evenly? Are there any leaks? I always carry a little bag of spare parts – connectors, emitters, repair splices – for quick fixes.
Summer Service: Peak Performance
Summer is when your system truly earns its keep, especially during those unpredictable British heatwaves we seem to get more of these days.
- Monitor & Adjust: Regularly check your plants and soil moisture. Adjust your timer settings as needed – more frequent or longer durations during hot, dry spells; less during cooler, rainy periods. Remember to factor in natural rainfall; there's no point watering if the skies have opened!
- Check for Clogs: Emitters can get blocked by sediment, algae (especially with our standing water in pipes), or even small insects. If an emitter isn't dripping, try to clear it. Sometimes a quick twist or tap is enough; other times, you might need to disconnect and flush it, or even replace it.
- Look for Leaks: Keep an eye out for puddles or consistently wet spots where there shouldn't be any. A small leak can waste a surprising amount of water and reduce pressure further down the line. I often find small pinholes from accidental spade strikes!
- Filter Cleaning: If your system has a filter (and it should!), clean it regularly. Our tap water here can be quite hard, leading to limescale build-up, and general debris can accumulate, reducing water flow.
Autumn Wind-Down: Preparing for Dormancy
As the growing season winds down, usually from late September to late October, you'll gradually reduce your watering.
- Decrease Frequency: As temperatures drop and plants slow their growth, they need less water. Adjust your timer to water less often or for shorter durations.
- Final Checks: Before the really cold weather hits, give the system a thorough check for any repairs needed. It's often easier to fix things now than trying to repair frozen, brittle plastic in spring.
Winterisation: Protecting Against Frost
This is crucial for us here in the UK. Neglecting winterisation can lead to burst pipes and a lot of frustration come spring.
- Drain the System: The most important step! Disconnect your main supply line from the tap and open all end caps. Allow all the water to drain out of the lines. For systems with slopes, gravity will help, but I often walk along the lines, gently lifting and shaking them to ensure every drop is out.
- Disconnect & Store: Remove any pressure regulators, filters, and backflow preventers. If you have a pump, disconnect it. Store these vulnerable components indoors in a frost-free place like your shed or garage.
- Clear Emitters: Some people blow compressed air through their lines, but for my smaller system, ensuring everything is drained is usually sufficient.
- Label (Optional but Recommended!): If you're disconnecting a lot of specific components, a quick label with a marker pen can save you head-scratching next spring.
By following these seasonal steps, I've found that my micro-irrigation system reliably serves my UK garden year after year. It's a small investment of time that saves countless hours of watering and gives me peace of mind, even during the most unpredictable British weather.
Conclusion: Watering Smarter, Not Harder, in Your UK Garden
So there we have it, a journey through the wonderful world of micro-irrigation for those luscious, densely planted perennial borders and forest garden layers – a game-changer for my 800 sq ft Midlands garden, and I truly believe it can be for yours too.
We've covered a lot, from understanding your soil and plant needs to choosing between drip and soaker hoses, designing effective layouts, and keeping on top of year-round maintenance. My biggest takeaway, and one I hope you embrace, is that achieving even moisture isn't about drenching your garden with a hosepipe every evening. It’s about being strategic, understanding your plants, and working with our unique British climate, rather than against it.
Remember those key principles:
- Know Your Garden: Your soil, your slope, and your plants dictate everything.
- Build Resilience: Mulch and good soil amendments are your first line of defence against drought.
- Choose Wisely: Drip systems offer precision, soaker hoses offer simplicity. Pick what suits your space and your budget.
- Design Smart: Zoning and careful emitter placement ensure every plant gets its fair share.
- Water Intelligently: Use timers as a guide, but let your finger and your observations be the ultimate judge.
- Maintain Diligently: A little bit of care throughout the year ensures your system stands the test of time, and our British frosts!
I've made my fair share of mistakes along the way – underestimating the impact of our heavy clay soil, trusting a timer too much after an unexpected downpour, or forgetting to drain a pipe before winter. But each "oops" moment has been a valuable lesson, helping me refine my approach and share what truly works here in the UK.
Embracing micro-irrigation has transformed my gardening. It’s freed up my evenings, reduced water waste, and most importantly, it's given me healthier, happier plants, from my 'Sungold' tomatoes in the greenhouse to the vibrant phlox in my perennial borders. It's an investment, yes, but one that pays dividends in time saved, water conserved, and the sheer joy of watching your garden thrive.
So, roll up your sleeves, grab your notes, and start planning. Don’t be afraid to experiment, and definitely don’t be afraid to get your hands a little muddy. Your densely planted borders, and your future self, will thank you for it.
Happy gardening, fellow UK green-thumbs!
