
Oh, the sheer joy of a sun-drenched Mediterranean herb garden! Who hasn't scrolled through Pinterest, dreaming of fragrant lavender hedges, aromatic rosemary bushes, and sprawling thyme, all baking happily under a blazing sun? I know I have, many a time, especially here in the often-damp Midlands. When I first started gardening about five years ago, after swapping my IT desk for a trowel and finding my true calling, those images were my absolute inspiration. I pictured my little 800 sq ft backyard, usually home to sturdy cabbages and robust tomatoes, transformed into a little slice of Provence.
But let me tell you, the reality of growing these sun-loving, drought-tolerant beauties in our wonderfully, unpredictably wet British climate can be a rude awakening. I've learned this the hard way, through more than a few soggy, sad plant funerals. It’s not necessarily the cold that gets them – many are surprisingly hardy. It’s the relentless, soul-sapping damp, especially when our winters decide to really show us what they’re made of. My early attempts often ended with plants looking great in summer, only to vanish into a mushy, rotten mess by spring.
What I've learned in my UK garden, through plenty of trial and error (and a fair few swear words directed at the sky), is that the secret isn't just about sun; it's about giving them happy, dry feet. This article is all about how to achieve that perfect sharp drainage for your Mediterranean herbs and hardy succulents right here in Britain, even if you’ve got heavy clay soil like mine. We're talking strategic mounding, clever gritting, and subsurface layering – all the tricks I've picked up to make these plants thrive, not just survive, in our unique climate.
Beyond the Drought: Why Sharp Drainage is Your Mediterranean Herb's Best Friend in Wet Climates
When we think of Mediterranean plants – rosemary, lavender, thyme, oregano, sage, and those wonderfully architectural succulents – our minds immediately go to hot, dry climates. We picture arid landscapes, baking sun, and long periods without rain. And while they certainly do love the sunshine, I've found that it's a common mistake here in the UK to focus solely on the "drought-tolerant" aspect and forget the other half of the equation: excellent drainage.
In their native habitats, these plants are accustomed to soils that might be thin, rocky, or sandy – soils where any rain that falls quickly disappears, leaving their roots to breathe. Here in Britain, especially in places like my Midlands patch, our glorious rain can be a persistent guest, and our soils, often rich in clay, love to hold onto moisture. That's a recipe for disaster for plants that simply aren't built for constantly wet conditions.
I remember my first attempt at a lavender hedge, a beautiful 'Munstead' variety I was so proud of. It thrived through a decent summer, put on a fantastic display, but then came the autumn and a particularly sodden winter. By March, half the plants were gone, withered and grey. It wasn't the cold that killed them; it was the fact that their roots had been sitting in cold, waterlogged soil for months. I learned then that sharp drainage isn't just a recommendation for these plants; it's an absolute non-negotiable for success in a wet climate like ours. It's about mimicking their natural environment where water quickly drains away, allowing their roots to access oxygen and preventing them from suffocating.
The Silent Killer: Understanding Root Rot & Why Mediterranean Plants Struggle in UK Gardens
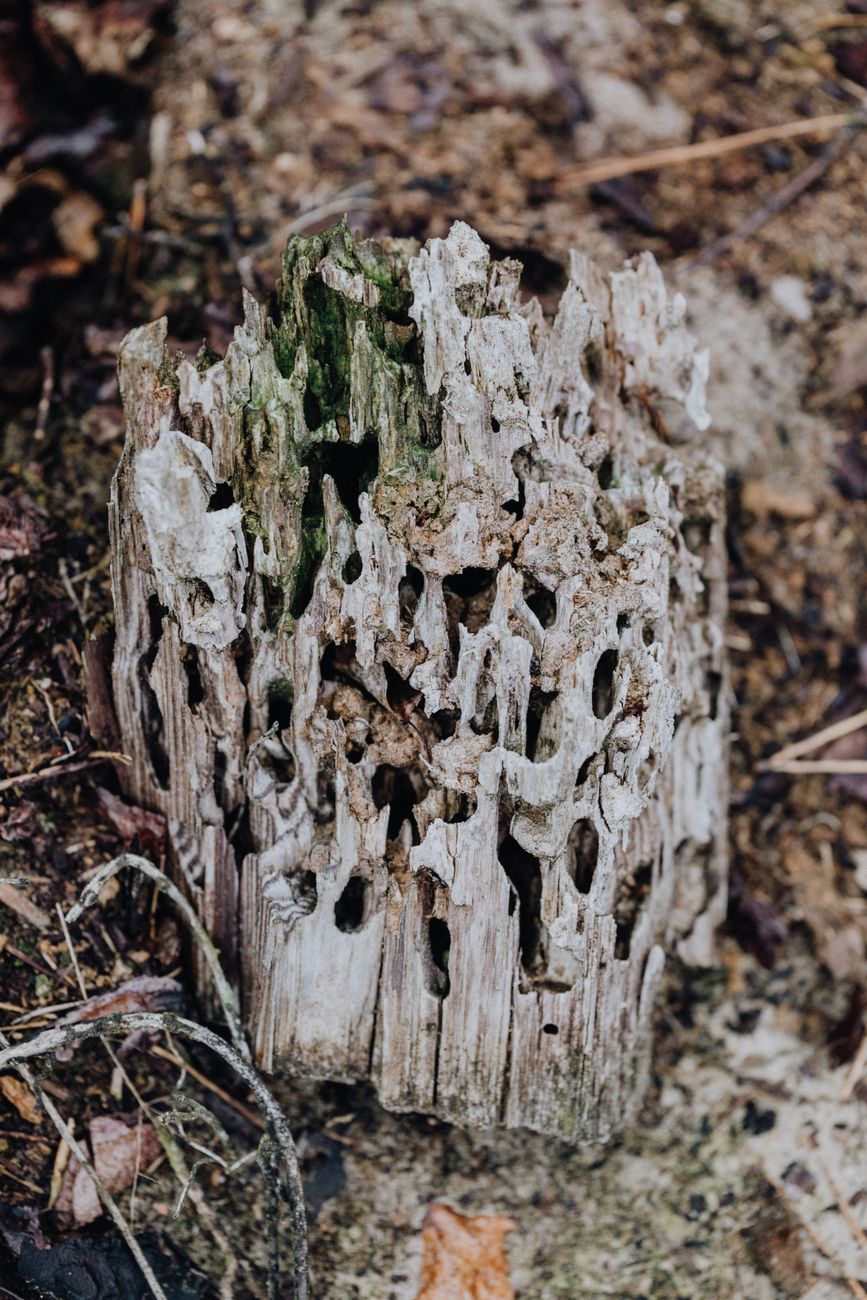
If sharp drainage is the hero of our story, then root rot is most definitely the silent villain. It’s the number one killer of Mediterranean herbs and hardy succulents in UK gardens, and it's a stealthy one because by the time you see the symptoms above ground, it's often too late.
So, what exactly is root rot? Simply put, it's a condition where a plant's roots begin to decay due to a lack of oxygen in the soil, usually caused by persistent waterlogging. When soil is constantly saturated with water, all the air pockets that roots need to "breathe" are filled. Without oxygen, the roots can't function properly; they can't absorb water or nutrients, and they become susceptible to various opportunistic fungi and bacteria that thrive in anaerobic (oxygen-free) conditions. These pathogens then attack the compromised roots, turning them into a mushy, foul-smelling mess.
Here in my UK garden, with its naturally heavy clay, I've seen this play out more times than I care to admit. One mistake I made early on was planting a gorgeous 'Alba' rosemary directly into my native soil without any amendments. It was a stunning bush, covered in delicate white flowers. That winter, after weeks of relentless rain, it just started to yellow, then wilt. I kept thinking it needed water, which now sounds daft, but it's a common misconception – symptoms of root rot can often mimic drought. When I finally dug it up, the roots were dark, soft, and utterly rotten. It was heartbreaking, but a valuable lesson.
Mediterranean plants are particularly vulnerable because they've evolved in environments where their roots are accustomed to drying out between rainfall. They simply aren't equipped to handle constant moisture. Their root systems are often adapted to seek out deep water in dry conditions, not to sit in a bog. Symptoms you might see include yellowing or browning leaves, stunted growth, wilting even when the soil is wet, and a general lack of vigour. Ultimately, the plant will just collapse. Prevention is absolutely key here, because once root rot has set in, it's incredibly difficult to reverse.
Know Your Ground: Simple Tests to Assess Your Garden's Current Drainage & Soil Type
Before you start digging and building, it's absolutely crucial to understand what you're working with. Knowing your garden's current drainage and soil type will dictate exactly which strategies will be most effective. I learned this when I first got my hands on this Midlands patch; I assumed all soil was pretty much the same until I tried to grow anything that wasn't a bog plant!
Here are a couple of simple, no-fuss tests you can do yourself:
The Percolation Test (or "Bucket Test")
This is probably the most telling test for drainage. It gives you a real-world idea of how quickly water moves through your soil.
- How to do it:
- Dig a hole in the area where you plan to plant, about 30cm (12 inches) deep and 30cm wide.
- Fill the hole with water and let it drain completely. This saturates the soil, giving a more accurate reading.
- Once it's empty, immediately refill the hole with water to the brim.
- Note the time it takes for the water level to drop by 2.5cm (1 inch). If it drains slower than 2.5cm per hour, you've got poor drainage. If it's faster than 10cm (4 inches) per hour, that's excellent drainage.
- What it tells you: For Mediterranean plants, you're aiming for that faster drainage. If your water is sitting there for hours, or even overnight, you know you've got your work cut out for you! My soil here initially drained at a depressing 1cm per hour, a clear sign of heavy clay.
The Squeeze Test (or "Ribbon Test")
This test helps you identify your soil's texture – whether it's predominantly sand, silt, or clay.
- How to do it:
- Take a small handful of soil from about 10-15cm (4-6 inches) deep.
- Moisten it slightly with water until it's pliable but not squishy wet.
- Roll it into a ball, then try to press it between your thumb and forefinger to form a "ribbon."
- What it tells you:
- Sandy soil: Won't form a ball or ribbon; feels gritty. Drains very quickly, can be nutrient-poor.
- Silty soil: Forms a ball but a very weak ribbon; feels smooth, almost floury. Drains moderately well, usually fertile.
- Clay soil: Forms a long, strong, sticky ribbon (over 5cm or 2 inches); feels heavy and sticky. Drains slowly, often nutrient-rich but can become compacted.
- Loamy soil: Forms a ball and a short, pliable ribbon (2-5cm or 1-2 inches); feels crumbly and rich. This is the ideal balance.
The Worm Count
A simple indicator of healthy soil structure and organic matter. Dig a small square (30x30cm, 12x12 inches) about 15cm (6 inches) deep and count the worms. More worms generally mean healthier, better-draining soil with good organic content.
Knowing my ground here in the Midlands – heavy clay, slow drainage, but a decent worm count thanks to years of adding compost – helped me target my efforts precisely.
| Soil Type | Drainage Speed | Mediterranean Suitability | Feel (Squeeze Test) | Common UK Occurrence |
|---|---|---|---|---|
| Sandy | Very Fast | Good (but may need nutrient boost) | Gritty, won't hold shape | Coastal areas, some river valleys |
| Silty | Moderate | Fair to Good (amend for faster) | Smooth, floury, forms weak ribbon | Floodplains, some fertile agricultural areas |
| Clay | Very Slow | Poor (requires significant amendment) | Sticky, heavy, forms long, strong ribbon | Most of the UK, especially Midlands, South East, South West |
| Loamy | Moderate to Fast | Excellent | Crumbly, forms a short, pliable ribbon | Ideal, often achieved through long-term soil improvement |
Elevate for Success: Strategic Mounding & Raised Beds for Instant Drainage Improvement
Once you know your soil's temperament, it's time to take action. For Mediterranean plants in a damp climate, the goal is always to get their roots out of the wet zone. My favourite strategies for achieving this, and ones I've used extensively in my 800 sq ft Midlands garden, are strategic mounding and the use of raised beds.
Strategic Mounding: Lifting Roots Above the Fray
Strategic mounding is exactly what it sounds like: you're building up the soil level for your plants, essentially creating mini-hills. This is a brilliant technique because it leverages gravity to pull water away from the root zone and also increases the surface area for evaporation. It’s an instant drainage upgrade!
- How I do it: When I plant a new rosemary or a patch of Greek oregano, I don't just dig a hole. I build a mound that's at least 30-45cm (12-18 inches) high and 60-90cm (2-3 feet) wide at the base for a single mature plant. For a group of lavender, I'll create a longer, wider berm.
- The Soil Mix: This is crucial. I never just use my native clay soil for the mound. I create a specific blend that drains incredibly well. My go-to mix is typically 1 part native soil (to help integrate with the surrounding ground), 1 part coarse horticultural grit or perlite, and 1 part good quality, peat-free multi-purpose compost. Sometimes I'll throw in a bit of sharp sand too. The grit is the key ingredient here; it provides those essential air pockets and ensures rapid drainage.
- Benefits: It immediately lifts the plant's root ball well above the ambient ground level, protecting it from waterlogging. It also warms up faster in spring, which these plants appreciate. I’ve found my 'Provence' lavender thrives on a sunny mound, surviving even our soggiest winters beautifully.
- A little caveat: Because mounds drain so well, you'll need to be vigilant about watering during very dry spells, especially in their first year.
Raised Beds: Complete Control for Optimal Conditions
Raised beds are another fantastic option, and a concept I became very familiar with when I first started growing vegetables. My greenhouse is packed with heirloom tomatoes like 'Cherokee Purple' in raised beds, and the principles for Mediterranean herbs are very similar.
- Why they're great: Raised beds offer complete control over the soil environment. You can fill them with a custom-blended, super well-draining mix from the get-go, completely bypassing your native soil issues. They also warm up faster in spring and are easier on your back!
- My setup: For my Mediterranean herbs, I've got a couple of smaller raised beds, about 30-40cm (12-16 inches) deep, built from reclaimed timber sleepers. This depth is important – it needs to be deep enough to allow for good drainage beneath the root zone.
- The Filling: Again, the right soil mix is paramount. I typically use a mix of about 40% good quality topsoil, 30% coarse horticultural grit, and 30% my own homemade compost. This creates a free-draining yet fertile environment that Mediterranean herbs adore.
- Combining strategies: For my most precious or sensitive plants, like a particular variety of French lavender or a delicate 'Corsican Mint', I sometimes even build a small mound within the raised bed for that extra layer of drainage insurance. It might sound excessive, but after losing so many plants, I'm all about stacking the odds in my favour!
The Perfect Recipe: Choosing & Incorporating Grits, Sands, and Organic Amendments for Optimal Drainage
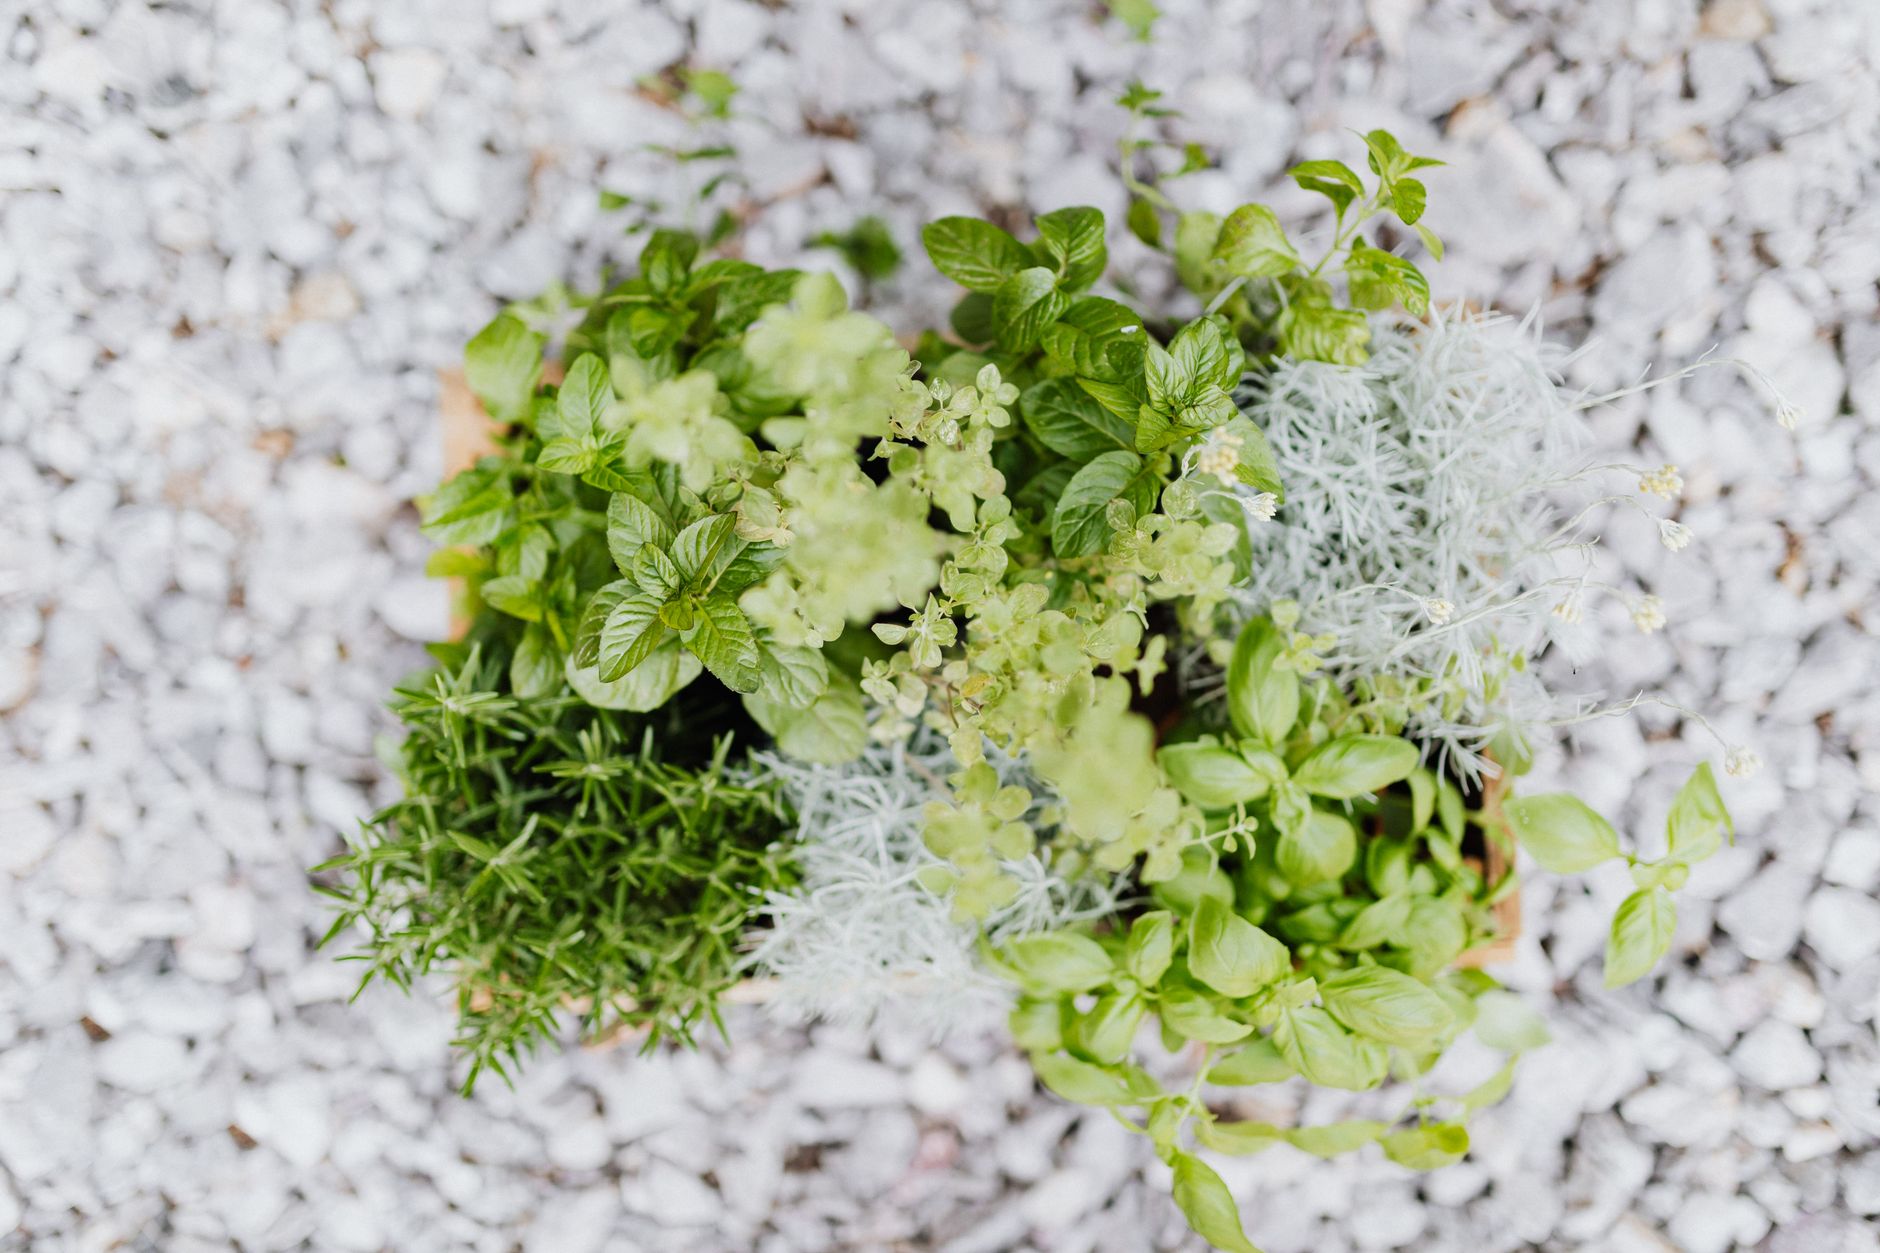
So, we've talked about getting your beds up off the soggy ground. But what goes into those beds, or into the mounds you're building, is just as crucial. It’s all about creating that open, airy structure that Mediterranean plants crave, even when the British weather is doing its best to drown everything. Over my five years of intensive gardening here in the Midlands, I've experimented with a fair few mixes, and I've certainly learned what works – and what turns into a concrete block!
For me, the backbone of any good drainage mix is a quality grit or sharp sand. This isn't your average play sand or soft builder's sand, which often has fine, rounded particles that compact tightly. We need sharp, angular particles that create tiny air pockets and pathways for water to escape quickly.
I swear by horticultural grit. It's usually crushed granite or a similar inert stone, 2-6mm in size. It really does make a world of difference. I've used it extensively in my greenhouse compost for heirloom tomatoes, and now I wouldn't dream of planting my Rosemary 'Miss Jessopp's Upright' or a lovely Thyme 'Faustini' without it. Sharp sand is a good alternative, or even a mix of both if you can get them cheaply. Remember, it needs to be sharp sand, not soft sand!
Now, you might be thinking, "Randy, isn't organic matter good for soil?" And yes, absolutely, it's vital for most plants. But for these drought-lovers, we need to be a bit careful. Too much peat or fine compost can hold onto moisture for too long, defeating the purpose of our gritty mix. I do add a moderate amount of well-rotted, coarse compost – usually my own homemade stuff – but I make sure the ratio is heavily skewed towards the grit and sand. This provides some nutrients and improves soil structure without turning it into a sponge.
Here’s a quick rundown of what I've found useful in my UK garden:
| Amendment Type | My Experience & Purpose in UK Conditions | Pros | Cons |
|---|---|---|---|
| Horticultural Grit | My absolute go-to. Crushed stone (2-6mm) provides excellent aeration and drainage. Essential for my rosemary and lavenders. | Superior drainage, creates permanent air pockets, doesn't break down, good for top dressing. | Can be a bit pricey in large quantities. |
| Sharp Sand | A good, more affordable alternative to grit. Ensure it's truly sharp, not soft builder's sand. I've used this effectively in larger raised beds. | Good drainage, widely available, cheaper than grit. | Finer particles can still compact slightly more than grit over time if not mixed well. |
| Perlite | Great for container mixes, but I use it sparingly in ground. It's lightweight and creates air pockets. | Excellent aeration, very lightweight, holds some moisture without waterlogging. | Can float to the surface, more expensive for large volumes, can be dusty to work with. |
| Well-Rotted Compost | A moderate amount adds slow-release nutrients and some beneficial microbes. I always use my own coarse, lumpy compost. | Adds nutrients, improves general soil health, encourages beneficial soil life. | Too much can hold excessive moisture, can break down and reduce aeration over time. |
| Small Gravel (10-20mm) | Can be used as a base layer for very challenging sites or mixed in for extra bulk and drainage. | Good bulk drainage, affordable for large areas, long-lasting. | Can be heavy, doesn't integrate as well into finer mixes as grit. |
My usual mix for a raised mound or a dedicated Mediterranean bed would be something like 50% existing soil (if it’s not heavy clay), 30% horticultural grit or sharp sand, and 20% coarse, well-rotted compost. If my existing soil is really bad, I'll go 50% grit/sand, 30% compost, and only 20% soil, or even less. The key is to mix it thoroughly. I do this by hand on a big tarp, ensuring every bit is integrated. It's a proper workout, but worth it!

Beyond the Surface: Considering Subsurface Layers and Basic Drainage Channels for Challenging Sites
Sometimes, even with generous mounding and a perfect gritty mix, you've got a spot in the garden that just defies logic and stays stubbornly wet. I've got one such corner in my 800 sq ft Midlands plot, right where water tends to run off the shed roof and collect. For these truly challenging sites, you might need to think a little deeper – literally.
This isn't always necessary for every Mediterranean plant, especially if you've done a good job with mounding. But if you have persistent boggy patches, or you're trying to grow something exceptionally sensitive like a Cistus or a particularly tender lavender, a subsurface drainage layer can provide that extra insurance.
What I'm talking about here is creating a layer of coarse, free-draining material beneath your planting mound. Think of it as a mini 'French drain' for your plant. For my tricky corner, I actually dug down about 30-40cm, maybe 60cm wide. I laid a permeable landscape fabric at the bottom to stop the native clay from migrating up into my drainage layer, then filled it with about 15-20cm of coarse gravel (10-20mm) or broken brick rubble. Old broken terracotta pots work too, as long as they're clean.
On top of this, you then build your mound with your perfectly gritty mix. This subsurface layer acts as a reservoir to collect excess water and allow it to slowly dissipate into the surrounding soil, or, if you're really ambitious, you could even run a perforated pipe from it to a designated soakaway. I haven't gone quite that far in my garden, but I've seen it done.
Another option, especially if you have a slight slope, is to create shallow surface channels. I used this around one of my larger raised vegetable beds where water was pooling after heavy rain. A simple, shallow ditch, perhaps 10cm deep and 15cm wide, filled with gravel, can redirect surface water away from your sensitive plants. It's a low-tech solution that can make a surprisingly big difference, especially with our unpredictable British downpours. It's about giving that water an easy escape route rather than letting it sit and stagnate.
Planting for Longevity: Final Steps, Mulching, and Ongoing Care for Thriving Plants
You've built your mound, perfected your gritty mix, and even thought about subsurface drainage if your site demands it. Now comes the exciting part: planting your beautiful Mediterranean herbs and hardy succulents! This final stage is crucial for their long-term success.
When I’m ready to plant, I always make sure the plant's root ball is moist but not soaking wet. Gently tease out any circling roots – don't be afraid to be a bit firm, they'll thank you for it later. Dig a hole in your prepared mound or bed that's just a little wider than the root ball. The most important thing here is planting depth. Always, always, always plant your Mediterranean herbs at the same level they were in their pot, or even slightly higher, especially if you anticipate the surrounding soil settling. Never bury the crown of the plant, as this is a surefire way to encourage rot, particularly in our damp UK winters. I've learned this the hard way with a few early thyme casualties!
Firm the soil gently around the root ball, ensuring good contact but without compacting it too much. You want those roots to breathe. After planting, give them a good initial watering to settle the soil around the roots. After this first drink, however, resist the urge to overwater. These plants are built for drought, not endless rain.
My secret weapon for ongoing success, especially in our British climate, is a good layer of gritty mulch. Once your plants are in, spread a 3-5cm layer of horticultural grit or small gravel (around 10mm) around the base of the plants, but again, keeping it clear of the crown. This gritty mulch does several brilliant things:
- It helps suppress weeds.
- It reflects heat, keeping the soil a bit cooler in summer (a bonus for roots).
- Crucially, it keeps the plant's crown dry, preventing water splashing up from heavy rain and reducing the risk of fungal issues.
- It looks really neat and tidy, too!

Ongoing care is mostly about benign neglect. Once established, these plants need very little supplemental watering in the UK, even during dry spells. In fact, more plants are probably killed by overwatering than by drought in our climate. I only water mine if we've had a truly prolonged dry spell in summer, and even then, I check the soil moisture deeply first. I've found that my well-drained beds and mounds mean I can often get away with no extra watering at all after the first few weeks.
Pruning is generally light, to maintain shape and encourage bushiness, but avoid heavy pruning late in the season, as new growth might not harden off before winter sets in. And that's it! With these strategies, you'll be well on your way to enjoying a thriving, aromatic corner of the Mediterranean right here in your UK garden, come rain or shine.
Conclusion: Your Mediterranean Oasis Awaits, Even in the UK Rain!
Well, there you have it, fellow gardeners! We've journeyed through the nitty-gritty (pun intended!) of achieving sharp drainage for those beautiful Mediterranean herbs and hardy succulents in our often-soggy UK climate. It might seem like a bit of effort at first, but I promise you, the rewards are so worth it. From my own 800 sq ft plot here in the Midlands, I've seen firsthand how these strategies transform struggling plants into vigorous, healthy specimens.
Remember, the core principles are simple: elevate your plants through strategic mounding or raised beds, enrich your soil with plenty of sharp grit and sand, and ensure their crowns stay dry with a good gritty mulch. Don't be afraid to experiment a little in your own garden; every site is different, and what works perfectly in my garden might need a slight tweak in yours. That's the joy of gardening, isn't it? Learning, adapting, and growing with your plants.
So, go on, get out there! Test your soil, plan your mounds, and start mixing that perfect gritty compost. You're not just planting herbs; you're creating a resilient, fragrant, and beautiful slice of sunshine that will thrive, even when the British weather is doing its very best to challenge it. Happy gardening!
