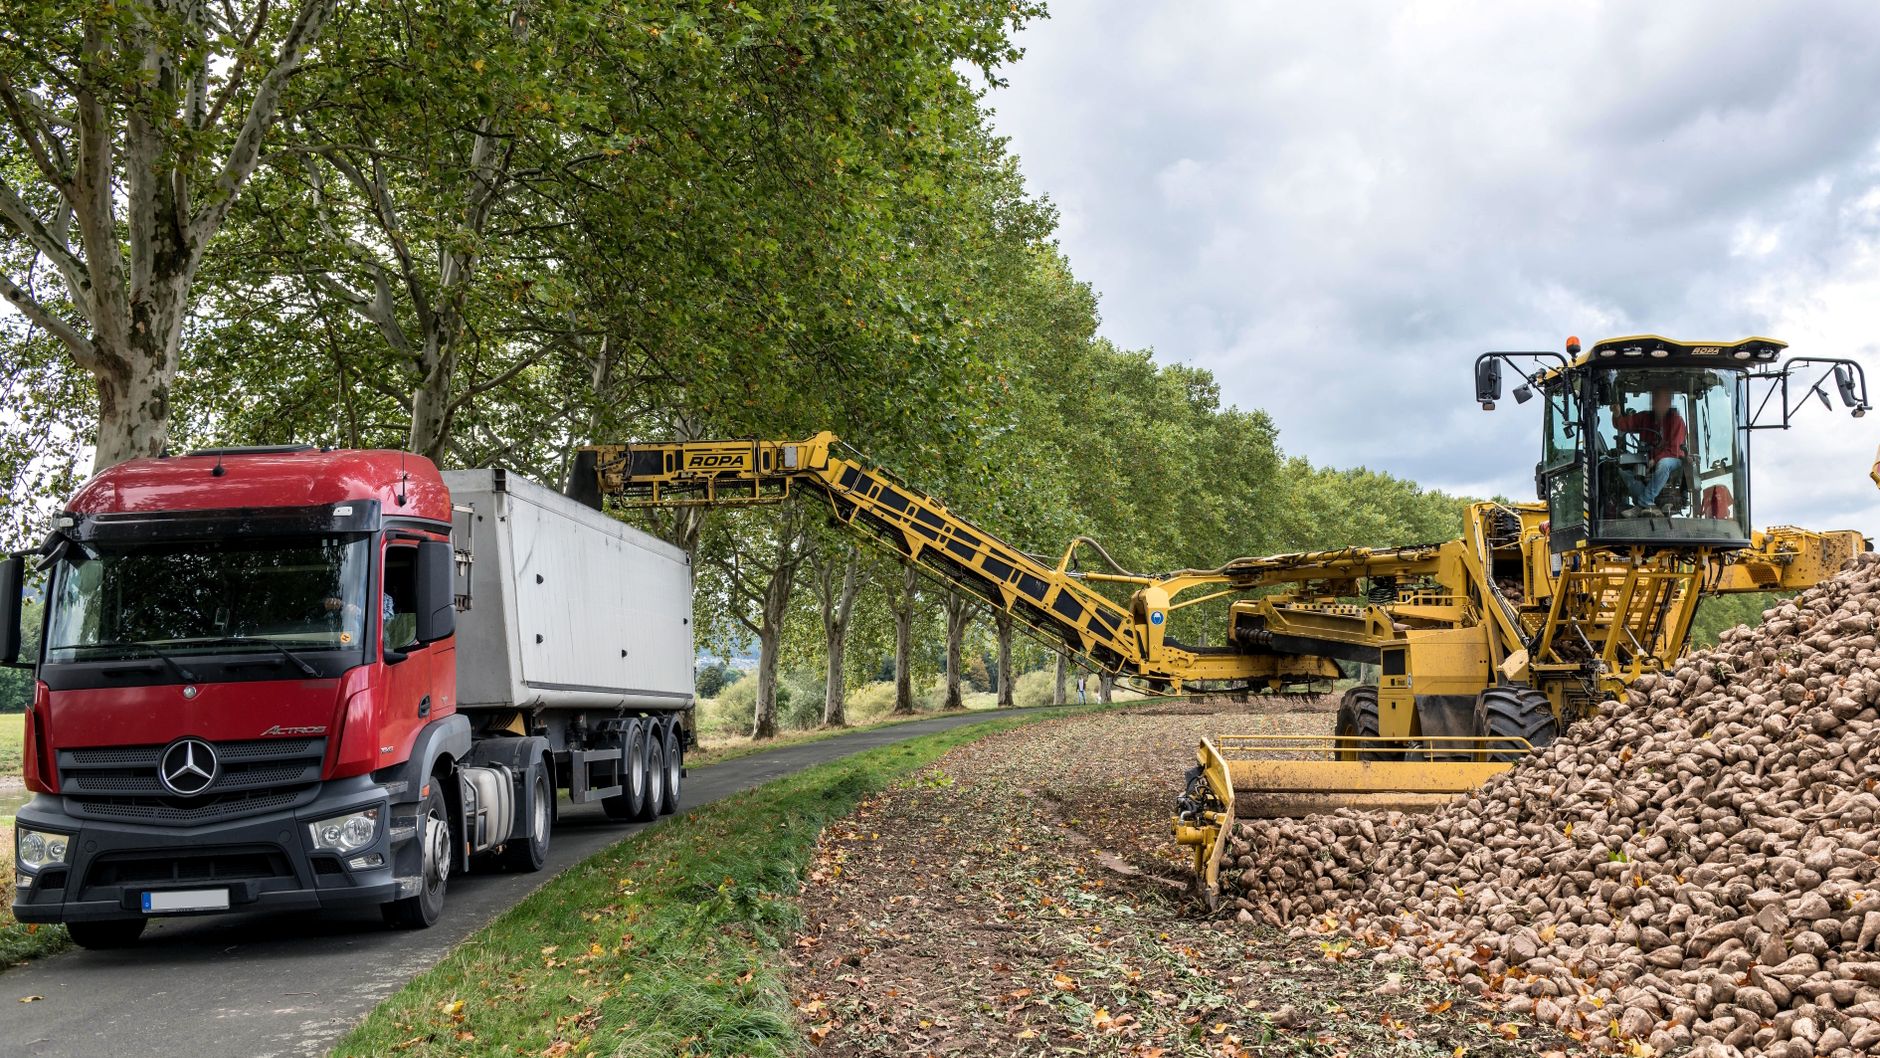
Introduction: Why Aim for Uniform Sizing and Simultaneous Ripening?
Let's be honest, there's nothing quite like the satisfaction of a good harvest, is there? Here in my 800 sq ft Midlands garden, I live for those moments. But for a long time, my harvests were a bit… chaotic. I'd have a few perfect carrots, a handful of stunted ones, and a couple that had bolted before I even noticed. My pea pods would ripen in dribs and drabs, making a decent batch for freezing feel like an impossible dream. If you've ever found yourself pulling up a root crop hoping for a full basket, only to get a mixed bag of sizes, you know the frustration.
That's where the idea of achieving uniform sizing and simultaneous ripening really clicked for me. It's not just about aesthetics; it's about efficiency, reducing waste, and making the most of our precious growing season here in the UK. Imagine harvesting a whole bed of beetroot that are all gloriously plump and ready for pickling at the same time, or a row of French beans that are perfectly tender for a big family meal. For a keen home gardener like me, who's often juggling hundreds of plants in my raised beds and greenhouse, this approach has been a game-changer. It means less time spent rummaging for usable crops and more time enjoying the fruits (or roots and pods!) of my labour.
Over my five years of intensive gardening, I’ve learned that achieving this predictable harvest isn't down to luck. It's about a few key strategies that, when applied consistently, make a world of difference. We're talking about getting proactive with strategic thinning, being meticulous with consistent moisture, and getting savvy with targeted feeding. These aren't complicated techniques, but they require a bit of thought and observation – something I've become quite obsessed with since leaving my IT job to pursue this passion. Let me walk you through what I've discovered works best in our often-unpredictable British climate.
The Art of Strategic Thinning: Spacing Your Way to Predictable Harvests
When I first started out, my approach to sowing was "more is more." I'd sprinkle carrot seeds like confetti, assuming only half would germinate, and then just leave them to it. The result? A tangled mess of weak, spindly seedlings all competing for the same light, water, and nutrients. My carrots were often tiny and misshapen, the beetroot wouldn't swell, and my radishes were all leaf, no root. I learned this the hard way, season after season, especially with root crops where competition below ground is fierce.
Strategic thinning is about more than just pulling out excess seedlings; it's about selecting the strongest, healthiest plants and giving them the space they need to thrive. Think of it like giving each plant its own personal growth zone. If plants are too close, they'll stunt each other's growth, leading to a patchy, uneven harvest. If they have just the right amount of space, they can all reach their full potential at a similar rate, leading to that glorious uniformity we're aiming for.
My preferred method for thinning is to snip seedlings at the soil line with a small pair of scissors. Pulling them can disturb the delicate roots of their neighbours, and in our often-damp UK soil, that disturbance can lead to shock for the remaining plants. I usually do my first thinning when seedlings have developed their first true leaves, and sometimes a second thinning a couple of weeks later, especially for crops like carrots or beetroot.
For example, with my 'Autumn King 2' carrots, sown directly into the raised beds, I'll thin them initially to about 2cm apart, then later to their final spacing of 5-7cm. For 'Boltardy' beetroot, I aim for around 10cm between plants. This might feel brutal at first, especially when you're snipping away perfectly good-looking seedlings, but trust me, it pays off. Last summer, despite a few typically British cool spells, my carefully thinned beetroot yielded a fantastic, uniform crop, perfect for roasting.
Strategic Thinning: Crop-Specific Spacing for UK Gardens
Here's a breakdown of some common root and pod crops and the ideal spacing I’ve found works well here in my Midlands garden:
| Crop Type | Initial Spacing (after germination) | Final Spacing (after 1-2 thinnings) | Randy's UK Notes/Tips |
|---|---|---|---|
| Carrot (e.g., 'Autumn King 2') | 0.5 cm – 1 cm | 5 cm – 7 cm | Thin early & consistently; uneven moisture post-thinning can cause issues. Keep soil moist to prevent splitting. |
| Radish (e.g., 'French Breakfast') | 1 cm | 3 cm – 4 cm | Fast growers, so thin quickly. Overcrowding leads to all leaf, no root! |
| Beetroot (e.g., 'Boltardy') | 2 cm – 3 cm | 8 cm – 10 cm | If growing from seed 'clusters', thin to one strong seedling per spot. |
| Spring Onion (e.g., 'White Lisbon') | 1 cm – 2 cm | 2 cm – 3 cm | Can be grown closer for smaller onions, or spaced further for thicker ones. |
| Pea (e.g., 'Alderman', 'Sugarsnap') | 5 cm – 7 cm | 10 cm – 15 cm | Plant in a double row for better support and air circulation, especially with our damp British weather. |
| Bush Bean (e.g., 'Purple Teepee') | 5 cm – 7 cm | 10 cm – 15 cm | Good air circulation helps prevent fungal issues in humid UK summers. |
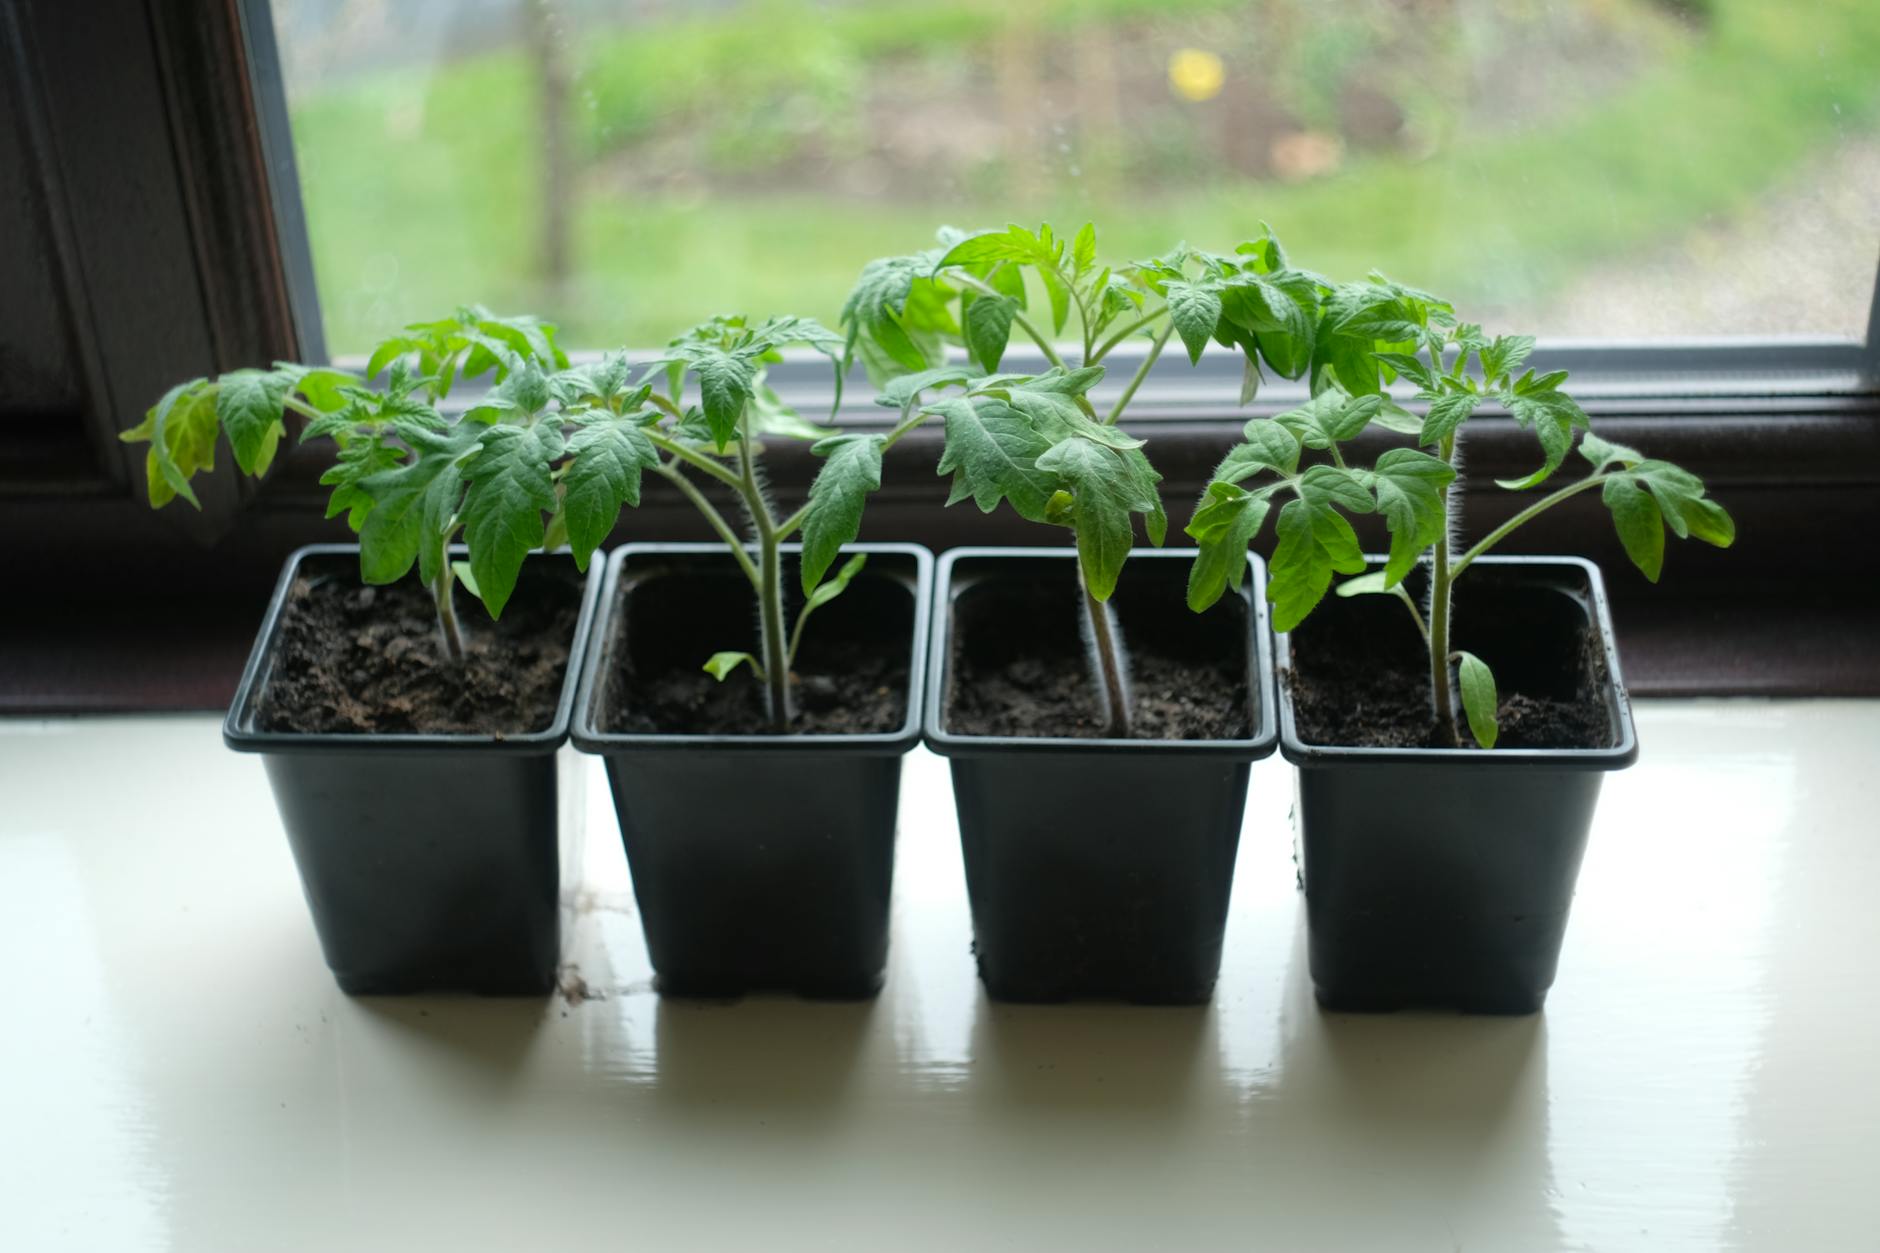
Mastering Moisture: Consistent Watering for Even Root & Pod Development
If thinning is about giving your plants physical space, then consistent moisture is about giving them a stable, reliable environment. Here in the UK, especially in the Midlands where I am, our weather can be wonderfully unpredictable. We can have a week of glorious sunshine followed by three days of torrential rain, or vice versa. This variability, I’ve found, is the enemy of uniform root and pod development.
Root crops, in particular, absolutely detest inconsistent watering. Imagine a carrot trying to grow plump and straight. If it gets a sudden deluge after a dry spell, it can crack. If it's constantly too dry, it becomes tough, woody, and stops growing. My first few batches of 'Nantes' carrots were a lesson in this – some were beautiful, others were forked and cracked, all from the same row. It was a classic case of my watering being too erratic, often driven by how busy I was or what the British sky was doing that day.
Pods crops, like my beloved 'Alderman' peas or 'Purple Teepee' beans, also suffer. Inconsistent moisture can lead to blossom drop, poorly formed pods, or tough, stringy vegetables. They need a steady supply of water, especially when they're flowering and setting fruit, to ensure those pods fill out evenly and simultaneously.
My biggest breakthrough in this area came when I invested in a simple drip irrigation system for my raised beds. It's not fancy, but it delivers water slowly and directly to the root zone, reducing evaporation and ensuring every plant gets its fair share. I set it on a timer for early mornings, which works perfectly for our British climate, ensuring the leaves dry off before evening to prevent fungal diseases.
If drip irrigation isn't an option, manual watering needs to be deep and consistent. I try to water less frequently but more thoroughly. Instead of a quick sprinkle every day, I aim for a good, long soak every few days, checking the soil moisture with my finger before I even think about reaching for the hose. And remember to mulch! A good layer of organic mulch (I use homemade compost or straw in my beds) helps retain soil moisture, suppresses weeds, and keeps soil temperatures more stable – all crucial for even growth, especially during those unexpected UK heatwaves or cold snaps.

Targeted Feeding: Delivering Nutrients for Optimal Growth Stages
Just like a growing child needs different nutrients at different ages, our vegetables have varying dietary requirements throughout their life cycle. When I first started, I'd just use a general-purpose feed for everything, assuming more food meant bigger plants. Oh, how wrong I was! I quickly learned that an excess of the wrong nutrient, particularly nitrogen, can actually hinder the development of what we're really after: the roots and the pods. My 'Boltardy' beetroot would produce enormous, lush leaves but disappointingly small roots, and my beans would be all vine, no pod.
This is where targeted feeding comes in. It's about understanding the role of the main macronutrients – Nitrogen (N), Phosphorus (P), and Potassium (K) – and applying them strategically.
- Nitrogen (N): Promotes leafy growth. Essential for young plants, but too much later on can mean lots of foliage at the expense of roots or fruit.
- Phosphorus (P): Crucial for root development, flowering, and fruiting. Very important for both root and pod crops as they start to swell or set pods.
- Potassium (K): Aids in overall plant health, disease resistance, and the development of strong stems, roots, and fruits. Often called the "quality" nutrient.
For my root crops, like carrots, parsnips, and beetroot, I ensure they get a good start with a balanced feed, but once they begin to form roots, I switch to feeds higher in phosphorus and potassium. My go-to is often a comfrey liquid feed (which I make myself – another obsession!) or a granular organic tomato feed, which is naturally higher in P and K. I usually apply this every 2-3 weeks once the roots start to visibly swell.
For pod crops, like peas and beans, they’re a bit special because they can fix their own nitrogen from the air (thanks, rhizobia!). So, while they appreciate a balanced start, once they begin to flower and set pods, I focus on phosphorus and potassium to encourage strong flowering and full pod development. Again, a good organic tomato feed works wonders, or a general liquid seaweed feed can provide trace elements and a gentle boost. I usually start feeding them when the first flowers appear and continue until the main harvest.
One mistake I made early on was applying a high-nitrogen feed to my peas when they were flowering. I ended up with lush, green plants that produced very few pods. It was a valuable lesson in understanding what my plants really needed at each stage.
Targeted Feeding: Nutrient Needs for Optimal Growth
Here’s how I approach feeding specific crops in my UK garden, focusing on their key growth stages:
| Crop Type | Key Growth Stage(s) | Targeted Nutrient Needs (N-P-K Focus) | Randy's UK Feed Recommendations & Timing |
|---|
Crop-Specific Strategies for UK Gardens: Carrots, Potatoes, Beans & Peas
Right, so we've talked about the big picture – thinning, watering, feeding. But let's get down to the nitty-gritty, crop by crop. Because what works for a carrot isn't quite the same as a potato, especially with our wonderfully unpredictable British weather! I've spent many a season in my 800 sq ft Midlands patch experimenting with these, often learning the hard way, so let me share what I’ve found makes a real difference for uniform yields here in the UK.
Carrots: The Finicky Root
Carrots are probably one of the trickiest for uniformity because they're so sensitive to soil conditions and moisture. My biggest mistake when I started was not thinning enough, or thinning too late. You end up with a tangled mess of small, misshapen roots.
- Strategic Thinning: This is non-negotiable for carrots. Aim to thin twice. First, when they're about an inch tall, thin to about 1-2 cm apart. Then, when they're about pencil thickness, thin them again to 5-7 cm apart. I know it feels brutal pulling out perfectly good seedlings, but trust me, it’s worth it. When I grow 'Nantes 2' or 'Amsterdam Forcing' in my raised beds, I aim for about 5cm spacing for good, straight roots.
- Consistent Moisture: Absolutely critical. Fluctuations lead to splitting or forking. I water deeply and consistently, especially during dry spells, ensuring the soil never fully dries out then gets drenched. A good layer of mulch (I use homemade compost) helps immensely to retain moisture and keep soil temperatures stable.
- Targeted Feeding: Carrots don't need a lot of nitrogen; too much encourages leafy growth over root development. I focus on soil preparation with well-rotted compost before sowing, then a feed high in potassium and phosphorus once the roots start to swell.
Potatoes: The Tuberous Treasure
Potatoes are a joy to grow, and getting uniform spuds is definitely achievable with a bit of foresight. I've grown everything from 'Charlotte' to 'Desiree' in my raised beds, and consistency is key.
- Strategic Thinning/Hilling: While you don't 'thin' potatoes in the traditional sense, hilling (or earthing up) is crucial. Once the shoots are about 20cm tall, I cover them, leaving just the top few inches exposed. I repeat this a couple more times. This encourages more tubers to form along the buried stem and protects them from greening. I also ensure my seed potatoes are well-chitted with strong, stubby shoots to give them an even start.
- Consistent Moisture: Potatoes are thirsty, particularly when they’re forming tubers. Irregular watering can lead to scab or hollow heart. I make sure my potato beds get a good, deep soak, especially from flowering onwards. In my experience, a steady supply of water is far better than sporadic downpours from our British summer storms.
- Targeted Feeding: I usually incorporate a balanced organic fertiliser into the soil at planting time. As the plants grow and flower, I'll give them a feed that's a bit higher in potassium to encourage tuber development, rather than just leafy growth.
Beans & Peas: The Pod Perfectionists
These legumes are generally easier to get uniform pods from, as long as they have the right support and conditions. I adore shelling peas like 'Hurst Green Shaft' and climbing beans like 'Runner Bean Scarlet Emperor'.
- Strategic Thinning: For peas, I sow them fairly thickly in a trench and then thin them to about 5-8 cm apart once they're a few inches tall. For climbing beans, I plant two seeds per cane and then thin to the strongest seedling. This ensures good airflow and light penetration, which is vital for pod set and preventing mildew.
- Consistent Moisture: Beans and peas need consistent water, especially when they're flowering and forming pods. If they dry out, they'll often drop flowers, leading to a reduced, uneven harvest. I make sure they get a good drink every few days in dry weather.
- Targeted Feeding: As legumes, they fix their own nitrogen, so avoid high-nitrogen feeds. I focus on good soil preparation with plenty of compost. A potassium-rich feed can be beneficial once they start flowering to encourage pod development.
UK Crop Strategy Comparison Table
Here's a quick summary of my findings for these popular UK garden crops:
| Crop | Randy's UK Thinning Strategy | Moisture Tips (UK Focus) | Feeding Focus (UK Adapted) | Randy's UK Variety Pick |
|---|---|---|---|---|
| Carrots | Thin twice: 1-2cm then 5-7cm apart. Don't skip this! | Consistent deep watering; mulch heavily to prevent splitting. | Low Nitrogen; high Potassium/Phosphorus once roots swell. | 'Nantes 2', 'Amsterdam Forcing' |
| Potatoes | 'Hill up' (earth up) plants multiple times as they grow (20cm shoots). | Deep, consistent watering, especially from flowering. | Balanced at planting; Potassium-rich when tubers form. | 'Charlotte', 'Desiree' |
| Beans & Peas | Peas: 5-8cm apart. Beans: 1 strongest plant per cane. | Consistent watering during flowering/pod set to prevent drop. | Low Nitrogen; Potassium for pod development after flowering. | 'Hurst Green Shaft', 'Scarlet Emperor' |
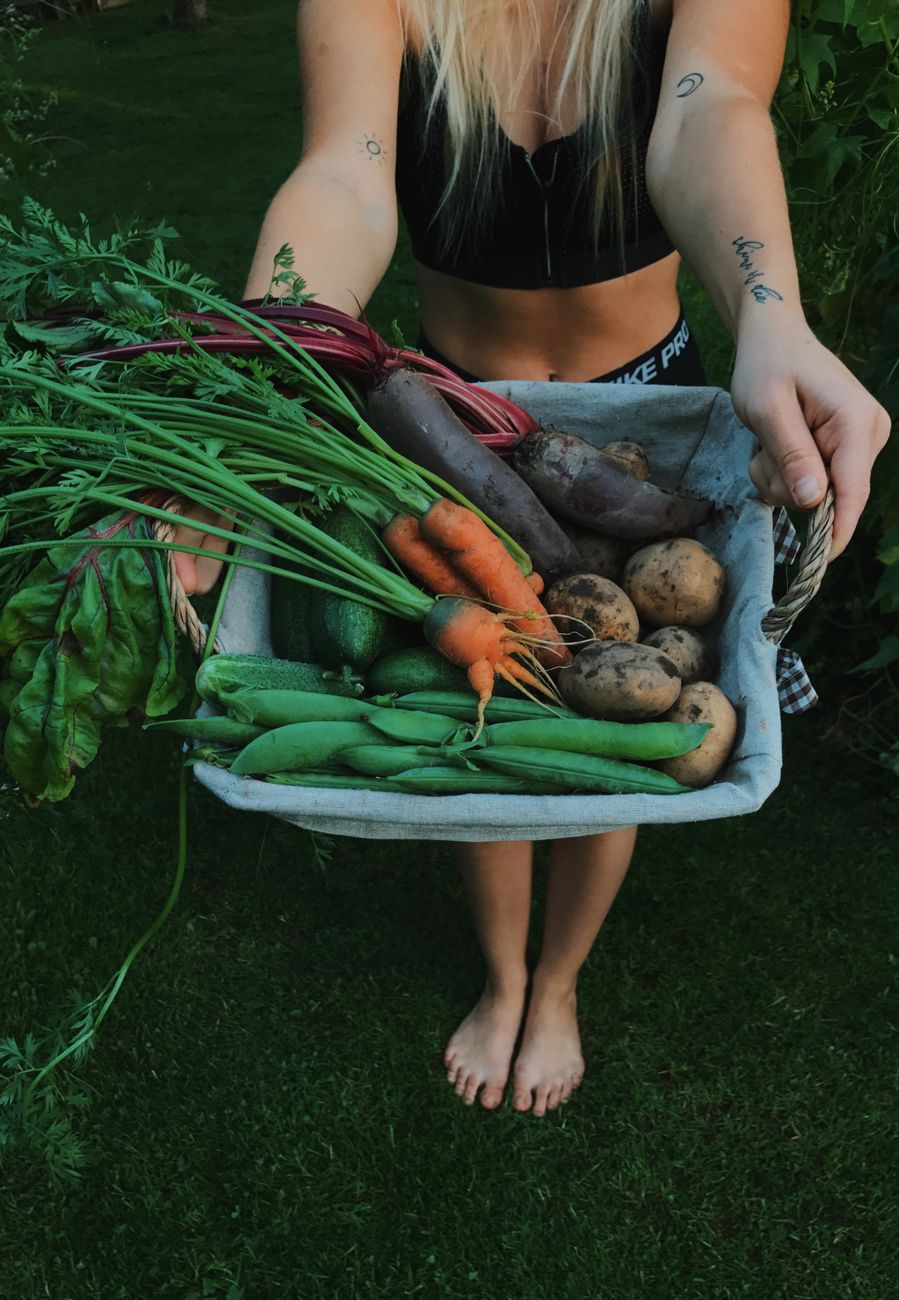
Beyond Growth: Protecting Your Uniform Crop from Pests and Diseases
You've done all that hard work, seen your plants grow uniformly, and then BAM! Pests or diseases decide to move in. It's soul-destroying, isn't it? Protecting your crop is a constant battle here in the UK, but it’s absolutely essential if you want to get that perfect, predictable harvest. I've had my share of setbacks, from carrot root fly annihilating a bed to potato blight spreading like wildfire.
The Pest Patrol: Early Detection is Your Best Friend
My approach is always preventative where possible, and then early intervention.
- Slugs and Snails: Ah, the bane of every British gardener's existence! They absolutely adore young, tender plants. For uniform crops, a single slug can set back a whole row. I'm out there at dusk with a headtorch, hand-picking them, and I swear by beer traps. I've also had decent success with wool pellets around particularly vulnerable seedlings.
- Carrot Root Fly: This one got me good in my second year. Now, for all my carrot sowings, I use a physical barrier – fine mesh netting or fleece about 60-90cm high around the bed. The flies fly low, so this works a treat. It's a bit of an eyesore but saves my carrots from that awful tunneling.
- Aphids: On my beans and peas, aphids can sometimes appear, especially in warmer spells. I usually just squish them with my fingers (wearing gloves, obviously!). For larger infestations, a dilute soapy water spray works wonders. I also try to attract ladybirds and hoverflies by having companion plants like calendula nearby.
- Potato Blight: This is the big one for potatoes in our damp UK climate. I've lost entire crops to it. While you can’t fully prevent it, good airflow (thanks to consistent spacing and hilling!) helps. I'm also really vigilant, checking my potato foliage daily, especially after humid weather. If I see any suspicious dark spots, I'm ready to cut back infected foliage or even consider an earlier harvest to salvage what I can.
Disease Defence: Prevention and Vigilance
Good gardening practices are your best defence against diseases.
- Airflow: This comes back to thinning, doesn't it? Well-spaced plants dry quicker after rain or dew, making them less hospitable to fungal diseases like powdery mildew, which can be a real nuisance on peas and beans, especially in my greenhouse.
- Crop Rotation: I religiously rotate my crops in my raised beds. This prevents a build-up of soil-borne pathogens that can devastate a particular crop family year after year. For example, never plant potatoes in the same spot for at least four years.
- Resistant Varieties: Where possible, I choose varieties known for their disease resistance, especially for potatoes that are susceptible to blight. It’s not a silver bullet, but it certainly helps.
- Good Hygiene: Removing any diseased plant material promptly and keeping my tools clean also helps prevent spread. It sounds simple, but it makes a big difference.
Honestly, it's a constant learning curve, and the British weather always keeps you on your toes. But staying vigilant and having a few tricks up your sleeve will protect that beautiful, uniform crop you've worked so hard for.
Batch Harvesting & Initial Storage: Maximising Your Predictable Yield
The moment of truth! After all that careful thinning, watering, and feeding, the satisfaction of a uniform harvest is truly something special. It’s the payoff for all those hours spent tending your patch. I get such a buzz from seeing a bed full of perfectly sized carrots or a row of bean plants laden with identical pods. But knowing when and how to harvest, and what to do with it straight away, can make all the difference to how long that hard-earned produce lasts.
The Art of the Batch Harvest
Batch harvesting isn't just about efficiency; it's about getting your produce at its peak.
- Knowing When: This often comes down to experience and a bit of a 'feel' for your crops.
- Carrots: I look for the shoulders poking above the soil, aiming for a consistent diameter. Usually, for varieties like 'Nantes', I'm looking for about 2-3 cm across. I gently feel the top of the root.
- Potatoes: For 'earlies', I wait until the flowers open. For 'maincrops', I wait until the foliage starts to yellow and die back naturally, usually in late summer. This signals that the tubers have stopped growing and their skins have set, making them much better for storage.
- Beans & Peas: This is a continuous harvest job. For peas, I pick when the pods are plump and green. For beans, I pick when they're tender and snap easily. The key here is to pick regularly – every other day during peak season. This encourages the plant to produce more pods, extending your uniform harvest. If you leave pods on too long, the plant thinks its job is done!
- The How-To:
- Carrots: I loosen the soil around them carefully with a fork to avoid snapping the roots, then gently pull them up by the foliage.
- Potatoes: I use a potato fork, starting a good distance from the main stem to avoid spearing the tubers. I gently lift the whole plant and then sift through the soil for any stragglers. It's like a treasure hunt every time!
- Beans & Peas: Simply snap or cut the pods from the plant carefully to avoid damaging the stem.
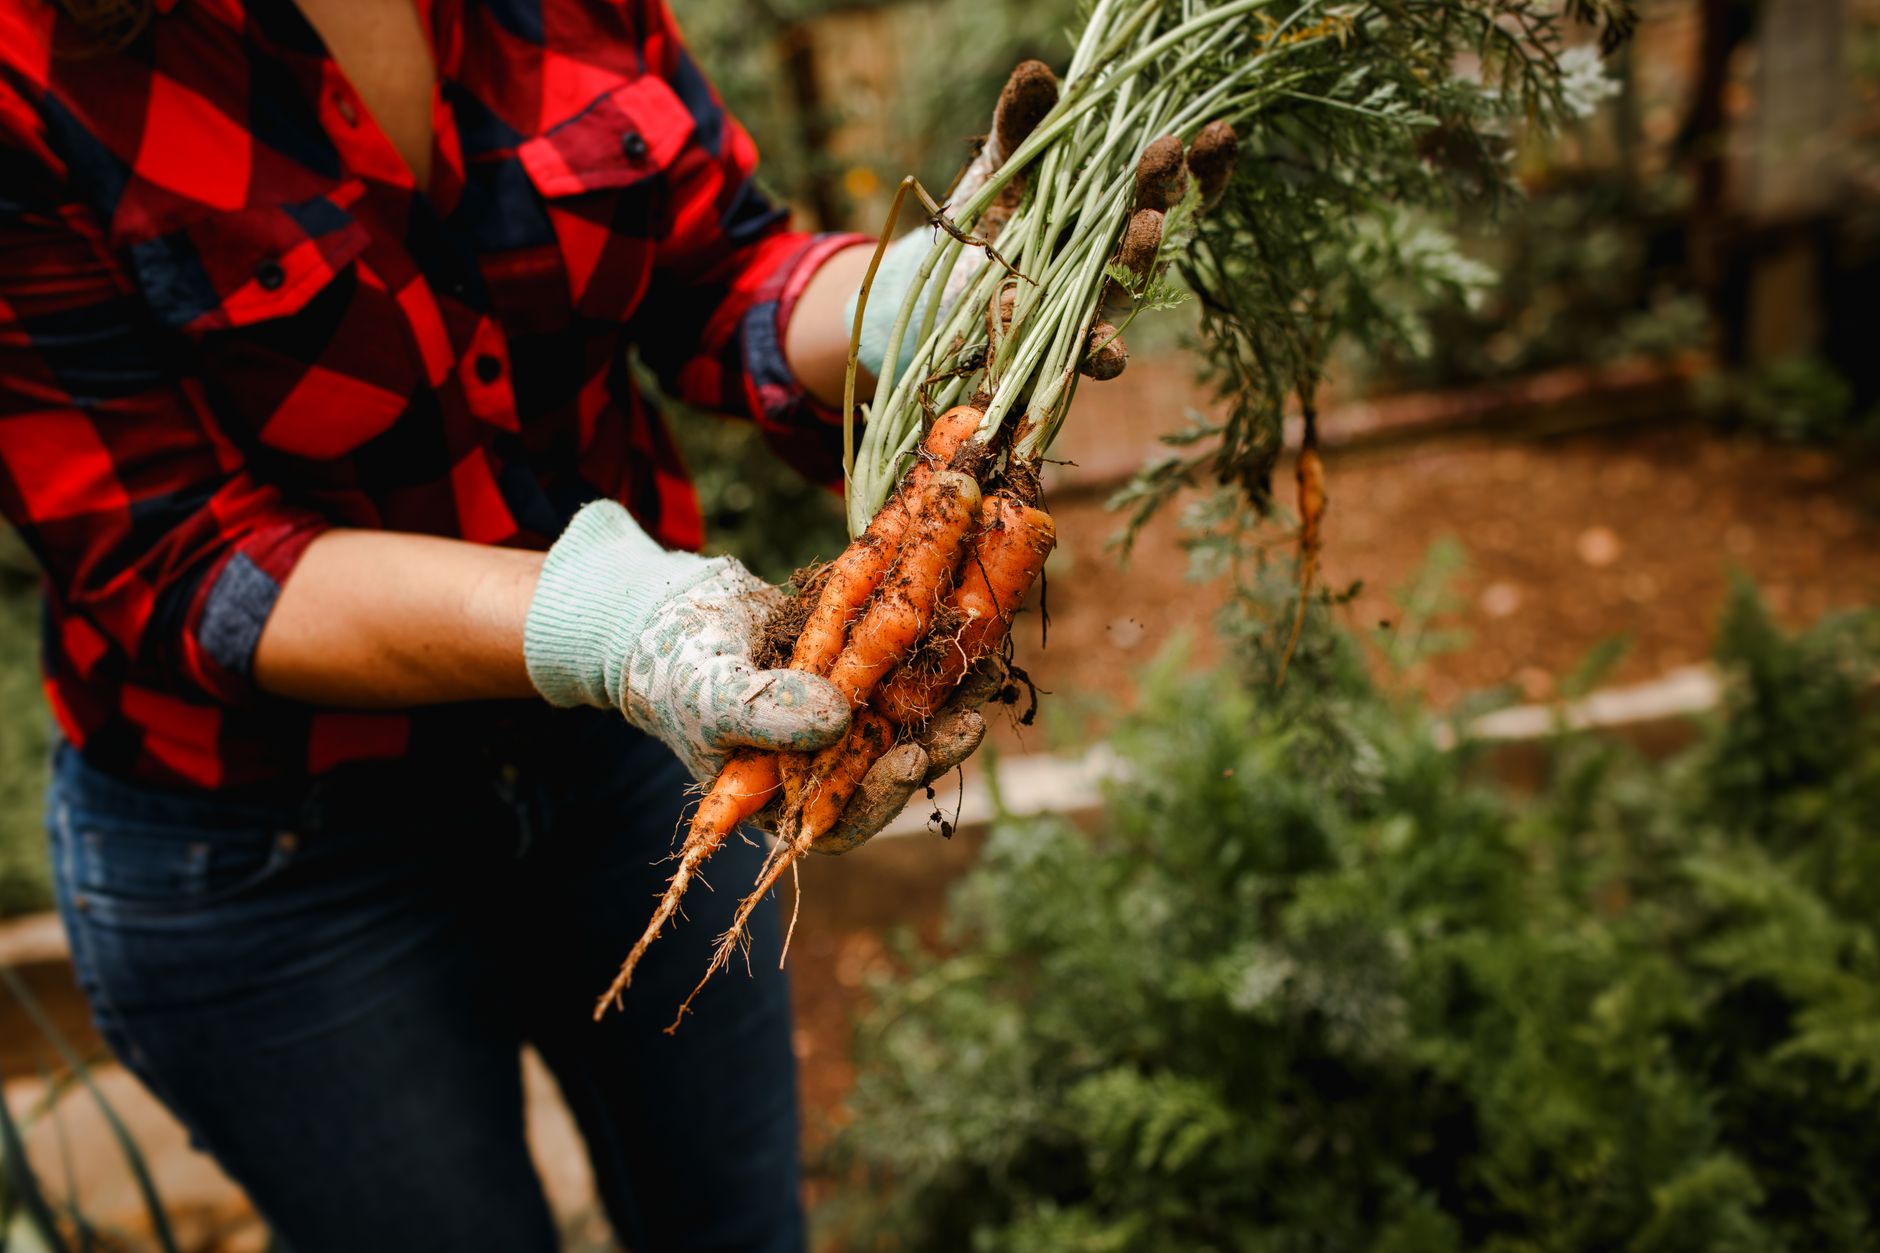
Initial Storage: Making it Last
Getting your produce into the right storage conditions immediately after harvest is vital.
- Carrots: Once harvested, I twist off the green tops (leaving them on draws moisture from the roots), brush off any excess soil (don't wash them yet!), and then store them in a cool, dark, slightly humid place. My small cellar is perfect, but a shed or garage works too. I sometimes layer them in sand or sawdust for longer keeping.
- Potatoes: This is where a little patience pays off. After harvesting, I 'cure' my maincrop potatoes for about 10-14 days in a cool, dark, well-ventilated spot. This allows any minor scrapes to heal and the skins to harden, significantly improving their storage life. After curing, I store them in hessian sacks or breathable boxes in a dark, cool, frost-free place to prevent greening (which makes them toxic) and sprouting.
- Beans & Peas: These are best eaten fresh, ideally within a day or two. If I have a gluttony of pods, my wife and I will blanch them quickly in boiling water, then plunge them into ice water before freezing them in batches. This way, we can enjoy our home-grown produce all year round.
Conclusion: The Predictable Harvest – A Gardener's Triumph
So there you have it, folks – my comprehensive guide to achieving uniform sizing and simultaneous ripening for batch harvesting in your own UK garden. When I first swapped my IT screen for a trowel five years ago, I never imagined I'd be obsessing over carrot spacing or potato hilling quite this much! But the satisfaction of digging up a perfect row of evenly sized carrots, or harvesting a whole bed of uniform potatoes ready for the kitchen, is truly unparalleled.
It boils down to three core principles: strategic thinning, consistent moisture, and targeted feeding. These aren't just abstract ideas; they are the practical levers you can pull, refined through years of trial and error in my 800 sq ft Midlands garden, to coax your plants into giving you their very best.
I've made my share of mistakes along the way – from planting too densely and getting a tangled mess, to forgetting to water during a dry spell and ending up with split carrots. The British weather, bless its cotton socks, has certainly thrown its share of curveballs too! But every 'failure' has been a lesson, pushing me to learn more, experiment further, and ultimately, become a better gardener.
This isn't about perfection; it's about predictability and maximising your yield with quality. It's about getting more out of your space and effort, whether you're feeding your family, stocking your larder, or simply revelling in the beauty of a well-grown crop.
I encourage you to take these strategies, adapt them to your own UK garden, and start experimenting. Pay attention to your soil, observe your plants, and don't be afraid to get your hands dirty. Gardening is a continuous journey of learning and discovery.
Have you tried these methods? What are your secrets for a uniform harvest in the UK climate? I'd love to hear your stories and tips in the comments below! Happy gardening, and here’s to many bountiful, predictable harvests!
