
Beyond pH: Why Understanding Soil Texture is Key to a Thriving UK Garden
When I first started gardening five years ago, fresh out of the IT world and knee-deep in soil here in my 800 sq ft Midlands backyard, I was obsessed with pH. I bought all the kits, tested every raised bed, and spent hours tweaking the acidity for my blueberries or liming for my brassicas. And don't get me wrong, pH is important – it dictates nutrient availability, and my 'Patriot' blueberries definitely sulk without that acidic kick. But after a couple of seasons of battling waterlogged roots in one bed and constantly watering bone-dry tomatoes in another, despite "perfect" pH, I had a revelation: pH is only half the story. The real game-changer for my UK garden, especially with our notoriously unpredictable British weather, was understanding soil texture.
I learned this the hard way, watching my beautiful 'Sungold' tomato plants (my absolute favourite heirloom variety for the greenhouse) succumb to blossom end rot because the water wasn't getting to them properly, even though I was watering diligently. Or seeing my outdoor 'Charlotte' potatoes struggle with scab in a patch that just wouldn't drain, no matter how much compost I dug in. What I realised was that the physical make-up of my soil – how much sand, silt, and clay it contained – fundamentally dictated its drainage, its ability to hold onto precious water during those unexpected dry spells, and even how well it retained the nutrients I worked so hard to add. Here in the UK, where we can go from a deluge to a drought in a single week, getting your soil texture right isn't just a nicety; it’s the bedrock of a thriving, resilient garden. This isn't about expensive lab tests; it's about getting hands-on and understanding your soil at a fundamental level.
The Jar Test: Unveiling Your Garden's Hidden Layers of Sand, Silt, and Clay
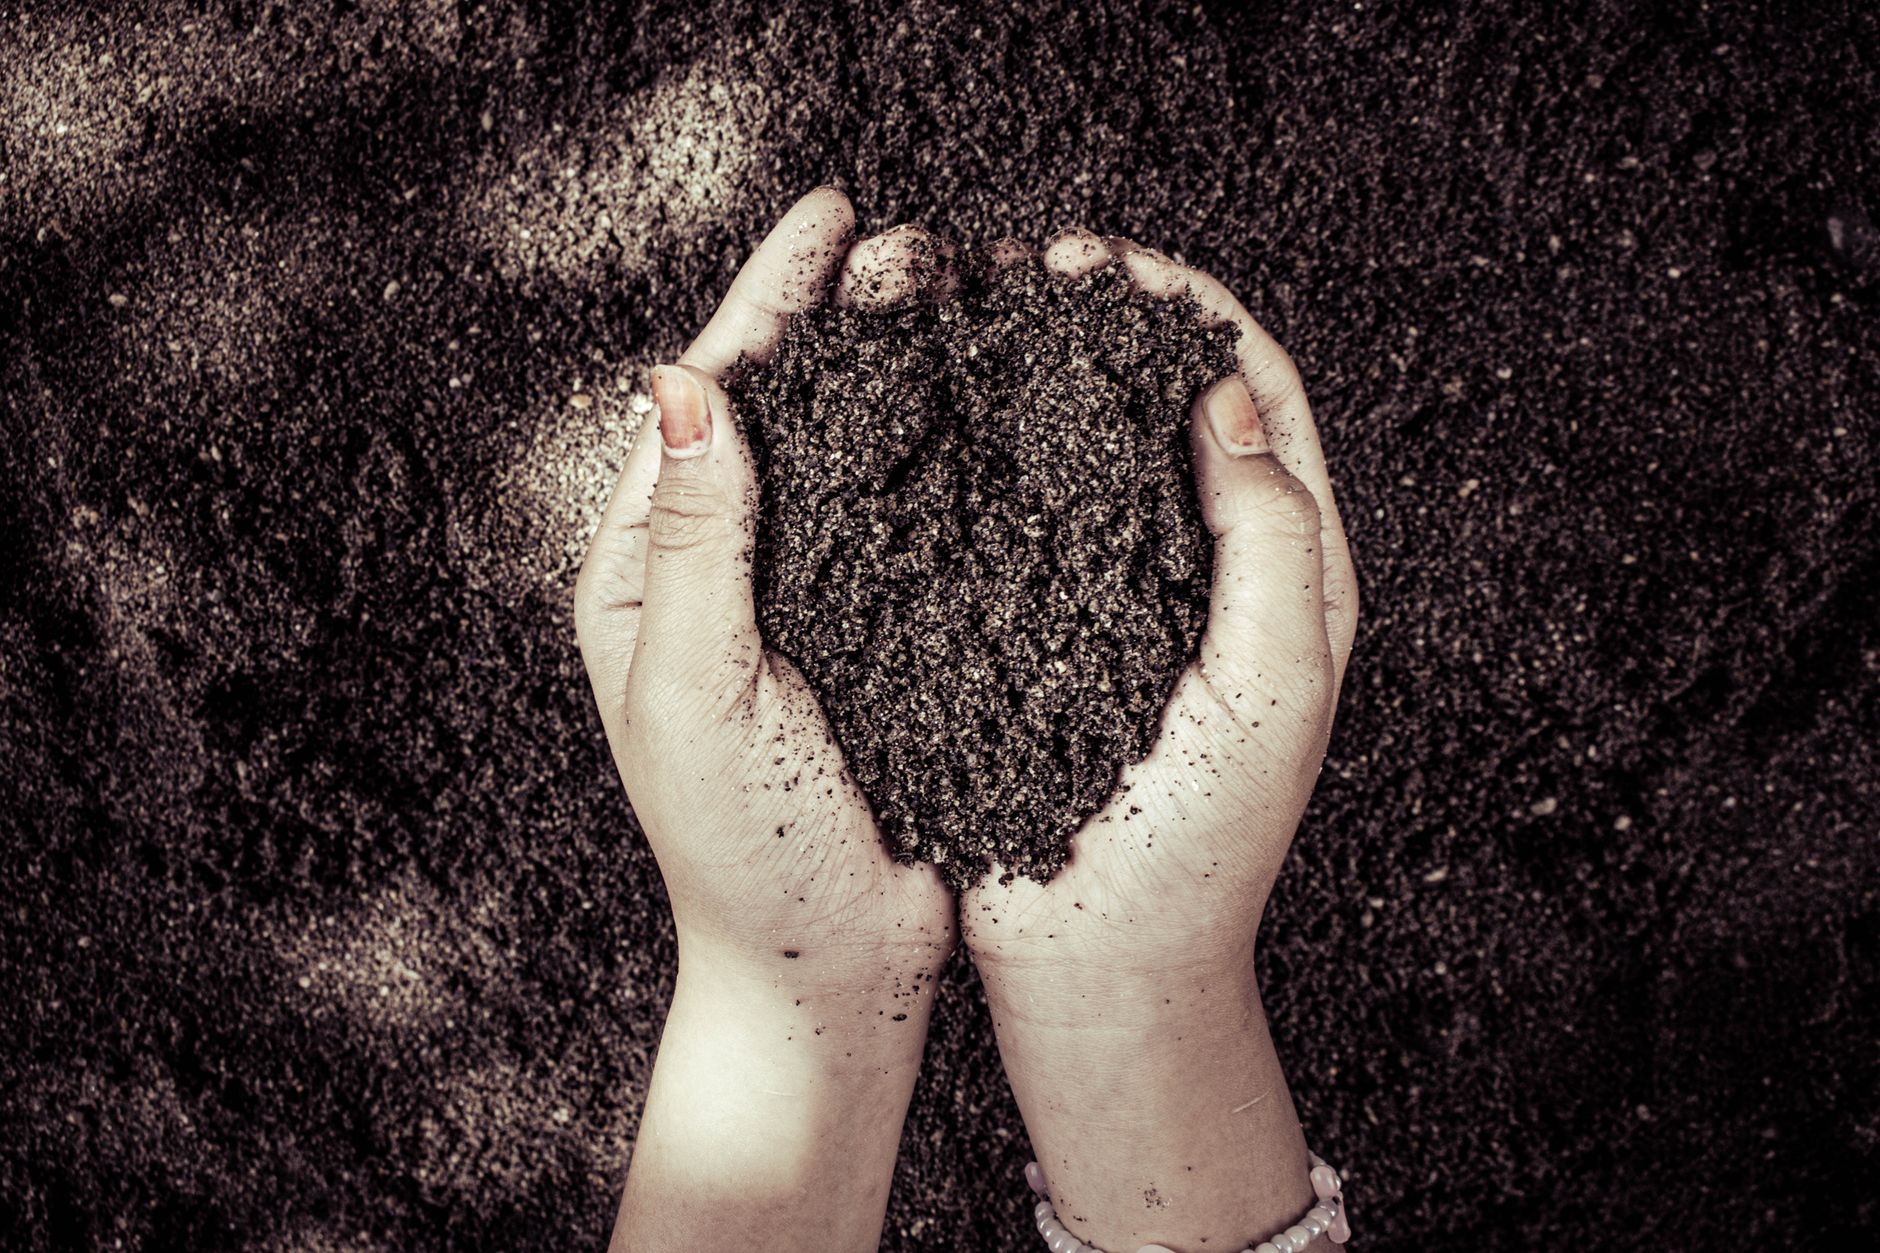
So, if soil texture is so crucial, how do we figure out what kind of soil we actually have? Forget the fancy gadgets for a moment. One of the simplest, most effective methods I've found – and one that's been a game-changer for my 800 sq ft garden – is the humble Jar Test. It’s a bit like a science experiment you might have done at school, but with far more exciting results for us keen gardeners. I remember stumbling across this simple test a few years back, skeptical at first, but the results were so clear and so useful that I now recommend it to every UK gardener I meet.
The Jar Test essentially lets gravity do the work. You mix a soil sample with water in a clear jar, give it a good shake, and then let it settle. Because sand, silt, and clay particles are all different sizes and densities, they settle at different rates. The heaviest, largest particles – sand – drop first. Then comes the medium-sized silt. Finally, the tiniest, lightest clay particles take the longest to settle, often leaving the water cloudy for hours. What you're left with are distinct layers, a visual representation of the exact proportions of sand, silt, and clay in your garden's soil. It’s a fascinating insight into the hidden structure beneath your plants and provides the foundation for making informed decisions about improving your soil.

DIY Soil Analysis: Performing the Jar Test for UK Gardeners
Ready to get your hands a little dirty? Good! This is one of those incredibly satisfying DIY gardening tasks that yields tangible results. I've done this test countless times for my various raised beds, my main vegetable patch, and even specific spots in the greenhouse where my heirloom tomatoes like 'Brandywine' and 'Black Krim' thrive (or sometimes struggle, depending on the year and the soil!).
Here's how I go about performing the Jar Test in my UK garden:
What You'll Need:
- A clear, straight-sided jar with a lid: A jam jar or a large pickle jar works perfectly. I usually grab a few different sizes.
- A soil sample: This is crucial, so read on for details.
- Water: Tap water is fine.
- Washing-up liquid (optional, but recommended): Just a tiny drop helps break down soil clumps.
- A ruler or measuring tape: To measure your layers.
- A permanent marker: To mark the layers on your jar.
Step-by-Step Guide:
Collecting Your Soil Sample: This is perhaps the most important step for accurate results.
- Where to Sample: Don't just grab a handful from the surface. You want to understand the root zone. I usually dig down about 15-20cm (6-8 inches) – roughly the depth of a spade – in the area I want to test. If you have different growing areas (like a raised bed versus an in-ground patch, or even different sections of a large bed), take separate samples. I often take a sample from my dedicated brassica bed, another from where my potatoes usually go, and one from a corner of the greenhouse.
- Remove Debris: Make sure your sample is pure soil. Pick out any large stones, roots, worms, or undecomposed organic matter. We want to test the mineral components of the soil.
- Amount: You'll need enough soil to fill your jar about one-third to half full.
Preparing the Jar:
- Add Soil: Pour your cleaned soil sample into the clear jar until it's about 1/3 to 1/2 full.
- Add Water: Gently pour water into the jar until it's nearly full, leaving about an inch or two of airspace at the top.
- Add Washing-up Liquid (Optional but recommended): Add just a single drop of ordinary washing-up liquid. This acts as a dispersing agent, helping to separate the individual soil particles, especially stubborn clay. Don't add more, or you'll get too many bubbles!
Shake it Up!
- Secure the lid tightly on your jar.
- Now, shake it vigorously for a good 2-3 minutes. You want to ensure all the soil particles are completely suspended in the water. I really go for it, imagining I'm mixing a particularly potent compost tea!
Wait for Sedimentation:
- Place the jar on a level surface where it won't be disturbed.
- After 1 minute: The heaviest sand particles will have settled at the bottom. Use your permanent marker to draw a line on the outside of the jar to mark the top of the sand layer.
- After 2-4 hours: The silt layer will have settled on top of the sand. Mark the top of this layer.
- After 24-48 hours (or even longer for very clayey soils): The clay particles will finally settle, forming the top layer. The water above might still be slightly cloudy, especially with high clay content, but the layer itself should be visible. Mark the top of the clay layer. For truly accurate clay readings, sometimes I leave it for a full week, especially if the water is still murky after 48 hours.
Measure and Calculate:
- Once all the layers are clearly defined, use your ruler to measure the height of each individual layer (sand, silt, clay) in millimetres.
- Then, measure the total height of all the settled soil layers combined.
- Calculate Percentages:
- (Height of Sand Layer / Total Soil Height) x 100 = % Sand
- (Height of Silt Layer / Total Soil Height) x 100 = % Silt
- (Height of Clay Layer / Total Soil Height) x 100 = % Clay
Take detailed notes for each sample you test. I keep a little gardening journal, and these soil test results are invaluable for tracking changes over time and planning my amendments.
Decoding Your Soil: What Your Jar Test Layers Reveal About Texture and Type
So, you've got your percentages – now what? This is where the real fun begins and where my former IT brain kicks in for a bit of data interpretation! Understanding these proportions is like getting a secret decoder ring for your garden. Each of these three particle types behaves very differently, and their combination dictates how your soil functions.
- Sand: The largest particles. Think of tiny rocks. Sandy soils drain very quickly, warm up fast in spring (great for early crops here in the UK!), but struggle to hold onto water and nutrients. My 'Autumn King' carrots love the sandy loam I've cultivated in one bed, but my hungry 'Moneymaker' tomatoes would starve in it.
- Silt: Medium-sized particles, feeling smooth and floury. Silty soils generally have good water retention and drainage, and are often quite fertile. They can compact easily if walked on when wet, which I've found to my cost in my main veg patch after a good Midlands downpour.
- Clay: The smallest particles, feeling sticky when wet and hard when dry. Clay soils hold water and nutrients incredibly well, but they drain slowly, warm up slowly in spring, and can become heavy, dense, and waterlogged, especially in our damp British winters. My first attempts at growing potatoes in a very clay-heavy patch resulted in scabby, waterlogged spuds – a valuable lesson!
The ideal soil texture for most plants is called loam. Loam is a balanced mix of all three – roughly 40% sand, 40% silt, and 20% clay, though these percentages can vary. It offers the best of all worlds: good drainage, excellent water retention, aeration for roots, and nutrient-holding capacity. While achieving perfect loam everywhere might be a lifelong quest, knowing your starting point allows you to amend your soil intelligently.
Here's a breakdown of what your jar test results likely mean for your UK garden, along with some of the challenges I've personally faced and how I've tackled them:
| Soil Type | Jar Test Appearance (Dominant Layer) | Water Drainage | Water Retention | Nutrient Retention | Aeration | Workability (Randy's Experience) | Challenges in UK Garden (Randy's POV) | Optimisation Tips for UK Conditions (What Randy Does) | Poor (often) | Clay-rich (often >40%) | Very slow | Excellent | Excellent | Poor | Difficult (Heavy) | Waterlogging during wet UK winters, slow warming in spring, difficult to work when wet, poor root development, often too dense for many vegetables unless heavily amended.
5. The Ribbon Test: A Hands-On Method to Confirm Your Soil's Texture
Now, the jar test is brilliant for giving us a scientific breakdown of our soil, but sometimes you need a quick, dirty (literally!) test out in the garden itself. That’s where the ribbon test comes in. It’s a fantastic, tactile way to confirm what your jar test told you, or to quickly assess different spots in your garden when you’re planning new beds or planting specific crops. I use this all the time, especially when I'm out in the greenhouse deciding where my 'Moneymaker' tomatoes will go versus the 'San Marzano' ones, as they can have slightly different preferences.
Performing the Ribbon Test
- Grab a Handful: Take a small amount of soil from the top 10-15cm (4-6 inches) of your garden bed. Make sure it's damp, but not soaking wet. If it's too dry, add a few drops of water and knead it until it's workable. If it’s too wet, let it air dry a little.
- Form a Ball: Roll the soil between your palms to form a small ball, about the size of a golf ball. Does it hold together? Great.
- Create the Ribbon: Place the ball of soil between your thumb and forefinger. Gently push the soil upwards with your thumb, trying to form a flat, even ribbon. The key here is how long and strong that ribbon is before it breaks.
What Your Ribbon Reveals
- Sandy Soil: If your soil is very sandy, it won't form a ribbon at all. It'll just crumble and fall apart as soon as you try to press it out. You’ll feel that distinct gritty texture immediately. I remember trying this on a patch near my fence when I first started, and it was like trying to ribbon a pile of sugar – impossible!
- Silty Soil: Silty soil will form a short, often fragile ribbon, usually less than 2.5cm (1 inch) long. It'll feel smooth, almost like talcum powder, but without the grittiness of sand or the stickiness of clay. It might feel a bit greasy when wet.
- Loamy Soil: Ah, the sweet spot! Loamy soil will form a moderate ribbon, typically between 2.5-5cm (1-2 inches) long. It will hold together well, but it won't be overly sticky. When you feel it, you'll notice a mix of textures – a little gritty from the sand, a little smooth from the silt, and a slight plasticity from the clay. This is what I strive for in my main raised beds for my brassicas and climbing beans.
- Clayey Soil: Clay soil is the ribbon champion! It will form a long, strong, continuous ribbon, often more than 5cm (2 inches) long, without breaking. It will feel very smooth and sticky, and you'll find it quite pliable. If you've got clay, you'll know it from this test – it's unmistakable! My unamended greenhouse soil used to be like this; a real challenge.
Here’s a quick comparison table to help you put both tests into perspective:
| Soil Type | Jar Test Layers (Approx. Percentages) | Ribbon Test Characteristics | My UK Garden Experience & What It Means |
|---|---|---|---|
| Sandy | >70% Sand, <15% Silt, <10% Clay | Crumbly, won't form a ribbon, very gritty feel. | Drains too fast, needs tons of organic matter to hold water/nutrients. Good for early potatoes. |
| Silty | >50% Silt, <50% Sand, <20% Clay | Forms a short (<2.5cm), fragile ribbon; smooth, powdery feel. | Holds water well but can compact easily. My herb bed benefits from regular compost. |
| Loamy | Roughly equal parts Sand, Silt, Clay | Forms a moderate (2.5-5cm) ribbon; slightly gritty, slightly smooth, pliable. | The ideal! Excellent drainage and water retention. My main veg beds are here. |
| Clayey | >40% Clay, <45% Sand, <40% Silt | Forms a long (>5cm), strong, sticky ribbon; very smooth, plastic. | Poor drainage, slow to warm up. Requires heavy amending with grit and organic matter to be productive. |
6. Optimising Your UK Garden: Tailoring Drainage and Amendments to Your Soil Texture
Understanding your soil's texture isn't just an academic exercise; it's the bedrock of successful gardening, especially here in the often-unpredictable UK climate. Now that you know what you're working with, it's time to put that knowledge into action and tailor your approach. This is where the real fun begins – experimenting and seeing the results!
Sandy Soil Strategies (The Quick Drainers)
If your jar test showed a large sand layer and your ribbon test crumbled, you've got sandy soil. The biggest challenge with sandy soil in the UK is that it drains incredibly quickly. While this prevents waterlogging, it also means nutrients wash away easily, and plants can suffer from drought even after a decent shower.
- My Fix: The absolute key here is organic matter. I can't stress this enough. For my sandy patch where I grow my early potatoes ('Accent' and 'Charlotte' are favourites), I dig in a good 10-15cm (4-6 inches) layer of well-rotted compost and manure every autumn. This acts like a sponge, holding onto moisture and nutrients.
- Watering: You'll need to water more frequently, but often with less volume, to keep plants hydrated without wasting water. I use drip irrigation in these areas to deliver water directly to the root zone.
- Plant Choices: Sandy soil is excellent for root vegetables like carrots, parsnips, and radishes, as their roots can easily penetrate the loose soil. Mediterranean herbs like rosemary, lavender, and thyme also thrive in well-drained conditions.
Silty Soil Strategies (The Smooth Operators)
Silty soil feels lovely and soft, but it can be a bit of a Jekyll and Hyde. It holds water well, which is great, but it can also compact easily, especially after heavy rain or if you walk on it. This compaction can lead to poor drainage and crusting on the surface.
- My Fix: Again, organic matter is your best friend. A yearly top-dressing of compost will help improve the soil structure, preventing compaction and encouraging better drainage. I've found that in my herb bed, which leans silty, a good mulch of leaf mould in spring keeps the surface open and happy for my mint and chives.
- Cultivation: Avoid walking on silty beds as much as possible, and practise minimal tillage to maintain that delicate structure.
- Drainage: If drainage is still an issue, especially in a particularly wet Midlands winter, incorporating some coarse grit or building raised beds can help lift plants out of the potential bog.
Clayey Soil Strategies (The Heavyweights)
If your soil formed a long, strong ribbon, you're dealing with clay. This is a common situation across much of the UK, and it presents challenges: poor drainage, slow warming in spring, and becoming rock-hard when dry. My greenhouse soil was like this when I first started – a real nightmare for my 'Black Krim' tomatoes!
- My Fix: Clay soil needs a serious intervention, but it’s incredibly fertile once improved. You need to focus on breaking up that dense structure. I spent my first two autumns digging in huge amounts of coarse horticultural grit (not building sand, which can actually make it worse!) and well-rotted horse manure into my main veg beds. This dramatically improved drainage and aeration.
- Organic Matter: Alongside the grit, regular, generous applications of compost and well-rotted manure are essential. They create aggregates in the soil, improving its structure over time. For my greenhouse tomatoes, I now use a mix that's at least 30-40% compost to ensure excellent drainage in pots and beds.
- Timing: Work clay soil only when it's moist – never when it's soaking wet (you'll create concrete) or bone dry (you'll break your back and achieve little). I learned this the hard way trying to dig a new path after a typical British downpour – it was like wrestling with sticky treacle!
- Raised Beds: For challenging clay, raised beds are a game-changer. They allow you to create an ideal soil mix from scratch and elevate your plants above soggy conditions.
Loamy Soil (The Goldilocks Zone)
If your jar test showed roughly equal layers and your ribbon was moderate, congratulations, you've got loamy soil! This is the gardener's dream – it offers a good balance of drainage and water retention, is typically fertile, and is easy to work.
- My Fix: Even with fantastic loam, don't rest on your laurels! Regular additions of organic matter are still vital to maintain that excellent structure and feed the incredibly complex soil food web. I add a couple of inches of my homemade compost to all my loamy beds every spring and autumn. It's like a multi-vitamin for the soil, keeping everything ticking over for my 'Sungold' cherry tomatoes and 'Caledonian' kale.
- Observation: While less problematic, still observe your plants. If they're struggling, check for signs of compaction or nutrient deficiencies.
7. Beyond the Tests: Long-Term Soil Health for Resilient UK Gardens
Understanding your soil texture with the jar and ribbon tests is a fantastic first step, but remember, soil is a living, breathing ecosystem, not a static entity. True soil mastery, especially in our often-challenging British climate, comes from nurturing its long-term health. These tests are snapshots; long-term care is the movie.
The Power of Ongoing Organic Matter
This is my mantra, folks. If there's one thing I've learned in my five years of intensive gardening here in the Midlands, it's that organic matter is the single most important amendment you can add to any soil type.
- For sandy soil: It acts as a sponge, holding onto precious water and nutrients.
- For silty soil: It binds particles, preventing compaction and improving drainage.
- For clayey soil: It breaks up the heavy structure, creating air pockets and allowing roots to penetrate more easily.
- For loamy soil: It maintains that perfect balance, continuously feeding beneficial microbes and supporting healthy plant growth.
I make my own compost from kitchen scraps and garden waste religiously – it's gold for my UK garden. I also collect leaf mould in autumn, which is amazing for opening up heavy clay or adding structure to sand. Every single bed, without fail, gets a generous top-dressing every year.
Embracing No-Dig or Minimal Disturbance
Over the last three years, I've been shifting more and more towards a no-dig approach in my raised beds. This means disturbing the soil as little as possible. Why? Because digging disrupts the delicate soil structure and the incredible network of fungi and microorganisms that are essential for plant health.
By simply layering organic matter on top, I'm letting nature do the work. It's been a game-changer for reducing compaction, especially with our unpredictable British rainfall, and has noticeably increased the worm activity in my beds. Happy worms mean healthy soil!
The Role of Green Manures and Cover Crops
When a bed is empty for a season or over winter, I often sow a green manure. These are plants like crimson clover, field beans, or vetch that you grow specifically to improve the soil.
- Benefits: They protect the soil from erosion and nutrient leaching during our wet winters, add nitrogen (especially legumes), break up compacted soil with their roots, and when you cut them down and leave them on the surface (or lightly incorporate them), they add a huge boost of organic matter. I particularly love using them in areas I'm resting after a hungry crop like my greenhouse tomatoes.
The Ultimate Tool: Observation
Ultimately, the jar test and ribbon test are fantastic starting points, but your eyes, hands, and the plants themselves are your best guides.
- Look for signs: Does water sit on the surface after rain? Are your plants struggling despite adequate feeding? Are there many worms and other soil life, or does it feel lifeless?
- Respond to the weather: After a particularly wet week in the Midlands, I'm always out checking my beds for signs of waterlogging. Or after a dry spell, how quickly do they dry out, and what does the soil surface look like? Our UK weather keeps us on our toes, and constant observation helps you react effectively.
Conclusion: A Journey with Your Soil
Mastering your garden's soil texture might sound a bit daunting, but it's one of the most empowering things you can do as a gardener. It moves you from guessing to truly understanding the foundation of your plant's health. The jar test gives you the blueprint, the ribbon test offers a quick confirmation, and the ongoing work of adding organic matter and observing your garden fills in all the vibrant details.
I've made countless mistakes in my 800 sq ft Midlands garden – planting water-loving veg in sandy spots, trying to dig clay when it was too wet, you name it! But each one was a lesson, pushing me to learn more about my soil. Gardening is a journey, not a destination, especially here in the UK with our glorious, challenging weather!
So, grab a jar, get your hands dirty, and start a conversation with your soil. You'll be amazed at what it tells you and how much more successful and resilient your garden becomes. Happy gardening, fellow UK soil whisperers!
