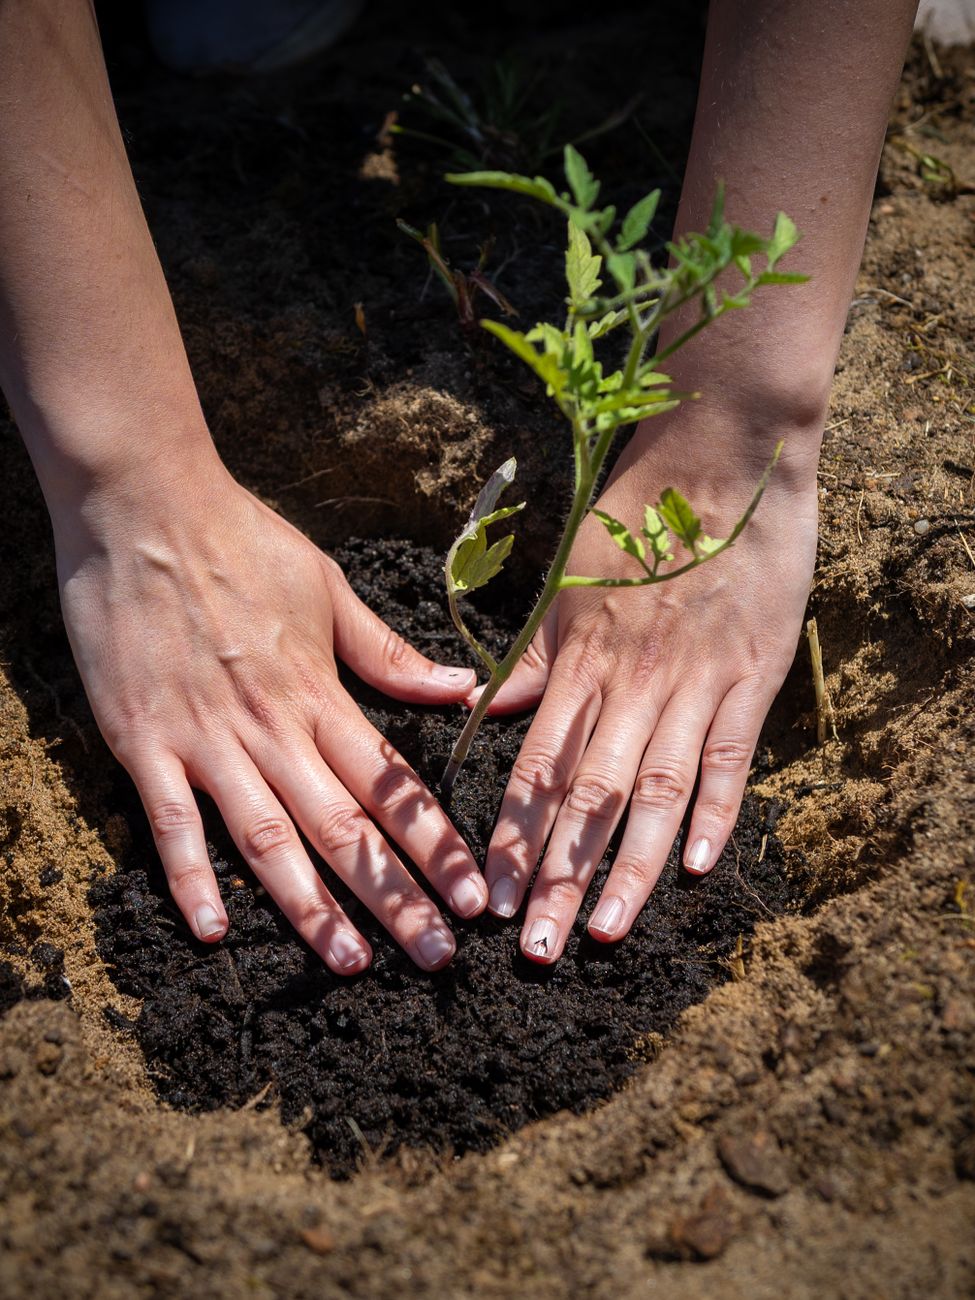
Beyond the Snip: Why Deep Planting & Trenching Are Your Secret Weapons for Robust Plants
Alright, fellow UK gardeners! Randy here from my 800 sq ft patch in the Midlands. We all know the thrill of seeing those tiny seedlings emerge, right? But then comes the inevitable – those leggy little things, stretching for light, looking a bit weak and wobbly, especially if our British spring has been a bit gloomy. For years, like many of you, my first thought was always "pruning." Snip, snip, trying to encourage bushiness from the top. And don't get me wrong, pruning has its place, particularly for tomatoes. But I've learned, often the hard way through trial and error in my own garden, that focusing solely on the top of the plant is missing a huge trick.
When I first started gardening five years ago, fresh out of the IT world and full of textbook knowledge, I struggled with the sheer unpredictability of our climate. My greenhouse tomatoes would often put on a growth spurt, then get hit by a cold snap, or my outdoor peppers would just sit there, looking forlorn and thin-stemmed, easily knocked about by a blustery August day. I tried all sorts of support, but it felt like I was constantly propping up weaklings. It was frustrating, and honestly, a bit disheartening when you've poured so much effort into them.
The real breakthrough for me came when I started looking below the soil line. I realised that the true secret to robust, resilient, and ultimately more productive plants – especially here in our often-challenging UK conditions – lies in their root systems. That's where deep planting and strategic trenching come in. These aren't just fancy terms; they are practical, hands-on techniques I've refined in my own garden that have transformed my yields, turning those gangly seedlings into strong, independent plants ready to face whatever our British weather throws at them. Forget just the snip; let's talk about building an unshakeable foundation.
The Power of Adventitious Roots: Unlocking Plant Potential for UK Gardeners
So, what exactly are we trying to achieve with deep planting and trenching? It all boils down to something rather clever called 'adventitious roots'. Now, don't let the fancy name put you off; it's simpler than it sounds and an absolute game-changer for us home growers. Adventitious roots are essentially roots that develop from non-root tissue – in our case, from the plant's stem. When you bury a stem that typically grows above ground, certain plants have this incredible ability to sprout new roots directly from that buried section.
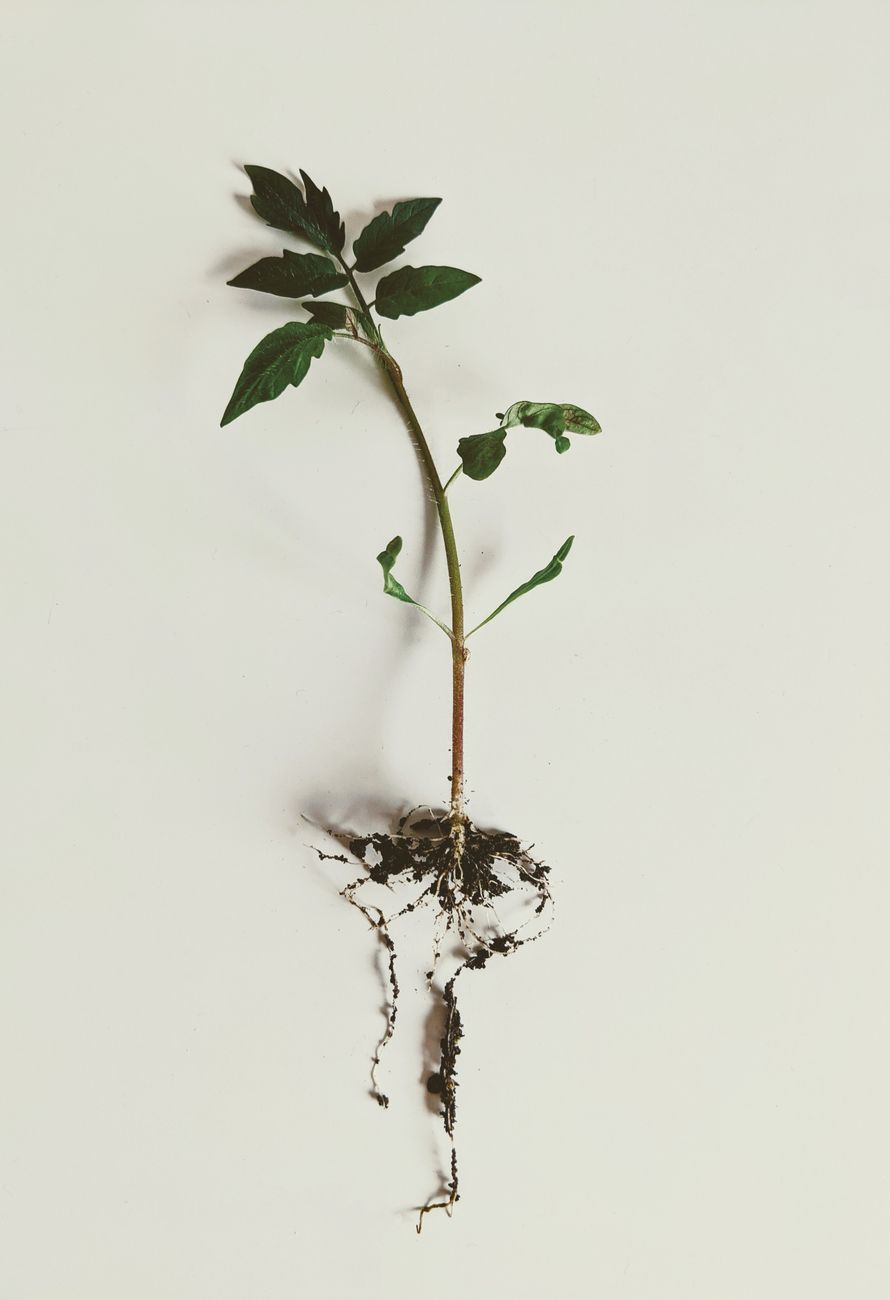
I first truly appreciated this phenomenon a few years back when I accidentally buried a bit too much of a 'Black Krim' tomato stem in one of my raised beds. I was in a hurry, probably trying to beat a sudden downpour (classic Midlands weather!), and didn't think much of it. A few weeks later, when I was checking on its progress, I noticed a dense network of fine, white roots erupting from the buried stem. It was a proper "aha!" moment. That plant, despite being slightly leggy to start, powered through the season, standing taller and producing more fruit than some of its neighbours.
Why is this a big deal for us UK gardeners? More roots mean more of everything good! They dramatically increase the plant's ability to absorb water and nutrients from the soil, making them much more resilient during those unexpected dry spells we often get in summer. Crucially, a larger, deeper root mass also provides superior anchorage. Here in the Midlands, we get our fair share of blustery winds, and there's nothing worse than seeing a heavily laden tomato plant snap or keel over. Strong adventitious roots mean your plants are literally more grounded, better able to withstand our changeable British climate. It's unlocking an incredible potential that's often overlooked.
Deep Planting for Tomatoes: A Step-by-Step Guide for Stronger Stems & Bigger Harvests
When it comes to encouraging adventitious roots through deep planting, tomatoes are the undisputed champions. Their stems are incredibly eager to produce new roots when buried, which is why this technique is so effective for them. I've grown everything from 'Shirley' and 'Sungold' in my greenhouse to 'Moneymaker' and 'Gardener's Delight' outdoors for the past five years, and deep planting has consistently given me stronger, more productive plants.
Here's my tried-and-tested method, perfect for our UK growing conditions, whether you're planting into a raised bed, a large pot, or directly into the greenhouse border:
- Prepare a Deep Hole: Forget shallow holes. For a tomato plant, I dig a hole that's at least twice as deep as the pot it's currently in, and just as wide. The goal is to bury a significant portion of the stem.
- Strip the Lower Leaves: This is a crucial step I learned the hard way. Carefully pinch off or snip any leaves that will be below the soil line. Leaving them on can lead to rot and disease, especially in our often damp UK summers. I aim to remove leaves up to about 10-15cm (4-6 inches) up the stem, sometimes more if the plant is particularly leggy.
- Bury Deep: Gently place your tomato plant into the hole, ensuring that at least two-thirds of the stem (the part you've stripped of leaves) is below the soil surface. You'll only leave the top few sets of leaves exposed. This might look a bit drastic initially, but trust me, it's worth it.
- Backfill and Firm: Carefully backfill the hole with good quality compost, gently firming the soil around the buried stem to remove any large air pockets.
- Water In Thoroughly: Give it a really good drink immediately after planting. This helps settle the soil around the new root zone and kick-starts that adventitious root development.
- Early Staking: Because you've buried so much of the stem, the plant might seem a bit wobbly at the top. I always put a sturdy stake in at the time of planting (to avoid damaging new roots later) to provide immediate support.
Randy's UK Specific Tips:
- Timing: Here in the Midlands, I usually aim for late May/early June for outdoor planting, once the risk of late frosts has truly passed. For greenhouse tomatoes, I'm often planting in April or early May, but I still follow the deep planting rule.
- Compost Quality: Invest in a good quality peat-free compost, enriched with a slow-release fertiliser, especially if you're planting into pots. Our UK soil can be quite heavy, so amending it with compost for better drainage and nutrients is always a good shout.
- Greenhouse Advantage: In a greenhouse, the soil is generally warmer, which can accelerate adventitious root formation. Don't skip this step even there!
One mistake I made in my earlier gardening days was not removing enough leaves. A particularly wet August in my Midlands garden led to some stem rot where buried leaves started to decompose. Learn from my errors – strip those lower leaves!
Here's a quick comparison of planting methods for tomatoes:
| Method | Pros (for UK conditions) | Cons (for UK conditions) | Best For... |
|---|---|---|---|
| Standard Planting | Quick, less initial effort. | Weaker root system, less stable in wind, prone to legginess, especially in dull UK spring. | Established plants with robust root balls, or if you're really short on time (though not recommended for tomatoes). |
| Deep Planting | Encourages strong adventitious roots, greater stability against UK winds, improved nutrient/water uptake. | Requires deeper holes, can be slower initial above-ground growth as energy goes to roots. | Tomatoes, some bush peppers, and other plants that readily form adventitious roots, especially when starting leggy. |
| Trench Planting | Maximises root growth on very leggy plants, excellent for warming soil in cooler UK springs. | More labour intensive, greater soil disturbance, can initially look a bit odd. | Very leggy annuals (peppers, peas), plants needing horizontal root spread, or in cooler UK soils needing heat absorption. |
Trenching Techniques for Leggy Peppers, Peas & Other Annuals: Maximising Root Zone
While deep planting works wonders for tomatoes, sometimes you have a plant that's just ridiculously leggy, or perhaps one that doesn't form adventitious roots quite as readily from a deeply buried vertical stem. This is where trenching comes into its own. I've found it particularly effective for my peppers, especially varieties like 'Hungarian Hot Wax' or 'Sweet Banana' which can get incredibly stretched if I start them too early indoors without enough light (a common predicament for us UK growers!). It also works a treat for leggy peas and even some flowering annuals.
The beauty of trenching is that it allows you to bury a long, spindly stem horizontally, encouraging roots to form along its entire length, and giving the plant a much broader, stronger base. It also helps to get more of the stem into the warmer upper layers of our often-cold spring soil, which is a huge bonus here in the Midlands.
Here's how I approach trench planting in my garden:
- Dig a Shallow Trench: Instead of a deep hole, you'll dig a shallow trench. For a leggy pepper plant, I'd aim for a trench about 5-10cm (2-4 inches) deep and long enough to accommodate most of the stem – typically 30-40cm (12-16 inches).
- Prepare the Plant: Just like with deep planting, carefully remove all leaves from the portion of the stem that will be buried. This is crucial to prevent rot.
- Lay the Plant Horizontally: Gently lay your leggy plant into the trench. You'll want to carefully bend the top 1/3 (or so) of the plant upwards so it's pointing skyward. Be gentle – you don't want to snap the stem!
- Bury the Stem: Backfill the trench with soil, covering the horizontally laid stem. Ensure the upright tip is well-supported and standing proud.
- Water and Mound: Water thoroughly to settle the soil. Sometimes I'll create a slight mound over the buried stem to help with drainage and further warm the soil.
Randy's UK Specific Tips:
- Soil Warming: Trenching helps warm the soil around a larger area of the stem. Our British spring soils can be stubbornly cold, so this extra surface area exposure to sun can really kick-start root development where it matters.
- Peas: I've had great success trenching leggy pea seedlings (like 'Feltham First' or 'Ambassador') in early spring. It really anchors them against our blustery April showers and gives them a fantastic start, often outperforming traditionally planted ones.
- Protection: For trenching outdoor peppers, especially early in the season, consider using cloches or horticultural fleece to provide extra warmth and protection from our unpredictable spring weather.
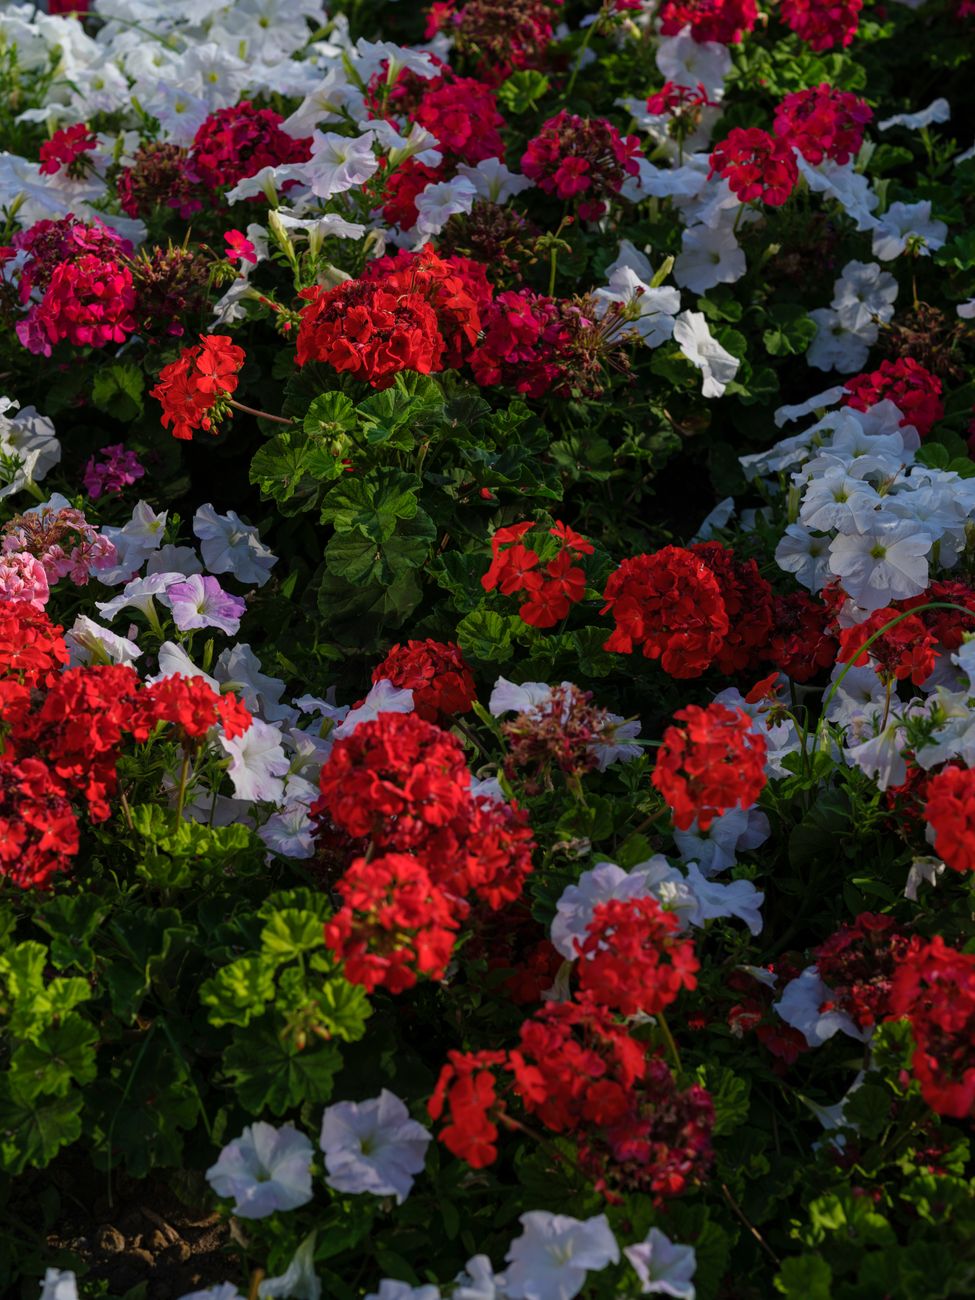
- Other Annuals: Don't limit this to just veggies! If you have leggy cosmos, marigolds, or even zinnia seedlings, trenching can give them a much-needed boost, leading to bushier, more stable plants that are less likely to flop over later in the summer.
One mistake I made when I first started trenching was burying too much of the top growth. The plant then spent too much energy trying to push new leaves up, rather than focusing on root development. Leave a good amount of the existing top growth exposed and pointing upwards – it just needs a little curve!
Nurturing New Roots: Optimal Soil Prep & Ongoing Care for Deep-Planted UK Vegetables
So, you’ve got your plants tucked in nice and deep, whether it’s a leggy tomato up to its armpits or a trench full of pepper seedlings. Now, for those adventitious roots to truly thrive and give you the robust plants you’re dreaming of, the right soil preparation and ongoing care are absolutely crucial. It's not just about getting them in the ground; it's about giving them the best possible start in our often-challenging UK climate.
Getting the Foundation Right: Soil Prep is King
In my 800 sq ft Midlands garden, I’ve learned that good soil is the backbone of everything. For deep planting, where you’re encouraging a whole new root system to form, the soil around those buried stems needs to be absolutely spot on.
Firstly, drainage is paramount. Our British summers, as we all know, can swing from glorious sunshine to days of relentless rain. If your soil gets waterlogged, those new adventitious roots will simply rot before they even get a chance to establish. For my raised beds, I always ensure a good mix of my homemade compost and some well-rotted manure, which helps break up any heavier clay. If I’m planting directly into the ground, especially in areas I know are a bit heavier, I’ll dig the trench or hole deeper than needed and add a good layer of coarse grit or even some chunky composted bark at the very bottom before backfilling with my improved soil mix. I learned this the hard way one spring when a week of solid rain drowned a whole row of trench-planted peas; the soil was just too dense.
Secondly, you want to provide a gentle, slow-release nutrient boost. Those new roots are going to be hungry! My go-to is always a generous helping of well-rotted garden compost – I make my own from kitchen scraps and garden waste, and it’s the unsung hero of my garden. It’s full of beneficial microbes and provides a steady supply of nutrients without overwhelming delicate new growth. For my greenhouse tomatoes, I'll also add a scoop of organic tomato feed high in potassium and phosphorus, mixed into the bottom of the planting hole, to encourage strong root development right from the start.
Here's a quick comparison of some common soil amendments and how I use them for deep planting here in the UK:
| Amendment | Randy's Experience (UK context) | Pros for Deep Planting | Cons (UK context) |
|---|---|---|---|
| Well-rotted Compost | My absolute staple. I make tonnes of this in my Midlands garden. Essential for all deep planting. | Improves drainage, boosts water retention, provides slow-release nutrients, feeds soil microbes. | Can be inconsistent if homemade; takes time to produce enough for large areas. |
| Composted Bark/Wood Chip | Great for trenching in heavier soils, especially at the bottom of a trench to prevent waterlogging. | Excellent drainage, very slow nutrient release, improves long-term soil structure. | Can temporarily deplete nitrogen as it breaks down; takes a long time to fully decompose. |
| Perlite/Vermiculite | I mainly use these in pots for my greenhouse tomatoes, or for very heavy clay soil that needs serious lightening for new roots. | Improves aeration and drainage, prevents compaction, retains some moisture. | Can be expensive for large-scale application; adds no nutritional value. |
| Coarse Horticultural Sand | Only sparingly, and only the coarse stuff, to break up my particularly heavy clay spots. | Significantly improves drainage in dense clay soils. | Fine sand can make soil concrete-like; offers no nutrients; use with caution in UK's variable rainfall. |
| Mycorrhizal Fungi | I always inoculate the roots of my tomatoes and peppers when planting deep. I swear by the difference it makes! | Forms symbiotic relationship, extends root reach for water & nutrients, improves plant resilience. | Initial cost; requires direct root contact for best results; can be less effective in already nutrient-rich soil. |
Ongoing Care: Watering, Feeding & Support
Once your plants are settled, the care doesn't stop.
Watering: This is critical. Deep-planted vegetables need deep watering. Forget the daily sprinkle; that only encourages surface roots. I aim for less frequent, but thorough, watering that soaks right down to where those new adventitious roots are forming. This encourages them to reach deep for moisture, making the plant more drought-tolerant during those inevitable dry spells we get in late summer. For my greenhouse tomatoes, I use an irrigation system that delivers water slowly and directly to the base, ensuring it penetrates deeply. Outside, I'll use a watering can without a rose, or a slow trickle from the hosepipe for 10-15 minutes per plant.
Feeding: Once those new roots are established (usually a couple of weeks after planting), I'll start a regular feeding regime. For tomatoes, it's a high-potash liquid feed every 7-10 days once flowers start appearing. For peppers, it's a balanced feed initially, then switching to a tomato feed as fruits develop. Leggy annuals like peas or beans usually get a general purpose organic feed. The stronger root system means they can take up those nutrients much more efficiently.
Support: Don’t forget that a bushier, more productive plant with a stronger root system will still likely need good support, especially for heavy-fruiting crops like tomatoes. My 'Moneymaker' and 'Gardener's Delight' tomatoes in the greenhouse grow absolute monsters when deep-planted, so sturdy stakes or a robust cordon system are non-negotiable. For trench-planted peppers, I sometimes use small bamboo canes to prevent them from flopping over when laden with fruit.
Mulching: A good layer of organic mulch (like straw, wood chips, or my own leaf mould) around the base of your deep-planted veg is invaluable. It suppresses weeds (reducing competition for those new roots), conserves soil moisture (a lifesaver during a dry spell), and helps regulate soil temperature. In my experience, it also slowly breaks down, adding further organic matter to the soil – a win-win for those developing root systems.
Common Pitfalls & Troubleshooting: Avoiding Mistakes for Rooting Success
Even with the best intentions, gardening always throws a curveball or two, especially here in the unpredictable UK. I’ve certainly made my share of mistakes over my five years, and I want to share some of the common pitfalls I’ve encountered with deep planting and trenching, so you can hopefully avoid them!
Overwatering (My Biggest Rookie Mistake!)
This is probably the most common error, particularly when you’re excited about those new roots. When I first started, I’d deep-plant my tomatoes and then lovingly water them daily. Big mistake! The buried stem needs oxygen to form adventitious roots, and if the soil is constantly waterlogged, it suffocates them. One year, after a particularly wet May, I had a couple of my outdoor deep-planted 'Tigerella' tomatoes just sit there, looking miserable and yellow, refusing to grow. When I finally dug one up (sacrificed for science, of course!), the buried stem was soggy and starting to rot.
Randy's Tip: Always check the soil moisture before watering. Stick your finger down a good 2-3 inches. If it feels damp, wait. Err on the side of slightly dry rather than overly wet, especially for the first couple of weeks after deep planting. Our British weather often does the watering for us!
Poor Drainage
This ties into overwatering, but it’s more about the inherent nature of your soil. Here in the Midlands, I contend with a fair bit of heavy clay. If you just dig a deep hole or trench in compacted clay and fill it with lovely compost, you’ve essentially created a bathtub. Water will drain into it but then sit there, drowning those precious new roots.
Randy's Tip: If you have heavy clay, you must amend it. Incorporate plenty of coarse grit, sharp sand (not builder's sand!), and well-rotted organic matter throughout the soil profile, not just in the immediate planting hole. Better still, raised beds are a game-changer for me; they lift the root zone entirely above the native heavy soil. For trenching, a layer of gravel or coarse bark chips at the very bottom can act as a French drain.
Planting Too Deep (for the wrong plant)
While this article is all about the benefits of deep planting for specific plants, it's important to know that it's not a universal solution. Some plants simply won't tolerate it. I once tried to deep-plant some basil seedlings, thinking "more roots, more basil!" They promptly sulked, turned yellow, and eventually died. Basil, like many other herbs and some delicate annuals, prefers to be planted at the same depth it was in its nursery pot.
Randy's Tip: Always check the specific needs of the plant. If it's not a tomato, pepper, or a leggy annual known for adventitious roots, stick to conventional planting depths. When in doubt, a quick online search for "deep planting [plant name]" will usually give you the answer.
Nutrient Imbalance & Cold Soil
New roots need a balanced diet. Too much nitrogen early on can encourage lush leaf growth at the expense of root development. Conversely, not enough phosphorus can hinder root formation. Also, planting too early into cold, wet UK soil can shock plants and slow down adventitious root formation significantly.
Randy's Tip: Use a balanced, slow-release organic feed when preparing the soil for deep planting. Once established, switch to feeds tailored for flowering and fruiting. For UK gardeners, patience is key with planting times. Wait until the soil has genuinely warmed up (you can tell by feel, or use a soil thermometer). For heat-lovers like tomatoes and peppers, I often cover the ground with black plastic sheeting a few weeks before planting to help warm the soil in my outdoor beds. My greenhouse provides a much earlier start for these, of course!
Pests and Diseases
Deep planting itself doesn't inherently invite more pests, but a struggling plant (due to poor drainage or overwatering) is always more susceptible. Root rot diseases are a particular concern in soggy conditions. Slugs and snails can also be more attracted to tender new growth at soil level, especially if you're trenching leggy plants close to the ground.
Randy's Tip: Maintain good soil health and drainage to prevent root diseases. For slugs and snails, my usual arsenal includes crushed eggshells, wool pellets, and a nightly patrol with a head torch. Keeping the area around your deep-planted specimens tidy also helps reduce hiding spots for pests.
By being mindful of these common issues, you can significantly increase your chances of success and ensure your efforts in deep planting and trenching truly pay off in your UK garden.
![IMAGE_PLACEER_2: Randy checking soil moisture]
Reap the Rewards: A Bushier, More Productive & Resilient Garden Awaits
Well, there you have it! We've journeyed through the incredible potential of adventitious roots, explored the nitty-gritty of deep planting for tomatoes, mastered the art of trenching for peppers and leggy annuals, delved into optimal soil care, and even learned from my own gardening mishaps here in the UK.
If there’s one thing I want you to take away from all this, it's that gardening isn’t just about following rules; it's about understanding why things work and adapting them to your own unique patch of British soil. Deep planting and trenching, for me, have been game-changers in my 800 sq ft Midlands garden. They’ve transformed my spindly seedlings into robust, resilient plants that shrug off the occasional dry spell and consistently deliver a bountiful harvest, even when our British weather decides to be particularly "interesting."
My greenhouse tomatoes, like my beloved 'Cherokee Purple' and 'Aunt Ruby's German Green', now grow into absolute giants, laden with fruit because their root systems are so incredibly extensive. My outdoor peppers, which used to struggle in cooler summers, are now bushier and far more productive thanks to trenching. And those leggy French beans or peas that might have flopped over? They're now firmly anchored, powering through the season.
It's about giving your plants the very best start, unlocking their inherent ability to adapt and thrive. The joy of seeing those extra roots emerge, knowing you’ve given your plant a secret superpower, is immensely satisfying. It's a testament to the fact that a little bit of strategic effort upfront can lead to disproportionately huge rewards down the line.
So, I urge you: don't just prune; go beyond the snip. Dig deeper, literally. Experiment with deep planting your tomatoes and trenching those leggy peppers or peas this season. Observe your plants closely, learn from their responses, and adapt the techniques to your specific UK conditions. Gardening is a continuous learning curve, and discovering these kinds of techniques is what makes it such an engaging and rewarding passion.
I'd love to hear about your experiences! Have you tried deep planting or trenching before? What were your results in your UK garden? Any unique challenges or successes you've encountered? Share your stories and questions in the comments below. Let's keep learning and growing together.
Happy deep planting, fellow UK gardeners!
Randy Thompson
The Midlands Gardener