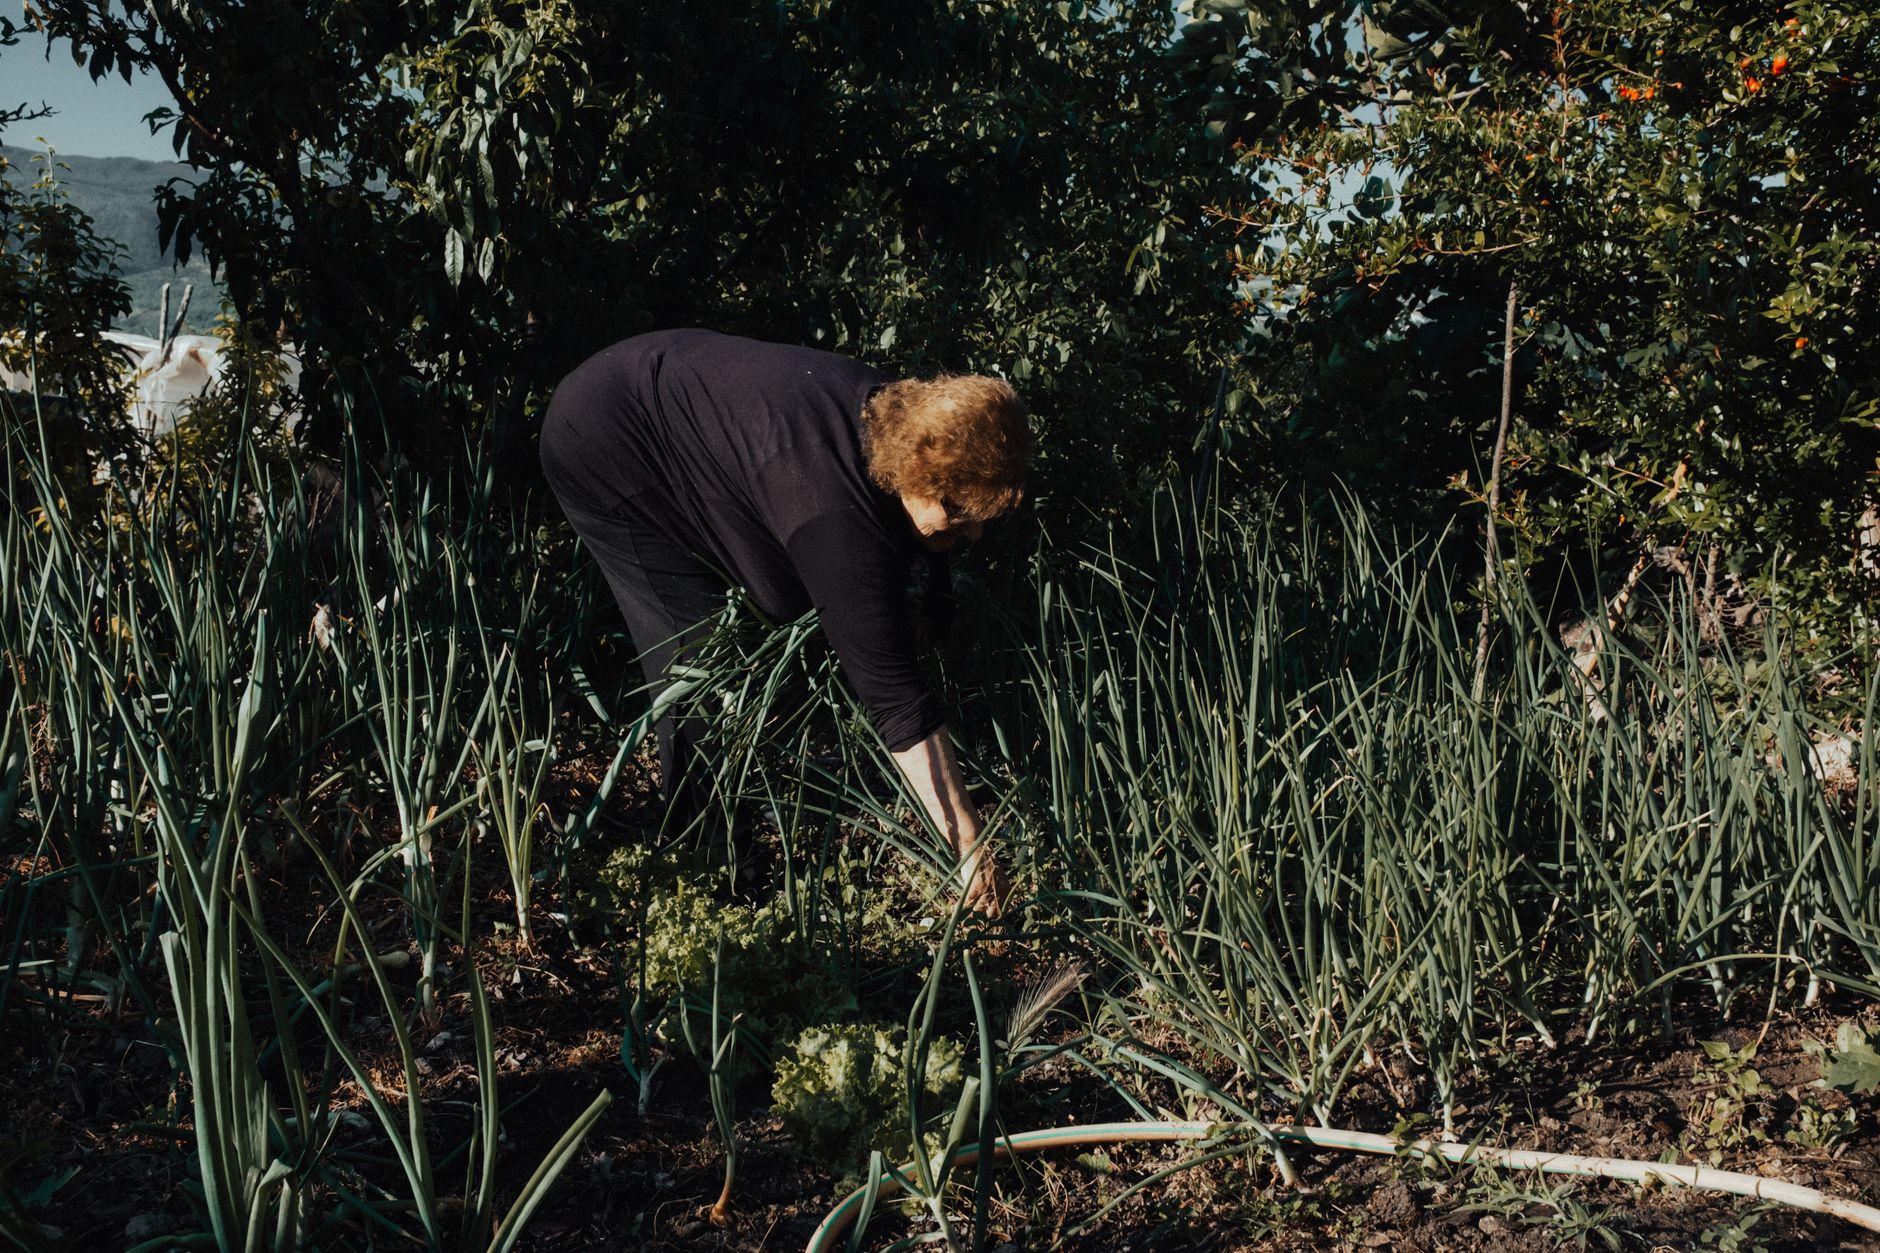
Beyond the Pull: Why Your Post-Weeding Routine is Key to a Weed-Free UK Garden
Alright, fellow UK gardeners, let's be honest. Weeding. It's the bane of our lives, isn't it? That satisfying feeling of clearing a bed, back aching but heart full of hope, only to see those pesky green shoots popping up again what feels like mere days later. I’ve been there, more times than I care to admit! When I first started this gardening journey five years ago, after leaving the IT world behind, I thought weeding was a simple case of "pull it out, job done." Oh, how naive I was!
Here in my 800 sq ft patch in the UK Midlands, packed with raised beds and a cherished greenhouse, I quickly learned that the act of pulling a weed is only half the battle. In fact, it's often the easier half. The real secret to keeping those vegetable and flower beds truly clear, especially with our notoriously unpredictable British weather, lies in what you do after the pull. I've spent years experimenting, making mistakes (believe me, I've made plenty!), and learning the hard way that a proactive post-weeding strategy is the absolute game-changer for a healthier, happier UK garden. It’s about understanding the enemy, and then building an impenetrable defence. This isn't just about aesthetics; it's about giving your prize-winning heirloom tomatoes, your crunchy lettuces, and your vibrant dahlias the space, water, and nutrients they desperately need to thrive without competition.
The Enemy Within: Understanding Weed Seed Banks and Stubborn Root Fragments
So, why do they keep coming back? It's not just bad luck; it's a cunning strategy from nature's side. The two biggest culprits are what I like to call 'the enemy within': the dormant weed seed bank in your soil and the incredibly persistent root fragments that laugh in the face of a good hoeing.
Let's talk about the seed bank first. Every square inch of your garden soil, especially here in older, well-worked British plots, is absolutely teeming with millions of dormant weed seeds. I'm talking about the likes of Fat Hen, Shepherd's Purse, and those tiny hairy bittercress seeds that seem to germinate overnight. They've been sitting there, sometimes for decades, just waiting for the right conditions – light, moisture, and temperature – to sprout. And guess what often provides those perfect conditions? Our very own weeding! When you pull a weed, you disturb the soil, bringing those buried seeds closer to the surface, exposing them to light and air. Then, a quick shower (a common occurrence here in the Midlands, as we know!) provides the moisture, and boom – a whole new generation of weeds is ready to take over. I learned this the hard way when I first started double-digging a new bed; the sheer volume of new weed seedlings that emerged was mind-boggling! It taught me a crucial lesson: the less you disturb the soil, the better.
Then there are the root fragments. Oh, the root fragments! If you've ever battled bindweed (that insidious strangler!) or couch grass, you know exactly what I mean. These aren't just seeds; these are plants that can regenerate from even the tiniest piece of root left in the soil. I remember one particularly frustrating summer trying to clear a new section of my 800 sq ft garden that was riddled with bindweed. I thought I was being thorough, digging out every scrap. But even a half-inch piece of root, especially if it's got a node, can send up a new shoot, quickly re-establishing itself. It's like a botanical hydra – cut off one head, and another appears. My greenhouse, where I grow my beloved heirloom tomatoes like 'Black Krim' and 'Gardener's Delight', is a constant battleground against any stray bindweed trying to sneak in under the foundations. Understanding this distinction – seeds versus roots – is absolutely critical for choosing the right post-weeding defence strategy here in our British climate.

The Mulch Masterclass: Choosing and Applying the Best Barriers for UK Climates
Once you've done the hard work of clearing those weeds, the very next step, and perhaps the most important, is to lay down a protective barrier. And for me, that barrier is almost always mulch. Mulching is a non-negotiable strategy in my UK garden; it's the ultimate defence against those awakening weed seeds and a fantastic way to suppress any lingering root fragments. Plus, it's brilliant for retaining moisture, which is a lifesaver during our increasingly dry spells, and it helps regulate soil temperature – another bonus for our changeable British weather.
I've experimented with a fair few types over my five years, from straw around my squash plants to thick wood chips on my paths and perennial beds. Each has its pros and cons, especially when you factor in our damp Midlands climate. The key is choosing the right one for the right spot and, crucially, applying it at the correct depth. Too thin, and those plucky weed seeds will push right through; too thick, and you can create overly damp conditions that aren't ideal for some plants or attract slugs.
Here’s a breakdown of what I've found works best in my UK garden:
| Mulch Type | Best Use in UK Garden | Pros for UK Climate | Cons for UK Climate | My Personal Experience in Midlands Garden |
|---|---|---|---|---|
| Wood Chips | Paths, perennial beds, around shrubs, fruit bushes | Excellent weed suppression, long-lasting, good moisture retention, slowly breaks down adding organic matter. | Can tie up nitrogen as it decomposes (avoid directly in annual veg beds), can be expensive initially. | My absolute favourite for paths and around my fruit bushes. I apply a good 10cm (4 inches) layer. Lasts for years, keeps paths mud-free. |
Strategic Planting & Spacing: Giving Desired Plants the Upper Hand Against Weeds
Right, so we've talked about mulching, cover crops, and getting those pesky weed roots out. But what about the plants we actually want in our UK gardens? My five years of intense growing, especially here in the Midlands with our often-changeable weather, has taught me that how we place our vegetables and flowers can be a massive silent weapon against weeds. It’s all about giving your chosen plants the best chance to outcompete.
Intelligent Spacing for Maximum Canopy Cover
Think of your vegetable patch or flower bed as a miniature jungle. If you leave wide gaps between your desired plants, what do you think will rush in to fill that space? Exactly – weeds! I’ve learned this the hard way. When I first started, I was religious about following packet instructions for spacing, often leaving far too much room. Then I’d spend half my weekend chasing down opportunistic annual weeds like hairy bittercress and chickweed that had sprung up in the gaps.
Now, I aim for slightly closer, but still sensible, spacing. The goal is for the mature plants to create a dense canopy that shades out the soil beneath. This denies weed seeds the sunlight they need to germinate. For instance, in my raised beds, I'll often plant my kale or Swiss chard a little closer than recommended, around 20-25cm apart instead of 30cm, knowing they'll quickly form a lush, overlapping cover. With my greenhouse tomatoes, like my beloved 'Marmande' and 'Costoluto Fiorentino', I prune them to a single stem but ensure their leaves are allowed to spread just enough to shade the base of the plant, without compromising air circulation, which is crucial in our often damp British climate to prevent blight. It’s a delicate balance, but one that drastically cuts down on weeding.
Intercropping and Companion Planting: Nature's Own Weed Suppressors
Beyond just spacing, I'm a huge fan of intercropping and companion planting. It's like having a team of plant bodyguards for your prize crops. This isn't just about pest control; it's brilliant for weed suppression too. By growing different compatible plants close together, you create a diverse, dense cover that leaves little room for weeds.
For example, I often plant fast-growing radishes or lettuce between slower-growing crops like broccoli or cabbages. By the time the larger brassicas are really bulking up, the radishes have been harvested, and the lettuce provides a living mulch, shading the soil until the broccoli leaves take over. Another trick I use in my herb bed is planting dense, spreading herbs like thyme or oregano around taller, more upright plants like rosemary or dill. They act as a wonderful living groundcover, keeping the soil cool, moist, and, crucially, weed-free. It’s a win-win: fresh herbs for the kitchen and less work for me!

The Ongoing Battle: Regular Monitoring and Targeted Spot Weeding Techniques
Let's be honest, folks, gardening isn't a "one-and-done" kind of hobby, especially when it comes to weeds. You can lay your mulch, plant strategically, and still, those determined little rascals will find a way. That's why regular monitoring and targeted spot weeding are absolutely non-negotiable in my 800 sq ft Midlands garden. It’s about vigilance, knowing your enemy, and acting quickly.
The Daily Stroll: My Secret Weapon Against Weed Overwhelm
Every morning, with my first cuppa in hand, I do a slow patrol of my raised beds and greenhouse. It’s not just for admiring my prize 'Black Krim' tomatoes or checking on my chillies; it's my prime weeding time. Catching weeds when they're tiny seedlings, barely a couple of leaves showing, is a game-changer. At this stage, they're weak, shallow-rooted, and usually come out with the gentlest pull.
I've learned this the hard way. One season, I got a bit complacent after a busy week at my old IT job and let things go for about ten days. When I finally got back out there, what had been tiny specks of groundsel and fat hen had exploded into robust, flowering plants, ready to scatter thousands of seeds. The subsequent weeding session felt like a punishment! Now, it's a "little and often" approach. Five minutes every morning saves me an hour of back-breaking work later.
Choosing the Right Tool for the Job (and the UK Soil)
For these daily patrols, I keep a few essential tools handy. For surface weeds in soft soil – especially after a good British downpour – a sharp hoe is fantastic. I love my Dutch hoe for skimming just below the surface, decapitating those tiny annuals before they get a foothold. For anything a bit more stubborn, like a tap-rooted dandelion or a sneaky dock leaf, a good hand trowel or a specifically designed weeding fork is invaluable.
My top tip, especially here in our often-wet UK climate, is to weed after rain or after you've watered. The soil is softer, and weeds come out roots and all with minimal effort. Trying to pull weeds from dry, compacted clay soil (which we have plenty of in the Midlands!) is a recipe for snapping off the top and leaving the root to regrow with a vengeance. Trust me, I've made that mistake more times than I care to admit.

The Final Layer of Defence: When and How to Use Weed Mats and Landscape Fabric Effectively
Okay, so we've covered a lot of ground, from understanding seed banks to planting strategies. But sometimes, especially in specific areas of the garden, you need a more robust, long-term barrier. This is where weed mats and landscape fabric come in. Now, I have a bit of a love-hate relationship with these, as they're not a magic bullet, and if used incorrectly, they can cause more problems than they solve. But in the right place, they are incredibly effective here in my UK garden.
Where I Use Them (and Where I Don't)
I've learned through trial and error that weed mats and landscape fabric are best reserved for areas where you want very long-term weed suppression and minimal soil disturbance. I definitely don't use them in my main vegetable raised beds. Why? Because they prevent me from enriching the soil with compost and digging in green manures, and they can inhibit the beneficial soil life I work so hard to cultivate. Plus, they can make direct sowing tricky and watering less effective.
However, they are brilliant for paths, under permanent structures like my greenhouse (I've got a heavy-duty woven fabric under the gravel floor), or under areas where I'm establishing permanent shrubs or fruit bushes that I won't be regularly digging around. For example, I have a small soft fruit area with blackcurrants and gooseberries. I've laid down a permeable landscape fabric around them, cut holes for the plants, and then covered it with a thick layer of wood chip mulch. This setup has kept that area virtually weed-free for three seasons now, which is a massive time-saver.
Getting it Right: Installation and Permeability
The key to success with these fabrics is proper installation and choosing the right type. Always clear the area of all weeds first – especially perennial roots like bindweed or ground elder, as they will find a way through. Overlap the edges generously and secure it well with ground pegs. And always, always choose a permeable fabric. Those cheap black plastic sheets might seem like a good idea, but they stop water and air from reaching the soil, leading to unhealthy soil and potential runoff issues, which is something we certainly don't need with our often-wet British weather.
Weed Mat vs. Landscape Fabric: A Quick Comparison for UK Gardeners
Here's a little table based on my experience, comparing the two common options you'll find in UK garden centres:
| Feature | Weed Mat (e.g., woven polypropylene) | Landscape Fabric (e.g., spun-bonded non-woven) |
|---|---|---|
| Material | Woven strands of plastic, usually black or green. | Felt-like, non-woven synthetic material. |
| Durability | Very durable, tear-resistant, can last 10+ years. | Moderately durable, can degrade faster in sunlight. |
| Permeability | Excellent water and air penetration (woven structure). | Good water and air penetration (porous structure). |
| Weed Control | Excellent, especially against tougher perennials. | Good, mainly for annuals and light perennial pressure. |
| Best Use (UK) | Permanent paths, under sheds/greenhouses, under long-term shrubs/fruit bushes. | Under bark/gravel in decorative beds, temporary weed suppression. |
| Soil Health | Allows some soil interaction, but can still restrict. | Better for soil life than solid plastic, but still a barrier. |
| Cost | Generally higher per square metre. | Generally lower per square metre. |
| My Take | My preference for serious, long-term suppression in specific areas. Worth the investment. | Okay for lighter duties, but watch out for degradation over time. |

Conclusion: Your Garden's Ongoing Journey to Weed-Free Bliss
Well, there you have it, fellow UK gardeners! We've journeyed "Beyond the Pull" and explored a whole arsenal of post-weeding strategies to keep our beds blooming and productive, rather than battling a never-ending tide of unwanted green. From understanding the enemy within our soil to creating formidable barriers with mulch and clever planting, and from vigilant daily checks to strategically deploying landscape fabric, it’s clear that mastering weed prevention is an ongoing, evolving process.
I’ve learned so much over my five years in the garden, often through trial and error – and trust me, there's been plenty of both here in the unpredictable British climate! The key takeaway, for me, is that there’s no single magic bullet. Instead, it’s about layering these techniques, adapting them to your specific UK garden’s needs, and consistently applying them. It’s about working with nature, not constantly fighting against it.
Remember, a weed-free garden isn't just about aesthetics; it's about giving your cherished vegetables, herbs, and flowers the space, water, and nutrients they need to thrive, leading to healthier plants and more abundant harvests. And that, for a passionate gardener like me, is what it’s all about.
So, grab your cuppa, take a stroll around your patch, and start implementing some of these strategies. You’ll be amazed at the difference a thoughtful post-weeding routine can make. Happy gardening, everyone! I’d love to hear what strategies work best in your UK gardens – drop a comment below!
