Beyond Basic Bhut Jolokia: Unlocking Peak Potency and Palate Perfection in Your UK Garden
Alright, fellow green thumbs, pull up a chair and let's talk about something truly fiery: chili peppers! If you're anything like me, you've probably dabbled in growing a few standard varieties in your UK garden, maybe a 'Hungarian Hot Wax' or a 'Jalapeño'. But for the last five years, ever since I swapped my IT desk for a pair of muddy boots and my 800 sq ft backyard here in the Midlands became my full-time obsession, I've been on a mission. My goal? To not just grow chilies, but to coax out every last scintilla of heat and every complex flavour note from these incredible plants, even with our famously fickle British weather.
I've learned the hard way that simply planting a 'Bhut Jolokia' seed in a pot and hoping for the best isn't enough in our climate. The truth is, maximizing both the capsaicin (that glorious burn!) and the intricate taste profiles of your homegrown chilies takes a bit more finesse, a touch of science, and a whole lot of observation specific to UK conditions. I've had seasons where my 'Habanero Red Savina' tasted like a mild bell pepper, and others where a 'Scotch Bonnet' from my greenhouse brought tears to my eyes and joy to my tastebuds. This article isn't about just surviving; it's about thriving, about pushing the boundaries of what's possible for chili growing right here in Britain. I'm going to share all my trial-and-error secrets, from the soil underfoot to the tiny molecules that make your tongue tingle, all based on what I've seen work (and what hasn't!) in my own UK garden.
Decoding the Burn: Understanding Capsaicin, Terpenes, and Environmental Influences
When we talk about chili heat, we're talking about capsaicin. It's the chemical compound responsible for that burning sensation, and it's primarily concentrated in the placenta (the white pithy part) of the chili pepper, not the seeds as commonly believed. Understanding capsaicin is the first step to boosting it. What I've found in my UK greenhouse is that while genetics play a huge role – you won't get 'Carolina Reaper' heat from a 'Poblano' – environmental stress is your secret weapon for pushing those capsaicin levels higher within a given variety.

But it's not just about the burn, is it? A truly great chili offers a symphony of flavours. That's where terpenes come in. These are organic compounds responsible for the aroma and flavour of many plants, including chilies. They give 'Habaneros' their fruity, almost tropical notes, and 'Scotch Bonnets' their distinctive smoky undertones. I used to focus solely on heat, but one year, I had a batch of 'Fatalii' peppers that were incredibly hot but lacked their usual citrusy punch. That's when I realised I needed to pay attention to both aspects. The challenge here in the UK is that our often-cooler, wetter climate can sometimes lead to lower terpene production compared to sunnier regions, making it even more important to get our growing conditions just right.
In my experience, the key environmental influences for both capsaicin and terpenes are temperature, light, and water stress. For capsaicin, controlled, mild stress can be beneficial. I've experimented with slightly reducing watering frequency once fruits begin to set, especially during a dry spell in late summer. This encourages the plant to "think" it's under threat and ramp up its chemical defenses – hello, capsaicin! However, it's a fine line; too much stress, and you'll stunt growth and reduce your yield. I learned this the hard way during a particularly dry August in my Midlands garden a couple of years back; I pushed the water stress too far, and my 'Ring of Fire' plants just wilted and dropped their flowers. For terpenes, consistent warmth and plenty of sunlight are crucial. This is where my greenhouse earns its keep, providing the stable, higher temperatures that many chili varieties crave, especially important for those fruiter notes in 'Aji Amarillo' or 'Peruvian White Habanero'.
Foundation for Fire: Advanced Soil Preparation and Variety Selection for UK Climates
You wouldn't build a skyscraper on sand, and you shouldn't expect award-winning chilies from poor soil. In my 800 sq ft garden, predominantly in raised beds, I've spent years perfecting my chili soil. It needs to be well-draining yet moisture-retentive, and packed with nutrients. My base mix, which I refresh annually, is typically a 50/50 blend of good quality, peat-free compost and my homemade compost, enriched with a generous helping of well-rotted horse manure (a local farmer is my hero!) and a handful of horticultural grit for extra drainage. Chilies prefer a slightly acidic to neutral pH, usually between 6.0 and 7.0. I always do a soil test in early spring; if it's too alkaline, I'll work in some ericaceous compost or elemental sulphur. I've found that getting the soil right from the start drastically reduces problems later on, especially in our damp British summers which can lead to waterlogged roots if drainage isn't perfect.
Choosing the right varieties for our UK climate is, in my opinion, the single most crucial decision. It's tempting to go for the super-hot, exotic varieties, but many of them simply won't ripen properly outdoors in an average British summer, particularly here in the Midlands. I've made that mistake too many times, ending up with beautiful green pods that never quite got their colour or heat before the autumn chill set in. While my greenhouse allows me to push the boundaries with varieties like 'Trinidad Scorpion', for outdoor growing or even a cooler greenhouse, I lean towards faster-maturing or more cold-tolerant options. What works here in Britain isn't always what's advertised in a sunny Californian seed catalogue!
Here's a detailed comparison of some varieties I've had success with, balancing heat, flavour, and suitability for UK conditions:
| Chili Variety | Scoville Heat Units (SHU) | Flavour Profile | UK Growing Suitability | Randy's Notes (UK Experience) |
|---|---|---|---|---|
| Jalapeño 'Early' | 2,500 - 8,000 | Grassy, slightly smoky, crisp | Excellent for outdoor/patio in sheltered spots. Greenhouse ideal. | My go-to for consistent heat and flavour even in a mediocre summer. Ripe relatively early. Great for pickling. |
| 'Ring of Fire' | 70,000 - 85,000 | Sweet, fruity, cayenne-like | Very good for greenhouse, can do well outdoors in a hot, sunny spot. | A fantastic cayenne substitute. I've had good harvests outdoors in a really warm summer but more reliable in the greenhouse. |
| 'Scotch Bonnet' | 100,000 - 350,000 | Fruity, tropical, subtly smoky | Best in a warm greenhouse or conservatory. | Needs consistent heat! My greenhouse babies thrive, developing that iconic fruitiness. Outdoors, they often struggle to ripen. |
| 'Aji Lemon' | 15,000 - 30,000 | Bright, citrusy, fresh | Good for greenhouse, can be tried outdoors in very sheltered, sunny spots. | A revelation! The vibrant lemon flavour is incredible. A slightly longer season, but worth it for the unique taste. |
| 'Habanero Red Savina' | 350,000 - 577,000 | Intense fruity, floral, pungent | Strictly greenhouse or very warm conservatory. | My personal favourite for intense heat and flavour. Takes a long time to ripen in the UK, so heat is crucial. Don't rush it! |
| 'Hungarian Hot Wax' | 1,000 - 15,000 | Tangy, slightly sweet, mild heat | Excellent for outdoor/patio, very reliable. | A brilliant beginner chili. Always produces well, even in a cooler season. Great for stuffing or fresh salads. |
As you can see, I often lean towards varieties that offer a good balance, or those that are proven performers in my greenhouse. While the temptation of growing the world's hottest chili is always there, I've found more satisfaction in consistently harvesting great-tasting, potent pods that truly thrive in my British garden.
4. Stress for Success: Controlled Environmental Techniques to Boost Capsaicin
Now, this is where things get really interesting, and frankly, a bit counter-intuitive for us gardeners who usually coddle our plants. To truly maximise that capsaicin kick, we need to introduce a bit of controlled stress. Think of it like a chili pepper's natural defence mechanism – the more it feels threatened, the more it produces capsaicin to deter pests. And guess what? That translates into hotter peppers for our UK kitchens!
I've been experimenting with this in my 800 sq ft Midlands garden for the past three seasons, particularly with my 'Naga Viper' and 'Trinidad Scorpion' plants in the greenhouse. While you might not get the same extreme results outdoors due to our British weather, even a little controlled stress can make a noticeable difference.
My go-to methods involve careful water and temperature management.
Water Stress: The Thirsty Thrill
This is probably the easiest and most effective stressor to implement. I've found that letting the soil dry out just enough between waterings can significantly boost capsaicin. The key is just enough – you don't want to kill your precious plants!
Here's my approach:
- Feel the Soil: Instead of watering on a strict schedule, I stick my finger about an inch or two into the soil. If it feels dry, I wait another day. For container plants, I lift them – if they feel light, it's time to consider watering.
- Observe the Plant: I look for the very first signs of wilting – just a slight droop in the leaves. As soon as I see that, I give them a good, deep drink. The plant quickly perks up, but it's had that moment of "oh no, I need to defend myself!"
- Frequency: During peak fruiting in the height of summer here in the UK, this might mean watering every 2-3 days in the greenhouse, rather than daily. Outdoors, it depends entirely on our unpredictable British rain, so I'm constantly checking.
One mistake I made early on was letting them wilt too much, which led to stunted growth and smaller fruits. It’s a fine line, but once you get a feel for your plants and their specific needs, it becomes second nature. This controlled deprivation tells the plant, "Hey, times are tough, better put all my energy into making these fruits as potent as possible to ensure survival!"
Temperature Stress: The Greenhouse Advantage
This is where having a greenhouse here in the UK really pays off. While we can't always control outdoor temperatures, a greenhouse allows for some manipulation. I aim for significant temperature swings between day and night during the fruiting phase.
- Daytime Heat: I try to let the greenhouse get nice and hot during the day, often reaching 30-35°C (86-95°F) on sunny summer days. I ensure good ventilation to prevent scorching, but I don't go overboard with cooling.
- Nighttime Cool Down: I open the greenhouse vents fully in the evening and sometimes even prop open the door to let the night air in. This allows the temperature to drop significantly, often by 10-15°C (18-27°F) compared to the daytime high.
This day-night temperature differential is believed to encourage capsaicin production. I've noticed a distinct difference in my 'Scotch Bonnet' peppers grown with this method compared to those that had a more consistent temperature. It’s all about mimicking those harsh, natural growing environments where super-hot chilies originate, but adapted for our often-damp UK climate.
5. Feeding for Flavour: Targeted Nutrient Regimes for Enhanced Taste Profiles
While stress boosts the burn, what about the beautiful, complex flavours that make a great chili more than just heat? This is where targeted feeding comes into play. I've spent years tweaking my nutrient regime in my UK garden, particularly focusing on what works best for chilies in our specific soil and climate conditions. It's not just about throwing on any old tomato feed; it's about balance and timing.
The Nutrient Breakdown
- Phosphorus (P) for Roots and Flowers: Early on, especially after transplanting, a good shot of phosphorus encourages strong root development. This sets the plant up for success, allowing it to absorb nutrients efficiently later.
- Potassium (K) for Fruit and Flavour: This is your flavour superstar! Potassium is crucial for fruit development, sugar formation, and overall plant health. High-potassium feeds are essential during the flowering and fruiting stages. I've found that a good boost of K really helps bring out those fruity, citrusy, or smoky notes in my 'Aji Lemon' and 'Hungarian Wax' peppers.
- Magnesium (Mg) and Calcium (Ca) for Structure and Health: These micronutrients prevent common issues like blossom end rot (which isn't just for tomatoes!) and ensure strong cell walls. I often add a dilute Epsom salt solution (Magnesium Sulphate) as a foliar spray if I see any signs of magnesium deficiency (yellowing between veins).
- Micronutrients: Don't forget the little guys! Boron, zinc, and iron are vital for various plant processes, contributing to overall vigour and flavour complexity. Many good quality chili or tomato feeds will include these.
My Feeding Strategy (UK Adapted)
In my UK garden, I typically follow a two-stage feeding programme:
- Vegetative Growth (Early Season): Once plants are established after transplanting (usually late May/early June here in the Midlands), I use a balanced feed, slightly higher in nitrogen, to encourage bushy growth. I might use a diluted seaweed extract or a general purpose organic liquid feed once every two weeks.
- Flowering and Fruiting (Mid-Summer Onwards): As soon as I see the first flowers, I switch to a high-potassium feed. I use a liquid tomato feed at half strength, usually once a week for container plants in the greenhouse, and every 10-14 days for raised bed plants. This continues right through to harvest.
Here's a comparison of common feeding approaches I've experimented with:
| Nutrient Focus | Stage | Randy's Recommended Product/Method (UK) | Why for UK Chilies | Pros | Cons |
|---|---|---|---|---|---|
| Balanced NPK | Vegetative Growth | Diluted Seaweed Extract or General Purpose Organic Liquid Feed (e.g., Chempak) | Encourages strong initial growth, building a robust plant for fruiting later. | Supports overall plant health, good foundation. | Too much nitrogen can reduce flowering and fruit set later. |
| High Potassium (K) | Flowering/Fruiting | Liquid Tomato Feed (e.g., Tomorite, used at half strength) | Essential for fruit development, sugar production, and enhancing complex flavours. | Maximises fruit size, flavour intensity, and overall yield. | Can sometimes be expensive; needs consistent application. |
| Magnesium Boost | Any (if deficiency) | Epsom Salts (1 tbsp per gallon of water, foliar spray) | Prevents yellowing leaves, ensures efficient photosynthesis, prevents blossom end rot. | Quick fix for Mg deficiency, cheap and readily available. | Overuse can lead to other nutrient imbalances; best used preventatively or remedially. |
| Organic Compost Tea | Any | Homemade from worm castings/compost, aerated for 24-48 hours | Provides a slow-release, diverse range of macro and micronutrients. | Boosts soil microbiology, improves soil structure, natural and sustainable. | Variable nutrient content; takes time to prepare; results can be less immediate. |
6. The Grand Finale: Optimal Harvest Timing and Post-Harvest Curing for Lasting Intensity
You've put in all the hard work – the soil prep, the careful watering, the targeted feeding, and even a bit of controlled stress. Now comes the moment of truth: harvesting your fiery treasures. Getting the timing right and then properly curing them can make all the difference to both the heat and the nuanced flavours you've worked so hard to cultivate. I've learned this the hard way, picking too early and losing potential heat, or leaving them too late and risking rot in our damp British autumns.
Optimal Harvest Timing: When to Pick That Perfect Pod
There's no single "right" answer, as it depends on the variety and your desired outcome, but here are my general rules for my UK chilies:
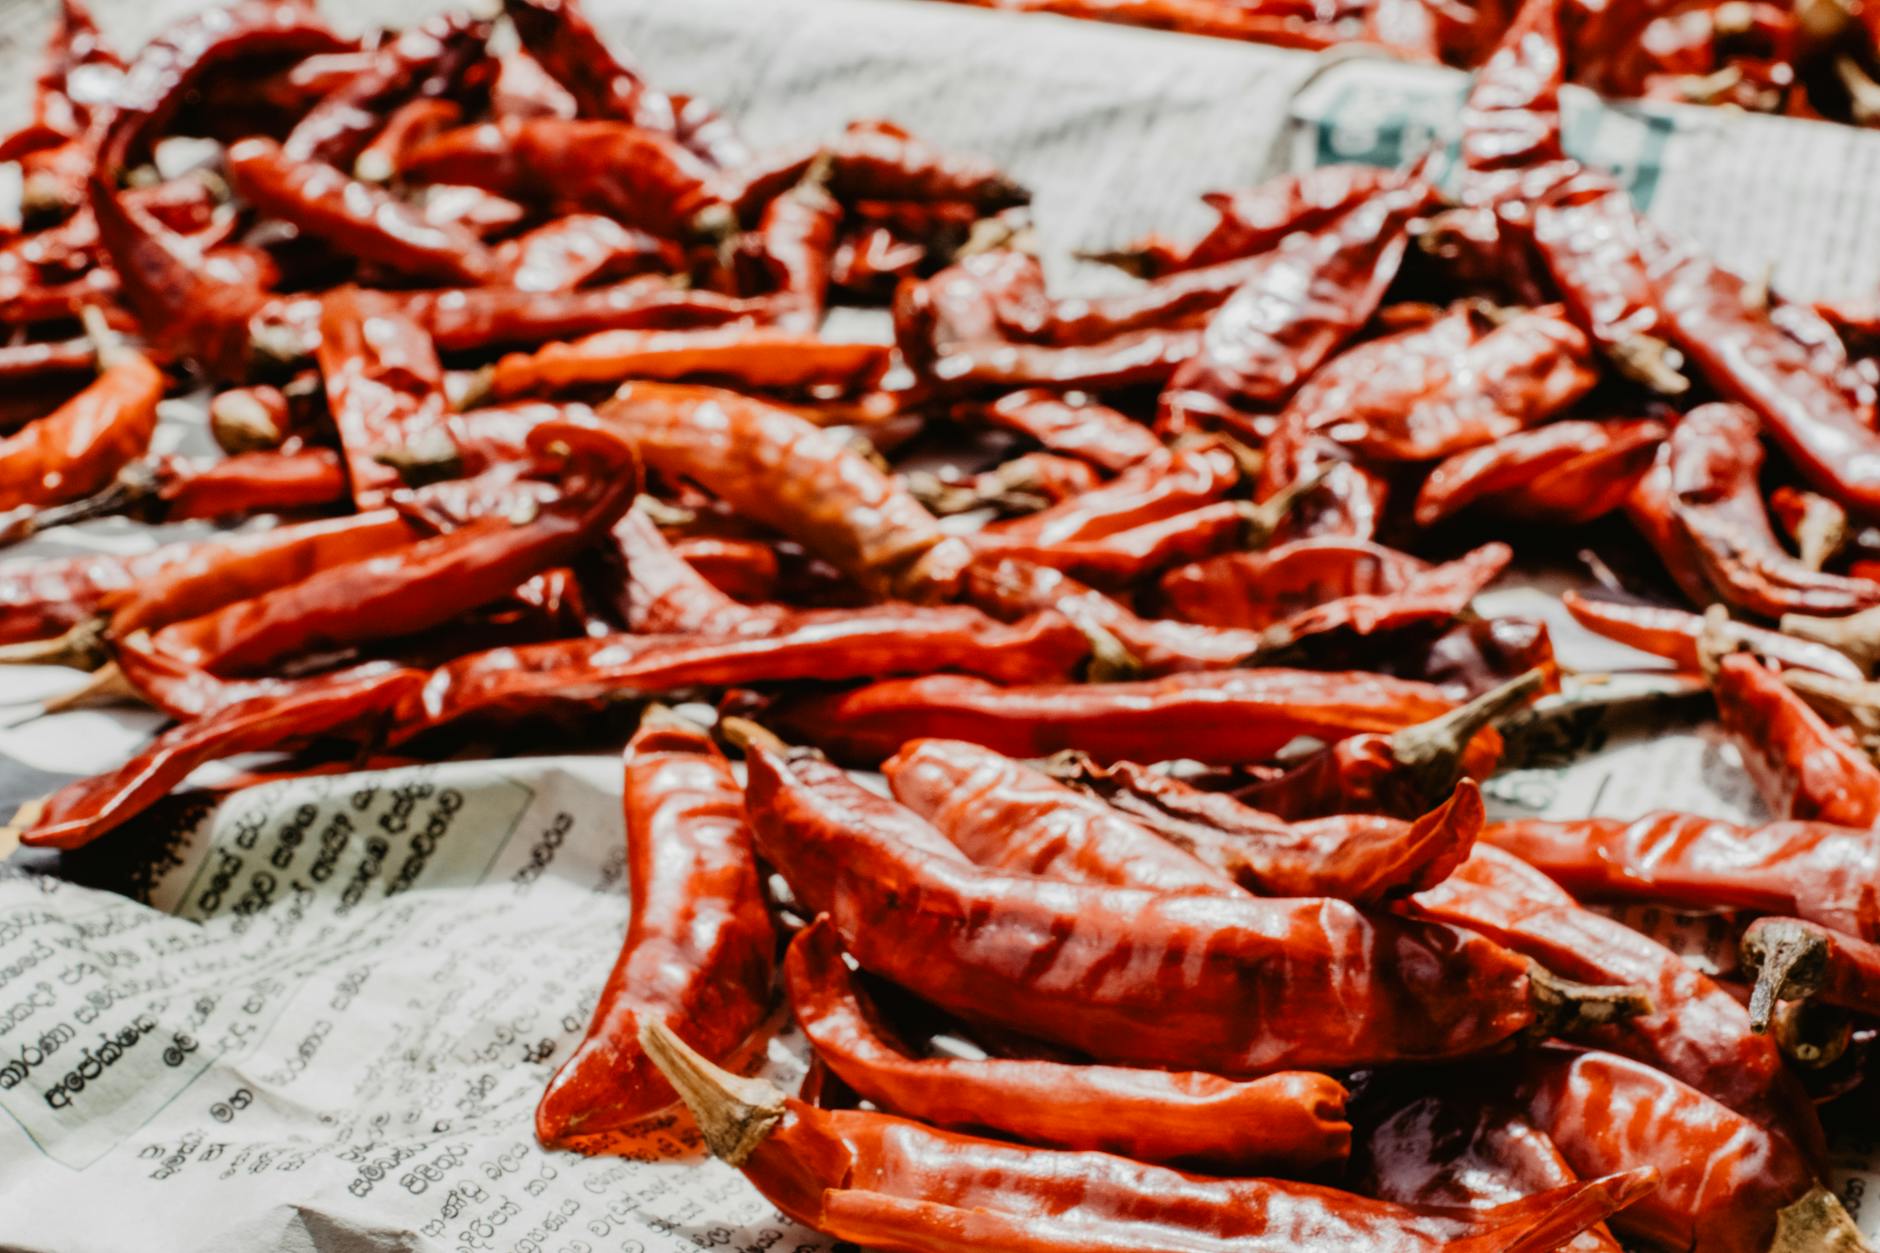
- Colour: For most chilies, waiting until they are fully ripe and have developed their characteristic colour (bright red, orange, yellow, brown) is key for maximum capsaicin and flavour. For example, my 'Fatalii' peppers develop their vibrant yellow, and my 'Bhut Jolokia' turn deep red. Picking them green will give you less heat and a grassier flavour.
- Firmness: The fruit should feel firm to the touch, not soft or squishy. A soft chili is often overripe or starting to spoil.
- Taste (Carefully!): For varieties you're familiar with, a tiny nibble (from the tip, mind you!) can tell you if the flavour profile is developed. Just be warned, this is for the brave! I've had a few fiery surprises in my time.
- The Plant's Signal: Often, the plant will slow down its growth slightly once fruits are ripe, focusing energy on ripening more pods.
I usually pick my chilies by snipping the stem with clean secateurs, leaving a small piece of stem attached to the fruit. This helps prevent rot and keeps them fresh longer.
Post-Harvest Curing: Locking in the Fire and Flavour
Once picked, what you do next is crucial. Curing isn't just for onions; it's a game-changer for chilies, enhancing flavour, allowing the heat to fully develop, and ensuring they store well.
Air Drying: The Traditional Method
This is my preferred method for many varieties, especially thinner-skinned ones like 'Cayenne' or 'Thai Bird's Eye'.
- Preparation: I wash the chilies gently and pat them completely dry.
- The Ristra: I string them onto a strong thread or wire, pushing the needle through the stem end. I make sure there's plenty of air circulation between each chili.
- Location: I hang these "ristras" in a warm, dry, well-ventilated spot in my greenhouse or shed. Here in the UK, humidity can be an issue, so good airflow is paramount to prevent mould. It usually takes 3-6 weeks for them to fully dry and become brittle.
Dehydrating: For Consistency and Super-Hots
For thicker-walled chilies or when I want absolute consistency, my food dehydrator is invaluable. This is great for my super-hots like 'Carolina Reaper' where I want to make powders.
- Preparation: I slice thicker chilies in half lengthwise to speed up drying.
- Temperature: I set my dehydrator to a low temperature, usually around 50-60°C (122-140°F).
- Time: This can take anywhere from 8 to 24 hours, depending on the chili's thickness. They're done when they are completely brittle and snap easily.
Here's a quick comparison of harvest and curing methods:
| Method | Best For (Heat/Flavor) | Randy's Experience in UK | Pros | Cons | Best Chili Types |
|---|---|---|---|---|---|
| Harvest: Fully Ripe | Maximum Heat & Developed Flavour | Essential for super-hots like 'Naga Viper' grown in my greenhouse. | Fullest flavour profiles, highest capsaicin levels. | Risk of overripening/rot if left too long, especially outdoors in damp UK weather. | Most varieties, especially super-hots and flavourful bell types. |
| Harvest: Slightly Underripe | Mild Heat & Fresher, Grassy Notes | Occasionally for 'Jalapeños' if I want a milder, crisper pod. | Can be good for specific culinary uses, extends harvest window. | Less heat, less complex flavour; not recommended for maximum potency. | Jalapeño, Serrano (for pickling). |
| Curing: Air Drying | Enhanced Flavour & Good for Powders | My go-to for 'Cayenne', 'Thai Bird's Eye' in a dry, airy shed. | Traditional, cheap, develops deep, earthy flavours. | Can be slow and prone to mould in humid UK conditions; not ideal for thick-walled chilies. | Cayenne, Thai, Piri Piri, milder decorative chilies. |
| Curing: Dehydrating | Consistent Heat & Long-Term Storage | Perfect for 'Carolina Reapers' and 'Scotch Bonnets' for powder. | Fast, consistent, prevents mould, ideal for making powders/flakes. | Requires a dehydrator (initial cost); can sometimes mute very delicate flavours if too hot. | Super-hots, thick-walled chilies (Habanero, Scotch Bonnet). |
Once fully dried and brittle, I store my whole chilies or homemade chili powder in airtight containers in a cool, dark place. This preserves their heat and flavour for months, sometimes even years!
Conclusion: Ignite Your UK Garden's Potential
So there we have it, fellow UK gardeners! From the very soil beneath our feet to the careful stress we put our plants under, and the precise timing of harvest, maximising both the fiery burn and the incredible, nuanced flavours of homegrown chili peppers is an art and a science. It's a journey I've been on for five years here in my Midlands garden, full of triumphs and, yes, a few damp, mouldy failures thanks to our lovely British weather!
We've covered the critical foundations:
- Understanding the Science: Decoding capsaicin and terpenes, and knowing how environmental factors influence them.
- Soil and Variety Selection: Setting the stage with nutrient-rich soil and choosing chili varieties that truly thrive in our often-challenging UK climate.
- Controlled Stress: Learning how to push your plants just enough with water and temperature stress to encourage maximum capsaicin production.
- Targeted Feeding: Nurturing your chilies with the right nutrients at the right time to unlock their full flavour potential.
- Harvest and Curing: Mastering the final steps to ensure those hard-earned fruits retain their intensity and store beautifully.
My biggest takeaway from all my experimenting? Don't be afraid to try new things. Our UK climate presents unique hurdles, but with a bit of knowledge, patience, and a willingness to learn from your plants (and your mistakes!), you can absolutely grow incredible, flavour-packed, super-hot chilies. I've found that the joy of harvesting a truly potent 'Scotch Bonnet' or a fragrant 'Aji Lemon' that you've nurtured from seed is utterly incomparable.
So, roll up your sleeves, embrace the unpredictable British weather, and get out there! Experiment with these advanced techniques in your own UK garden, whether you've got a greenhouse like mine or just a sunny windowsill. Share your successes, learn from your challenges, and let's all boost the burn and flavour of our homegrown chilies together. Happy growing, and may your next harvest be your hottest and most delicious yet!
