
Beyond the Surface: Understanding and Tackling Hardpan in Your UK Vegetable Garden
When I first moved into my 800 sq ft patch here in the UK Midlands five years ago, I thought I had it all figured out. Raised beds, check. Greenhouse for my beloved heirloom tomatoes, check. A mountain of compost, double check! But despite my best efforts, some of my beds just weren't performing. My carrots were forking into bizarre shapes, my brassicas seemed perpetually stunted, and after a good British downpour (let’s be honest, we get plenty of those!), water just sat stubbornly on the surface for far too long. I blamed everything from the slugs to the typically unreliable British summer, but deep down, I knew something more fundamental was wrong.
It wasn't until I started getting serious about soil health that I discovered the silent killer beneath my feet: hardpan. For those of us tending established in-ground beds, especially here in Britain where our weather can be so wildly unpredictable, hardpan can be a real nightmare. It's essentially a compacted, impenetrable layer of soil that forms below the surface, often a few inches to a foot down. It's like having a concrete slab under your prize-winning 'Moneymaker' tomatoes, preventing roots from delving deep, blocking drainage, and locking away precious nutrients. I learned this the hard way when I tried to grow a decent parsnip crop in one of my older beds – they came out looking more like gnarled twigs than root vegetables!
The good news? We don't have to resort to a full-scale excavation project to fix it, which is music to my ears, as I'm all about no-dig for my surface layers. Tearing up established beds filled with a year's worth of organic matter and precious soil life just isn't an option for me, or for most of you I'd wager. In this article, I'm going to share the targeted techniques I've experimented with in my own UK garden to decompact those deep soil layers without ever picking up a spade for a full dig. It's all about working with nature, not against it, to build a thriving, resilient growing space that can handle whatever our British climate throws at it.
Is Hardpan Hiding? Simple Tests to Identify Deep Compaction in Established Beds
Before you start any remediation, you need to be sure hardpan is actually the culprit. I spent a whole season blaming the slugs or the typically unreliable British summer before I actually looked deeper. Trust me, it's worth taking the time to properly diagnose the issue. Here in the Midlands, my soil can vary wildly from heavy clay to surprisingly sandy patches, so testing is crucial.
The most obvious signs are visual. Are your plants struggling despite adequate feeding and watering? Do you see stunted growth, yellowing leaves, or general lack of vigour, even in varieties that should thrive, like my normally bomb-proof 'Celebrity' tomatoes? Is water pooling on the surface after rain, taking ages to drain away? When I noticed water pooling in my main tomato bed – the one where I grow my 'Marmande' and 'Sungold' beauties – even after just a light shower, that was a huge red flag for me.
My go-to method for identifying hardpan without disturbing my precious beds is the soil probe test. You don't need fancy equipment for this; a simple piece of rebar, a sturdy metal rod, or even an old tent pole will do. I actually use a piece of old rebar I had lying around from a DIY project – no fancy kit needed!
Here's how I do it:
- Timing is key: Wait for your soil to be moist, but not soaking wet. After a good, steady rain (a common occurrence here in the UK!) or a thorough watering is perfect. Trying this on dry, rock-hard soil will give you false positives and a sore arm.
- Pick your spots: Test several areas within the bed, especially near struggling plants.
- Push it down: Gently push the rod straight down into the soil. You're feeling for resistance. In healthy, well-structured soil, it should slide down relatively easily.
- Feel the resistance: When you hit a hardpan layer, you'll feel a distinct, sudden increase in resistance, almost like hitting a solid object. Note the depth at which this happens.
- Compare: Continue pushing. Below the hardpan, if you manage to break through, the soil might become easier to penetrate again.
Sometimes, if I'm really suspicious in a less critical spot, I'll carefully use a trowel to dig a small test hole near a struggling plant, just to see what the roots are doing. If they're growing sideways instead of down, or are tangled in a dense mat, that's another strong indicator.
Here's a quick comparison of methods I've used in my UK garden:
| Test Method | What it Reveals | Pros for Established Beds (UK) | Cons for Established Beds (UK) | Randy's Take |
|---|
Worm Wonders and Bio-Drillers: Encouraging Earthworms and Strategic Planting for Decompaction
Now, let's talk about the unsung heroes of our soil: earthworms! These incredible creatures are nature's tiny, tireless engineers, constantly tunnelling through the soil and creating those vital channels for air and water. In my 800 sq ft garden here in the Midlands, I've seen firsthand the massive difference a thriving worm population makes. When I first started converting my lawn into vegetable beds five years ago, the soil was quite dense, but a consistent no-dig approach combined with plenty of organic matter has turned it into a worm metropolis.
To truly get these wrigglers working for you, you need to provide them with a constant supply of food and a comfortable, undisturbed home. I regularly top-dress my beds with homemade compost – a mix of kitchen scraps, cardboard, and garden waste – along with a good layer of leaf mould I collect from the local park. This keeps the surface moist and rich, exactly what worms love. One mistake I made early on was letting my beds dry out too much in a particularly hot British summer; the worms went deep, and surface activity plummeted. Now, consistent mulching is non-negotiable for me, especially with our often unpredictable UK weather!
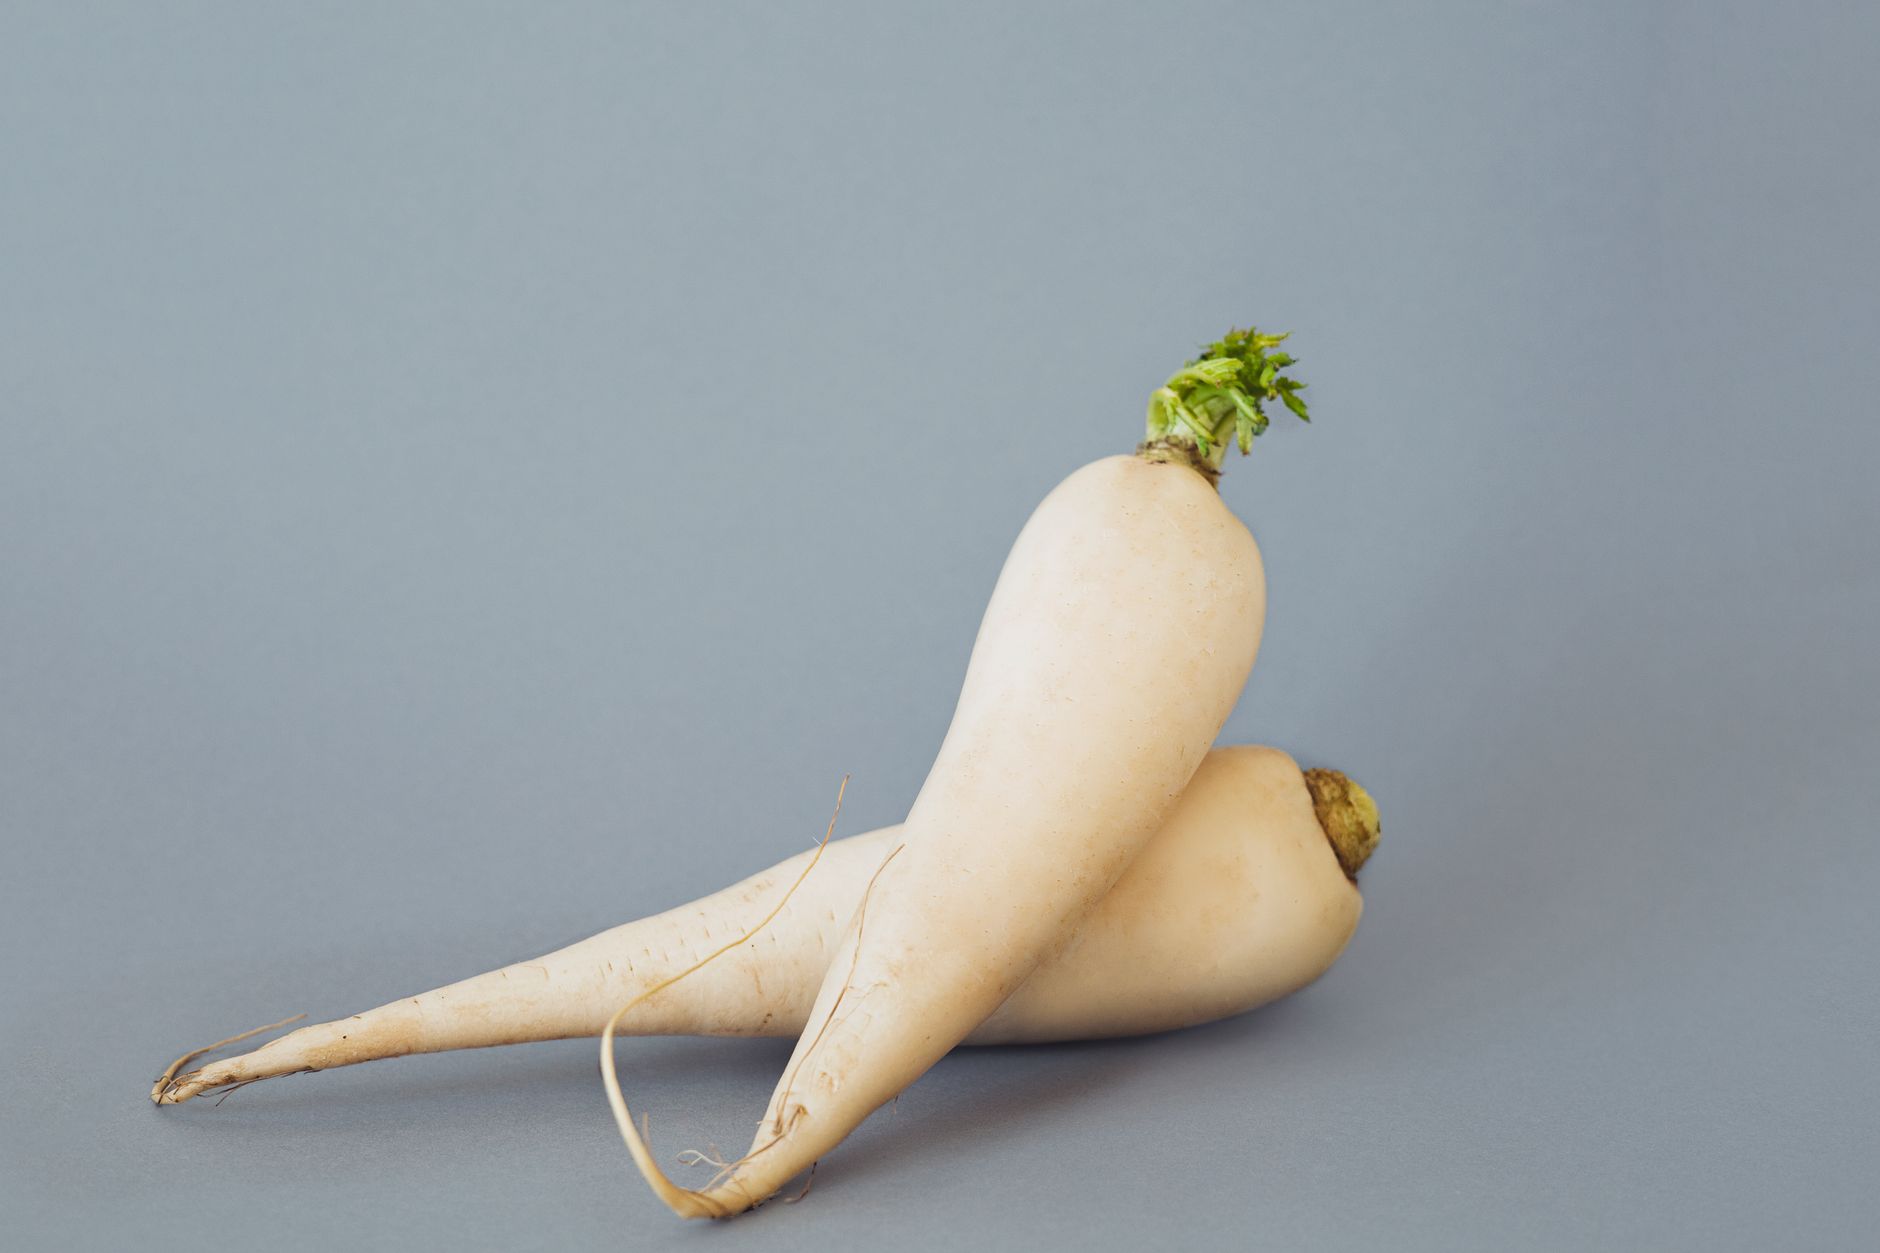
Beyond our wiggly friends, certain plants act as "bio-drills," using their powerful roots to penetrate compacted layers. While we talked about cover crops earlier, you can also strategically use some vegetables or even beneficial "weeds" if you're careful. Daikon radish, for example, is brilliant for this. Even though it's often used as a cover crop, I sometimes interplant a few 'Mino Early' daikons in a bed that's still feeling a bit sluggish, especially after a particularly wet winter. Their long, thick taproots really push down, and when they decompose, they leave behind excellent channels. I've also found comfrey (specifically Bocking 14, the sterile variety so it doesn't spread everywhere!) to be fantastic. I have a small patch next to my greenhouse, and its deep roots forage nutrients and break up soil, plus it gives me free mulch for my tomatoes!

A Multi-Pronged Approach: Combining Techniques for Sustainable Hardpan Relief
The truth is, there’s no single magic bullet for breaking hardpan, especially in established beds where you can’t just bring in a rotavator. I've learned this the hard way. Early on, I thought just adding some compost would fix everything, but while it helped the top layer, that deep compaction lingered. What truly works, in my experience here in my UK garden, is a combination of these techniques working in harmony. It's like building a strong team – each player has a role, and together they're unstoppable.
For instance, last autumn, I had a raised bed that was still struggling with drainage after years of growing hungry brassicas. I started by sowing a mix of deep-rooting cover crops like 'Tillage Radish' and crimson clover. Over winter, I made sure to top-dress with a thick layer of well-rotted horse manure (from a local stable, brilliant stuff!). When I planted out my 'Moneymaker' tomatoes in the greenhouse bed this spring, I inoculated them with mycorrhizal fungi granules directly into the planting holes. This combination meant the roots of my tomatoes could really get down deep, following the channels left by the cover crops and supported by the fungi, thriving even through a particularly chilly start to spring here in Britain.
Here's a breakdown of how the different techniques we've discussed complement each other:
| Technique | Mechanism | Pros (UK Context) | Cons/Challenges (UK Context) | Best Used With | Randy's Verdict (from my UK Garden) |
|---|---|---|---|---|---|
| Deep-Rooting Cover Crops | Roots physically penetrate hardpan, die back, leaving channels. | Excellent for winter protection, adds organic matter, suppresses weeds. Works well in our mild UK winters if sown at right time. | Requires planning (when to sow/chop), some varieties can be tricky to incorporate into no-dig system. Can tie up a bed temporarily. | Mycorrhizae (for root establishment), Layered Organics (to feed microbes), Earthworm Encouragement (to process residue). | My go-to for initial hardpan busting. 'Tillage Radish' and clovers are brilliant here. |
| Mycorrhizal Fungi | Extends root system, improves nutrient/water uptake, glues soil aggregates. | Boosts plant health and resilience, especially important for our sometimes challenging British growing conditions. | Can be costly initially, effectiveness depends on existing soil health. Needs host plants to establish. | Layered Organics (food source for fungi), Strategic Planting (to ensure host plants), Earthworm Encouragement. | Absolutely essential, especially for heavy feeders like my greenhouse tomatoes and squashes. |
| Layered Organics | Adds humus, feeds soil life, improves aggregation, gradually softens soil. | Consistent, long-term improvement, weed suppression, water retention (great for dry spells or heavy rain). | Slower results for deep compaction, requires ongoing sourcing of materials. Can attract slugs in damp UK climates if too thick. | Earthworm Encouragement (to break down organics), Mycorrhizae (fed by organics), Strategic Planting. | The foundation of all my soil health. Pile it on! Leaf mould and compost are my favourites. |
| Earthworm Encouragement | Tunnels aerate, mix soil, deposit nutrient-rich casts. | Natural, self-sustaining, improves drainage and fertility. Highly visible signs of success! | Requires consistent organic matter, moisture. Can be slower in very poor soils. | Layered Organics (their food!), No-Dig (their home), Cover Crops (add food source), Mycorrhizae (worms spread spores). | My best workforce! Happy worms mean a happy garden. They're my soil's true champions. |
| Strategic Planting | Specific plant roots break up compaction. | Targeted approach for stubborn spots, can be incorporated into existing crop rotation. | Limited to specific plants, may not cover wide areas. Requires careful selection for UK climate. | Layered Organics (to support plant growth), Mycorrhizae (to enhance root penetration). | Great for those really tough patches. Daikon radish has been a lifesaver in a few of my beds after a particularly wet year. |
Maintaining Mellowness: Long-Term Strategies to Keep Your Soil Decompacted
Once you’ve put in the hard work to decompact your soil, the last thing you want is for that stubborn hardpan to return! Trust me, I've seen it happen. I once got a bit complacent in one of my smaller herb beds, walking on it a bit too much when it was wet, and within a season, I could feel that familiar resistance again. It’s a bit like tending a perennial plant; consistent care is key.
My number one long-term strategy, and the cornerstone of my entire gardening philosophy here in the UK, is a strict no-dig or minimal disturbance approach. By not digging or tilling, you preserve the incredible soil structure that worms and roots have worked so hard to create. Every time you dig, you disrupt those channels, destroy fungal networks, and collapse those precious air pockets. I started my no-dig journey five years ago and haven't looked back; my back is happier, and my soil is infinitely better for it.
Consistent organic matter application is another non-negotiable. I constantly top-dress my beds with a fresh layer of compost, leaf mould, or well-rotted wood chip, usually in autumn and spring. This ongoing supply keeps feeding the soil food web, which in turn maintains that lovely, crumbly structure. It also acts as a brilliant mulch, protecting the soil from heavy British rain (which can compact the surface) and scorching summer sun.
Mindful foot traffic is crucial. I’ve learned to create clear paths between my beds and make sure I never step on the growing areas, especially when the soil is wet. Our British weather means wet soil is a frequent occurrence, and it's far more susceptible to compaction. Even a little weight can undo weeks of hard work.
Finally, regular observation is your best friend. Keep an eye on how your plants are growing. Are they looking a bit stunted? Is water pooling in certain areas after a downpour? These are signs that compaction might be creeping back. I often do a quick 'screwdriver test' (as described in a previous section) in different beds every few months, just to check in on my soil's health. And don't forget crop rotation; varying the root depths and types of plants you grow in a bed year to year can naturally help prevent localized compaction.
Conclusion: Your Journey to Deeper, Happier Soil
Phew! We've covered a fair bit, haven't we? Tackling hardpan in an established vegetable bed without resorting to digging might seem like a daunting task, a bit like trying to solve a complex IT problem (something I know all about from my past life!). But as I've found in my own UK garden over the last five years, it's absolutely achievable, and incredibly rewarding.
From understanding the hidden signs of compaction to harnessing the power of deep-rooted cover crops, the magic of mycorrhizae, the steady nourishment of layered organics, and the tireless work of our earthworm allies, you now have a comprehensive toolkit. Remember, it's not about a single solution, but a multi-pronged, patient approach, tailored to your specific garden and, of course, our wonderfully unpredictable British climate.
I've shared my own experiences – the triumphs, the learning curves, and even the occasional mistake I've made here in the Midlands – because I truly believe that real-world gardening is the best teacher. Seeing a struggling plant suddenly thrive as its roots finally break through that stubborn layer is one of the most satisfying feelings a gardener can have.
So, don't despair if your spade hits resistance. Embrace these techniques, observe your soil, and trust in nature's incredible ability to heal and transform. Your plants, and your back, will thank you for it. What hardpan challenges have you faced in your garden? Have you tried any of these techniques? I'd love to hear your stories and tips in the comments below! Happy gardening, everyone!
