Welcome Frogs & Toads: Your Guide to a Natural Pest-Free UK Garden
Morning, fellow green-fingered friends! Randy here, coming to you from my bustling 800 sq ft backyard in the heart of the UK Midlands. For those of you who know me, you'll know that my journey into gardening started about five years ago after I swapped my IT desk for a trowel, and I haven't looked back since. My little patch is crammed with raised beds overflowing with UK-suited vegetables, a greenhouse dedicated to my beloved heirloom tomatoes, and herbs spilling out of every corner. But as any British gardener knows, with all that lush growth comes the inevitable battle against pests.
I've spent years experimenting, learning, and sometimes, let's be honest, getting things a bit wrong in our wonderfully unpredictable British climate. I've tried everything from companion planting to homemade sprays, all in pursuit of a truly organic and resilient garden. But one of the most effective, charming, and frankly, easiest solutions I've ever implemented in my UK garden has been building a dedicated pond for our native frogs and toads. It's transformed my garden, not just into a haven for wildlife, but into a much more balanced ecosystem where nature does most of the heavy lifting when it comes to pest control.
This isn't just about digging a hole and filling it with water; it's about creating a thriving mini-habitat that actively works for you, tackling those relentless slugs, snails, and aphids that plague our gardens here in Britain. Over the next few sections, I'm going to walk you through exactly how I built my frog and toad pond, sharing all the tips, tricks, and a few lessons learned from my own experience right here in the Midlands. Get ready to welcome some incredibly efficient, natural pest controllers to your garden!
Beyond Beauty: The Natural Pest Control Benefits for UK Gardens
When I first started thinking about a pond, I'll admit, part of it was for the sheer joy of having a new feature in my small garden. The glimmer of water, the potential for dragonflies – it sounded lovely. But what I quickly discovered, and what has proven to be an absolute game-changer for my vegetable patches, is the incredible natural pest control service that frogs and toads provide. This isn't just a pretty water feature; it's a vital part of my garden's defence strategy, especially against those moisture-loving pests our UK climate seems to breed with such enthusiasm.
Here in my 800 sq ft garden, I've seen a dramatic reduction in damage from the usual suspects since my pond became established. Frogs and toads are voracious eaters, and their diet consists of many of the nuisances that drive us UK gardeners mad. Think slugs devouring your prize hostas or young brassicas – a common sight after a typical British downpour. Toads, in particular, are slug-eating machines, happily munching their way through dozens of them in a single night. I used to spend evenings with a torch, hand-picking slugs off my 'Purple Sprouting Broccoli' and 'Foremost' potatoes, but now, I rarely have to.
They also gobble up snails, various insects, aphids, mosquitoes, flies, and even some caterpillars. Last season, for example, I had a minor outbreak of blackfly on my broad beans – a regular occurrence in my greenhouse and raised beds. Normally, I'd be reaching for the organic soap spray, but with a thriving frog population, I noticed the numbers dwindled much faster than usual, with the amphibians acting as a crucial first line of defence. It’s all about creating an ecosystem where predators can flourish, reducing the need for constant human intervention and keeping the balance just right for our British wildlife. It's a truly sustainable approach that aligns perfectly with my goal of growing healthy, chemical-free food.
Finding the Perfect Spot: Location, Sunlight & Safety for Your Mini Pond
Choosing the right spot for your frog and toad pond is probably one of the most critical decisions you'll make, and it's something I spent a good while contemplating for my own garden. Get this wrong, and you could end up with an algae-ridden mess, or worse, a pond that simply doesn't attract the wildlife you're hoping for. In my 800 sq ft Midlands garden, every inch counts, so the placement had to be just right.
First off, sunlight is key. While you might think "more sun, better," for a small pond, especially here in the UK, too much direct sunlight can lead to rapid algae growth, turning your clear water into a thick, green soup. Believe me, I learned this the hard way with a small experimental container pond I placed in a full-sun spot a couple of summers ago during one of our brief heatwaves; it was a constant battle. Ideally, you're looking for a spot that gets partial shade – perhaps morning sun and afternoon shade, or dappled shade throughout the day. This keeps the water temperature more stable, which is better for amphibian health and reduces the likelihood of rampant algal blooms. I managed to tuck my main pond into a corner of my garden that benefits from the shade cast by a sturdy old Viburnum and my greenhouse in the afternoon, which works perfectly.
Safety is another paramount concern. We want to attract frogs and toads, but we also need to protect them. This means considering predators like cats (a common sight in UK gardens!) and even some birds of prey. Placing your pond near dense planting or under shrubs gives them immediate cover and a safe retreat. On the flip side, if you have small children or pets, you'll need to think about safety for them too. A small, shallow pond is generally less of a risk than a deep one, but supervision is always key.
Furthermore, consider accessibility for your amphibians. They need to be able to get in and out easily, so a gently sloping side or a ramp of stones is essential. Avoid placing your pond directly under trees that shed a lot of leaves, as this will lead to constant maintenance, especially during autumn in Britain. Also, steer clear of areas where runoff from heavy rain (another British specialty!) could flood or contaminate the pond, like directly under a gutter downspout. My chosen spot is easily accessible from my raised beds, allowing the frogs and toads to patrol for slugs and snails among my 'Moneymaker' tomatoes and 'Cavolo Nero' kale with minimal effort.

Pre-Formed vs. Liner: Selecting the Right Base for Your Small Garden Pond
Once you've nailed down the perfect spot, the next big decision for your frog and toad pond is what kind of base you're going to use. This choice largely comes down to your budget, the shape you envision, and how much digging and shaping you're willing to do. In my experience, for a small UK garden, both pre-formed ponds and flexible liners have their merits, but they offer very different building processes and final aesthetics.
When I first considered a water feature for my 800 sq ft plot, I looked into pre-formed ponds. These are essentially rigid, pre-shaped plastic or fibreglass moulds that you simply dig a hole to fit. They're quick to install and incredibly durable, often lasting for many years without issue. For someone who might be less confident with DIY or wants a very straightforward project, they're an excellent option. However, their biggest drawback, in my opinion, is the limited range of shapes and sizes. If you have a specific, irregular space you want to fill, or you're aiming for a truly natural, free-form look, a pre-formed pond can feel a bit restrictive. I initially bought a small, kidney-shaped pre-formed one for a tiny bog garden I was contemplating, but for my main frog pond, I wanted something more organic to blend seamlessly with my existing planting.
That's why I ultimately opted for a flexible pond liner for my primary frog and toad pond. This allows you to dig any shape you desire, creating natural curves and varying depths that are perfect for amphibians and aquatic plants. It offers incredible flexibility, making it ideal for those awkward corners or for integrating into existing landscaping, which was crucial in my packed Midlands garden. While it requires a bit more effort in terms of digging and shaping the hole, and then carefully laying and folding the liner, the creative freedom is well worth it. I chose a high-quality EPDM rubber liner, which is incredibly durable, UV resistant (important even with our often-cloudy British skies!), and remains flexible in cold weather – a vital consideration for our UK winters. Cheaper PVC liners are available, but from what I've learned, they tend to become brittle over time and are more prone to punctures, so I always recommend investing in EPDM for longevity and peace of mind.
Here's a detailed breakdown to help you decide what's best for your own UK garden project:
| Feature | Pre-Formed Pond | Flexible Liner (EPDM Recommended) |
|---|---|---|
| Shape/Size | Fixed, limited range of standard shapes. | Completely customisable, any shape or size possible. Ideal for irregular spaces. |
| Installation | Quicker, simpler; dig hole to fit mould. | More involved digging and shaping; careful liner placement and folding required. |
| Durability | Very durable (plastic/fibreglass); rigid. | Extremely durable (EPDM); flexible, puncture-resistant (EPDM). PVC less so. |
| Cost | Generally mid-range for smaller sizes; can vary. | Varies by liner material and size; often more cost-effective for larger/custom shapes. |
| Natural Look | Can look less natural; often has visible edges. | Blends seamlessly into the landscape, very natural appearance. |
| Repair | Difficult if cracked; usually replacement. | Easy to patch with specific liner repair kits if punctured. |
| Longevity | Typically 10-20 years. | 20+ years (EPDM); PVC 10-15 years, can become brittle in UK weather extremes. |
| Skill Level | Beginner-friendly. | Intermediate; requires more precision and patience. |
| UK Climate Suitability | Good; generally stable against frost. | Excellent (EPDM); remains flexible and resilient in British cold. PVC can stiffen. |
| Waste | More plastic waste if replaced. | Less waste; offcuts can be repurposed or recycled. |
For my small, natural frog pond, the EPDM liner was the clear winner. It allowed me to create gentle slopes for easy access, varying depths for different aquatic plants, and a shape that truly felt like it belonged in my little piece of the Midlands. It’s a bit more work upfront, but the long-term benefits for the wildlife and the aesthetic appeal are, in my opinion, unmatched.
5. Digging In: A Step-by-Step Guide to Building Your Wildlife Pond
Right, so you’ve got your spot picked, your base decided – either a sturdy pre-formed liner or a flexible butyl liner – and the excitement is probably bubbling over like a forgotten kettle. Now for the really satisfying bit: getting your hands dirty! This is where your vision starts to take shape. I remember the first time I marked out my own pond, shovel in hand, feeling like an archaeologist about to unearth something truly special.
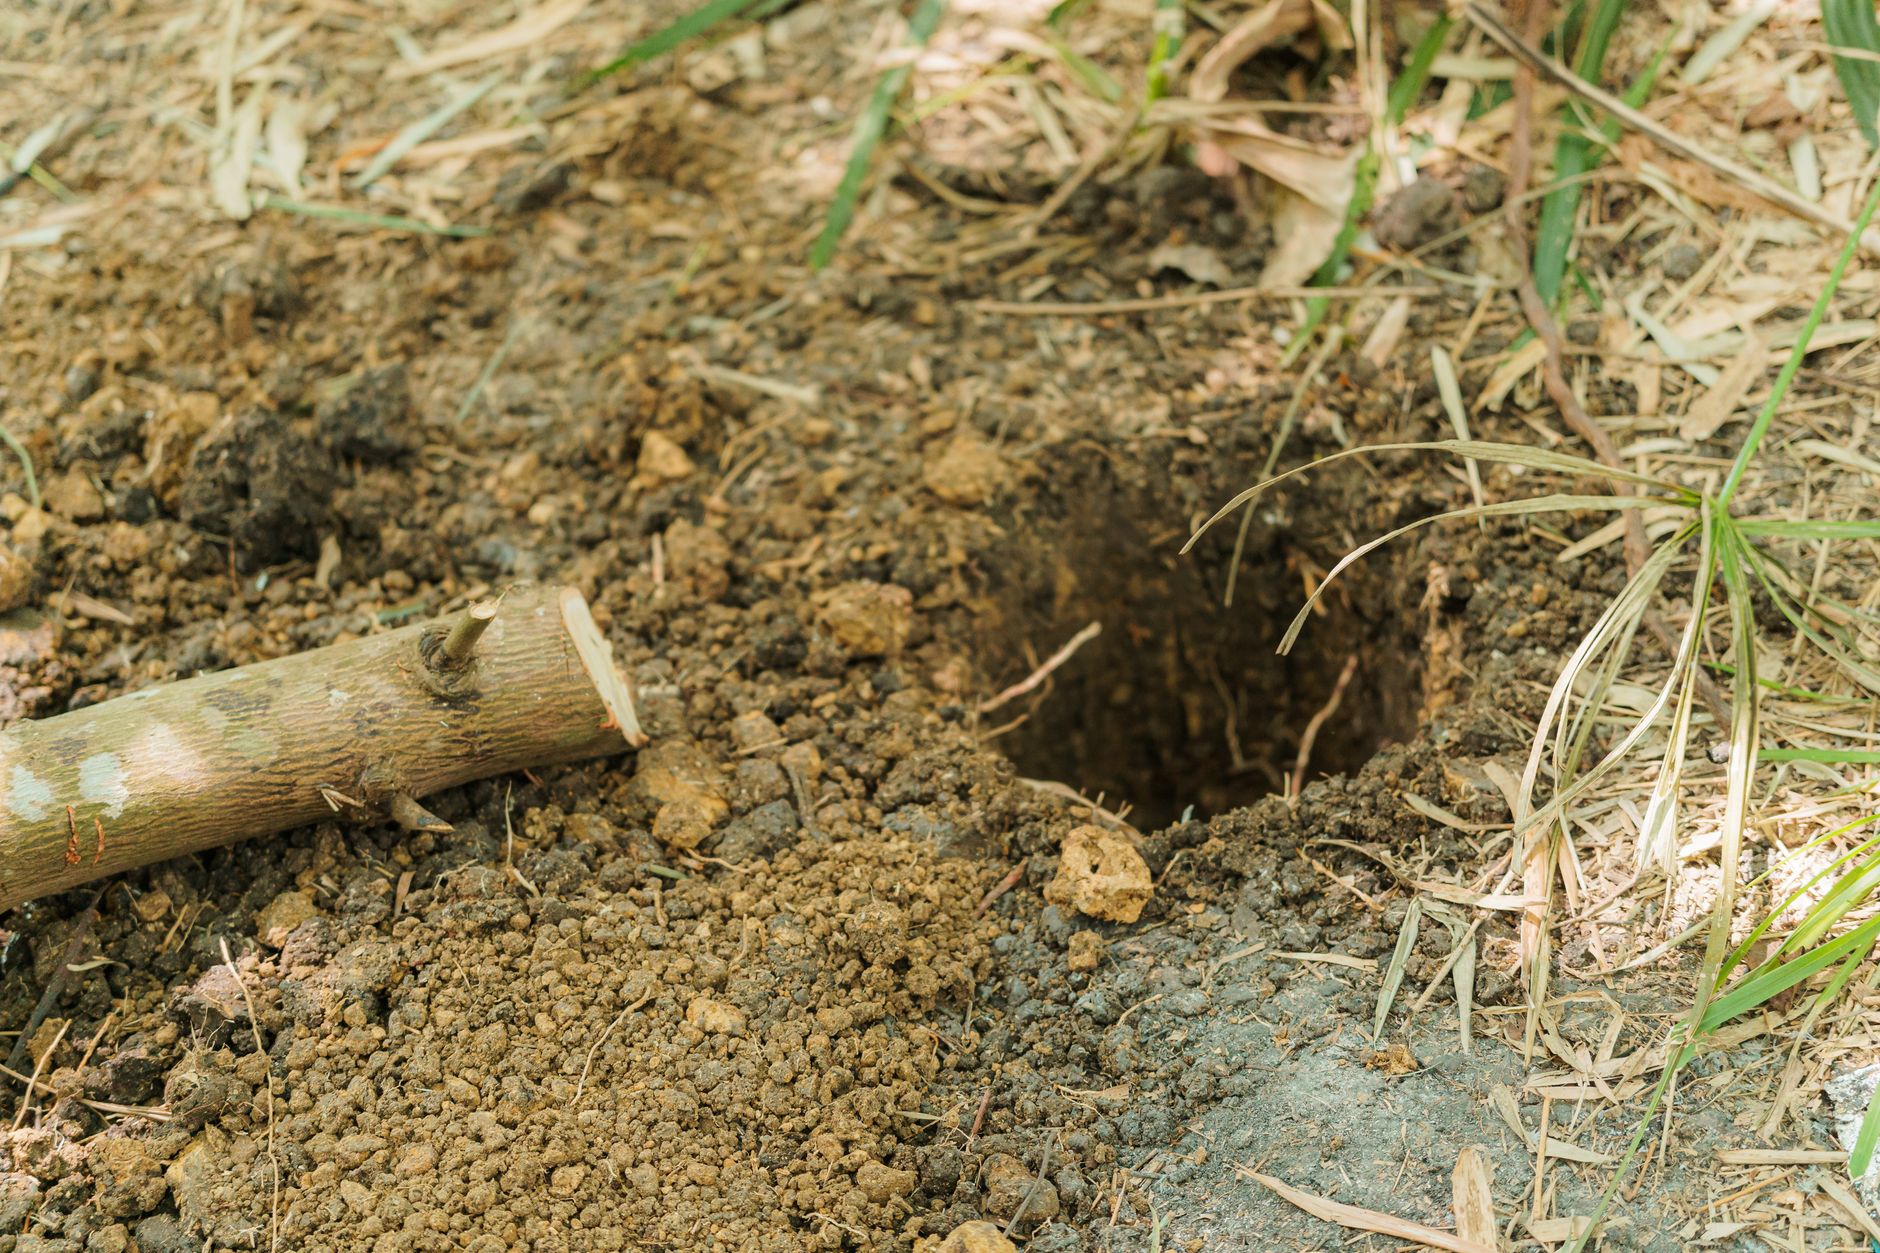
Marking Out and Excavation
First things first, grab a rope or a hosepipe and lay out the shape of your pond on the ground. Take a step back, look at it from different angles, and make sure you’re happy with the contours. For my pond, I went for an organic, kidney-bean shape – it just felt more natural for the corner I chose in my 800 sq ft Midlands garden. Once you’re happy, use a spade or even just a sharp stick to cut into the turf, marking your outline clearly.
Now, the digging begins! If you’re using a pre-formed pond, place it upside down in your marked area and trace its exact outline. This is your template. For a flexible liner, you'll be digging a more freeform shape, keeping in mind the shelves you'll need.
Here’s the crucial bit I learned the hard way: dig in stages. You don't want just one big, steep hole. Frogs and toads need shallow areas to get in and out safely, and for spawning. I always dig at least two depths:
- Shallow Shelf (around 15-20cm / 6-8 inches deep): This is your marginal shelf. It's perfect for aquatic plants that like their feet wet but their heads in the sun, and it's a vital access point for wildlife.
- Deeper Section (around 45-60cm / 18-24 inches deep): This is the main body of water, offering a stable temperature and refuge during hot summers or icy British winters. I aim for at least 45cm here in the Midlands to ensure it doesn't freeze solid right to the bottom during a particularly harsh spell.
As you dig, keep checking the levels. A spirit level across a long piece of wood is your best friend. You want the rim of your pond to be perfectly level all the way around. Trust me, a wonky pond rim will bother you every time you look at it! I made this mistake with my first raised bed and ended up re-levelling it the following spring – lesson learned!
Lining and Finishing
Once your hole is dug and the shelves are perfect, it’s time to prepare for your liner. Remove any sharp stones or roots that could puncture your chosen material. I always add a layer of sand, about 2-3cm (1 inch) thick, at the bottom and up the sides. On top of that, a sturdy pond underlay (geotextile fabric) is absolutely essential. It’s cheap insurance against future leaks, especially with our unpredictable British weather cycles causing ground movement.
If you’re using a pre-formed pond, carefully lower it into the hole, checking that the rim is level. Fill any gaps around the sides with sand or sifted soil, compacting it gently as you go.
For a flexible liner, drape it over the hole, ensuring there’s plenty of overlap around the edges. Start filling it slowly with water. As the water fills, the liner will naturally conform to the shape of your pond. Smooth out any major creases as it fills. This is the moment I always feel a huge sense of accomplishment – watching the water bring the pond to life!
Once full, leave the liner for a day or two to settle, then trim the excess, leaving a generous overhang of about 30cm (1 foot). You can then secure this overhang by tucking it under turf, rocks, or paving slabs. I’ve used a mixture of reclaimed bricks and some lovely local sandstone to create a natural-looking edge in my garden – it helps to blend the pond seamlessly into my packed raised beds.
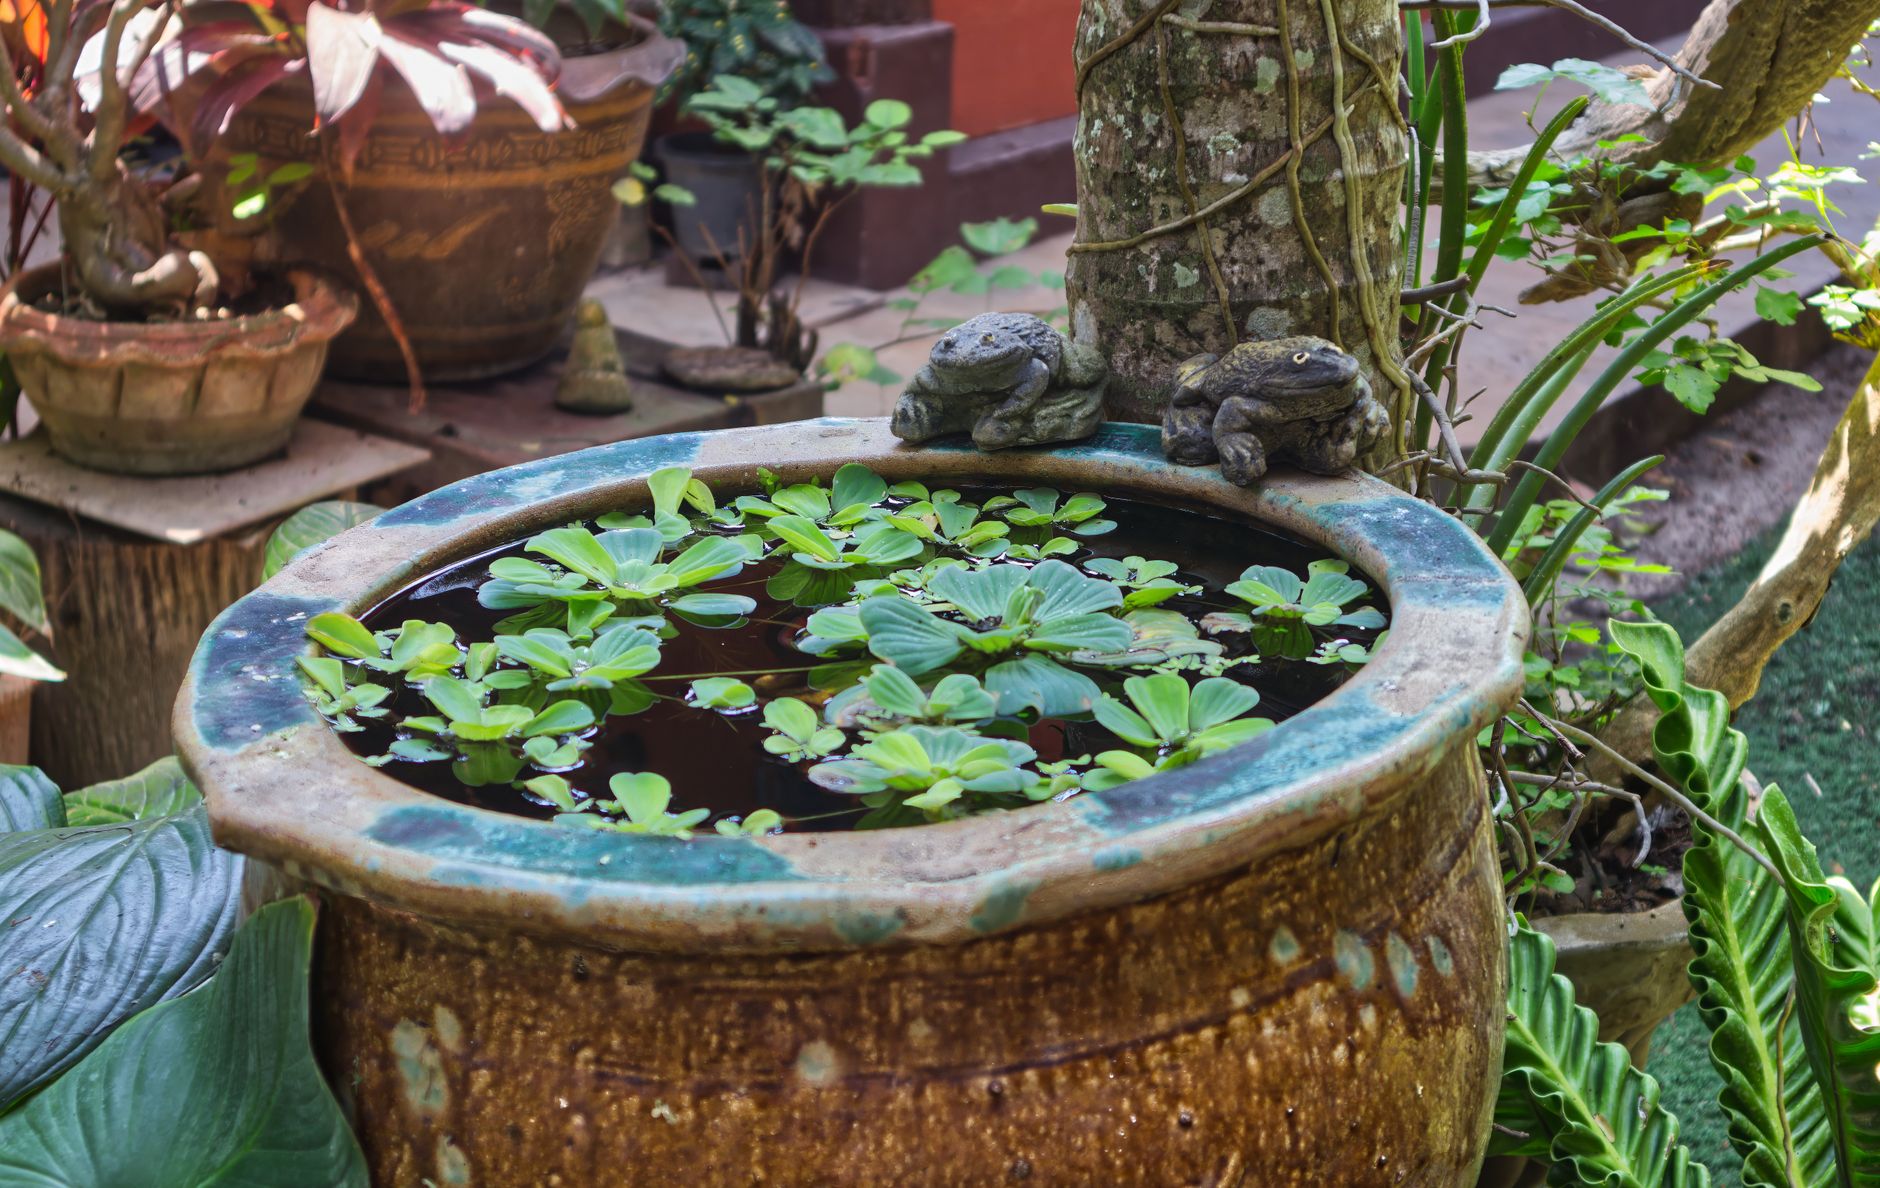
6. Creating a Haven: Essential Native UK Plants & Features for Frogs and Toads
Now that your pond is dug and filled, it's time to turn it into a truly irresistible habitat. This isn't just about aesthetics; it's about providing food, shelter, breeding sites, and safe entry/exit points. And crucially, we want to stick to native UK plants. Why native? Because they’re perfectly adapted to our climate, support our local ecosystem, and won’t go rampaging through your pond like some non-native invaders can. I learned this when I briefly experimented with a vigorous non-native oxygenator years ago – never again!
The Green Lungs: Native UK Pond Plants
Here in my 800 sq ft Midlands garden, I focus on a mix of submerged, marginal, and floating plants to create a balanced ecosystem. This variety offers everything our amphibian friends need.
Detailed Comparison Table: Essential Native UK Pond Plants
| Plant Type & Name | UK Climate Suitability | Benefits for Wildlife | Ideal Placement & Notes | Randy's Experience & Tips
- Marginal Plants (for the shallow shelf)
- Water-Forget-Me-Not ( Myosotis scorpioides ): A beautiful, spreading plant with small blue flowers.
- Great for early season frogspawn attachment.
- Provides cover for emerging tadpoles.
- Adds a delicate splash of blue to the pond's edge.
- I've grown this for years; it's reliable and not overly aggressive. It spreads nicely along the shelf without taking over the whole pond, unlike some of the more vigorous types. It's tough enough for our changeable British weather too.
- Marsh Marigold ( Caltha palustris ): Bright yellow flowers in spring.
- One of the earliest flowers, providing nectar for pollinators.
- Dense foliage offers excellent shelter.
- Its strong root system helps stabilise the pond edge.
- A real favourite of mine! The vibrant yellow in early spring is a sight for sore eyes after a grey UK winter. I tuck it into a pocket on my shallow shelf, and it comes back bigger and better every year. Just be aware it needs consistently moist soil.
- Water Mint ( Mentha aquatica ): A fragrant, upright plant.
- Attractive to beneficial insects.
- Provides cover and scent.
- Can be a bit enthusiastic, so best planted in a basket.
- I love the smell of this, especially on a warm summer evening in the greenhouse. I always keep it in a submerged pot to stop it from taking over, as mint is famously vigorous, but it's a fantastic plant for attracting insects to the pond.
- Water-Forget-Me-Not ( Myosotis scorpioides ): A beautiful, spreading plant with small blue flowers.
- Submerged Plants (Oxygenators)
- Hornwort ( Ceratophyllum demersum ): Free-floating or anchored, feathery plant.
- Excellent oxygenator, keeping water clear.
- Provides cover for tadpoles and invertebrates.
- No need to plant in soil, just drop it in.
- This is my go-to oxygenator. It's incredibly low maintenance – just chuck it in! I've found it's brilliant at keeping algae at bay, especially during those unpredictable warm spells we get in late spring here in the UK.
- Water-starwort ( Callitriche stagnalis ): Fine-leaved, floating or submerged.
- Another brilliant oxygenator.
- Provides dense cover for young amphibians.
- Can grow in very shallow water.
- I often use this as a secondary oxygenator. It forms a lovely dense mat, which is perfect for tiny tadpoles to hide amongst. It's hardy and bounces back even after a really cold Midlands winter.
- Hornwort ( Ceratophyllum demersum ): Free-floating or anchored, feathery plant.
- Floating Plants
- Fringed Water-lily ( Nymphoides peltata ): Small, lily-like leaves with delicate yellow flowers.
- Provides shade, reducing algae growth.
- Offers cover for adult frogs.
- A beautiful, ornamental addition.
- I have a small clump of this in my pond, and it adds such a lovely touch. The small lily pads offer just enough shade without completely covering the surface, which is key for a small pond. It's a bit more "showy" than the others, but still very much a native team player.
- Fringed Water-lily ( Nymphoides peltata ): Small, lily-like leaves with delicate yellow flowers.
Beyond Plants: Essential Features
Plants are a huge part of the puzzle, but a few other features will make your pond truly irresistible:
- Ramps and Exits: This is non-negotiable! Frogs and toads need easy ways to get in and out. I always incorporate a gently sloping beach area on one side of my pond using pebbles and gravel. You can also use a large, flat rock partially submerged, or even a piece of untreated wood. One mistake I made with my first pond was making the edges too sheer, and I quickly added a ramp to help the little guys out.
- Log Piles & Rockeries: Just outside the pond, create a small log pile using old branches or untreated wood. Toads especially love to hide in cool, damp places, and a log pile offers perfect shelter from predators and the sun. A small rockery built with local stone (I use lovely red sandstone from a nearby quarry) also provides crevices and shade.
- Surrounding Vegetation: Don't be too tidy right around the pond! Let some grass grow a little longer, or plant some dense, low-growing native plants. This creates a safe corridor for amphibians moving to and from the pond and offers extra hunting grounds for insects.
7. Long-Term Care & Welcoming Guests: Maintaining Your Pond and Encouraging Residents
So, your pond is built, planted, and looking fantastic. Now comes the easy part: letting nature do its thing! The beauty of a dedicated wildlife pond is that it’s designed to be low-maintenance. In my 800 sq ft garden, I've found that less is often more when it comes to a wildlife pond. This isn't a pristine ornamental fish pond; it's a wild haven.
Pond Maintenance: The Hands-Off Approach
- Water Top-Ups: Here in the UK, we get our fair share of rain, but during a dry spell, your pond level might drop. Always top up with rainwater if possible (I collect it from my greenhouse roof!). Tap water contains chlorine and other chemicals that can harm amphibians and disrupt the delicate ecosystem you've worked hard to create. If you must use tap water, let it sit in a bucket for 24-48 hours to allow the chlorine to dissipate.
- Algae Management: A little bit of green algae is natural, especially in a new pond. Don't panic! Your oxygenating plants, once established, will help keep it in check. If it becomes excessive, you can skim some out with a net, but avoid chemical treatments at all costs. Over-zealous cleaning can remove the beneficial microorganisms that keep the pond healthy. One particularly sunny summer here in the Midlands, I had a bit of a blanket weed bloom, but a good handful of fresh hornwort and a few days of patience saw it recede naturally.
- Plant Management: Over time, some plants might become a bit too enthusiastic. Every autumn, I'll gently remove about a third of the submerged and marginal plant growth. This prevents the pond from getting choked and ensures there's enough open water. Always leave the removed plant matter by the pond for a day or two; any tiny creatures living in it can then make their way back to the water.
- Autumn Leaves: If your pond is near deciduous trees (like my neighbour's ancient oak!), you'll get falling leaves. A small amount is fine, adding nutrients, but too many can decompose and make the water stagnant. I usually net out the bulk of them in late autumn, or put a net over the pond for a few weeks if I'm feeling particularly organised.
- Winter Care: Frogs and toads will often overwinter at the bottom of the pond or tucked into log piles nearby. Don't disturb them! If the pond freezes over completely, don't break the ice forcefully as the shockwaves can harm overwintering amphibians. Instead, melt a small hole by placing a hot pan on the surface. This allows toxic gases to escape.
Welcoming Your New Guests
This is where your patience truly pays off. You've built it, and they will come. My biggest learning curve was understanding that I couldn't just "order" frogs for my pond.
- Patience is Key: It might take a few weeks, a few months, or even a year for the first amphibians to discover your pond. Don't get disheartened! If your garden is suitable (even small gardens can work), and there are amphibians in your local area, they will find it. I remember the incredible thrill of seeing my first frogspawn in my pond after nearly 8 months of waiting. It was a proper "YES!" moment, even on a typically grey British spring morning.
- Do NOT Introduce Wild Animals: Resist the urge to "help" by moving frogs or toadspawn from another pond. You risk introducing diseases, and they'll likely just leave anyway. Let them discover it naturally. Your pond is a beacon, not a holding pen.
- Create Surrounding Habitat: Beyond the pond, ensure your garden offers plenty of cover. Long grass, log piles, rockeries, and dense planting provide essential shelter, hunting grounds, and overwintering spots. Remember, the pond is just one part of their lifecycle. I've got a dedicated "wild corner" near my pond with nettles and a big log pile, and it's always buzzing (or croaking!) with life.
Conclusion: A Croaking Success Story Awaits!
There you have it, fellow gardeners! Building a dedicated frog and toad pond in your small UK garden isn't just a rewarding project; it's a powerful step towards creating a more balanced, natural ecosystem right on your doorstep. From finding the perfect sunny spot in your 800 sq ft backyard to choosing the right native plants and patiently waiting for your first guests, every stage is an adventure.
I’ve shared my experiences from my Midlands garden, the lessons I’ve learned (often the hard way!), and the absolute joy I get from watching the wildlife thrive. It’s a testament to how even a small, busy garden can become a vibrant hub for nature, helping to control those pesky slugs and snails, and bringing a sense of wild wonder to your daily routine.
So, grab your spade, plan your shelves, and start digging. You’re not just building a pond; you’re building a legacy of natural pest control and biodiversity. The quiet croaks on a summer evening, the darting movement of a frog among the marsh marigolds, the sight of fresh frogspawn in spring – these are the moments that truly make gardening here in the UK magical. Trust me, it’s one of the best decisions I’ve ever made for my garden, and I know it will be for yours too. Happy pond building!
