
The 'Holding Pen': Your Small Garden's Essential Temporary Nursery
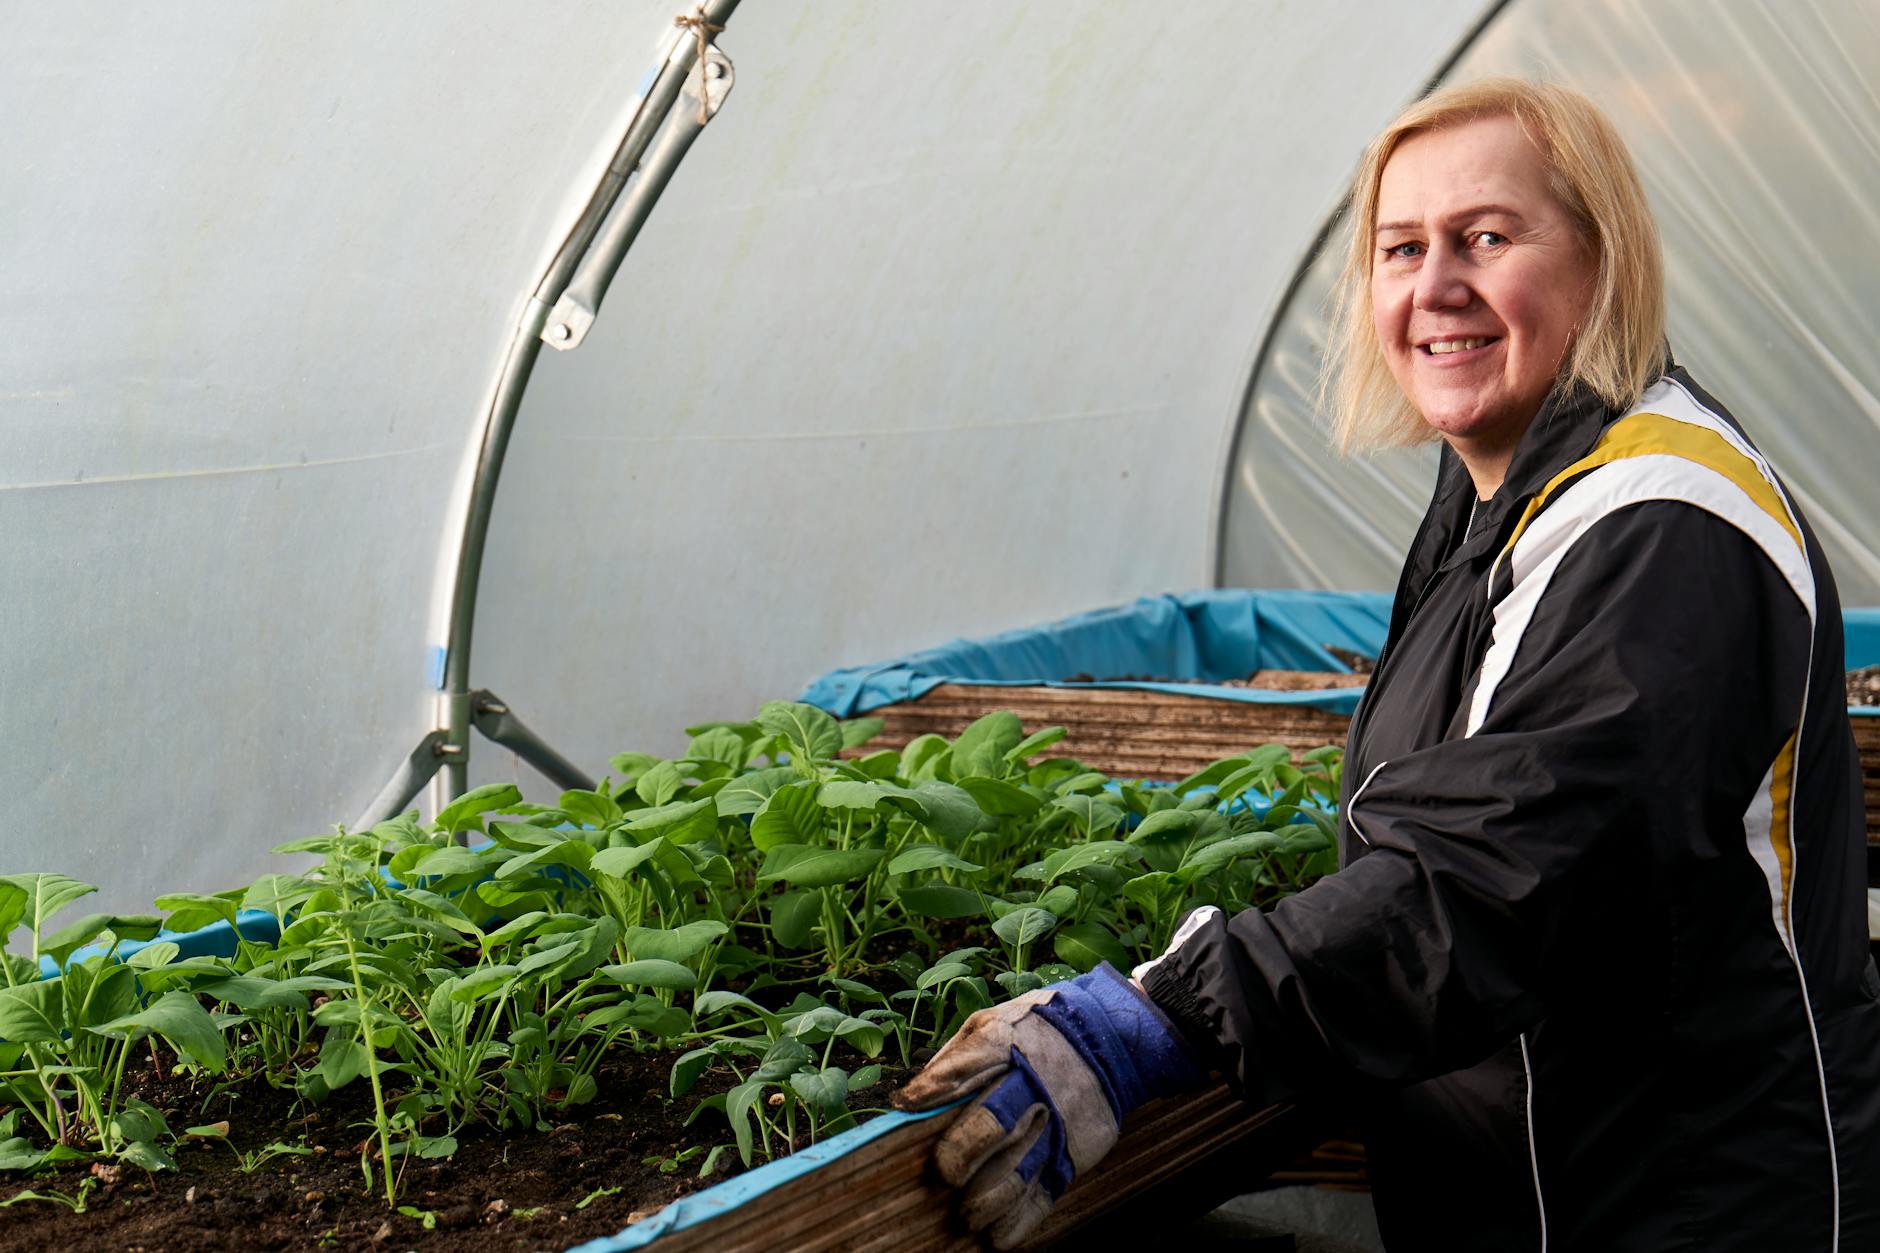
If you're anything like me, you started your gardening journey here in the UK with a handful of seed packets and dreams of bountiful harvests, only to quickly realise that space, especially in a smaller garden, is a constant battle. My 800 sq ft backyard in the Midlands, packed with raised beds and a small greenhouse, has taught me that every inch counts. For years, I struggled with an endless parade of seedlings cluttering my kitchen windowsills, taking up precious greenhouse bench space, or worse, succumbing to a sudden cold snap outside because I didn't have anywhere truly suitable for them to grow on.
I learned the hard way that simply germinating seeds and then plonking them straight into their final spot in the unpredictable British climate often leads to disappointment. My first season attempting 'Moneymaker' tomatoes outdoors was a disaster – I’d hardened them off on the patio, but a rogue late May frost here in the Midlands sent them into shock. This is where my "holding pen" came into its own, a concept I now consider absolutely essential for any small UK garden. Think of it as a temporary nursery bed, a dedicated spot where young plants can grow on, strengthen, and adapt to the real world before facing the rigours of their final planting site. It's not just a place to stash them; it's a vital staging post for stratification, hardening off, and simply giving your seedlings the best possible start. It’s a game-changer, especially when you’re dealing with the often-temperamental British weather.
Beyond the Pot: The Multifaceted Benefits for UK Gardeners
Before I embraced the holding pen, my entire garden operation felt like a chaotic game of musical chairs with plant pots. I'd have trays of 'Sweet Million' tomato seedlings jostling for space with 'Sungold' in the greenhouse, while my 'Red Russian' kale and 'Cavolo Nero' were still tiny, nowhere near ready for their final bed but outgrowing their module trays fast. This constant shuffling led to stunted growth, root-bound plants, and a fair bit of stress for me! Creating a dedicated holding pen, even a small one, has completely revolutionised how I manage my young plants, offering benefits that go far beyond just saving space.
Stratification: Tricking Nature for UK Success
Many seeds, especially those of hardy perennials, herbs like 'Lovage', or some native wildflowers I've experimented with, require a period of cold to break dormancy – a process called stratification. While you can do this in the fridge, I've found that pre-sowing certain seeds directly into a holding pen during late autumn or winter allows nature to do the work. The freezing and thawing cycles here in the Midlands provide a natural cold stratification, mimicking their natural environment. Last year, I successfully stratified 'Allium sphaerocephalon' seeds this way, getting fantastic germination rates come spring without taking up precious fridge space. This is particularly useful for UK gardeners dealing with our distinct seasonal temperature shifts.
Hardening Off: The British Weather Gauntlet
This is arguably the most critical role of the holding pen, especially with our notoriously changeable British weather. Moving tender seedlings directly from the warm, sheltered environment of a windowsill or greenhouse to the exposed elements of a garden bed is a recipe for disaster. I learned this the hard way with my first batch of 'Costoluto Fiorentino' tomatoes, which looked so healthy indoors, only to be battered by a blustery April day. Hardening off is the gradual acclimatisation of plants to outdoor conditions – fluctuating temperatures, direct sunlight, wind, and rain.
My holding pen provides an ideal intermediate zone. I can gradually expose plants, starting with an hour or two on a mild day, increasing the time daily, and protecting them easily with fleece or a cloche if the forecast turns nasty (which it often does here in the UK!). This slow introduction strengthens cell walls, reduces transplant shock, and ensures my 'Butternut Squash' or 'French Marigold' seedlings are robust enough to thrive when they finally get planted out. It’s a vital step for any plant destined for the unpredictable outdoors in Britain.
Staging: The Waiting Room for UK Gardens
Even with meticulous planning, the timing of planting out can be tricky. Maybe your main bed isn't quite ready, or a late frost is predicted, or you're simply waiting for another crop to finish. My holding pen acts as the perfect waiting room. Instead of leaving plants to get root-bound in small pots, which leads to stunted growth and reduced yields (something I experienced frequently when trying to cram too many 'Crimson Flowered Broad Beans' into small modules), I can pot them up into the holding pen. Here, they have more space, access to nutrients from the soil mix, and can continue to grow vigorously, developing strong root systems without becoming stressed. This means when their final spot is ready, they are larger, healthier, and much more resilient – a huge advantage when you’re trying to maximise output from a small UK garden.
Here's a quick comparison of why a dedicated holding pen beats the alternatives in my experience:
| Feature/Benefit | Holding Pen (My Experience) | Just Pots (Typical Small Garden) | Direct Sowing (Some Crops) |
|---|---|---|---|
| Root Development | Ample space, encourages strong, extensive root systems. | Constricted, often leads to root-bound plants & transplant shock. | Variable, susceptible to pests/weather in early stages. |
| Hardening Off | Gradual, controlled acclimatisation to UK weather. | Often too abrupt; high risk of shock/damage from wind/sun/cold. | N/A, plants emerge directly into full exposure. |
| Space Efficiency | Frees up valuable greenhouse/windowsill space for new seeds. | Clutters indoor/greenhouse space; difficult to manage many plants. | Frees up no indoor space; takes up final bed space from start. |
| Nutrient Access | Continuous access to soil nutrients; less frequent feeding. | Requires diligent liquid feeding; nutrients deplete quickly. | Continuous access, but young plants vulnerable to competition. |
| Watering Needs | More forgiving; soil retains moisture better than small pots. | Dries out quickly, especially in summer; requires constant attention. | More forgiving than pots, but still needs monitoring for young shoots. |
| UK Weather Resilience | Provides easily protected intermediate stage from UK extremes. | Highly vulnerable to wind, heavy rain, sudden temperature drops. | Highly vulnerable to pests, heavy rain, cold snaps at germination. |
| Flexibility | Holds plants robustly until final bed is truly ready. | Plants quickly outgrow pots, demanding immediate planting. | Limited flexibility once seeds are sown. |
| Cost (Ongoing) | Low, uses garden soil/compost mix. | Higher, constant need for pots, compost, liquid feed. | Low, but risk of re-sowing due to failures. |
Choosing the Perfect Spot: Sun, Shelter, and Accessibility in Your UK Garden
Choosing the right location for your holding pen is just as important as building it, particularly when you're working with a small, often shaded, UK garden like mine. I learned this the hard way – my first holding pen was tucked into a corner that, while sheltered from the wind, turned out to be far too shady for my sun-loving 'Early Purple Sprouting Broccoli' seedlings. They stretched and became leggy, weakening them before they even made it to their final bed. Trust me, that was a frustrating lesson in patience and observation here in the Midlands!
In my 800 sq ft garden, which is mostly bordered by fences and a neighbour's garage, finding the sweet spot for sunshine can be a challenge. I ended up placing my current holding pen along the south-facing fence line, where it gets around 6-8 hours of direct sunlight during the growing season. This is crucial for strengthening seedlings, but it's not full-on scorching sun all day. I wanted morning sun to dry off any overnight dew and gently warm the plants, followed by some afternoon shade if possible, especially for those first few days of hardening off tender plants like 'Patio Bush' cucumbers. What works here in Britain is often a balance, not extremes.
Shelter from the wind is another non-negotiable factor. Our British weather can throw some surprisingly strong gusts, even on otherwise mild days. A constant battering from the wind can severely stress young plants, tearing leaves and even snapping delicate stems. My holding pen is nestled against a solid fence, which provides an excellent windbreak. If you don't have a fence, consider a low hedge, a strategically placed shed, or even a temporary windbreak made from stakes and old netting. Just make sure it doesn't create a complete wind tunnel or block too much sun.
Finally, accessibility is key. This might sound obvious, but you'll be checking on these plants frequently – watering them, inspecting for pests, moving them around, or covering them if a sudden downpour hits. My holding pen is close to my main raised beds and, crucially, within easy reach of my water butt. I can quickly give them a drink with my watering can without trekking across the entire garden. This ease of access ensures they get the regular care they need to thrive. After all, the best garden features are the ones you actually use!
DIY Construction: Affordable Materials and Easy Setup for a UK Nursery Bed
When I first started gardening, I was on a tight budget – shifting from an IT job to full-time garden obsession isn't always the most lucrative move, as you can imagine! So, when I decided to build my holding pen, affordability and ease of construction were top priorities. I wasn't looking for anything fancy, just something practical and effective. What I've found over the past five years is that simple often works best, especially in our UK climate.
My current holding pen is roughly 1.5 metres long by 0.6 metres wide, with the sides about 20-25cm high. This size is perfect for my 800 sq ft garden, allowing me to stage a good number of plants without taking up too much space. I built it using some reclaimed timber planks I got for free from a local builder, but you could easily use old fence posts, railway sleepers, or even sturdy bricks. The key is to create a contained area that’s deep enough for good root growth.
Here’s how I put mine together:
- Mark it out: I used string and pegs to mark the rectangular shape in my chosen sunny, sheltered spot.
- Clear the area: I dug out any weeds and levelled the ground slightly. I didn't dig down deep, just enough to get a flat base.
- Build the frame: I laid my reclaimed timber planks to form a rectangle, securing the corners with some long screws and brackets I had lying around. If you’re using bricks, simply stack them to create the desired height. Ensure it’s sturdy enough to hold the soil.
- Lining (Optional but recommended): I lined the bottom with a layer of old cardboard (avoiding anything with glossy prints) to suppress any lingering weeds. This will break down over time, adding organic matter.
- Fill with the good stuff: This is where the magic happens! I filled my holding pen with a mix of about 50% good quality peat-free multi-purpose compost (I swear by Dalefoot Composts for its quality and sustainability), 30% sieved garden soil from my own beds, and 20% well-rotted homemade compost. This blend provides a great balance of nutrients, drainage, and water retention – crucial for happy seedlings in our often-damp British conditions. The garden soil also helps acclimatise the plants to the soil they'll eventually be planted into.
- Water in: Give it a good initial soak to settle the compost mix.
That's it! No complex tools, no expensive materials. Just a solid, functional space ready for your young plants. I even made a simple frame out of some old plastic pipes and horticultural fleece that I can easily drape over the top if a sudden cold snap or torrential rain is forecast – a common occurrence here in the UK, as we all know!
Here’s a comparison of some common DIY materials for a holding pen:
| Material Type | Pros (My UK Experience) | Cons (My UK Experience) | Best For |
|---|---|---|---|
| Reclaimed Timber | Affordable/free, natural look, easy to work with hand tools. | Can rot over time (especially in damp UK), may need treating. | Budget-conscious gardeners, temporary setups. |
| Railway Sleepers | Very durable, long-lasting, rustic aesthetic, good insulation. | Heavy, can be expensive, difficult to cut, some treated with creosote (check source). | Permanent, robust holding pens. |
| Bricks/Blocks | Extremely durable, no rot, readily available, good thermal mass. | Can be heavy, requires level base, less flexible for changes. | Very long-term solutions, neat appearance. |
| Plastic Boards | Lightweight, rot-proof, easy to clean, often made from recycled materials. | Can be more expensive initially, less natural look, may warp in strong sun. | Modern gardens, easy to move, very low maintenance. |
| Galvanised Metal | Very long-lasting, resistant to rot/pests, sleek look. | Can heat up quickly in strong sun (uncommon but possible in UK), can be sharp edges. | Contemporary gardens, high durability, raised bed kits. |
5. Cultivating the Ideal Environment: Soil Mix, Drainage, and Early Pest Defence
Right, you’ve got your bed built, sturdy and ready. But a holding pen is only as good as the soil it holds, especially here in the UK where our weather can be so… characterful. I’ve spent a fair bit of time tweaking my mix, learning what keeps young plants happy without coddling them too much before they face the great outdoors.
For my temporary nursery bed, I go for a free-draining but moisture-retentive mix – sounds like a contradiction, I know, but it’s crucial. I usually blend about 50% good quality, peat-free multi-purpose compost (the stuff I use for my seed trays), 25% sharp sand or horticultural grit, and 25% sieved garden soil from my main beds. The sharp sand or grit is non-negotiable for drainage – you absolutely do not want waterlogging, especially with our unpredictable British downpours. The garden soil introduces a bit of beneficial microbiology and allows the young plants to start getting used to the 'real world' soil they'll eventually move into. I keep the mix relatively lean; I don't add extra fertiliser at this stage, as I want to encourage strong root development, not lush, leggy top growth. I learned that the hard way one year with my 'Sungold' tomato seedlings, which got far too lanky in an overly rich mix before they even saw the greenhouse.
Drainage isn't just about the soil mix, though. Remember how I mentioned putting down a layer of gravel or hardcore before the bed? That’s your first line of defence. Even with that, if your bed is in a spot that naturally collects water, you might need to slightly mound your soil mix in the centre, or even consider adding drainage holes to the base if you've built a solid-bottomed structure. Here in my Midlands garden, we get our fair share of rain, so I always err on the side of caution. Poor drainage is a recipe for root rot, damping off, and generally unhappy plants, and it’s a mistake I certainly don't want to repeat.
Early pest defence is another battle you need to be ready for. Young, tender seedlings are like an open buffet for slugs and snails, especially in our damp UK climate. I've tried everything! My current go-to strategy for the nursery bed is a combination of copper tape around the top edge of the wooden frame (it's surprisingly effective for me) and a scattering of organic slug pellets (iron phosphate-based) if I see any serious activity. I also patrol daily, especially at dusk, on what I call my "slug safaris." Earwigs can also be a nuisance, especially on emerging shoots, so I sometimes put out an upturned pot filled with straw near the bed – they'll often hide in there, and you can relocate them in the morning. For fungal issues like damping off, ensuring good air circulation by not overcrowding plants and maintaining that excellent drainage is key. Prevention is always better than cure, particularly with precious young plants.
6. Mastering the Pen: How to Stratify Seeds, Harden Off Seedlings, and Stage Young Plants
This is where the magic really happens, where your holding pen earns its stripes as an indispensable part of your small UK garden. I use mine for three distinct, but equally vital, purposes: stratifying seeds, hardening off seedlings, and staging young plants. Each plays a critical role in getting my various crops, from hardy brassicas to my beloved heirloom tomatoes, successfully into their final growing positions.
Stratifying Seeds
For those seeds that need a cold snap to germinate – think hardy perennials, some fruit bushes, or even certain wildflowers I like to experiment with – the holding pen is perfect. Instead of faffing about with fridges and damp paper towels, I simply sow these seeds directly into small pots or trays filled with seed compost, label them meticulously (a lesson learned after confusing my 'Purple Sprouting Broccoli' with my 'Blue Lake' beans one year!), and then sink them into the nursery bed soil. The natural fluctuations of our British winter and early spring temperatures, combined with the dampness, provide exactly the conditions they need. I've had great success with 'Wild Garlic' and various hardy geraniums using this method. It's so much less effort than artificial stratification, and it mimics nature beautifully.
Hardening Off Seedlings
This is arguably the most critical function for any UK gardener. Bringing tender seedlings, raised in the warmth of a greenhouse or windowsill, out into the harsh realities of British wind, sun, and fluctuating temperatures is a make-or-break moment. My holding pen is ideal. I start by moving trays of seedlings – peppers, aubergines, my 'Brandywine' tomatoes, even my brassicas – into the pen for just a few hours a day, usually on a mild, overcast day. Over the course of 7-14 days, I gradually increase their exposure. I make sure to bring them back indoors or cover them if a late frost is forecast (a common spring trap here in the Midlands!), or if the wind picks up significantly. I watch them closely for signs of stress: wilting, leaf scorch, or purple discolouration (indicating cold stress). This gradual acclimatisation means by the time they go into their final beds, they're tough, resilient, and ready to thrive. It’s saved me countless times from losing entire batches of plants to shock.
Staging Young Plants
Even after hardening off, sometimes my main raised beds just aren't quite ready. Maybe I'm waiting for a previous crop to finish, or perhaps the weather has taken a turn for the worse, delaying my planting schedule. This is where the holding pen truly shines as a 'staging area'. Instead of keeping plants cooped up in their small pots on a patio where they can dry out quickly or get battered by the wind, I can sink them, pot and all, into the nursery bed. The surrounding soil helps insulate their roots, keeps the compost moist for longer, and prevents them from blowing over. I've kept 'Gemini' courgette plants and 'Kestrel' runner bean seedlings happily staged in their pots for an extra week or two here, giving me the flexibility I need in my busy 800 sq ft garden. It buys me precious time and reduces transplant shock.
Here's a quick overview of how I use the pen for each purpose:
| Purpose | What it Involves | Key Benefits (UK Specific) | Randy's Tip/Experience |
|---|---|---|---|
| Stratifying Seeds | Sowing seeds in pots/trays, sinking them into the nursery bed over winter/early spring. | Utilises natural UK cold and damp conditions for germination; less faff than fridge stratification; mimics natural cycles. | Don't forget to label really well! I once lost track of a batch of 'Foxglove' seeds and ended up with them popping up randomly in my flower beds later – pretty, but not where I intended! |
| Hardening Off | Gradually exposing greenhouse/indoor seedlings to outdoor conditions (sun, wind, temperature changes) over 1-2 weeks. | Essential for robust plants in unpredictable British weather; prevents transplant shock; builds resilience to wind and cold. | Always check the weather forecast for unexpected frosts or high winds. I've had to rush out and throw fleece over my 'Gardeners Delight' tomato seedlings more than once when the spring decided to throw a curveball. |
| Staging Young Plants | Holding hardened-off plants (still in their pots) in the nursery bed until final planting sites are ready. | Provides a safe, stable environment; insulates roots; reduces drying out; offers crucial flexibility when main beds are occupied/unready. | Don't let plants get too root-bound in their pots while staging. If they're in there for more than a week, consider a very dilute liquid feed, but otherwise, keep them lean and ready to put on growth once in their final spot. I staged some 'Butternut Squash' for too long once, and they sulked for weeks after planting. |
7. Year-Round Utility: Watering, Feeding, and Seasonal Adaptations for Your Nursery Bed
The holding pen isn’t just a spring-time wonder; it’s a year-round asset in my small UK garden, though its primary use changes with the seasons. Managing its environment – particularly watering and feeding – is key to its success.
Watering in the nursery bed needs a delicate touch. Because young plants are often in pots sunk into the bed, or directly in the bed's soil, it can be easy to overwater, especially in our often-damp British climate. I always check the moisture level of the soil in the pots (if staging) or the bed itself by sticking my finger in. I aim for consistently moist, but never soggy, conditions. I use a fine rose on my watering can to avoid disturbing delicate seedlings, and I water in the mornings so foliage has a chance to dry before evening, which helps prevent fungal issues. During a particularly hot, dry spell we had last summer here in the Midlands, I actually installed a tiny drip irrigation line to the bed for a week, just to keep things ticking over without constant hand-watering.
When it comes to feeding, my general rule for the holding pen is 'less is more'. The goal here is to grow sturdy, compact plants, not to push rapid, leggy growth. The initial soil mix I create has enough nutrients for the short-term needs of most seedlings. If I'm staging plants for an extended period – say, more than two weeks – and they're showing signs of nutrient deficiency (yellowing leaves, stunted growth), I might give them a very dilute feed of a balanced liquid fertiliser, perhaps at quarter strength. For my heirloom tomatoes and chillies, which are often in the pen before going into the greenhouse, I might give them one half-strength feed to ensure they have enough energy for fruit production once they're in their final homes.
The beauty of the holding pen is its adaptability throughout the year:
- Spring (March-May): This is its busiest period. It's packed with trays of seedlings hardening off – my 'Purple Sprouting Broccoli' and 'Cavolo Nero' for the main beds, the aforementioned tomatoes and peppers for the greenhouse, and various annual flowers like 'Cosmos Purity' and 'Calendula' waiting for their spot. I also use it for cold stratification of hardy seeds.
- Summer (June-August): As the main crops go into the ground, the pen becomes a staging ground for successional sowings. I’ll often have trays of lettuce, spinach, and dwarf beans ready to fill gaps as earlier crops finish. It's also fantastic for rooting cuttings from herbs like rosemary or lavender – the slightly more sheltered, consistent environment helps them establish.
- Autumn (September-November): The pen continues to host late-season brassicas and hardy greens. I also start using it again for cold stratification of seeds that benefit from an early chill, like 'Verbena bonariensis' or 'Echinacea'. Sometimes, I’ll even chit my early potatoes in there under a cloche if the greenhouse is full.
- Winter (December-February): While less active, it’s still working. I’ll have pots of hardy seeds stratifying, and sometimes I'll use it to overwinter very hardy perennial cuttings or even some slightly tender herbs under a cloche, though my greenhouse is usually reserved for the really sensitive stuff.
Conclusion: Your Small Garden's Secret Weapon
So there you have it – the humble holding pen. It might just look like a simple, raised bed, but in my 800 sq ft Midlands garden, it truly is one of the most hardworking, versatile, and utterly indispensable structures I've built. I've learned, often through trial and error with our unpredictable British weather, that having this dedicated space is not just a convenience; it's a necessity for successful, intensive gardening in a small footprint.
It’s where delicate seedlings transform into robust plants ready for the challenges of our climate. It’s where seeds get the natural cold kiss they need to burst into life. And it’s your flexible friend, buying you time and space when your main beds aren't quite ready for their next occupants.
If you’re a UK home gardener, especially one with limited space like me, I can't recommend building a dedicated temporary nursery bed enough. It’s an easy, affordable DIY project that will elevate your gardening game, reduce plant losses, and give you so much more control and flexibility. Trust me, once you build one, you’ll wonder how you ever managed without your own little 'holding pen'. Get out there, get building, and get growing! Happy gardening!
