Introduction: Battling Black Spot Organically in Your UK Rose Garden
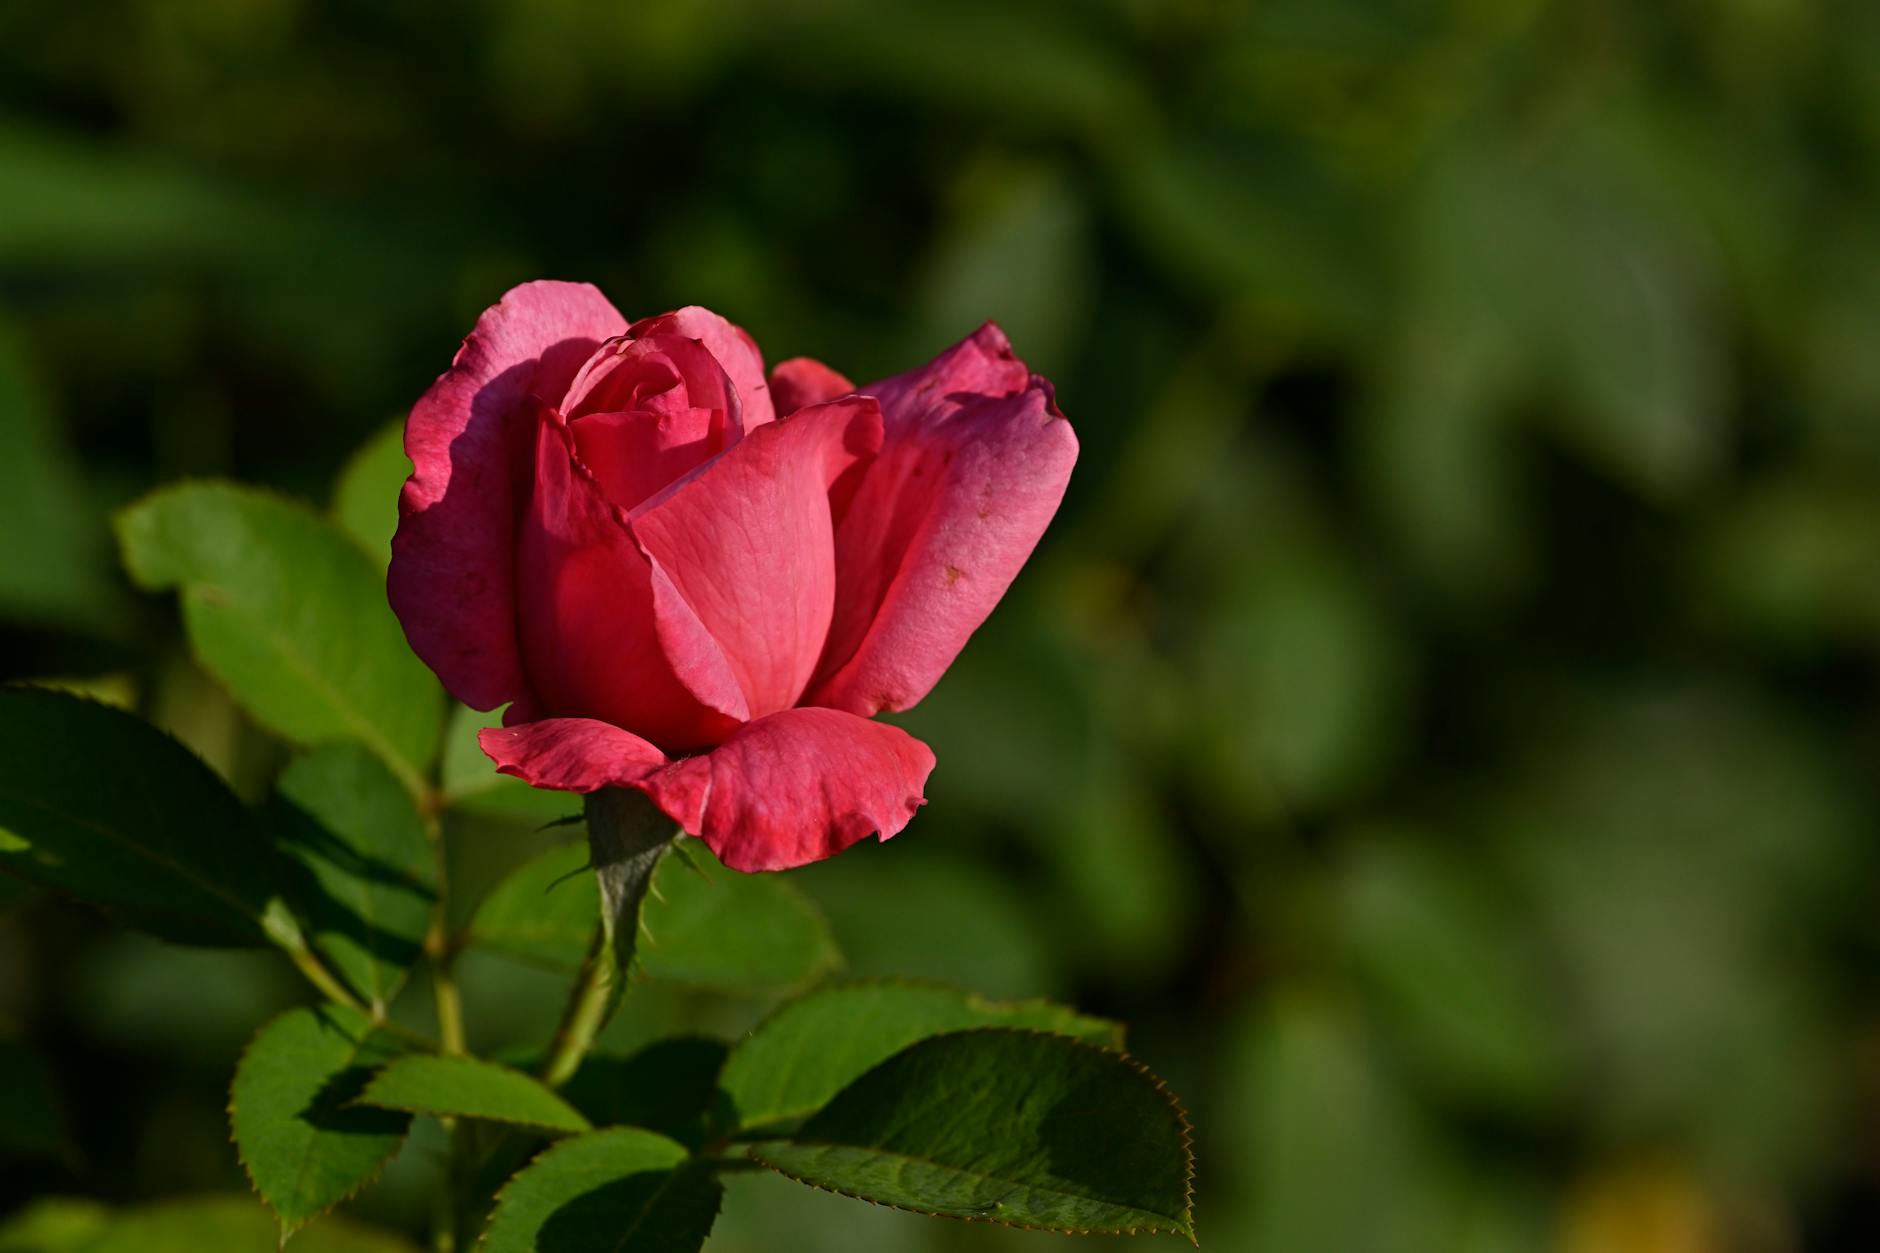
Oh, roses! Is there anything quite as quintessentially British, or as utterly heartbreaking when things go wrong? When I first started digging into gardening five years ago, transforming a rather neglected 800 sq ft patch in my Midlands backyard, I dreamt of those classic, fragrant blooms. I pictured my 'Gertrude Jekyll' and 'Munstead Wood' roses bursting with colour. What I didn't picture was the relentless, soul-crushing spread of black spot. It felt like every season, just as my roses were hitting their stride, those tell-tale black spots with their ghastly yellow halos would appear, stealing the leaves and the joy right out of my garden.
Honestly, there were moments I almost threw in the trowel with roses altogether. But as a former IT worker who found his calling in the soil, giving up isn't in my nature. I'm obsessed with experimenting, learning, and finding natural solutions that work right here in our often-damp, unpredictable British climate. I've spent countless hours researching, trialling, and yes, sometimes failing spectacularly, to conquer this common rose nemesis without resorting to harsh chemicals. My mission in this article is to share everything I've learned – the successes, the missteps, and the hard-won wisdom from my own UK garden – so you can enjoy flawless, healthy roses organically, just like I now do. Get ready to turn your rose woes into rose 'wows'!
Understanding the Enemy: Identifying and Preventing Black Spot's Spread
Before we can conquer black spot, we need to know our enemy. This isn't just a bit of discolouration; it's a fungal disease caused by Diplocarpon rosae. Here in the UK, especially with our frequent showers and humid conditions, it's an absolute menace. I've seen it decimate a rose bush in weeks if left unchecked, turning lush foliage into a bare, sad collection of stems.
Identifying it is key. You'll typically see small, circular black spots with fringed or feathery margins appear on the upper surface of leaves. Crucially, these spots are often surrounded by a distinct yellow halo. As the disease progresses, these spots enlarge and merge, the surrounding yellow areas grow, and eventually, the entire leaf turns yellow and drops prematurely. This isn't just cosmetic; repeated defoliation weakens the plant, making it more susceptible to other issues and reducing its flowering potential. I've often confused early signs of black spot with nutrient deficiencies or even insect damage, but that distinct black spot with the yellow ring is the giveaway.
Black spot spores are primarily spread by water splash – think rain, overhead watering, or even dew dripping from an infected leaf to a healthy one. They thrive in prolonged periods of leaf wetness and mild temperatures, which pretty much describes a good chunk of our British spring and summer! Once established, spores can overwinter on fallen leaves and infected canes, ready to wreak havoc again next season. This is why understanding its lifecycle is so crucial for effective prevention.

To help you distinguish black spot from other common rose ailments, I've put together a quick comparison based on what I've encountered in my own garden:
| Feature | Black Spot (Diplocarpon rosae) | Downy Mildew (Peronospora sparsa) | Rose Rust (Phragmidium mucronatum) |
|---|---|---|---|
| Appearance | Circular black spots with yellow halo on upper leaf surface. | Irregular purple-red blotches on upper leaf; greyish fuzzy growth on underside. | Orange powdery pustules on underside of leaves; yellow/orange spots on top. |
| Affected Parts | Primarily leaves, sometimes stems. | Leaves, young stems, flower buds. | Primarily leaves, sometimes stems and petioles. |
| Leaf Drop | Severe and premature. | Yes, often distorted and curled. | Yes, but usually later in the season. |
| Conditions | Warm, humid, prolonged leaf wetness (common in UK summers). | Cool, very wet, high humidity (often early spring or damp autumn in UK). | Cool, moist conditions (often spring and early summer in UK). |
| My Experience | My biggest battle, especially on older varieties like 'Gertrude Jekyll'. | Less common in my garden, but can appear after very wet springs. | Seen it occasionally, particularly on older ramblers. |
Proactive Protection: Organic Prevention Strategies for UK Roses
Prevention, my friends, is always better than cure, especially when we're talking about organic gardening here in the UK. After years of trial and error in my 800 sq ft Midlands garden, I've developed a robust preventative strategy that significantly reduces black spot outbreaks. It's all about creating an environment where roses thrive and fungi struggle.
Choosing Resistant Varieties for UK Climates
This is probably my number one tip. Some roses are just naturally tougher against black spot, a real blessing with our British weather. In my experience, David Austin roses have made huge strides in breeding for disease resistance. For example, 'Olivia Rose Austin' has been an absolute superstar in my garden – lovely blooms and remarkably clean foliage. Similarly, 'Dame Judi Dench' and 'Desdemona' have shown excellent resistance for me. When you're buying, always check the plant labels for 'disease resistant' or 'black spot resistant' – it's worth the investment, especially here in Britain where conditions are often ripe for fungal issues.
Site Selection and Airflow: A UK Gardener's Best Friend
Roses love sunshine, and here in the UK, they need all they can get! Plant your roses in a spot that receives at least six hours of direct sunlight a day. Crucially, good air circulation is paramount to drying off leaves quickly after rain or morning dew. One mistake I made early on was planting my 'Munstead Wood' roses too close together, creating a dense, humid microclimate that was a black spot breeding ground. Now, I ensure adequate spacing (at least 2-3 feet between mature bushes) and avoid planting them too close to walls or other dense shrubs that restrict airflow. Pruning for an open vase shape also helps immensely, which I'll touch on next.
Proper Watering: Timing is Everything in the British Isles
How you water your roses is just as important as when. I always water deeply at the base of the plant, directly onto the soil, rather than overhead. This prevents splashing spores onto leaves and keeps the foliage dry. Here in the Midlands, with our unpredictable rainfall, I make sure to do this early in the morning. This gives any incidental splashes or dew a chance to evaporate from the leaves before the cooler, damper evening sets in. Wet leaves overnight are an open invitation for black spot, a lesson I learned the hard way during a particularly damp August a couple of years back.
Pruning for Health and Airflow
Pruning isn't just about shaping; it's a vital preventative measure. Each winter, I meticulously prune my roses to remove any weak, crossing, or dead branches. This opens up the plant's canopy, allowing for better air circulation and light penetration, which helps leaves dry faster. Throughout the growing season, I'm also vigilant about removing any yellowing or diseased leaves as soon as I spot them, snipping them off and disposing of them in the general waste (never the compost, as the spores can survive!). I also clean my secateurs with rubbing alcohol between each rose bush to prevent inadvertently spreading spores.
Soil Health and Mulching: My Organic Secret Weapon
A healthy rose starts with healthy soil. I'm a firm believer that strong, well-fed plants are more resistant to disease. My compost heap is my secret weapon; I add a generous layer of homemade compost around my roses every spring. This improves soil structure, provides slow-release nutrients, and encourages beneficial soil microbes. I then top this with a 2-3 inch layer of organic mulch (like well-rotted wood chippings or bark). This mulch does wonders: it conserves moisture, suppresses weeds, and most importantly for black spot, it creates a physical barrier that prevents rain splash from carrying fungal spores from the soil surface back onto the lower leaves. This simple step has made a massive difference in my UK garden.
Good Garden Hygiene: Tidiness Prevents Trouble
This might sound obvious, but it's often overlooked. At the end of the season, I make sure to clear away all fallen leaves and debris from around my rose bushes. As I mentioned, black spot spores can overwinter on this material, ready to re-infect next spring. A good autumn clear-up drastically reduces the inoculum for the following year.
Natural Remedies: Effective Organic Treatments for Existing Black Spot
Even with the best preventative measures, sometimes black spot can still sneak in, especially during a particularly wet and mild British summer. But don't despair! When I spot those tell-tale black spots, I jump into action with a few organic remedies I've found effective in my UK garden. Remember, these are most effective when applied consistently and at the first sign of disease. They won't cure already damaged leaves, but they can stop the spread to new growth.
First things first: if you see infected leaves, carefully remove them immediately. I always wear gloves and prune them off, making sure to collect every single affected leaf that drops. These go straight into the general waste bin, never into the compost, to prevent the spores from spreading.
My Go-To Organic Sprays
I've tried a few concoctions over the years, and these are the ones that have given me the best results here in the Midlands. Consistency is key with all of them – you'll need to reapply after heavy rain or every 7-10 days during periods of high humidity.
1. Baking Soda Spray (My First Line of Defence)
This is my absolute favourite and usually the first thing I reach for. Baking soda (sodium bicarbonate) works by altering the pH on the leaf surface, making it less hospitable for fungal spores.
- Recipe: Mix 1 tablespoon of baking soda with 1 teaspoon of horticultural oil (or mild liquid soap as an emulsifier) in 1 gallon (approx. 4.5 litres) of water.
- Application: Spray generously on all leaf surfaces, both top and bottom, until dripping. Apply weekly, or after heavy rain. Avoid spraying in direct hot sun to prevent leaf scorch. I usually apply it in the late evening or early morning.
- My Experience: I've found this to be surprisingly effective at slowing the spread, especially when caught early. It's a cheap and cheerful solution that works well in our British climate.
2. Milk Spray (Surprisingly Effective!)
This one might sound a bit odd, but trust me, it works! The proteins in milk have fungicidal properties, and it also forms a protective layer on the leaves.
- Recipe: Mix 1 part skimmed milk with 9 parts water.
- Application: Spray thoroughly onto all leaf surfaces. Apply weekly.
- My Experience: I first heard about this from an older UK gardener at an allotment show, and I was sceptical. But after trying it on a particularly stubborn 'Crown Princess Margareta' bush, I was genuinely impressed. It's gentle and works well in those damp, mild periods we get.
3. Neem Oil (Nature's Multi-Tasker)
Neem oil is a fantastic organic all-rounder. It acts as an anti-fungal, an insecticide, and a miticide, working systemically and on contact. It works by disrupting the fungal life cycle and can also deter pests that might weaken the rose.
- Recipe: Follow package instructions carefully, as concentrations vary. Typically, it's 1-2 tablespoons of cold-pressed neem oil per gallon (4.5 litres) of water, with a few drops of mild liquid soap as an emulsifier.
- Application: Spray thoroughly, ensuring complete coverage, including the undersides of leaves. Apply every 7-14 days as a preventative or treatment.
- My Experience: I use neem oil preventatively sometimes, especially in late spring. It’s effective, but you need to make sure you get cold-pressed neem oil for the best fungicidal properties. It can be a bit pricier but worth it. Always check the forecast – it needs a few hours to dry before rain.
4. Garlic Spray (Potent and Pungent)
Garlic contains sulphur compounds that have natural fungicidal properties. It's a bit more effort to prepare but can be quite potent.
- Recipe: Crush 6-8 cloves of garlic and steep them in 1 litre of hot water for several hours or overnight. Strain the liquid and dilute it further with 9 parts water. Add a few drops of liquid soap.
- Application: Spray generously on affected plants, focusing on new growth. Apply every 5-7 days.
- My Experience: I've used this in really bad outbreaks, usually alongside baking soda. It's strong and the smell can linger a bit, but it does seem to give the black spot a good kick.
Here’s a quick overview of these organic treatments:
| Treatment | How it Works (UK Context) | Application Frequency | Randy's Notes from My UK Garden |
|---|---|---|---|
| Baking Soda Spray | Alters leaf surface pH, making it unsuitable for fungal growth. | Weekly / After rain | My first choice, very effective if caught early. Cheap. |
| Milk Spray | Proteins have fungicidal action, forms protective layer. | Weekly | Surprisingly good! Gentle and safe. |
| Neem Oil | Anti-fungal, disrupts fungal life cycle. Also deters pests. | 7-14 days | Great all-rounder. Use cold-pressed for best results in UK. |
| Garlic Spray | Sulfur compounds act as natural fungicide. | 5-7 days | Potent, good for severe outbreaks. A bit smelly! |
5. Pruning for Resilience: How to Trim Roses to Deter Disease
Now, let's talk about the art of pruning. For years, I approached pruning my roses with a bit of trepidation, just snipping off dead bits and hoping for the best. It wasn't until I truly understood why we prune for disease prevention that it clicked for me, and my roses here in the Midlands started looking a whole lot healthier. Pruning isn't just about shaping; it's a vital part of your organic black spot defence strategy.
The core idea is simple: good air circulation. Black spot thrives in damp, humid conditions, and our unpredictable British weather certainly provides plenty of those! A dense, congested rose bush is an open invitation for fungal spores to settle in and spread. By strategically pruning, we open up the plant, allowing air to flow through the centre, drying leaves faster after rain or morning dew.
Here's how I tackle it in my 800 sq ft garden:
Winter Dormancy Pruning (Late Winter/Early Spring in the UK): This is your main event. Once the harshest frosts have passed, usually February or early March here in the Midlands, I get to work.
- Remove all dead, damaged, or diseased wood: This is crucial. Any stems showing signs of black spot from the previous season need to go. I cut them back to healthy wood, often to the ground if they're severely affected.
- Open up the centre: I aim for a vase-like shape for most of my shrub roses. This means removing any crossing branches that rub against each other (creating wounds where disease can enter) and any weak, twiggy growth in the middle of the plant.
- Maintain overall size and shape: While this isn't directly for disease, a well-structured plant is easier to manage and keep airy. I usually cut about a third off the previous year's growth on healthy stems, aiming for an outward-facing bud.
- Hygiene is paramount: This is one mistake I learned the hard way. I used to just snip away, but now I religiously sterilise my secateurs with rubbing alcohol between each rose bush, and even between cuts if I'm dealing with a heavily infected stem. You don't want to be the one spreading the spores!
Summer Maintenance Pruning (Deadheading and Tidying): Throughout the growing season, I'm constantly deadheading spent blooms, but I also keep an eye out for any yellowing or spotted leaves.
- Promptly remove infected leaves: As soon as I spot a leaf with black spot, I carefully pluck it off. I don't just drop it on the ground; it goes straight into a sealed bag for the bin, never the compost, to prevent further spread.
- Improve airflow: If a particular part of the bush looks too dense, I'll snip out a non-flowering stem or two from the interior, again, to improve that all-important air circulation. I'm careful not to over-prune in summer, as this can stress the plant.
By being diligent with my pruning – especially during that late winter window – I've seen a noticeable reduction in black spot outbreaks on even my more susceptible varieties. It's an investment of time, but the payoff of healthier, more floriferous roses is absolutely worth it.
6. Cultivating Resistance: Top Black Spot Resistant Rose Varieties for UK Gardens
Despite all our best organic efforts, some rose varieties are just more susceptible to black spot than others. It's a bit like us catching a cold – some people just have stronger immune systems! When I first started my rose journey, I picked varieties based purely on colour and scent. What a rookie mistake! I ended up with some absolutely stunning roses that, despite my best care, were constantly battling black spot, especially during our notoriously damp British summers.
That's when I had my breakthrough: why not choose varieties that are bred to be more resistant? It's been a game-changer in my UK garden. While no rose is 100% immune (especially not with our unpredictable climate), choosing resistant varieties significantly reduces your workload and the likelihood of severe outbreaks. It means less spraying, less worrying, and more time enjoying those perfect blooms.
I've experimented with quite a few, and here are some of my top picks that have performed admirably against black spot in my Midlands garden, even through some proper soggy seasons. These are varieties that truly thrive in our British conditions.
My Top Black Spot Resistant Rose Varieties for UK Gardens
| Variety Name | Type | Colour (Primary) | Scent | Black Spot Resistance (My Experience) | My Experience in UK Garden |
|---|---|---|---|---|---|
| 'Lady of this Rose' (David Austin) | Shrub/Climbing | Deep Crimson Red | Strong Old Rose | Excellent. Rarely sees black spot, even in wet UK summers. | One of my absolute favourites. I have this growing against a sheltered wall in a raised bed. Even in the wet summer of 2023, it remained remarkably clean. The blooms are stunning and the scent is heavenly. A true testament to modern breeding for UK resilience. |
| 'Olivia Rose Austin' (David Austin) | Shrub | Soft Pink | Medium Fruity | Excellent. My healthiest rose, almost never shows disease. | Planted three of these in a mixed border two years ago. They've been phenomenal, repeat flowering tirelessly and staying virtually spotless. It's a testament to how good modern disease resistance can be, even for a classic English rose look. A must-have for any UK gardener. |
| 'The Generous Gardener' (David Austin) | Climbing | Pale Pink | Strong Myrrh | Very Good. Occasional spots in very bad years, but shrugs it off. | This one climbs over an archway in my front garden, getting less sun than some others. Despite this and exposure to the elements, it maintains incredibly healthy foliage. I might see a few spots by late autumn, but it never takes hold. Its vigour helps it outgrow any minor issues. |
| 'Warm Welcome' (Climbing) | Climbing | Orange/Apricot | Light | Very Good. Consistent performer, great for UK walls. | I have this against a south-facing wall, and it absolutely lights up the space. The vibrant orange isn't everyone's cup of tea, but its health is undeniable. I've had it for four years now and it consistently remains free of black spot, even when other plants nearby struggle. |
