You know, there’s a particular kind of sigh every UK gardener lets out when they see that familiar grey sky open up, knowing full well that one corner of their beloved patch is about to turn into a muddy bog. Here in the Midlands, with my 800 sq ft backyard, I’ve certainly had my fair share of those moments. For years, I battled a perpetually soggy patch right next to my patio, where the runoff from the house and a slightly sloped path would collect. It was an eyesore, a mosquito breeding ground, and a graveyard for any plant foolish enough to try and grow there.
I’m Randy, by the way. Thirty-two, a former IT drone who traded keyboards for compost, and now spends every waking moment outside in my greenhouse or tending my raised beds. I've been intensively gardening for over five years now, constantly experimenting, learning, and sometimes, let’s be honest, failing spectacularly. But that’s how we learn, isn't it? One of my biggest breakthroughs, and one I'm absolutely bursting to share, was discovering the magic of a mini rain garden. If you’ve got that one stubborn, water-logged corner, a patch of lawn that’s always squelchy, or just want to be a bit smarter about managing the precious rainwater we get here in Britain, then you’re in the right place.
I’m going to walk you through exactly how I designed and built a functional, beautiful mini rain garden in my own UK garden. We’ll cover everything from figuring out where your water’s actually going, to picking the right plants that will thrive in our often-drenched but sometimes-dry climate, and making sure it looks like a deliberate feature, not just a glorified ditch. Get ready to transform your problem areas into thriving, low-maintenance oases!
Taming the UK's Water-Logged Corners: Why a Mini Rain Garden is Your Solution
Ah, the British weather! We love to complain about it, don't we? One minute it’s glorious sunshine, the next it’s a torrential downpour that seems to last for days. While our plants generally appreciate the rain, those intense deluges can wreak havoc, especially in urban and suburban gardens. I've seen it firsthand in my own garden: water sheeting off the patio, cascading from the shed roof, and all converging on that one low spot, turning what should be fertile soil into a sad, anaerobic swamp. My carefully chosen runner beans would sulk, my herbs would drown, and even my sturdy cabbages looked utterly fed up.
For years, I'd just watch it happen, maybe dig a token trench that would fill up instantly. But after a particularly soggy spring, I decided enough was enough. I started researching solutions, and that’s when I stumbled upon rain gardens. Now, the term "rain garden" might conjure images of vast, engineered landscapes, but what I discovered, and what I’ve successfully implemented in my own modest UK garden, is the concept of a mini rain garden. It's perfectly sized for those awkward corners or a specific runoff problem, making it ideal for smaller British backyards like mine.
So, what exactly is a mini rain garden? In simple terms, it's a shallow depression, strategically placed and planted with water-loving native or UK-adapted plants, designed to temporarily hold and slowly absorb rainwater runoff from impervious surfaces like roofs, driveways, or patios. Instead of that precious water rushing straight into our overloaded storm drains, it's gently encouraged to sink into the ground, recharging groundwater and filtering out pollutants.
Why is this such a game-changer for UK gardeners?
- Manages Runoff Effectively: This was my primary driver. No more standing water, no more muddy footprints trailing into the house. My rain garden now intercepts the runoff from my greenhouse and a section of the patio, preventing erosion and protecting the foundations of my shed.
- Reduces Strain on Drainage Systems: Every drop of water we can keep on our property and allow to soak in naturally means less strain on local infrastructure. It’s a small act, but collectively, it makes a big difference, especially during those intense summer cloudbursts we get here in the Midlands.
- Creates a Biodiverse Oasis: Once established, a rain garden becomes a magnet for wildlife. I’ve been amazed at the increase in pollinators – bees, butterflies, even dragonflies – drawn to the specific plants I've chosen. It’s transformed a barren, wet patch into a vibrant, buzzing ecosystem.
- Surprisingly Low Maintenance: This might sound counter-intuitive for something designed to manage water, but once the plants are settled in and the system is working, it truly is. The right plants thrive in these fluctuating conditions, and because the water is absorbed, you often find yourself needing to water less during drier spells. I’ve found that my rain garden needs far less intervention than some of my more conventional borders.
- Boosts Soil Health: By encouraging water infiltration, you’re improving the soil structure, aeration, and overall health of your garden. That perpetually waterlogged, compacted clay soil I had? It’s now much more amenable to life.
I know what you might be thinking: "Sounds fancy, Randy, but does it really work in our grey, often wet climate?" Absolutely it does! My mini rain garden, nestled between my raised beds and the greenhouse, has proven its worth time and again. Last winter, despite weeks of relentless rain, the area around it remained firm, and the rain garden itself simply performed its job, holding the water temporarily before it slowly seeped away. It truly is a functional, beautiful, and sustainable solution for those stubborn wet spots in your UK garden.
Assessing Your Site: Pinpointing Runoff and Understanding Your Soil
Right, so you’re convinced a mini rain garden might be the answer to your soggy woes. Excellent! But before we even think about digging, the absolute first step – and one I’ve learned is crucial from a few early mistakes – is to properly assess your site. You need to become a detective, tracing the path of water and understanding the ground it’s flowing over. This isn't just about finding the wettest spot; it's about understanding why it's wet and what your soil is made of.
Pinpointing Runoff: Where Does Your Water Go?
This might seem obvious, but it’s amazing how much water flows unseen or takes unexpected paths. The best way to do this is to observe your garden during and immediately after a good old British downpour. Grab a cuppa, put on your waterproofs, and go outside!
- Observe Naturally: Watch where the water collects, where it sheets off impervious surfaces like your roof, patio, or driveway. Does it funnel down a path? Does it pool against a fence? In my garden, I noticed a clear "river" of water forming after heavy rain, flowing from the corner of the house and straight towards that low, boggy patch next to my shed.
- The Hosepipe Test: If the skies aren't cooperating, grab your hosepipe. Simulate a heavy rain shower over your roof, patio, or driveway for 10-15 minutes. This will give you a good visual of how water moves across your property and where it naturally wants to collect. I used this method to confirm the exact lowest point in my problematic area, which became the heart of my rain garden.
- Identify the Source: Pinpoint exactly where the majority of the runoff is coming from. Is it a downspout from your house? Water running off a shed roof? A sloped patio? Knowing the source helps you position your rain garden effectively to intercept that flow. For me, it was a combination of patio runoff and a downspout from the greenhouse.
Once you’ve identified the main runoff path and the lowest point where water collects, you've found your prime candidate for a rain garden location. Make a note of its approximate size and shape.

Understanding Your Soil: The Percolation Test
This is absolutely vital for the long-term success of your rain garden, especially with the varied soil types we have across the UK. Your soil's ability to drain will dictate the size and depth of your rain garden, and critically, which plants will thrive in it. Here in the Midlands, my soil tends to be on the heavier, clay-rich side, which drains slowly. I learned this the hard way when I first tried to plant moisture-loving plants directly into it – they still drowned because the water just sat there!
Here’s how I do a simple percolation test:
- Dig a Test Hole: In the area you’ve identified for your rain garden, dig a hole roughly 30cm (12 inches) deep and 15cm (6 inches) wide.
- Saturate the Soil: Fill the hole with water and let it completely drain away. This saturates the surrounding soil, giving you a more accurate reading.
- Perform the Test: Once the first fill has drained, fill the hole with water again.
- Measure Drainage: Set a timer and measure how much the water level drops over 15 minutes, 30 minutes, and then an hour.
- Fast Drainage (Sandy/Loamy Soil): If the water drains completely within 15-30 minutes, you have very permeable soil. Great for drainage, but you'll still need to ensure your rain garden can hold enough water for absorption.
- Moderate Drainage (Loamy Soil): If it takes 30 minutes to an hour, you have good, workable soil. Most plants will be happy here.
- Slow Drainage (Clay Soil): If the water takes several hours, or even a full day, to drain, you have heavy clay soil. This is often the case for many of us in the UK. Don't despair! It just means you'll need to incorporate more amendments (like grit and compost) into your rain garden's soil layers to improve drainage. This was exactly my situation, and with the right approach, it’s manageable.
Understanding your soil type from this test will inform your planting choices and how you construct the internal layers of your rain garden, which we'll discuss next. And one final, crucial safety note: before you dig anywhere in your UK garden, always check for underground pipes and cables. Use a service like LinesearchbeforeUdig (LSBUD) – it's free and essential for peace of mind.
Designing the Basics: Layers, Berms, and Overflow for Effective Drainage
Once you know where your water flows and what your soil is like, it's time to get down to the exciting part: designing the physical structure of your mini rain garden. This isn't just about digging a hole; it's about creating a functional system that can handle our unpredictable British weather. I've learned through trial and error in my own Midlands garden that getting these basic elements right makes all the difference between a thriving water feature and a muddy pond.
The Layers: Building a Functional Basin
Think of your rain garden as a carefully constructed basin, designed to temporarily hold water and encourage its slow infiltration. It’s not just one type of soil; it’s a series of layers, each playing a critical role.
- Bottom Layer (Native Soil): This is the existing soil you’ve just tested. You'll want to loosen it slightly at the bottom of your excavated basin to encourage roots and water to penetrate deeper.
- Middle Layer (Drainage/Percolation Layer): This is where you can significantly improve drainage, especially if you have heavy clay like me. I typically add a 10-15cm (4-6 inch) layer of coarse sand or horticultural grit. This helps prevent the planting medium from becoming waterlogged and promotes steady infiltration. One mistake I made initially was not adding enough grit, and the water still sat there for too long. Lesson learned!
- Top Layer (Planting Medium): This is the growing zone for your plants, usually 30-45cm (12-18 inches) deep. It's a rich, free-draining mix that supports healthy root growth and filters pollutants. My go-to blend for UK conditions is:
- 50% good quality topsoil (or amended existing soil)
- 30% well-rotted compost (my homemade compost is a winner here!)
- 20% coarse horticultural grit or sharp sand
This blend provides nutrients, holds some moisture, but crucially, allows water to drain effectively down to the lower layers.
When excavating, aim for a depth that creates a basin of roughly 15-30cm (6-12 inches) below the surrounding ground level, once your layers are in. The exact depth depends on your soil's drainage capacity and the volume of water you expect to manage.
The Berm: Containing the Flow
A berm is simply a small, compacted mound of soil that forms a raised edge around the downhill side (or sides) of your rain garden. Its purpose is absolutely critical: it holds the water within the basin, preventing it from flowing out prematurely.
- Why it's essential: Without a berm, your rain garden is just a dip. The berm ensures the water ponds within the depression, giving it time to slowly soak into the ground.
- How to build it: Use the soil you excavated from the basin. Compact it well – I usually walk over it and tamp it down with the back of a spade. Aim for a height of 15-20cm (6-8 inches) above the base of the rain garden. The berm should be gently sloped on the outer side to blend into the surrounding landscape.
The Overflow: Planning for the Deluge
Even the best-designed rain garden can be overwhelmed by an exceptionally heavy British downpour. That’s why an overflow mechanism is crucial. It’s your fail-safe, preventing your garden from turning into a swamp during extreme weather.
- Why it's needed: When the rain garden fills to capacity, the overflow directs the excess water safely away, preventing erosion or flooding of unwanted areas (like house foundations!).
- How to create it: Design a gently sloped channel or a shallow, gravel-filled swale at the lowest point of your berm, leading to a safe, permeable area. This could be a lawn, a shrub border, or another part of your garden that can handle additional moisture. In my greenhouse rain garden, I created a subtle overflow channel that directs any excess water towards a thirsty, established hedge, which happily soaks it up. Ensure this overflow is directed away from any structures or neighbouring properties.
Shape and Size Considerations
The shape of your mini rain garden can be as formal or informal as you like. I tend to go for organic, kidney-bean shapes in my garden, as they blend beautifully with the naturalistic planting. As for size, a general rule of thumb is that your rain garden should be 5-10% of the size of the impervious surface it’s collecting water from. So, if your patio is 20 square meters, your rain garden should ideally be 1-2 square meters. However, for a mini rain garden, you might be limited by space. Start with what you can fit, ensuring it's deep enough and has those critical layers, berm, and overflow. Even a small one will make a big difference!
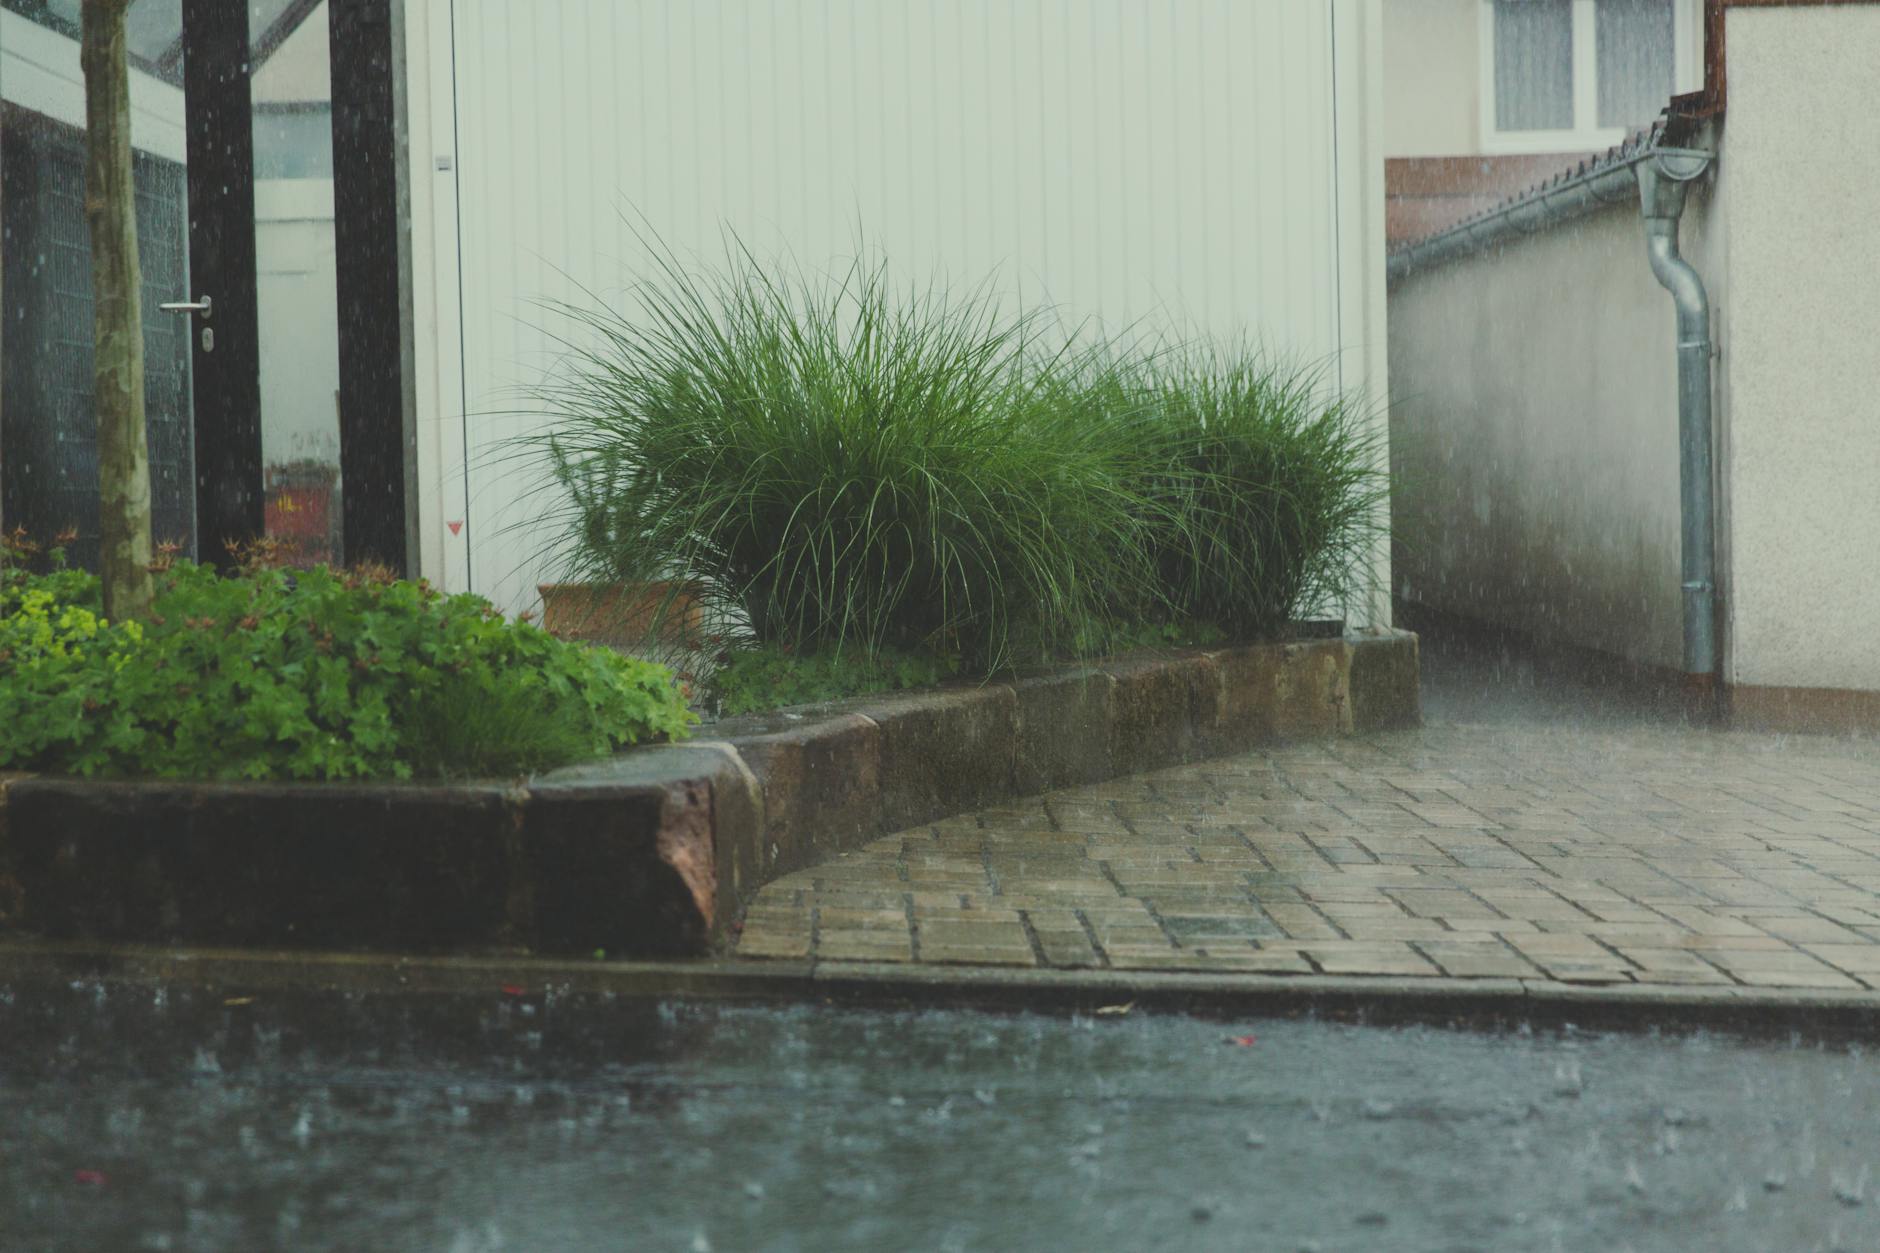
Plant Power: Selecting Resilient UK Native & Ornamental Species for Your Rain Garden
Now, this is where the real fun begins for me – choosing the plants! After all the digging and shaping, seeing those bare earth layers transform into a living, breathing ecosystem is incredibly rewarding. Over my five years of intensive gardening here in the UK, I've experimented with countless plants, often learning the hard way what truly thrives in our unpredictable British weather, especially in a dynamic environment like a rain garden.
The key to success here is selecting plants that can handle both a good soaking and drier spells once established. In my 800 sq ft Midlands garden, I've found a combination of UK natives and robust ornamentals works best, providing ecological benefits, beauty, and resilience. Natives, of course, are fantastic for supporting local wildlife – something I'm always keen to encourage, even in my small space.
For the lower, wetter zones of the rain garden basin, you'll want true moisture lovers. Think plants that naturally grow near ponds or streams. As you move up the slopes and onto the berm, you can introduce plants that prefer well-drained soil but can still tolerate occasional dampness. This layering creates a dynamic, visually interesting planting scheme.
One mistake I made in my early days was planting too densely with the wrong varieties, leading to a crowded, struggling mess after a few seasons. Always check the mature size and give them room to grow! And remember, while many rain garden plants are tough, they still need a bit of TLC in their first year to get established.
Here's a look at some of my go-to choices, tried and tested in my UK garden:
| Plant Name & Type | UK Native/Ornamental | Moisture Tolerance | Height/Spread (Mature) | Key Benefits for Rain Garden | Randy's UK Garden Experience |
|---|---|---|---|---|---|
| Iris versicolor (Blue Flag Iris) | Ornamental | Wet-Moist | 60-90cm / 45-60cm | Stunning purple flowers, strong root system | A reliable performer in the wettest part of my rain garden. Handles summer droughts here in the Midlands surprisingly well once established. |
| Juncus effusus (Soft Rush) | UK Native | Wet-Moist | 60-120cm / 30-60cm | Architectural form, excellent soil stabilisation, wildlife habitat | I love its upright structure; it's practically indestructible and brilliant for filtering runoff. A real workhorse for British conditions. |
| Carex pendula (Pendulous Sedge) | UK Native | Moist-Average | 90-150cm / 60-90cm | Elegant arching foliage, year-round interest, good for slopes | A fantastic plant for the middle zones. It tolerates my heavy clay soil beautifully and adds grace, even in winter. |
| Lythrum salicaria (Purple Loosestrife) | UK Native | Wet-Moist | 90-120cm / 30-60cm | Vibrant purple spikes, attracts pollinators, very robust | A favourite for summer colour! It attracts so many bees and butterflies to my garden. Can self-seed, so I deadhead some in autumn. |
| Hemerocallis (Daylily) | Ornamental | Moist-Average | 60-90cm / 60-90cm | Wide range of colours, tough, adaptable | I've got 'Stella de Oro' and 'Pardon Me' in my rain garden. They handle everything from downpours to dry spells and give fantastic blooms. |
| Phlox paniculata (Garden Phlox) | Ornamental | Moist-Average | 60-120cm / 60-90cm | Fragrant summer flowers, attracts butterflies | Great for the slightly higher, drier edges. Provides a burst of colour and scent, though watch for powdery mildew in humid UK summers. |
| Achillea millefolium (Yarrow) | UK Native | Average-Dry | 30-90cm / 30-60cm | Flat-topped flower clusters, drought tolerant, beneficial insects | Perfect for the berm or drier edges. It's incredibly tough and brings in the hoverflies, which are great for aphid control on my veg! |
 (https://example.com/iris-rushes-sedges.jpg)
Building Your Oasis: A Step-by-Step Construction Guide for UK Gardeners
Right, so you've planned your design and picked your plants. Now it's time to roll up your sleeves and get stuck in! Building a mini rain garden isn't as daunting as it might seem, especially if you break it down into manageable steps. I remember the satisfaction of moving from a soggy, unused corner to a beautifully planted feature in my own garden. It felt like a proper achievement, even if my back ached a bit afterwards!
Here’s how I tackled building my own mini rain garden, tailored for what works here in the UK:
Step 5.1: Mark Out and Dig Your Basin
First things first, get your spade out! Using spray paint or even just a garden hose, mark the outline of your rain garden basin. Remember the shape you designed – usually kidney-shaped or elongated to follow the flow of water.
Now, start digging. This is often the hardest part, especially if you're dealing with the heavy clay we have here in the Midlands, like I was. Aim for a depth of around 30-45cm (12-18 inches) in the centre, sloping gently up to your planned berm. As you dig, place the excavated soil around the perimeter to form your berm. Make sure the basin has a relatively flat bottom to allow water to spread evenly. I found that digging in stages, and having a good cup of tea in between, helped immensely!
Step 5.2: Shape the Berm and Inflow/Overflow Channels
Once your basin is dug, refine your berm. This raised edge is crucial for holding water in the basin. Compact it well by treading on it or using the back of your spade. Ensure it's slightly higher than the intended maximum water level in your basin.
Next, create your inflow channel – a gentle slope or swale where the runoff will enter the rain garden. And don't forget the overflow! This is vital for directing excess water away safely during heavy downpours. I usually direct mine to a permeable path or another planted area, ensuring it doesn't just pool elsewhere. For my rain garden, I made a small, gravel-lined channel for the overflow, which works a treat.
Step 5.3: Add Drainage Layers (If Needed)
If your native soil drains incredibly slowly (you'll know from your percolation test!), you might want to add a small layer of drainage material. I didn't need a full gravel layer in my main rain garden as my prepared soil mix was good enough, but for my smaller herb rain garden, I did add about 5-10cm (2-4 inches) of coarse gravel at the very bottom. This helps prevent standing water for too long.
Step 5.4: Prepare and Add Your Soil Mix
This is where your carefully chosen soil mix comes in. You want something that drains faster than your native soil but still retains enough moisture for plants. A typical mix I use is 50-60% sand (sharp sand works well), 20-30% compost (my own homemade stuff is perfect here!), and 10-20% existing topsoil. Mix it thoroughly.
Spread this prepared soil mix into your basin, ensuring it's level and reaches the desired planting depth (usually 15-20cm below the top of the berm). This depth gives your plants plenty of room to establish their roots.
Step 5.5: Plant Your Chosen Species
Now for the best bit! Follow your planting plan, placing the most moisture-tolerant plants in the lowest, wettest parts of the basin, and those preferring drier conditions higher up on the slopes and berm. Dig holes, plant your chosen species, and gently firm the soil around them. Water them in thoroughly immediately after planting – this helps settle the soil and reduce transplant shock.
Step 5.6: Mulch for Success
Finally, apply a 5-7cm (2-3 inch) layer of organic mulch, like wood chippings or bark, over the entire planted area. Keep it a few centimetres away from plant stems. This is critical for UK gardens: mulch helps suppress weeds, retain moisture during dry spells, and regulate soil temperature, protecting roots from our sometimes harsh winters and hot summers. I've found it makes a huge difference to establishment and ongoing maintenance.
Here’s a quick overview of some key considerations during the build:
| Construction Element | Randy's Top Tip for UK Gardeners | Potential Pitfall & How I Avoid It |
|---|---|---|
| Digging the Basin | Invest in a good quality spade and fork. Break up compacted clay layers for better initial drainage. | Rushing the digging results in uneven depths. I always use a string line and tape measure to keep my basin level. |
| Shaping the Berm | Ensure the berm is well-compacted. A gentle slope on the outside helps it blend naturally into the garden. | A weak berm can erode or fail to hold water. I walk all over mine several times to compact it properly. |
| Soil Mix | Don't skimp on the quality of your sharp sand and compost. It's the foundation for plant health. | Too much clay or not enough sand leads to poor drainage. I rigorously mix my ingredients on a tarp before adding. |
| Inflow/Overflow | Make these clearly defined and gently sloped. Consider lining them with small stones for aesthetics and erosion control. | Overlooking the overflow can lead to water pooling elsewhere or eroding your berm. Always double-check your levels. |
| Planting | Plant in clusters for a more natural look and better visual impact. Give plants ample space to reach maturity. | Planting too close together leads to competition and disease. I always check mature plant sizes on the labels. |
| Mulching | Use a good quality organic mulch. Reapply annually to maintain effectiveness and slowly enrich the soil. | Not mulching or using too thin a layer allows weeds to thrive and soil to dry out quickly. I aim for 5cm minimum. |
 (https://example.com/planting-rain-garden.jpg)
Low-Maintenance Living: Care and Troubleshooting for a Thriving Rain Garden
You’ve put in the hard graft, and now your mini rain garden is taking shape. The good news is that once established, these systems are remarkably low-maintenance – a huge bonus for any busy UK gardener like myself, juggling my heirloom tomatoes in the greenhouse with everything else! However, "low-maintenance" doesn't mean "no maintenance," especially in the first year or two while your plants are settling in and the system is finding its rhythm with our wonderfully varied British weather.
Here’s what I've learned about keeping my rain garden happy and healthy, along with some common snags you might encounter:
The First Year: Establishment is Key
The first year is critical. Your plants are young, and their root systems aren't fully developed. This means:
- Watering: Even though it's a rain garden, you'll need to water regularly during dry spells, particularly in summer. Our UK summers can be surprisingly dry, even here in the Midlands, and young plants can't yet tap into deeper moisture.
- Weeding: Keep on top of weeds! They compete for water and nutrients. The mulch layer will help immensely, but a quick fortnightly patrol will save you a lot of grief later on. I always tackle weeds when the soil is damp, as they pull out much easier.
- Monitoring: After a good rain, observe your rain garden. Does the water drain away within 24-48 hours? Is the overflow working effectively? Are there any areas where water is pooling excessively or eroding the soil? This early observation helps you make small adjustments before they become big problems.
Ongoing Care (Years 2 Onwards)
Once established, your rain garden becomes much more self-sufficient.
- Weeding: You'll still need to weed, but significantly less often thanks to the mulch and the established plants shading out weed seedlings.
- Mulch Replenishment: Top up your mulch layer annually, or as needed, to maintain its depth and effectiveness. I usually do this in late autumn or early spring.
- Pruning & Deadheading: Prune back any plants that are getting too large or leggy. Deadhead spent flowers if you want to encourage more blooms or prevent excessive self-seeding (like with my Lythrum salicaria).
- Dividing Plants: Every few years, some perennial plants might benefit from division, especially if they're looking crowded or less vigorous. This also gives you free plants to expand your rain garden or share with fellow gardeners!
- Checking Inflow/Overflow: Occasionally clear any debris (leaves, silt) from your inflow and overflow channels to ensure water can move freely.
Troubleshooting Common Rain Garden Issues
Even with the best planning, sometimes things don't quite go to plan. Here are a few issues I've personally encountered and how I've tackled them in my UK garden:
| Common Issue | Randy's Diagnosis & Solution (UK Context) |
|---|---|
| Water Standing Too Long (48+ hours) | Diagnosis: Poor drainage, possibly compacted soil layer or the wrong soil mix. Solution: Carefully dig a small test pit to check if there’s a hardpan. If so, you might need to add more sharp sand to your soil mix or dig deeper and add a gravel layer. I once had to use a broadfork to break up a compacted layer under my basin. |
| Erosion Around Inflow/Overflow | Diagnosis: Water is entering/exiting too quickly or with too much force, or the area isn't adequately protected. Solution: Add more stones, gravel, or even a small piece of geotextile fabric to stabilise these areas. You can also plant tough, spreading groundcovers like Creeping Jenny (Lysimachia nummularia) to help bind the soil. |
| Plants Struggling (Yellowing, Stunted Growth) | Diagnosis: Could be too wet, too dry, nutrient deficiency, or pest/disease. Solution: First, check moisture levels. If it's too wet, see "Water Standing Too Long." If too dry, increase watering during establishment. Consider a light application of organic liquid feed. Ensure good airflow to prevent fungal issues in our humid UK summers. |
| Weed Overwhelm | Diagnosis: Insufficient mulch, or weeds got a head start before plants established. Solution: Reapply a thick layer of mulch (5-7cm). Regular, consistent hand-weeding is the best approach, especially for stubborn perennial weeds. I always try to get them when they're small! |
| Rain Garden Looks Scrappy/Sparse | Diagnosis: Plants haven't filled in yet, or not enough plants were initially planted. Solution: Patience! It often takes 2-3 years for a rain garden to fully mature. Infill with more suitable plants, consider dividing existing ones, or add a few fast-growing annuals for temporary cover. |
 (https://example.com/mulched-rain-garden.jpg)
Conclusion: Your Beautiful, Resilient UK Oasis Awaits
So there you have it – my full guide to designing and building a mini rain garden right here in the UK. From identifying that problem water-logged corner in your garden to selecting the perfect resilient plants and building a functional system, you're now equipped with the knowledge and, hopefully, the inspiration to create your own beautiful, low-maintenance oasis.
I truly believe that for us UK gardeners, with our wonderfully varied and often challenging weather, rain gardens are an absolute game-changer. They don't just solve a practical problem of runoff and soggy patches; they transform them into vibrant, biodiverse havens. I've seen it happen in my own 800 sq ft Midlands garden, where a once neglected, water-logged corner is now a buzzing hub of life, attracting bees and butterflies, and providing a stunning display of year-round interest.
It might seem like a big project, especially if you're battling our notorious British clay or trying to get your head around all the layers. But trust me, the rewards far outweigh the effort. You'll be contributing to a healthier environment, reducing strain on local drainage systems, and creating a truly unique and resilient feature that will bring you joy for years to come.
So, take that first step. Grab a spade, observe your garden, and start dreaming up your mini rain garden. You'll be amazed at what you can achieve, even in a small space. And remember, every gardener, even after five years of intense experience like me, is always learning. Embrace the journey, enjoy the process, and soon you'll be enjoying the beauty and benefits of your very own rain garden. Happy gardening, everyone!



