Transforming Your Challenging Garden Slope into a Beautiful, Usable Space
Let's be honest, a steep slope in the garden can feel like more of a curse than a feature, especially here in the UK. When I first moved into my place in the Midlands five years ago, my 800 sq ft backyard had a section that was just a nightmare – a steep, sun-baked bank that was impossible to walk on, let alone plant. I’m Randy, by the way, a home gardener obsessed with growing everything from heirloom tomatoes in my greenhouse to a riot of herbs and veg in my raised beds. I used to be an IT worker, but swapping screens for soil was the best decision I ever made, and I've been experimenting, learning, and sometimes failing gloriously in my UK garden ever since.
That challenging slope in my own garden sparked an obsession. I knew there had to be a way to turn that wasted, erosion-prone space into something productive and beautiful. And I’m here to tell you, it’s absolutely possible! Whether you’re battling a gentle incline or a proper hill, with the right techniques, you can transform it into accessible, stunning terraces that not only look fantastic but also solve those pesky problems like soil erosion and plants sliding down with every heavy British downpour. I've spent countless hours researching, digging, and quite frankly, making a few mistakes, so you don't have to.
This isn’t just about making your garden look good; it’s about making it work for you. We’ll explore how to understand your unique slope, prevent soil from washing away, secure your beloved plants, and build robust, beautiful terraces that will stand up to our unpredictable UK weather. I'll share what I've learned firsthand in my Midlands garden, from the best materials to use to the plants that truly thrive in these challenging conditions. So, grab a cuppa, and let's get stuck into turning that tricky slope into your garden's crowning glory!
Understanding Your Slope's Unique Characteristics: Assessing Aspect, Soil Type, and Drainage
Before you even think about digging or buying a single plant, the absolute first step for any UK gardener tackling a slope is to get to know it intimately. Trust me, I learned this the hard way. Ignoring the basics led to some soggy plants and a bit of soil creep in my early days. Understanding your slope’s aspect, soil type, and drainage will save you a world of heartache and ensure your hard work lasts.
Aspect: The Sun's Story
Your slope's aspect refers to the direction it faces – north, south, east, or west. This is incredibly important here in the UK because it dictates how much sun and warmth your plants will get throughout the day. A south-facing slope, for instance, will get maximum sun exposure, which sounds great, but can mean it bakes dry very quickly during our summer heatwaves, especially if it’s steep. I have a south-facing bank in my garden, and I initially struggled with plants wilting by midday until I started choosing more drought-tolerant varieties and mulching heavily.
Conversely, a north-facing slope will be much shadier and cooler, retaining more moisture. This is perfect for woodland plants, ferns, and shade-loving herbs, but a total no-go for my beloved sun-worshipping tomatoes! An east-facing slope gets morning sun, while a west-facing one enjoys the hotter afternoon sun. Take a few days to observe your slope at different times; it's a simple step that will inform all your future planting and design choices.
Soil Type: The Foundation of Your Garden
The type of soil you have on your slope is critical for both plant health and erosion control. Here in the Midlands, I’ve mostly contended with heavy clay – fantastic for holding nutrients, but on a slope, it can become incredibly compacted, shedding water rather than absorbing it, leading to runoff. To figure out your soil type, take a handful of damp soil. Does it form a sticky ball (clay)? Does it crumble easily (sandy)? Or does it hold together but break apart fairly easily (loamy)?
You can also do a simple jar test: put some soil in a jar with water, shake it up, and let it settle for 24 hours. The layers will reveal your sand, silt, and clay content. Knowing this helps you improve the soil; for instance, adding plenty of organic matter like homemade compost to heavy clay will improve drainage and structure, making it more stable and hospitable for roots. Sandy soils will benefit from compost too, helping them retain moisture and nutrients.
Drainage: Where Does the Water Go?
This is arguably the most crucial factor for a sloped garden, especially with our often-wet British weather. Poor drainage can lead to waterlogging, root rot, and, most critically, severe erosion. Spend some time observing your slope during a heavy downpour. Does water run off quickly, carrying soil with it? Does it pool in certain areas? Or does it seem to soak in effectively?
I learned about drainage the hard way after a particularly wet winter where a section of my slope became a bog, nearly drowning some newly planted lavender. I hadn't properly addressed the underlying clay soil and compaction. If water is running off too quickly, you'll need strategies to slow it down, which we'll cover in the next section. If it's pooling, you might need to consider improving soil structure, adding grit, or even installing basic land drains or swales to redirect water away from sensitive areas.
Preventing Erosion: Essential Techniques for UK Gardens
Erosion is the enemy of any sloped garden, especially with the unpredictable deluges we get here in the UK. One moment it's glorious sunshine, the next it's a torrential downpour, and if your slope isn't protected, you could see your precious topsoil (and plants!) washing away. I've seen firsthand how quickly a healthy bank can turn into a scarred mess if erosion isn't managed. The good news is, there are several effective strategies you can employ.
Vegetation: The Root of the Solution
The most natural and often most effective way to prevent erosion is with plants. Their root systems act like an intricate net, holding the soil together. When selecting plants, look for deep-rooted, fibrous varieties that are well-suited to our UK climate. I’ve had great success using native UK grasses like fescue on my smaller, less steep banks. Groundcovers such as Creeping Thyme (Thymus serpyllum) or even hardy sedums are fantastic for covering bare soil quickly and creating a living carpet that grips the earth. For larger areas, shrubs like Cotoneaster and Rosemary (Rosmarinus officinalis) are excellent choices for their extensive root systems and drought tolerance once established. The key is to plant densely and get them established as quickly as possible.
Mulching: A Protective Blanket
Mulch is your slope's best friend. A good, thick layer of organic mulch like bark chippings, straw, or well-rotted compost does wonders. It acts as a protective blanket, shielding the soil from the direct impact of rain, which is a major cause of surface erosion. It also helps to retain moisture, suppress weeds, and slowly break down to improve soil structure over time. I always apply a good 3-4 inches of wood chip on any exposed slope, especially after planting. It makes a huge difference, particularly during those heavy summer downpours we get in the Midlands. Just be aware that on very steep slopes, heavy rain can sometimes wash lighter mulches away, so secure them where possible, perhaps with a netting or by choosing chunkier chips.
Geotextiles and Erosion Control Mats: Immediate Stabilisation
For particularly steep or unstable sections, especially when you’re establishing new plantings, geotextiles or erosion control mats can be a lifesaver. These are woven or matted materials, often made from natural fibres like coir (coconut fibre) or jute, that you lay directly onto the slope and secure with pegs. They hold the soil in place immediately, allowing your new plants to establish their root systems without being washed away. For a particularly tricky, bare patch I inherited in my garden, I used a coir matting. It held everything in place beautifully while my young plants took root, and it slowly broke down into the soil.
Contour Planting: Slowing the Flow
Planting in contours, or along the natural curve of the slope, rather than straight up and down, is another excellent technique. This creates a series of mini-terraces that slow down the flow of water, giving it more time to soak into the soil rather than rushing downwards and carrying soil with it. It’s a simple design principle that, when combined with the right plants, significantly reduces erosion risk.
Here's a quick comparison of these erosion control techniques:
| Technique | Pros (UK Context) | Cons (UK Context) | Best Use Case (UK Garden) |
|---|---|---|---|
| Deep-Rooted Plants | Natural, long-term, improves soil, supports wildlife. | Slow to establish, initial erosion risk, plant choice. | Gentle to moderate slopes, established areas, biodiversity. |
| Mulching | Immediate protection, retains moisture, suppresses weeds. | Needs topping up, heavy rain can wash away, cost. | New plantings, moderate slopes, moisture retention. |
| Geotextiles/Mats | Immediate, strong stability, good for steep slopes. | Can be visible initially, less natural, installation effort, cost. | Very steep, unstable slopes; during plant establishment. |
| Contour Planting | Slows water flow, creates microclimates, aesthetic. | Requires careful planning, can be complex to lay out. | Moderate slopes, vegetable beds, ornamental borders, mixed planting. |
Building Secure Terraces and Retaining Walls: Choosing Materials and Construction Methods
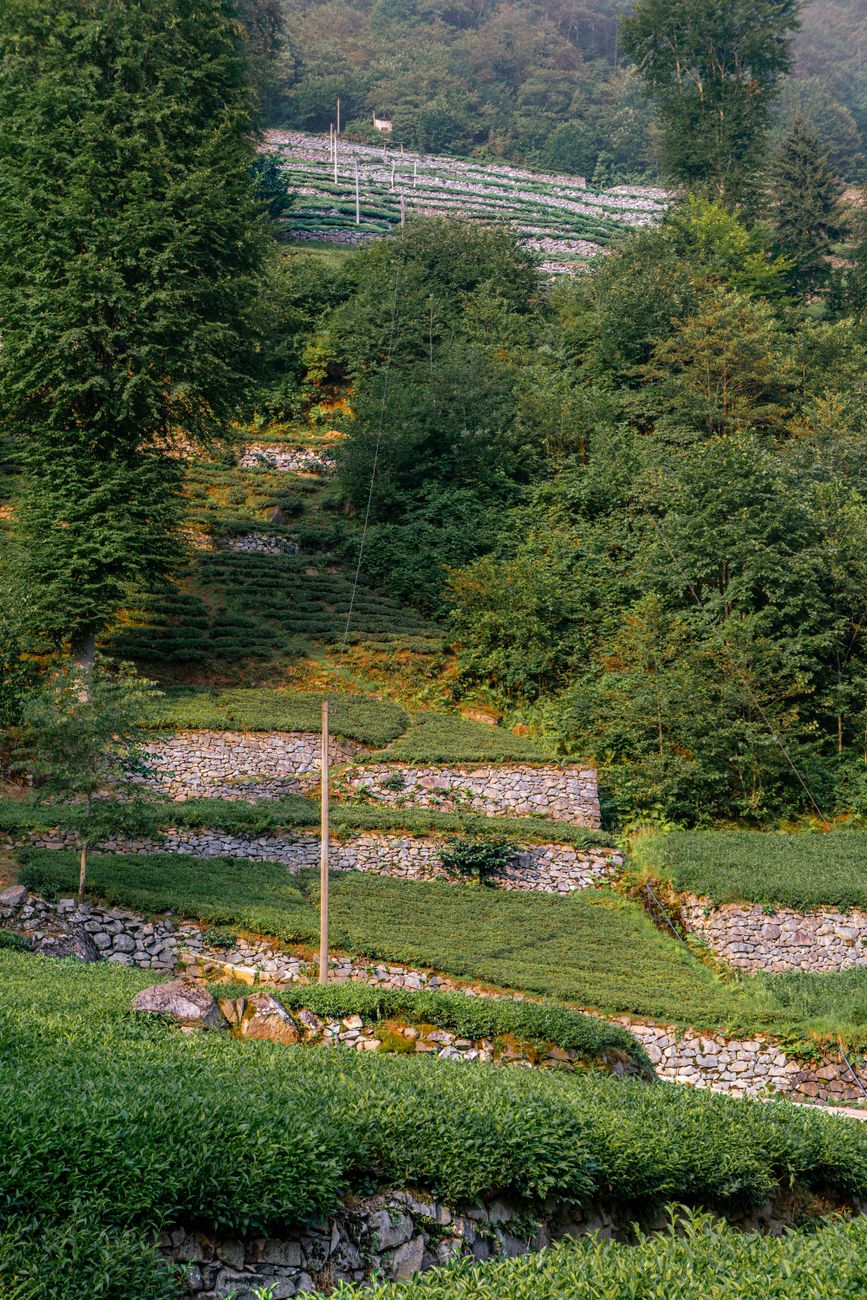
Once you've got a handle on your slope's characteristics and some initial erosion control, the next big step for truly transforming a steep garden is building terraces and retaining walls. For me, in my 800 sq ft garden, even a small slope felt like wasted space until I started thinking about terraces. It’s truly transformed a once-awkward corner into a productive herb garden and a lovely seating area, making the space so much more usable and accessible. Terraces create flat, level planting beds, which massively reduces erosion and makes gardening so much easier than trying to plant on a steep incline.
Choosing Materials: Built to Last in British Weather
The choice of material for your retaining walls isn't just about aesthetics; it's about durability, cost, and how well it will stand up to our often-damp and sometimes harsh British climate.
Timber:
- Pros: Natural, rustic look; relatively inexpensive and easier for a DIY gardener to work with. Treated timber sleepers are popular.
- Cons: Shorter lifespan compared to stone or brick, even treated timber can rot over time in our wet UK climate, especially if in constant ground contact.
- My Experience: I've used treated sleepers for some of my raised beds, and they've held up well for several years, but for a taller, load-bearing retaining wall, I'd carefully consider the treatment level and expect to replace them eventually.
Stone (Dry Stone or Mortared):
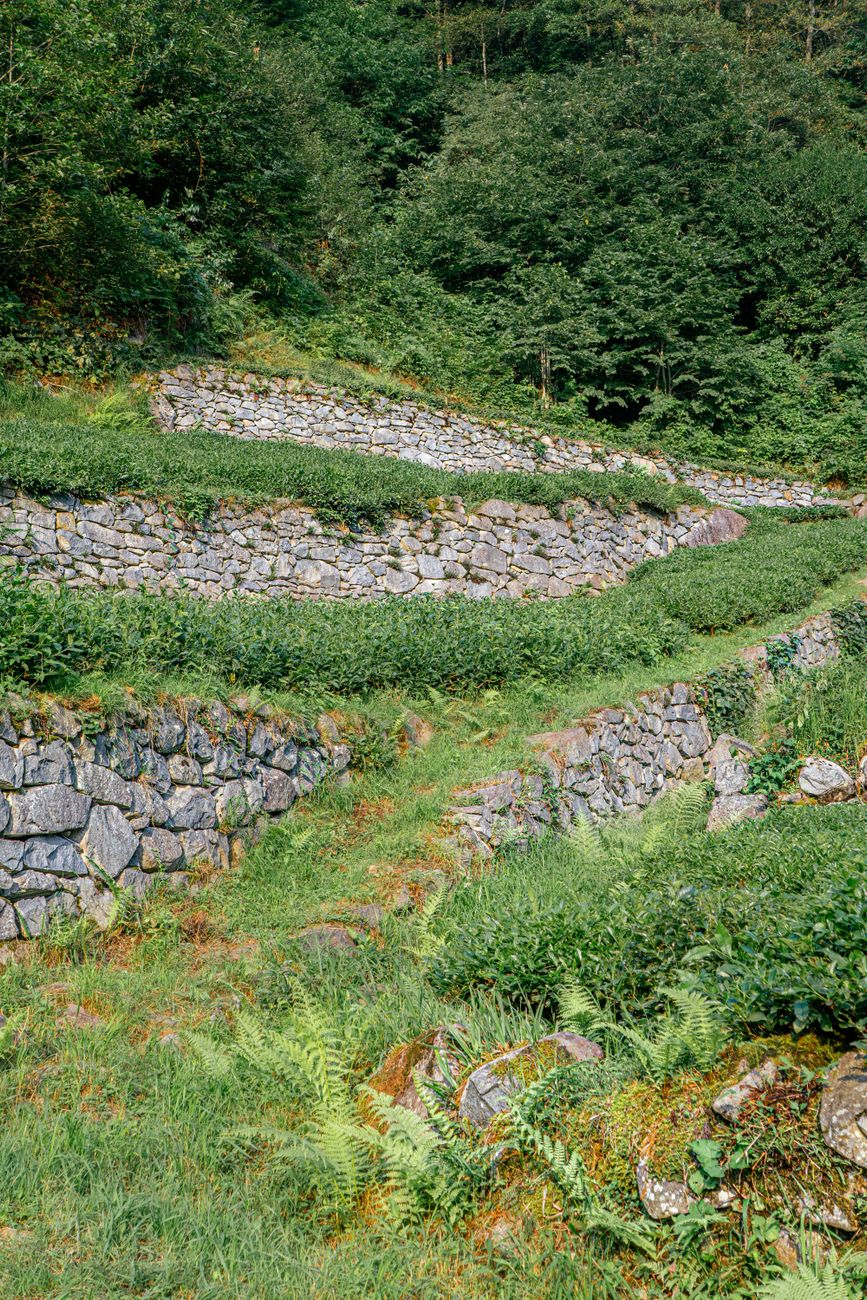
- Pros: Incredibly durable, beautiful, natural look that blends wonderfully into the British landscape. Dry stone walls offer excellent drainage and are very eco-friendly. Mortared stone is extremely strong.
- Cons: Can be expensive for materials and very labour-intensive to build, often requiring specialist skills, particularly for dry stone walling.
- My Experience: My dream is a dry stone wall, perfectly suited to our British landscape, but I'm still saving up for the materials and the weekend courses to learn the skill!
Bricks:
- Pros: Classic UK look, very durable, versatile, and can be used to create intricate designs. If built correctly, brick walls last for decades.
- Cons: More expensive than timber, requires mortar work and a good level of bricklaying skill.
- My Experience: Many older UK gardens feature brick retaining walls, and they look fantastic and last for decades if built right. They offer a very tidy, traditional aesthetic.
Concrete Blocks/Paving Slabs:
- Pros: Very strong, highly durable, and cost-effective for larger projects. They offer excellent structural integrity.
- Cons: Can look less natural or attractive on their own; often need rendering, cladding with stone, or planting in front to soften their appearance.
- My Experience: For sheer strength and practicality, especially for taller walls or those needing to hold back a lot of earth, concrete blocks are hard to beat. I'd definitely want to clad them with something more attractive, though, to fit my garden's style.
Construction Methods: Getting it Right
Building a retaining wall isn't just about stacking materials; it's about engineering a structure that can withstand the immense pressure of the earth behind it, especially with our often-saturated soils.
Foundations are Non-Negotiable: This isn't an area to cut corners, believe me. A collapsed wall is a nightmare, and I've seen it happen in neighbours' gardens after a particularly wet winter. All retaining walls need a solid, level foundation, usually a concrete footing, to distribute the weight evenly and prevent subsidence. The depth and width of this foundation depend on the height and material of your wall, so always check local building regulations and structural guidelines for taller walls.
Drainage is Crucial: Water build-up behind a retaining wall is a huge problem. Hydrostatic pressure from saturated soil can easily push a wall over. You must include adequate drainage. This typically involves a layer of gravel or crushed stone behind the wall, often with a perforated drainpipe (a 'French drain') laid at the base of the wall, leading to an outlet. 'Weep holes' in the wall itself also allow water to escape.
The Batter (Lean) of the Wall: For stability, retaining walls should ideally have a slight 'batter' or lean back into the slope. This helps the wall resist the pressure from the soil. The exact angle depends on the wall's height and material, but even a slight lean makes a big difference.
DIY vs. Professional: For smaller, low walls (under 1 metre in height), a competent DIY gardener can often tackle the project, especially with timber sleepers or simpler stone work. However, for taller walls, very steep slopes, or walls holding back significant loads, I strongly recommend consulting a professional. Safety is paramount, and a structural engineer or experienced landscaper will ensure your wall is safe, compliant with UK building regulations, and built to last.
Planting for Stability and Visual Appeal: Selecting Native and Suited Plants for Slopes
Once you've got those terraces built and the soil prepped, the fun really begins: choosing your plants! This isn't just about making your slope look pretty, though that's a huge part of it. It's about picking plants that will actively work for you, stabilising the soil with their root systems and thriving in our unpredictable UK climate. In my 800 sq ft Midlands garden, I've learned that a mix of groundcovers, shrubs, and perennials gives you the best defence against erosion while creating a dynamic, beautiful space.
I always lean towards native or well-adapted UK plants where possible. They’re already accustomed to our rainfall patterns – sometimes too much of it! – and our varied temperatures. They also tend to support local wildlife, which is a bonus. When I was first starting out, I made the mistake of planting some lovely but delicate things on an exposed part of my slope, only for them to get battered by a particularly blustery British winter. Lesson learned: tough roots and resilience are key.
Here’s a look at some of my favourites and other great choices for UK slopes, balancing stability with visual interest:
| Plant Type | Examples (UK Suited) | Key Stability Features | Visual Appeal & Notes | Randy's UK Garden Experience |
|---|---|---|---|---|
| Groundcovers | Creeping Thyme, Cotoneaster horizontalis, Ivy (Hedera helix), Periwinkle (Vinca minor), Wild Strawberry | Dense, mat-forming roots bind topsoil; reduces splash erosion. | Low-growing, varied textures, some evergreen, flowers. Cotoneaster has berries. | I use wild strawberry on a sunnier bank for a natural look and bonus fruit. Cotoneaster is brilliant for quick coverage and winter interest, though it needs pruning to stay neat. I've seen ivy used well on very steep, shady banks but it can be vigorous. |
| Grasses & Sedges | Common Bent (Agrostis capillaris), Fescue (Festuca spp.), Carex (e.g., Carex pendula) | Fibrous, extensive root systems; good for deeper soil binding. | Naturalistic, movement in wind, year-round structure. | I've incorporated Fescue into my terraced herb beds – its fine texture contrasts nicely, and it holds the soil around my thyme and oregano beautifully. They're surprisingly tough. |
| Shrubs | Dogwood (Cornus sanguinea), Willows (Salix spp.), Forsythia, Heather (Calluna vulgaris), Lavender (Lavandula angustifolia) | Strong, woody root systems penetrate deeper, anchoring soil. | Seasonal colour (flowers, stems, foliage), structure, some evergreen. | Dogwood is a stunner for winter stem colour and its roots are fantastic. I've got a small patch of lavender on a sunny, well-drained terrace edge, not just for the bees but for its tough, woody roots. Willows are amazing for really wet, unstable areas, but they get big! |
| Perennials | Daylilies (Hemerocallis), Hostas, Ferns (e.g., Dryopteris filix-mas), Sedum (Stonecrop), Bergenia | Deep and/or spreading root systems; good for specific pockets. | Varied foliage, long flowering periods, shade/sun adaptable. | Sedum is a go-to for my sunnier, drier spots – drought-tolerant and fantastic for pollinators. Hostas and ferns are invaluable for shadier terraces, providing lush foliage and their roots help hold things together in damp conditions. |
When you're choosing, think about the specific conditions on each terrace or section of your slope. Does it get full sun or deep shade? Is the soil well-drained or does it stay a bit damp? Here in the Midlands, our weather can throw anything at us, so selecting resilient plants is always a good bet.
Effective Planting and Securing Methods: Step-by-Step Guide to Establishing Plants and Preventing Washout
You've got your plants, you've prepped your soil – now it's time to get them in the ground. Planting on a slope, even a terraced one, requires a bit more thought than just digging a hole. The biggest challenge, especially in our British climate with its sudden downpours, is preventing washout before the plants can establish their roots. I learned this the hard way when a sudden summer storm washed out a whole section of newly planted alpines!
Here's my step-by-step approach to make sure your plants take root and stay put:
- Dig the Right Hole: For each plant, dig a hole that's at least twice as wide as the root ball and just as deep. If you're on a slight incline within a terrace, make the back edge of the hole a little higher to create a small "cup" that will catch water rather than letting it run off.
- Amend the Soil: Even if you've done a general soil amendment, add some well-rotted compost or leaf mould to the individual planting hole. This improves drainage and nutrient availability, giving your plant the best start. I find my homemade compost, rich in kitchen and garden waste, works a treat here.
- Position the Plant: Carefully remove the plant from its pot. If the roots are circling, gently tease them out. Place the plant in the hole so that the top of the root ball is level with the surrounding soil. For stability, I often plant slightly deeper than usual on a slope, maybe an inch or so, to give those roots more immediate purchase.
- Backfill and Firm: Backfill the hole with your amended soil, gently firming it around the root ball to remove any air pockets. Don't compact it too much, though; roots need air to breathe.
- Create a Water Basin: This is crucial on a slope. Around each plant, build a small, raised soil berm (a little ring of soil) a few inches away from the stem. This acts like a mini-dam, holding water directly over the root zone and allowing it to soak in slowly, rather than running down the slope.
- Secure Young Plants (If Needed): For larger shrubs or anything planted on a steeper section, consider additional securing.
- Biodegradable Mats: I've had great success with coir mats or jute netting, especially when planting a large area. You lay them over the soil, cut holes for your plants, and then peg them down securely. They break down over time, by which point your plant roots should be established.
- Staking: For taller plants, a sturdy stake (driven well into the ground) can provide initial support against wind and rain.
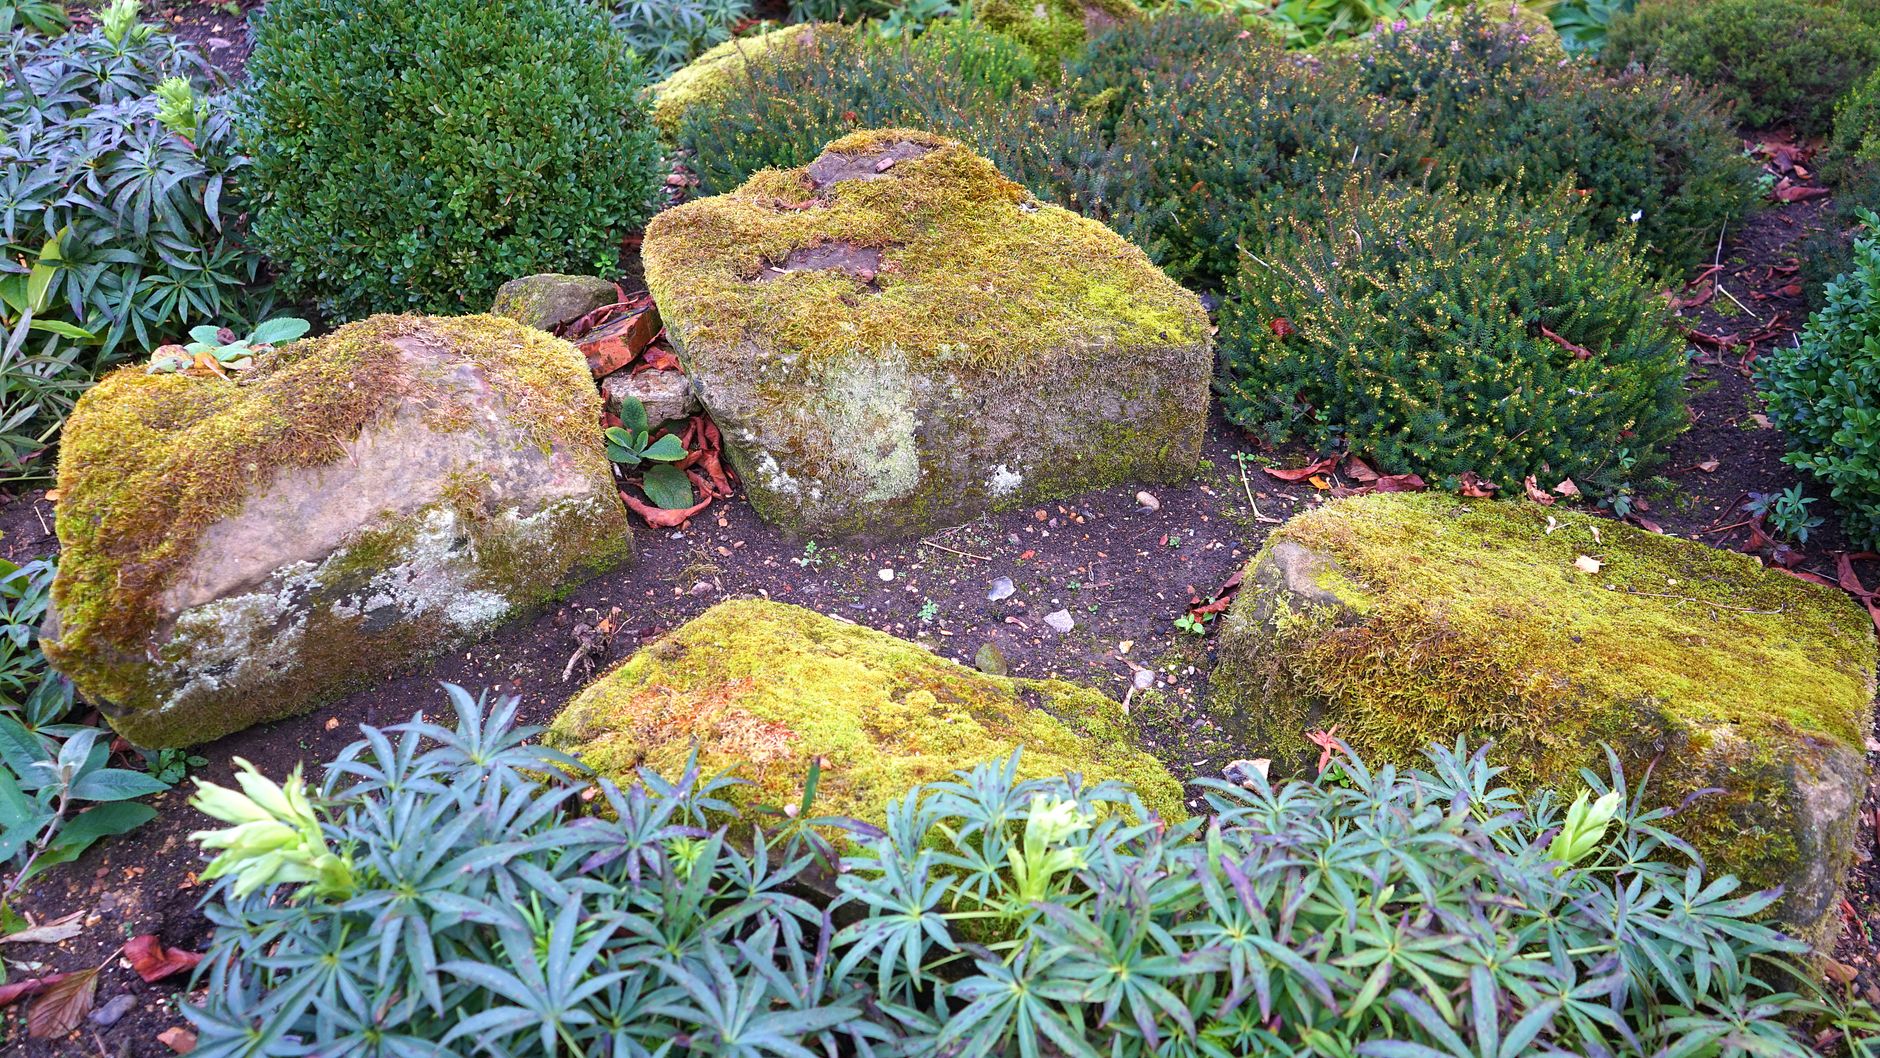
- Rock Placement: Strategically placed rocks around the base of plants, partially buried, can also help hold soil and direct water. I use some of the smaller stones I dug up when building my terraces for this.
- Water Thoroughly: Give your newly planted slope a really good, deep watering. The water basin you created will ensure it soaks in where it's needed most. This also helps settle the soil around the roots.
- Mulch, Mulch, Mulch! This is non-negotiable for me. A good 2-3 inch layer of wood chips, well-rotted compost, or even gravel (for drought-tolerant plants) will suppress weeds, retain moisture, and most importantly for a slope, prevent soil erosion and splash-back during heavy rain. In my Midlands garden, where we get our fair share of wet weather, mulch is a hero.
Creating Accessible Paths and Sustainable Maintenance: Designing Safe Access and Low-Effort Upkeep
Having a beautiful, stable sloped garden is fantastic, but it's not much good if you can't get to your plants without risking a tumble, or if maintaining it becomes a full-time job. When I designed my terraced backyard, accessibility and ease of maintenance were high on my list, especially because I'm always lugging compost bags or my harvesting basket around. Our British weather means paths need to be durable and maintenance needs to be smart, not just hard.
Designing Safe and Accessible Paths
Think about how you'll move through your garden. Steps are often the most practical solution for steeper gradients, but even within a terrace, you might need a clear path.
- Material Choices:
- Gravel: A classic for a reason. It offers good drainage, is relatively inexpensive, and gives a satisfying crunch underfoot. However, it can migrate on steeper sections or get washed out, so for my steeper steps, I used a gravel grid system. I lay down a permeable membrane first to suppress weeds, then the grid, then fill with gravel. This keeps it in place, even with our heavy rain.
- Wood Chips: Great for a more natural, informal look and good for weed suppression. They're soft underfoot, but they do break down and need topping up every year or two. I use these on flatter sections of my terraces where I just need a clear walkway between beds.
- Paving Slabs or Natural Stone: More durable and stable for main access routes or steps. They can be more costly and require solid foundations, but they're a long-term solution. I used reclaimed stone for my main steps – looks fantastic and is incredibly sturdy.
- Steps vs. Ramps: For gardening, steps are generally more practical on steep slopes. Ramps need to be very long and have a gentle gradient to be truly accessible, which often takes up too much valuable planting space. If you do use steps, ensure they have consistent risers (height) and treads (depth) to prevent trips. I made mine generous, about 30cm deep, so I can comfortably carry things up and down.
- Drainage for Paths: This is vital in the UK. Ensure paths aren't creating new channels for water to run down. Angle them slightly to encourage runoff into planting areas, or incorporate small French drains alongside them. I always make sure my path edges are slightly raised to prevent water from pooling.
Sustainable and Low-Effort Maintenance
The goal here is to minimise future work while keeping your sloped garden thriving.
- Watering Wisely: Slopes can dry out quickly, but also suffer from runoff. Focus on deep, infrequent watering rather than shallow daily sprinkles. A soaker hose or drip irrigation system is a game-changer here, delivering water directly to the roots without waste or runoff. I've got a simple drip system running along my terraced veg beds, and it saves me hours of hand-watering, especially during a dry spell in the Midlands.
- Weed Management:
- Mulch is Your Best Friend: As mentioned earlier, a thick layer of mulch is the single best thing you can do for weed suppression on a slope. It also retains moisture, which means less watering for you.
- Groundcovers: The plants you chose for stability will also suppress weeds. The denser your planting, the fewer weeds will get a foothold.
- Hand Weeding: When weeds do appear, tackle them quickly. It's much easier to pull a small weed than to battle a mature one with deep roots on a slope.
- Pruning for Health and Stability: Regularly prune shrubs and groundcovers to maintain their shape, promote healthy growth, and ensure they continue to cover the soil effectively. Overgrown plants can become top-heavy and contribute to instability.
- Long-Term Checks: Periodically inspect your retaining walls, terraces, and paths for any signs of movement, cracks, or erosion. Early detection of a problem can save you a lot of work down the line. After a particularly heavy downpour, I always take a walk around my garden just to check everything is holding up. Our British weather really keeps you on your toes!
- Pest and Disease Management: A healthy, diverse planting scheme is your first line of defence. Keep an eye out for issues, but generally, robust, well-chosen plants will be more resilient. Good air circulation between plants on terraces can also help prevent fungal diseases that thrive in damp conditions.
Conclusion
Transforming a steep slope into a beautiful, functional garden is undeniably a challenge, but I truly believe it's one of the most rewarding gardening projects you can undertake. I've poured countless hours, a fair bit of sweat, and certainly a few expletives into my own terraced garden here in the Midlands, but the results speak for themselves. From that initial daunting patch of scrub, I now have productive raised beds, a thriving greenhouse for my heirloom tomatoes, and accessible paths that let me enjoy every corner.
We've covered a lot: from understanding your slope's unique character and preventing that dreaded erosion, to building secure terraces and choosing the right plants for both stability and year-round beauty in the UK climate. Remember, it's about working with nature, not against it. By selecting resilient plants, implementing smart planting techniques, and designing for both accessibility and low-effort maintenance, you're setting yourself up for success.
Don't be afraid to experiment, and definitely don't be disheartened by a few setbacks – I've certainly had my share, usually courtesy of a rogue British downpour! Every challenge is a learning opportunity, and every success, no matter how small, is a huge victory. With careful planning and a bit of elbow grease, your steep slope can become a truly unique and productive part of your home. It's an incredible journey, and I promise you, the satisfaction of seeing your vision come to life is utterly priceless.
Happy gardening, everyone!
