Right then, fellow gardeners! Randy here, coming to you from my little patch of green heaven here in the UK Midlands. If you're anything like me, you pour your heart and soul into your raised beds and containers, nurturing every seedling, dreaming of those bountiful harvests. I mean, who doesn't love the sight of a healthy tomato plant laden with 'Sungolds' or 'Moneymakers' in the greenhouse, or vibrant 'Cosmic Purple' carrots pushing through the soil in a raised bed?
But let's be honest, gardening isn't always sunshine and roses, especially with our notoriously unpredictable British weather throwing curveballs. We all make mistakes, and I've certainly made my fair share in my 800 sq ft backyard. One of the most disheartening issues I've faced, and something I know many of you have too, is the dreaded over-fertilisation and nutrient burn. It’s that moment when you see your cherished plants, which you’ve been pampering like royalty, suddenly looking stressed, yellowing, or even crispy at the edges. It feels like a punch to the gut, doesn't it?
I learned this lesson the hard way a few seasons back with a batch of my beloved heirloom 'Brandywine' tomatoes in the greenhouse. I was so keen to give them a boost during a particularly soggy summer, thinking more feed would compensate for the lack of sun, and ended up scorching their leaves. It was a proper 'D'oh!' moment. Since then, I’ve dedicated a fair bit of my experimental energy to understanding exactly what goes wrong when we get a bit too enthusiastic with the feed, especially in our raised beds and containers where things can go pear-shaped rather quickly. This article is all about sharing what I've learned from my own trials, errors, and eventual successes in battling nutrient burn here in my UK garden. We'll get your stressed plants back on track, no fuss, no drama.
Understanding Over-Fertilisation and Nutrient Burn in Your UK Garden
So, what exactly are we talking about when we say "over-fertilisation" or "nutrient burn"? In simple terms, it's when your plants get too much of a good thing. We add fertilisers to provide essential nutrients – nitrogen for leafy growth, phosphorus for roots and flowers, potassium for overall plant health – that might be lacking in our soil. This is especially true in raised beds and containers where the soil volume is limited and nutrients can get depleted or, conversely, build up very quickly.
Here in the UK, with our often-cooler, wetter climate, plants can sometimes struggle to take up nutrients efficiently, leading us to overcompensate. Or, if we get a sudden warm, dry spell, the salts in the fertiliser can concentrate rapidly, causing issues. When there's an excess of these nutrient salts in the soil, it creates an imbalance. The plant's roots, instead of absorbing water and nutrients, actually start losing water to the surrounding soil due to a process called osmosis. Think of it like trying to drink extremely salty water – it dehydrates you rather than quenches your thirst. This "reverse osmosis" causes the roots to burn, damaging them and preventing the plant from taking up what it needs, even if it's sitting in a puddle. That's nutrient burn, and it’s a serious stressor for any plant, whether it’s a hardy kale in a raised bed or a delicate basil in a pot on the patio.
Spotting the Signs: Visual Cues of Over-Fertilisation and Nutrient Burn
Catching nutrient burn early is absolutely key to saving your stressed plants. I’ve found that my 'Eagle Eye' for plant health has developed significantly over my five years of intensive gardening, largely because I've learned to recognise these red flags. It's not always obvious, as some symptoms can mimic other problems like underwatering or even disease. However, there are some classic signs that, once you know them, will immediately scream "too much feed!"
The most common signs I see in my UK garden, especially on my greenhouse tomatoes or container-grown peppers, are yellowing or browning leaf tips and margins. These areas look scorched, almost crispy, and the damage often moves inwards. The leaves might also curl or wilt, even if the soil feels moist. Sometimes, you'll see a general stunted growth, or the plant just looks utterly miserable, refusing to thrive despite your best efforts. I once had a whole row of 'Charlotte' potatoes in a raised bed that just stopped growing and developed dark, brittle leaves after I got a bit heavy-handed with a high-nitrogen feed. It was a stark lesson!
To help you distinguish between nutrient burn and other potential issues, I've put together a quick comparison table based on my own observations here in the Midlands.
| Symptom | Over-Fertilisation / Nutrient Burn | Nutrient Deficiency (General) | Drought Stress / Under-watering |
|---|---|---|---|
| Leaf Tips/Edges | Crispy, brown, scorched, yellowing, often starting at tips. | Yellowing (chlorosis) or purple/red discolouration. | Wilting, dry, often entire leaf shrivels, not just edges. |
| Leaf Appearance | Dark green, then yellowing, wilting, curling downwards or inwards. | Pale green to yellow (nitrogen), purpling (phosphorus). | Limp, dull, often curled upwards to reduce surface area. |
| Overall Plant | Stunted growth, general decline, wilting despite moist soil. | Stunted growth, weak, sparse foliage, poor flowering/fruiting. | Severely wilted, drooping, often collapses entirely. |
| Soil Condition | Often moist, may have white crust on surface (salt build-up). | Soil can be moist or dry, but lacks specific nutrients. | Bone dry, hard, pulled away from pot edges. |
| Root Zone | Roots may appear burnt, brown, slimy, or stunted. | Roots often healthy but lacking growth, sometimes discoloured. | Dry, brittle, often shrivelled. |
| Growth Rate | Abrupt stop in growth, decline. | Slowed, weak growth. | Stops completely, plant may die back quickly. |
| Common Causes | Too much fertiliser, wrong type, poor drainage. | Lack of specific nutrient, incorrect pH. | Infrequent watering, poor water retention. |

Why Too Much of a Good Thing Happens: Common Causes in UK Raised Beds & Containers
Understanding why nutrient burn happens is half the battle won. In my experience, especially with my raised beds and the myriad of containers I have, there are a few recurring culprits here in the UK.
Over-enthusiastic Feeding: This is the big one, and I'm guilty as charged! When I first started, I thought if a little feed was good, a lot must be better. I remember dousing my 'Crimson Crush' tomatoes with extra tomato food, thinking I was helping them through a particularly grey British July. Instead, I nearly killed them. We often over-fertilise out of a desire to boost growth or compensate for perceived deficiencies. Always, always stick to the manufacturer's recommended doses, and if in doubt, go lighter. It's much easier to add more later than to undo an overdose.
Cumulative Build-up in Containers: This is a sneaky one. In containers, especially smaller ones, nutrients don't leach out as easily as they do in open ground. Over time, successive applications of fertiliser can lead to a salt build-up in the potting mix. Even if you're feeding correctly each time, the residual salts from previous feeds accumulate. I regularly flush my container plants, like my chilli peppers (I'm particularly fond of 'Hungarian Hot Wax'), to prevent this.
Poor Drainage: Raised beds and containers need excellent drainage. If your soil mix is too heavy or your drainage holes are blocked, water (and dissolved nutrients) can't escape. This means the salts from your fertiliser just sit around the root zone, becoming more concentrated as the water evaporates. I learned this when I first started using some cheap, heavy compost in a raised bed for my 'Red Baron' onions; the water sat, the salts built up, and the onions just sat there looking miserable. Now, I always add plenty of grit or perlite to my container mixes and ensure my raised beds have a good base layer for drainage.
Incorrect Fertiliser Type or Strength: Not all fertilisers are created equal, and some are more concentrated than others. Using a strong feed meant for established, hungry plants on delicate seedlings, or applying a high-nitrogen lawn feed to your flowering plants, is a recipe for disaster. Always check the NPK ratios and suit the feed to the plant's needs and growth stage. My greenhouse 'Gardener's Delight' tomatoes get a very specific tomato feed, not general-purpose stuff.
Dry Soil Before Feeding: Applying liquid fertiliser to dry soil is a big no-no. If the soil is parched, the concentrated feed can shock the roots immediately. Always water your plants thoroughly before applying liquid feeds. This dilutes the fertiliser and helps the soil absorb it more evenly, preventing hot spots of nutrient concentration. This is especially crucial during a dry spell here in the UK.
Emergency Measures: How to Immediately Flush Excess Nutrients from Soil
Alright, you've spotted the signs, you know what’s happened. Now, what do you do? The immediate priority is to get those excess nutrient salts away from your plant's roots. Think of it as an emergency detox for your stressed plant. This is a technique I’ve had to use more than once in my UK garden, particularly with my heirloom tomatoes and other hungry container plants.
The most effective and immediate solution is flushing the soil. This essentially means pouring a large volume of plain water through the soil to wash away the concentrated salts.
Here’s my step-by-step guide for doing it, whether it's a raised bed or a container:
- Stop Feeding Immediately: This might sound obvious, but it’s the first and most critical step. No more fertiliser until the plant shows clear signs of recovery.
- Move the Plant (if possible): If it's a container plant, move it to an area where you don't mind a lot of water draining out. For a raised bed, you'll just have to deal with the runoff.
- Water, Water, Water:
- For Containers: Take your stressed plant to a sink, bathtub, or outside. Slowly pour plain, room-temperature water through the potting mix. I mean a lot of water. A good rule of thumb I use is to pour at least 2-3 times the volume of the pot. So, for a 10-litre pot, I'll slowly pour 20-30 litres of water through it. Let it drain completely between each pouring. You want to see water freely flowing out of the drainage holes. Keep going until you're confident you've washed out as much of the excess as possible. I usually collect the runoff to see if it's discoloured or salty-smelling; if it is, I keep flushing.
- For Raised Beds: This can be a bit trickier but still very doable. Focus on the area directly around the stressed plant. Slowly and thoroughly drench the soil with plain water using a watering can or a gentle hose setting. You need enough water to deeply saturate the soil and encourage drainage downwards, carrying the salts with it. I generally aim for a sustained watering session of 15-20 minutes per affected plant, letting the water slowly penetrate. The goal is to flush the root zone deeply. If your raised bed has poor drainage, you might need to gently aerate the top layer of soil a bit first, being careful not to disturb the roots too much.
- Check the Runoff (Optional but Recommended): For container plants, if you have an EC (Electrical Conductivity) meter, you can test the runoff water. High EC indicates high salt levels. Keep flushing until the EC drops significantly. I don’t personally use one, I just go by the sheer volume of water and the visual signs of the plant.
- Allow to Drain Thoroughly: Once flushed, ensure the container or raised bed drains completely. Don't let the plant sit in soggy soil, as this can lead to root rot, which is another whole set of problems.
- Patience is a Virtue: After flushing, your plant might still look a bit sad for a few days. Don't panic! The roots have been damaged and need time to recover. Resist the urge to fertilise again. Just provide consistent, regular watering (without overdoing it) and a bit of TLC.
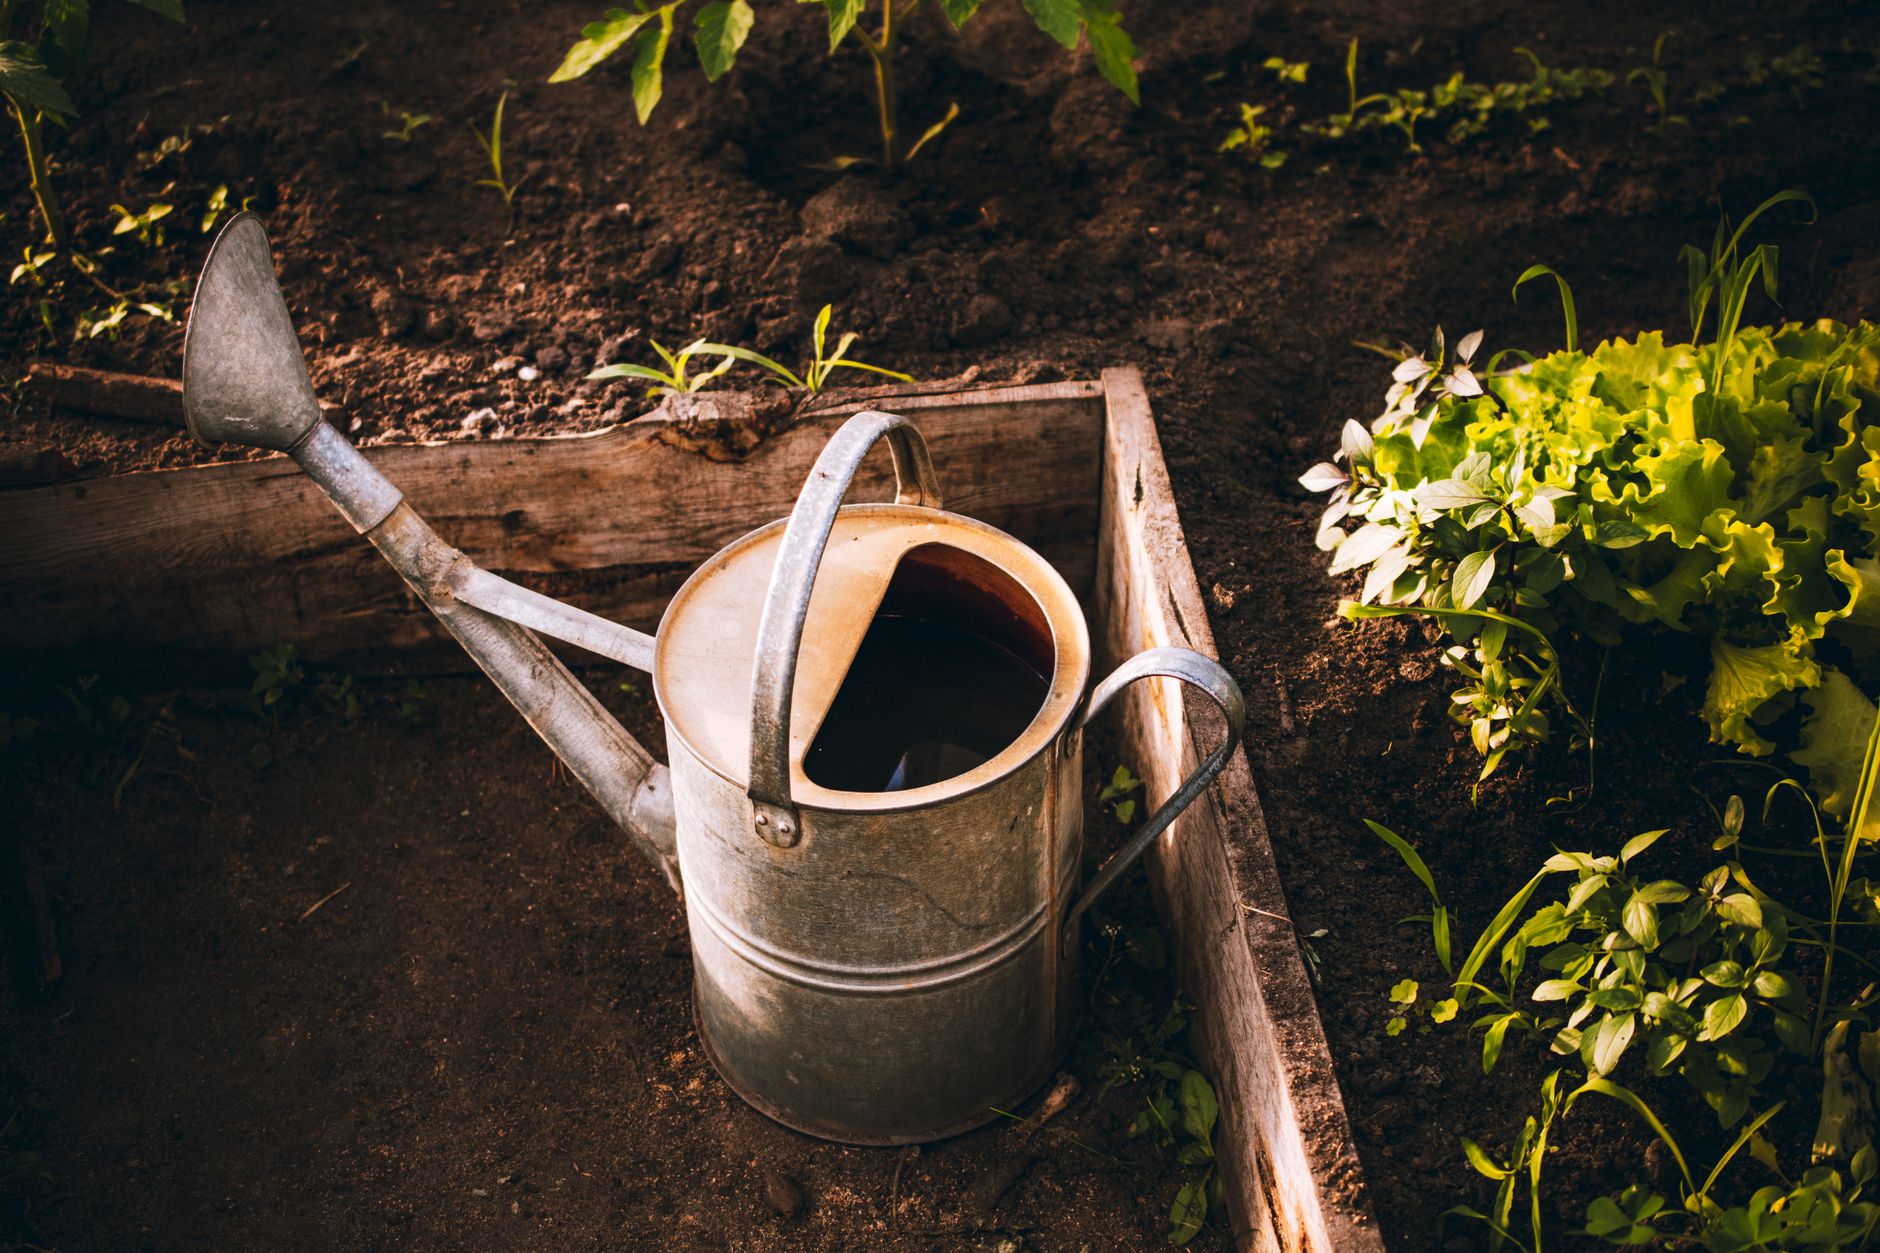
Flushing is a harsh but necessary treatment. It effectively hits the reset button on your soil's nutrient balance. I've seen 'Black Krim' tomato plants that looked ready for the compost heap bounce back after a good flush and a few weeks of careful nursing. It truly works wonders.
Beyond First Aid: Correcting Soil Imbalances and Aiding Plant Recovery
So, you've taken the plunge, you’ve flushed your raised beds or containers, and hopefully, your plants are looking a tiny bit less stressed. That initial flush is a crucial first step, a real emergency measure to halt the immediate damage. But here in my 800 sq ft Midlands garden, I've learned that it's only the start of the recovery journey. After dealing with a nutrient burn incident on my beloved 'San Marzano' tomatoes in the greenhouse a couple of years back – I was a bit heavy-handed with a liquid feed – I realised that simply washing out the salts isn’t enough. You need to actively help the soil and the plant recover their balance.
Rebuilding Your Soil's Health
Flushing washes away excess nutrients, which is great, but it also strips out some beneficial microbes and essential micronutrients. Think of it like a detox – necessary, but you need to replenish afterwards! My go-to strategy involves two main things: soil testing and gentle re-amendment.
First, soil testing. I know, it sounds a bit scientific, but it’s invaluable. After a severe flush, I wait a week or two, then grab a basic pH test kit from my local garden centre. Sometimes I even send a sample off for a more comprehensive analysis if I'm really stumped or dealing with something particularly precious, like my heirloom 'Black Krim' tomatoes. Understanding your soil's pH is vital; over-fertilisation can often swing it out of whack, affecting nutrient availability. My soil here in the Midlands tends to be on the neutral to slightly alkaline side, so I'm always mindful of that.
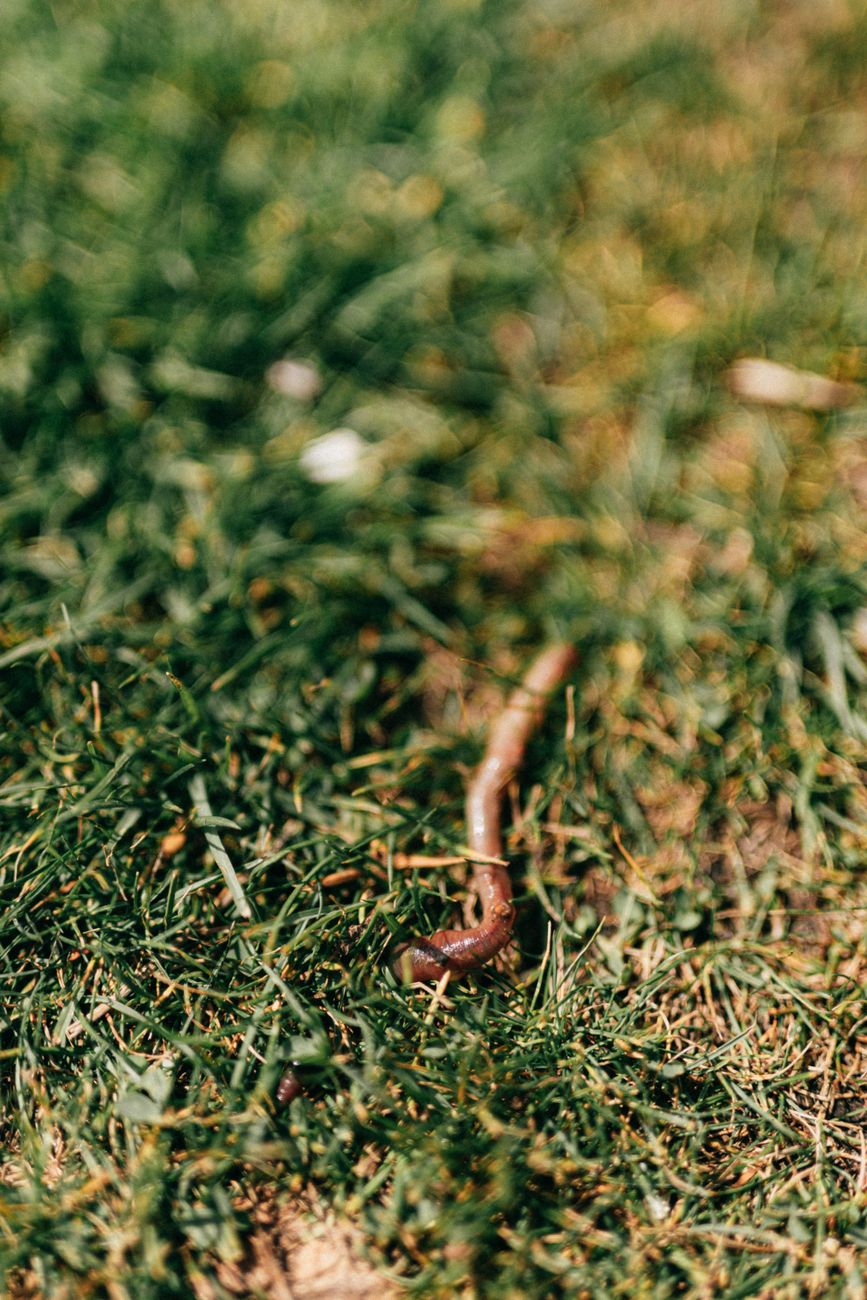
Once I have a handle on the pH and potentially any specific nutrient deficiencies (though a basic kit won't tell you this, it gives a good starting point), it's time to reintroduce goodness. I'm a big believer in organic matter. My own homemade compost, full of kitchen scraps and garden waste, is my secret weapon. It slowly releases a balanced array of nutrients and helps rebuild the soil's structure and microbial life. Worm castings are another fantastic option for containers – they're gentle, rich, and won't burn.
For plants that are still looking a bit sad, I might consider a very, very dilute liquid feed, but only after a few weeks and only if the plant shows clear signs of new growth. I'm talking half or even a quarter of the recommended dose. I learned this the hard way with a struggling cucumber plant last summer; I was too eager to feed it after a flush, and it just couldn't handle the extra load. Patience is definitely a virtue here.
Here's a quick comparison of my preferred soil amendments for recovery:
| Amendment | Randy's Experience (UK Garden) | Pros (for UK conditions) | Cons (for UK conditions) |
|---|---|---|---|
| Homemade Compost | My absolute favourite for raised beds. I pile it on annually. Great for slowly restoring overall soil health after a nutrient burn. | Improves soil structure, slowly releases broad-spectrum nutrients, boosts microbial life. | Can be slow to act immediately; quality varies depending on ingredients. |
| Worm Castings | I use these extensively in my containers, especially for my greenhouse tomatoes and peppers like 'Padron'. Very gentle and effective. | Rich in beneficial microbes & trace minerals, won't burn plants, improves water retention. | Can be a bit pricier than compost, harder to produce in large quantities at home. |
| Balanced Organic Granular Feed | Only if soil test shows major deficiency, and very sparingly. I've used a 'Growmore' equivalent once or twice. | Provides a controlled, slow release of nutrients; good for long-term feeding. | Can still lead to overload if not measured carefully; takes time to break down. |
| Seaweed Extract (Liquid) | I use this as a very dilute foliar spray or soil drench for stressed plants. Great for giving a gentle boost. | Contains trace elements & hormones that reduce stress; gentle and fast-acting. | Not a complete fertiliser; needs regular application; can be pricey. |
Prevention is Key: Sustainable Fertilisation Practices for UK Raised Beds & Containers
This is where the real learning happens, isn't it? I've made enough mistakes in my UK garden to know that prevention is always better than cure, especially with our temperamental British weather throwing curveballs. The goal isn't just to fix nutrient burn, it's to never have to fix it again! Over the past five years, moving from an IT desk to digging in my 800 sq ft backyard, I've really honed my approach to feeding, especially for my greedy greenhouse tomatoes like 'Sungold' and my hungry courgettes.
Randy's Golden Rules for Smart Fertilisation
Know Your Plants' Needs: Not all plants are created equal. A leafy lettuce needs more nitrogen than a fruiting tomato at a certain stage. I've learned to research specific varieties – like my 'Moneymaker' tomatoes vs. 'Cherokee Purple' – and tailor their feeding. Seedlings need very little, leafy greens thrive on nitrogen, and fruiting plants crave more phosphorus and potassium when flowering and setting fruit. This is particularly crucial in containers where nutrients deplete faster.
Read the Label, Really Read It: This sounds obvious, but I've been caught out. Those N-P-K ratios (Nitrogen-Phosphorus-Potassium) tell you everything. A 'Growmore' granular feed might be 7-7-7, while a tomato feed could be 4-2-6. Understand what each number means and what your plant currently needs. And always, always, always follow the dilution rates for liquid feeds. If it says 10ml per litre, I measure it! No guesswork, especially for my precious heirloom varieties.
Less is More, Often: Especially when starting out or trying a new product, I always err on the side of caution. I'll use half the recommended strength for liquid feeds, or apply granular feeds less frequently. You can always add more, but you can't take it away easily. This is particularly important for containers, where the soil volume is limited and nutrients concentrate faster.
Embrace Organic Matter: This is the cornerstone of my gardening philosophy. Instead of relying solely on synthetic fertilisers, I constantly incorporate homemade compost, well-rotted manure, and leaf mould into my raised beds. For containers, a good quality peat-free compost mixed with some worm castings provides a slow, steady release of nutrients, mimicking nature. This builds healthy soil, which in turn feeds the plants naturally and makes them more resilient to stress. My 'Ailsa Craig' tomatoes in the greenhouse thrive on this foundation.
Observe and Adjust: Your plants are your best indicators. Are the leaves a healthy green? Is there good growth? Are they setting fruit? I check my plants daily, especially during peak growing season. If they look happy, I stick to the schedule. If they're struggling, I investigate before adding any feed. Our unpredictable British weather also plays a huge role; a sudden cold snap or prolonged rain can affect nutrient uptake.
Here’s a comparison of common fertilisation strategies I use in my UK garden:
| Fertilisation Strategy | Randy's Experience (UK Garden) | Pros (for UK conditions) | Cons (for UK conditions) |
|---|---|---|---|
| Compost/Manure Top Dressing | My primary method for raised beds and annual refreshing of containers. I top-dress my beds every autumn/spring. | Slow, steady nutrient release; builds soil structure & microbial life; hard to over-apply. | Nutrients aren't immediately available; can attract pests if not well-rotted. |
| Liquid Feeds (e.g., Tomato Food, General Purpose) | Essential for hungry container plants like my 'Gardener's Delight' tomatoes in the greenhouse during fruiting. | Fast-acting; precise control over dosage; good for targeted boosts. | Easy to over-apply; needs frequent application; doesn't build long-term soil health. |
| Slow-Release Granular Feeds (e.g., Blood, Fish & Bone) | I use these sparingly for plants that need a consistent feed over a longer period, like root vegetables. | Provides nutrients over weeks/months; less frequent application needed. | Can be difficult to gauge exact release rate; still possible to over-apply initially. |
| Compost Tea | I brew my own for a microbial boost and gentle feed, especially for my herbs and leafy greens in containers. | Adds beneficial microbes; gentle, balanced nutrients; improves plant resilience. | Requires effort to brew; nutrient content can be variable; not a strong feed. |


Long-Term Health: Reviving and Maintaining Your Stressed Plants
It's all about playing the long game in the garden, isn't it? Our plants, much like us, appreciate a bit of TLC after a rough patch. Seeing a plant recover from nutrient burn is incredibly satisfying, a testament to patience and good gardening practices. I remember one summer, I almost lost a particularly vigorous 'Chilli Fiesta' plant in a container after an overzealous feed. Its leaves were crispy, growth stunted. But with careful flushing, gentle feeding, and a lot of observation, it not only bounced back but gave me a decent harvest later in the season. That feeling of bringing a plant back from the brink is what makes this hobby so rewarding.
The Road to Full Recovery and Beyond
So, you've diagnosed, flushed, and started the process of rebuilding your soil. What now? The key is patience and continued observation. Don't expect your plant to magically spring back to life overnight. New, healthy growth will emerge from the centre or at the tips of branches, indicating recovery. The damaged leaves won't heal, but they might continue to photosynthesize a little until they're replaced. I sometimes prune off the worst-affected leaves to encourage the plant to focus its energy on new growth, but only if the plant has a good amount of healthy foliage left.
Consistent, gentle care is paramount. Ensure adequate watering (but don't overwater!), protect recovering plants from extreme weather (our British summers can swing wildly from heatwaves to torrential rain), and avoid any further stress. This isn't the time for heavy pruning or transplanting. Think of it as a convalescence period.
For me, every mistake, every struggling plant, is a learning opportunity. When I first started gardening five years ago here in the UK, fresh out of an IT job, I thought gardening was just about planting and watering. I quickly learned that it's a constant dance with nature, a never-ending experiment. I've made countless errors, from misjudging the timing of feeds for my heirloom tomatoes in the greenhouse to overwatering my rosemary. But each failure has taught me something invaluable about what truly works here in my 800 sq ft Midlands garden.
This journey of diagnosing and correcting nutrient burn isn't just about saving a plant; it's about deepening your understanding of your soil, your plants, and the intricate balance of nature. It reinforces the importance of sustainable practices, of working with your garden rather than against it. My biggest breakthrough came when I realised how much our British climate affects everything – from how quickly nutrients leach from raised beds in a wet spell to how a sudden cold snap can halt growth, making plants more susceptible to stress.
So, if you've been battling nutrient burn, take heart. You're not alone. It's a common challenge, even for experienced gardeners like myself. Use this experience to become a more observant, knowledgeable, and ultimately, a more successful gardener. Keep experimenting, keep learning, and most importantly, keep enjoying the process. Your plants, and your future harvests, will thank you for it.
I'd love to hear about your experiences! Have you battled nutrient burn? What worked for you in your UK garden? Share your stories and tips in the comments below!
