Introduction: Unravelling the Mystery of Yellowing Hydrangea Leaves
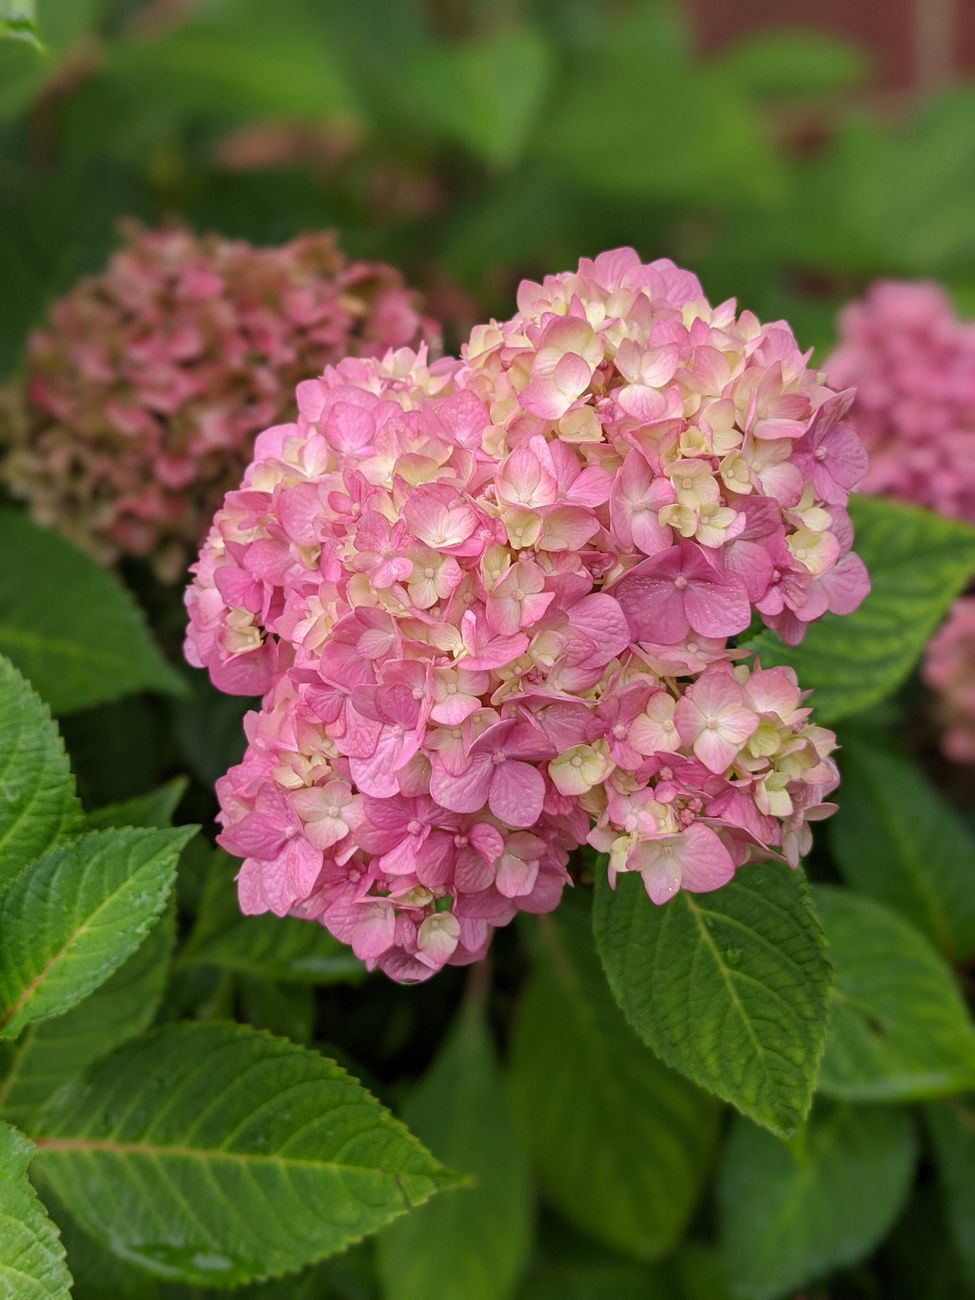
There's nothing quite like the sight of a vibrant, healthy hydrangea, is there? Those big, blousy blooms and lush green leaves are a real showstopper in any UK garden. So, imagine my frustration – and perhaps yours – when you spot those tell-tale yellowing leaves starting to creep in. It happened to me, right here in my 800 sq ft Midlands garden, and let me tell you, it felt like a real punch to the gut after all the effort I'd put into my plant babies.
For a long time, I'd just stare at them, scratching my head, wondering what on earth was going wrong. Was it too much water? Not enough? A hungry slug? The truth, I learned, is often more nuanced, and for hydrangeas, that sickly yellowing, especially when the veins stay green, usually points to a specific issue: interveinal chlorosis. This isn't just a cosmetic problem; it's your plant crying out for help, signalling a nutrient imbalance that, if left unchecked, can really impact those glorious blooms we all crave.
After years of experimenting, making mistakes (believe me, I’ve made plenty!), and finally getting it right with my own collection of hydrangeas – from the classic 'Endless Summer' in my borders to a beautiful 'Limelight' in a large container – I've gathered some solid, practical, and most importantly, organic solutions. I want to share my journey and what I've learned works here in our sometimes-fickle British climate. So, grab a cuppa, and let's unravel this mystery together. We'll diagnose exactly what's going on and get your hydrangeas back to that vibrant, lush green foliage they were destined for, ready to give you those show-stopping flowers.
Understanding Interveinal Chlorosis: The Science Behind Your Hydrangea's Yellowing
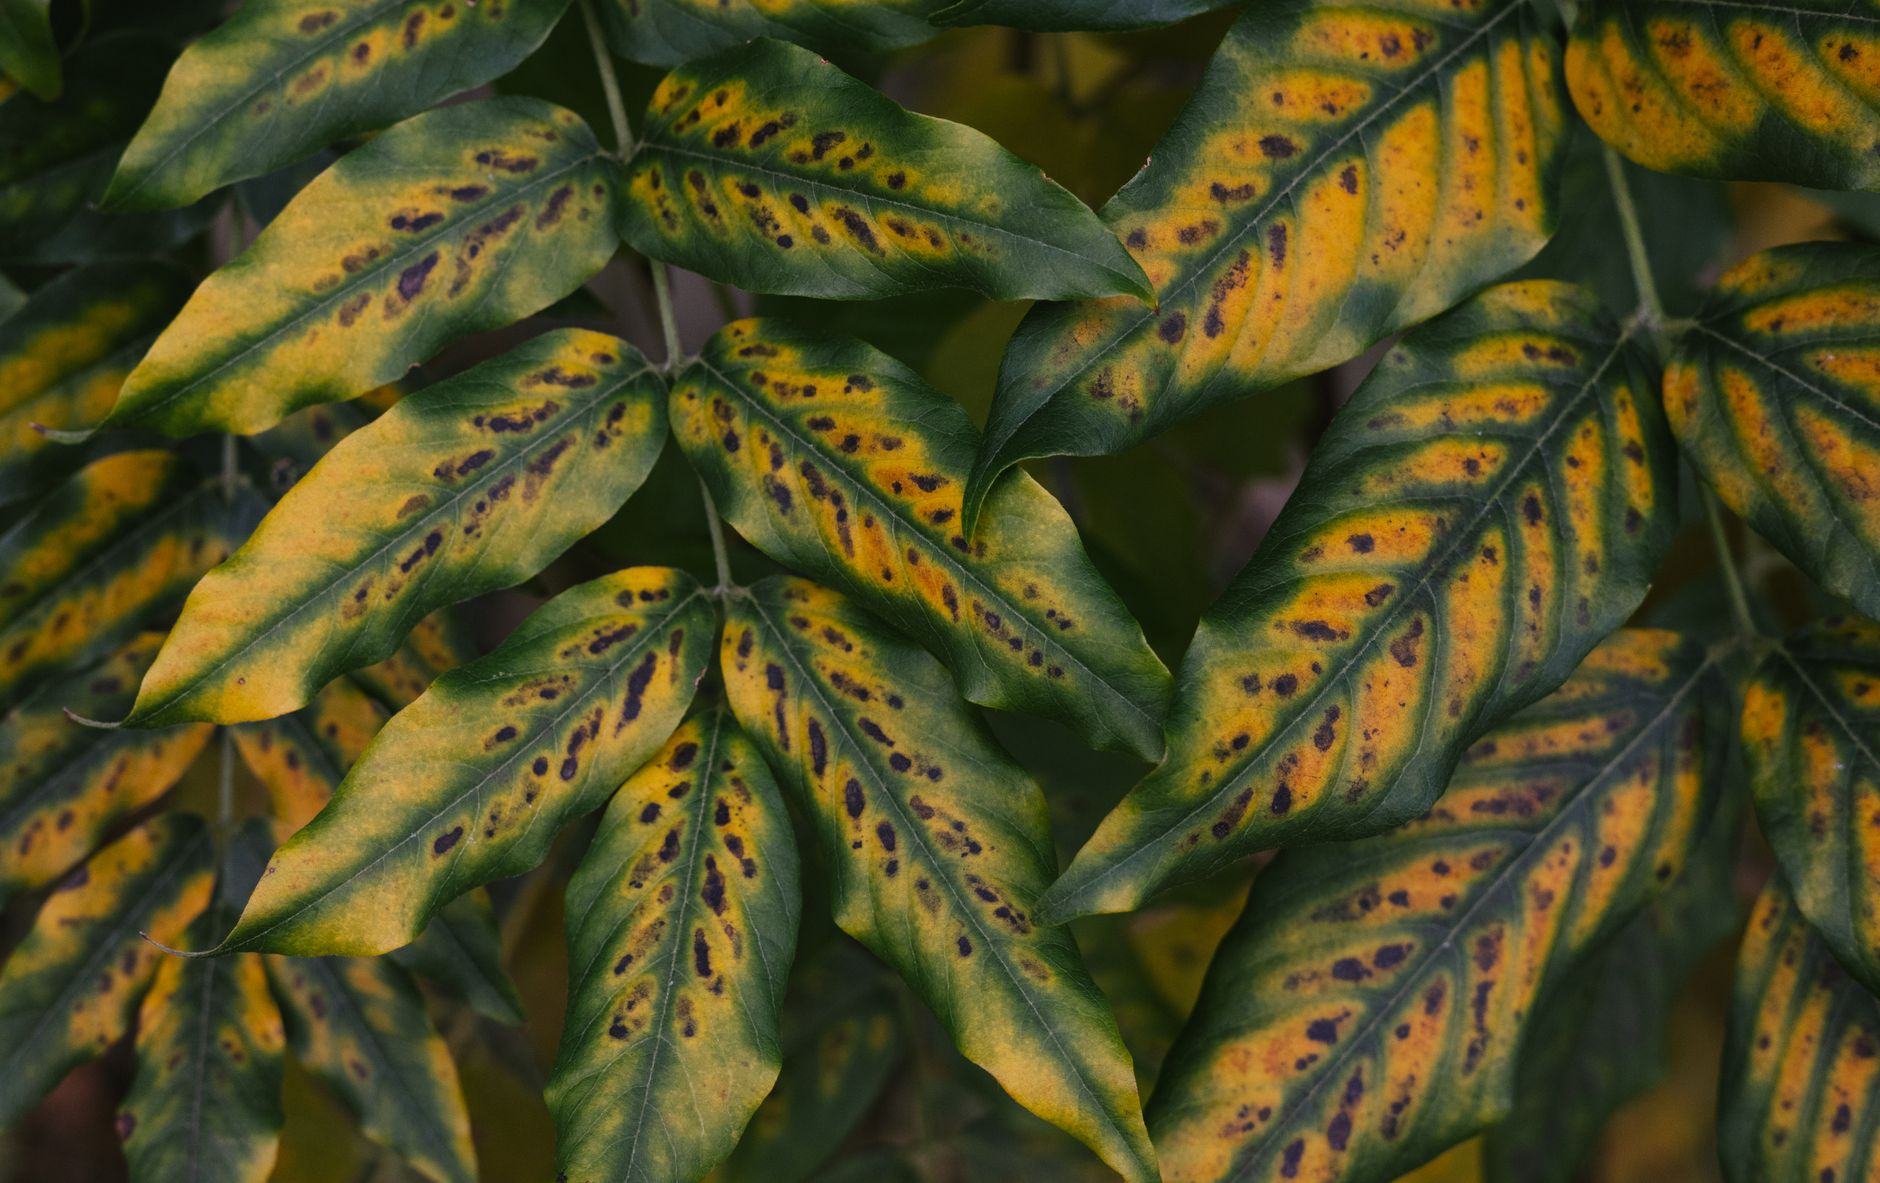
When you see those distinct yellow leaves with prominent green veins on your hydrangeas, you're looking at interveinal chlorosis. The name sounds fancy, but it simply means the tissue between the veins is yellowing, while the veins themselves retain their green colour. This is a classic sign of a nutrient deficiency, and for hydrangeas, the most common culprit is often iron.
Now, it’s not usually because there isn't enough iron in your soil – our UK soils generally have plenty. The problem is often that the iron isn't available to the plant. This is where soil pH comes into play, and it’s something I’ve become quite obsessed with here in my garden. Hydrangeas, particularly the bigleaf (macrophylla) varieties, prefer slightly acidic to neutral soil (pH 5.5 to 6.5). When the soil becomes too alkaline (a pH above 7.0), iron, along with other micronutrients like manganese and zinc, gets "locked up" in the soil. It’s there, but the plant can't absorb it through its roots. It's like having a full fridge but no way to open it!
I learned this the hard way with a particularly stubborn 'Annabelle' hydrangea I planted near an old brick wall. I hadn't properly tested the soil, assuming it would be fine, and within a few months, those beautiful green leaves started to develop that tell-tale yellow pattern. I initially thought I was overwatering, but the soil wasn't sodden, and the pattern was too specific. That's when I dug into the science and realised my mistake. The alkaline leach from the mortar in the wall, combined with our naturally harder, more alkaline tap water here in the Midlands, was pushing the soil pH too high, making the iron inaccessible. Understanding this fundamental link between pH and nutrient availability was a real breakthrough for me.
Pinpointing the Problem: A Diagnostic Checklist for Your Yellowing Hydrangea
Diagnosing exactly why your hydrangea's leaves are yellowing can feel a bit like detective work, but it's crucial before you start applying fixes. While interveinal chlorosis is common, other issues can also cause yellowing, and misdiagnosing can lead to more problems. I’ve certainly been guilty of jumping to conclusions in my early gardening days, often making things worse!
The first step in my diagnostic process is always to grab my trusty soil pH test kit. You can pick up simple, inexpensive ones at any UK garden centre. Knowing your soil's pH is foundational, especially for hydrangeas. If your soil pH is consistently above 7.0, you're very likely dealing with iron chlorosis caused by alkalinity. But let's not stop there. We need to rule out other possibilities.
I’ve put together a quick checklist and comparison table based on what I’ve observed and learned in my own UK garden. This helps me narrow down the culprit and ensures I’m not treating for the wrong problem, which, trust me, I’ve done before!
Your Hydrangea Yellowing Diagnostic Checklist:
- Observe the Pattern: Are the veins green while the tissue between them is yellow? This is the classic sign of interveinal chlorosis. If the whole leaf is yellowing evenly, it could be nitrogen deficiency or general stress.
- Check Soil Moisture: Is the soil consistently soggy, or bone dry? Overwatering can lead to general yellowing and droopiness due to root rot, especially during a wet British summer. Underwatering causes wilting before yellowing. Stick your finger a few inches into the soil – it should feel moist, not saturated or dusty.
- Inspect for Pests: Flip leaves over, look closely at stems. Aphids, spider mites, or other pests can cause discolouration and stress, though usually not the distinct interveinal pattern.
- Consider Location and Sun Exposure: Is your hydrangea getting too much harsh afternoon sun, especially in a hot spell? While many hydrangeas like some sun, intense exposure can stress them, leading to scorching and yellowing.
- Test Your Soil pH: As mentioned, this is paramount. Use a reliable kit. I find our tap water here in the Midlands can be quite hard and alkaline, so even if my soil starts okay, consistent watering can shift the balance over time.
Here's a comparison table to help you distinguish between common causes of yellowing:
| Symptom Description | Likely Cause | Randy's Observation in the UK Garden |
|---|---|---|
| Leaves yellow, veins remain green. | Interveinal Chlorosis (Iron Deficiency) | This is the classic symptom. Often seen in areas with naturally alkaline soil (like parts of the Midlands) or where hard, alkaline tap water is used regularly. My 'Annabelle' near the wall showed this strongly. |
| Whole leaf turns uniformly pale green to yellow. | Nitrogen Deficiency | Less common for hydrangeas specifically, but can happen in very poor, depleted soil. Usually affects older, lower leaves first. I've seen this more in my veg beds if I skip a feed, but it's not typically the specific pattern of yellowing hydrangeas. |
| Leaves yellow, droopy, possibly mushy stems. | Overwatering / Root Rot | Common during prolonged wet British spells or if planted in heavy, poorly draining clay soil. The yellowing is often general, not just between veins, and the plant looks overall unhappy and limp. I had this issue with a potted hydrangea once when I didn't ensure good drainage. |
| Leaves yellowing and crispy at edges, wilting. | Underwatering / Heat Stress | Usually, the plant wilts significantly before yellowing. Edges might scorch. I see this during our occasional heatwaves if I forget to water my container hydrangeas daily. The yellowing is more of a symptom of extreme stress rather than a nutrient issue. |
| Mottled yellowing, distorted leaves, sticky residue. | Pests (e.g., Aphids, Spider Mites) | While pests can weaken a plant and cause some yellowing, it's rarely the distinct interveinal pattern. Look for the pests themselves on the undersides of leaves or new growth. I've had aphids on my hydrangeas, but they cause general stress and sometimes sooty mould, not typically the specific chlorosis pattern. |
Balancing the pH: Organic Fixes for Alkaline Soil (The UK Gardener's Approach)
Once you've diagnosed interveinal chlorosis due to alkaline soil, it's time to get to work on lowering that pH. And as an organic gardener, I always lean towards natural, sustainable methods that support the overall health of my soil ecosystem. Forget those harsh chemical quick fixes; we're playing the long game here, building healthy soil that thrives in our British climate.
The goal is to gradually acidify the soil to make those essential nutrients, particularly iron, available to your hydrangeas again. This isn't a one-and-done job; it requires a bit of patience and consistent effort, especially here in the UK where our water can often be quite hard and alkaline, slowly pushing the pH back up.
My Go-To Organic pH Lowering Strategies:
Ericaceous Compost/Top Dressing: This is my absolute favourite and most straightforward method. When planting new hydrangeas, I always amend the planting hole generously with ericaceous compost. For existing plants, I apply a good 2-3 inch layer around the base of the plant in spring and autumn, keeping it clear of the stem. As it breaks down, it slowly releases acidity into the soil. I make sure to buy a good quality, peat-free ericaceous compost from my local UK garden centre. I've found this makes a significant difference, especially for my 'Endless Summer' hydrangeas, which are particularly sensitive to pH.
Pine Needles and Bark Mulch: If you have access to pine trees (or know someone who does!), pine needles are fantastic. They break down slowly, releasing acids into the soil. I collect them after Christmas from discarded trees or from local woods (with permission, of course!). A thick layer (4-6 inches) around the base of the plant acts as both a mulch and a slow-release acidifier. Pine bark chips work similarly, though they might take a bit longer. I've used this on my 'Limelight' in a large container, and it's worked a treat.
Coffee Grounds: My morning coffee habit isn't just for me; my hydrangeas love it too! Spent coffee grounds are slightly acidic and also add nitrogen and organic matter to the soil. I scatter a thin layer (no more than half an inch) around the base of the plants every few weeks. Be careful not to apply too much at once, as they can sometimes compact. This is a subtle, ongoing boost that I've found helpful for maintaining pH in my raised beds.
Elemental Sulphur: This is a more potent option if your soil is very alkaline, but it's still organic and works gradually. Elemental sulphur is converted by soil bacteria into sulphuric acid, slowly lowering the pH. It takes time – often several months – so don't expect instant results. I used this once on a particularly stubborn patch where I wanted to grow some acid-loving blueberries, and it worked, but I had to be patient and re-test regularly. Follow the package directions carefully for application rates, as too much can harm your plants. I usually opt for a granular form available at most reputable UK garden centres.
Rainwater over Tap Water: Here in the Midlands, our tap water can be quite hard and alkaline. If you can, collect rainwater in a water butt. Rainwater is naturally slightly acidic and much better for acid-loving plants like hydrangeas. I have a 200-litre water butt connected to my shed, and I prioritise using that for all my acid-loving plants, including my greenhouse tomatoes and hydrangeas. It makes a noticeable difference over time.
Remember, consistency is key. These organic methods work by slowly changing the soil chemistry. Re-test your soil pH every 6-12 months to monitor your progress and adjust your approach. You're aiming for a gradual shift, not a shock, to ensure your hydrangeas develop a strong, healthy root system capable of absorbing all the nutrients they need for those glorious, vibrant blooms.

Beyond Iron: Organic Remedies for Other Nutrient Deficiencies
Right, so we've had a good natter about iron, pH, and how crucial they are for those vibrant green hydrangea leaves. But in my five years of intensive gardening here in the UK Midlands, I've learned that it's rarely just one thing. Our soil here in Britain can be a bit of a mixed bag, and sometimes other nutrients decide to play hide and seek, causing their own brand of yellowing havoc. Specifically, I'm talking about Magnesium and Nitrogen – two other big players in your plant's overall health.
Magnesium: The Green-Building Block
Magnesium deficiency often gets confused with iron chlorosis because it also causes interveinal yellowing. However, there's a key difference I've observed time and again in my own garden, especially with my hungry greenhouse tomatoes and courgettes: magnesium deficiency usually starts on the older, lower leaves first. The veins stay green, but the leaf tissue between them turns pale, sometimes even developing reddish-brown spots in severe cases. It's like the plant is sacrificing its older leaves to keep the new growth going, pulling magnesium up where it's needed most.
In my experience, this can happen if your soil is too acidic (though less common for hydrangeas seeking iron), or if there's an imbalance with other nutrients like potassium or calcium. It's all about that delicate balance, isn't it?
Organic Fixes for Magnesium Deficiency:
- Epsom Salts (Magnesium Sulphate): This is my go-to for a quick boost. For hydrangeas, I dissolve a tablespoon (around 15g) in a litre of water and either use it as a foliar spray (early morning or late evening to avoid leaf scorch) or water it directly around the base of the plant. I usually do this every 2-4 weeks until the new growth looks healthy. I've seen a noticeable improvement in the leaf colour of my 'Nikko Blue' hydrangea within a couple of weeks using this method.
- Dolomitic Lime: If your soil test (which we talked about earlier!) shows low magnesium and your soil is quite acidic, dolomitic lime can be a good long-term solution. It provides both calcium and magnesium and helps raise the pH. Just remember, apply sparingly and re-test your soil after a few months – slow and steady wins the race with pH adjustments.
- Compost & Manure: The long-term, sustainable fix for almost everything! Regular top-dressings of well-rotted compost or manure will slowly release magnesium and other trace elements, building a healthier soil ecosystem over time. My annual spring top-up of homemade compost around all my shrubs, including the hydrangeas, has made a huge difference to their overall vitality.
Nitrogen: The Engine for Growth
Nitrogen is the fuel for lush, leafy growth. If your hydrangea is suffering from a nitrogen deficiency, you'll see a more general yellowing or paling of the entire leaf, often starting on the older leaves and progressing upwards. The whole plant might look a bit stunted and lack vigour. It's not usually the classic interveinal chlorosis, but it's a common cause of yellowing, especially if your soil is poor or you haven't fed your plants in a while.
I learned this the hard way with a patch of hungry brassicas one year; they just sat there looking anaemic until I gave them a good nitrogen boost.
Organic Fixes for Nitrogen Deficiency:
- Composted Manure & Rich Compost: Again, these are your best friends. A generous layer of well-rotted chicken manure or good quality compost worked into the soil around the drip line of your hydrangea in spring provides a slow, steady release of nitrogen.
- Nettle or Comfrey Tea: If you've got nettles or comfrey growing (and here in the UK, who doesn't have nettles?), you can make a fantastic liquid feed. Just chop them up, stuff them into a bucket, cover with water, and let them brew for a few weeks. Dilute the resulting stinky brew (1 part tea to 10 parts water) and use it to water your plants. It's a brilliant, free nitrogen boost. I use comfrey tea religiously for my tomatoes and it really makes a difference to their leaf health and fruit production.
- Blood Meal: This is a fast-acting organic nitrogen source. Sprinkle it lightly around the base of the plant and water it in. Be mindful not to overdo it, as too much nitrogen can lead to lots of leafy growth at the expense of flowers.
Nutrient Deficiency Comparison Table
To help you get your head around the different types of yellowing, here's a little table I put together based on what I've seen in my own 800 sq ft garden:
| Nutrient Deficiency | Typical Symptoms | Affected Leaves | Common Organic Fixes |
|---|---|---|---|
| Iron (Fe) | Interveinal yellowing (veins green, tissue yellow) | New, young leaves | Chelate drench, ericaceous compost, pine needles, coffee grounds, correcting high pH |
| Magnesium (Mg) | Interveinal yellowing, sometimes with reddish spots | Older, lower leaves | Epsom salts, dolomitic lime (if pH allows), compost, manure |
| Nitrogen (N) | General pale green to yellow, stunted growth | Older leaves first, then entire plant | Composted manure, rich compost, nettle/comfrey tea, blood meal |
Cultivating Resilience: Watering, Feeding, and Mulching for Long-Term Health
Once you've diagnosed and treated the immediate problem, the real work begins: building resilience. In my UK garden, I've learned that consistent, thoughtful care is what truly transforms plants from surviving to thriving. Our British weather can be so unpredictable – scorching dry spells one week, torrential rain the next – so giving your hydrangeas the best foundation is key.
Watering Wisdom: Deep and Deliberate
Hydrangeas are thirsty plants, especially during flowering and dry spells. The biggest watering mistake I made when I first started was giving them little sips of water every day. It encourages shallow roots, which makes them less resilient to drought.
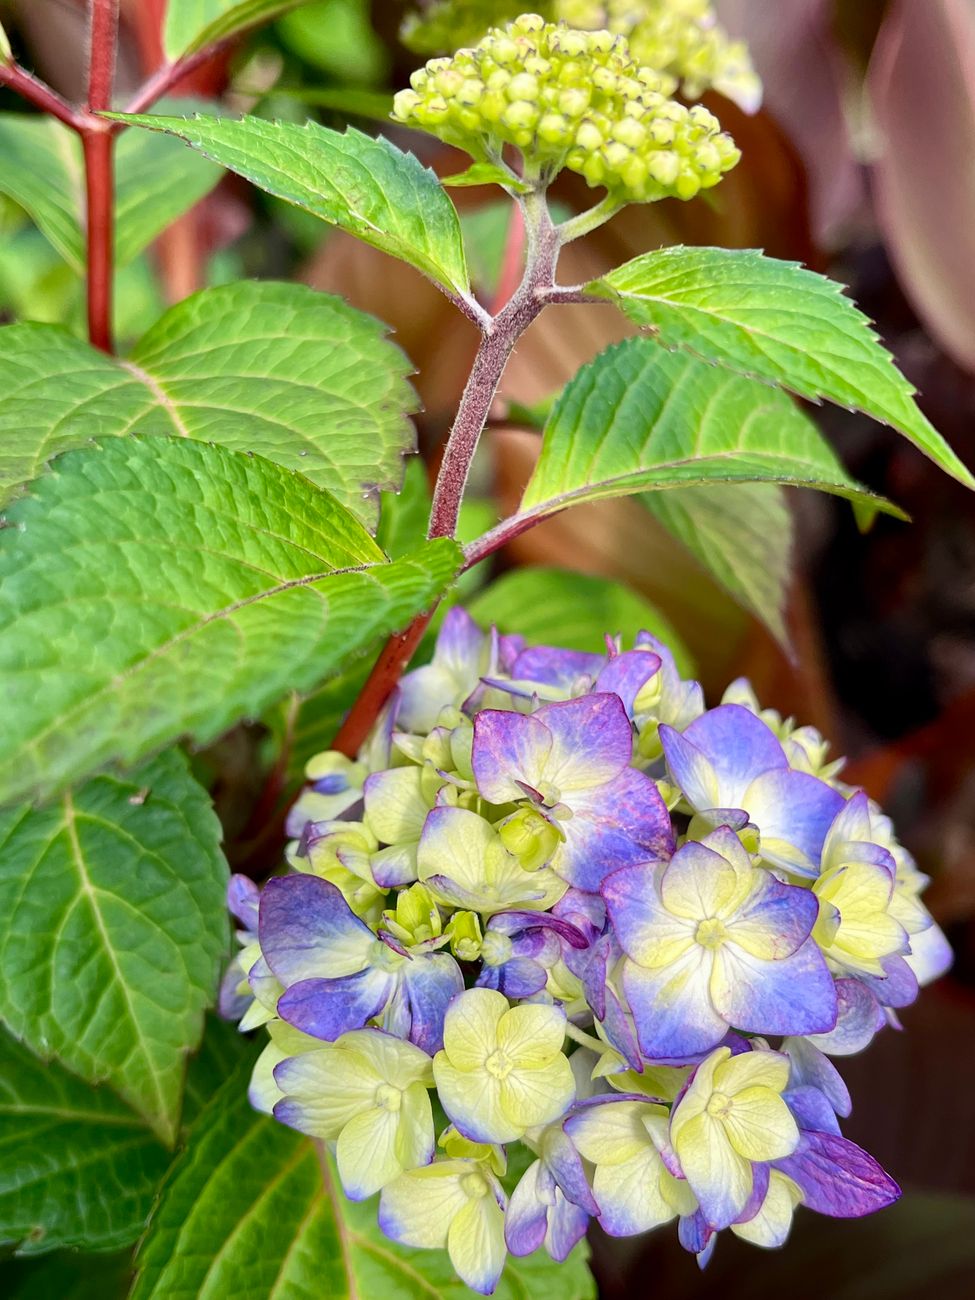
What works here in Britain, especially during our drier summers, is deep and infrequent watering. I aim to soak the soil thoroughly once or twice a week, rather than a quick sprinkle daily. This encourages the roots to grow deeper, making the plant more robust and better able to find moisture during dry periods. I always stick my finger into the soil about 5-10cm deep – if it feels dry, it's time to water. I also use rain barrels religiously; collected rainwater is naturally slightly acidic, which is perfect for hydrangeas and helps prevent any pH creep from hard tap water.
Feeding for the Future: A Consistent Organic Approach
Think of feeding as giving your hydrangeas a balanced diet, not just a quick sugar rush. My philosophy is to 'feed the soil, not just the plant'. Healthy soil teems with life and nutrients, making plants naturally more resistant to issues like chlorosis.
Every spring, I give my hydrangeas a good top-dressing of well-rotted garden compost or leaf mould. This slow-release goodness provides a steady supply of micronutrients and helps maintain that ideal slightly acidic soil pH. For an extra boost, especially for those heavy-blooming varieties, I might incorporate a handful of an organic, slow-release ericaceous fertiliser or a sprinkle of calcified seaweed (if soil pH needs a gentle lift and trace minerals are needed) around the drip line in early spring. Avoid high-nitrogen feeds once flower buds start forming, as this can encourage leafy growth at the expense of blooms.
The Magic of Mulch: A Gardener's Best Friend
Mulching is truly one of the simplest, yet most effective, things you can do for your hydrangeas. I've seen the difference it makes in my own garden, particularly during those hot, dry weeks we occasionally get in the Midlands.
A 5-7cm layer of organic mulch – think well-rotted compost, pine bark, or even my own homemade leaf mould – spread around the base of your hydrangeas offers multiple benefits:
- Moisture Retention: It acts like a blanket, reducing water evaporation from the soil. This means less watering for you, which is always a win!
- Weed Suppression: It smothers weed seeds, keeping competition for nutrients and water to a minimum. Less weeding equals more time for admiring those blooms!
- Temperature Regulation: It insulates the soil, keeping roots cooler in summer and warmer in winter.
- Slow Nutrient Release: As organic mulches break down, they slowly release valuable nutrients back into the soil, feeding your hydrangeas over time and contributing to that healthy soil ecosystem.
Just remember to keep the mulch a few centimetres away from the main stem of the plant to prevent rot and pest issues.
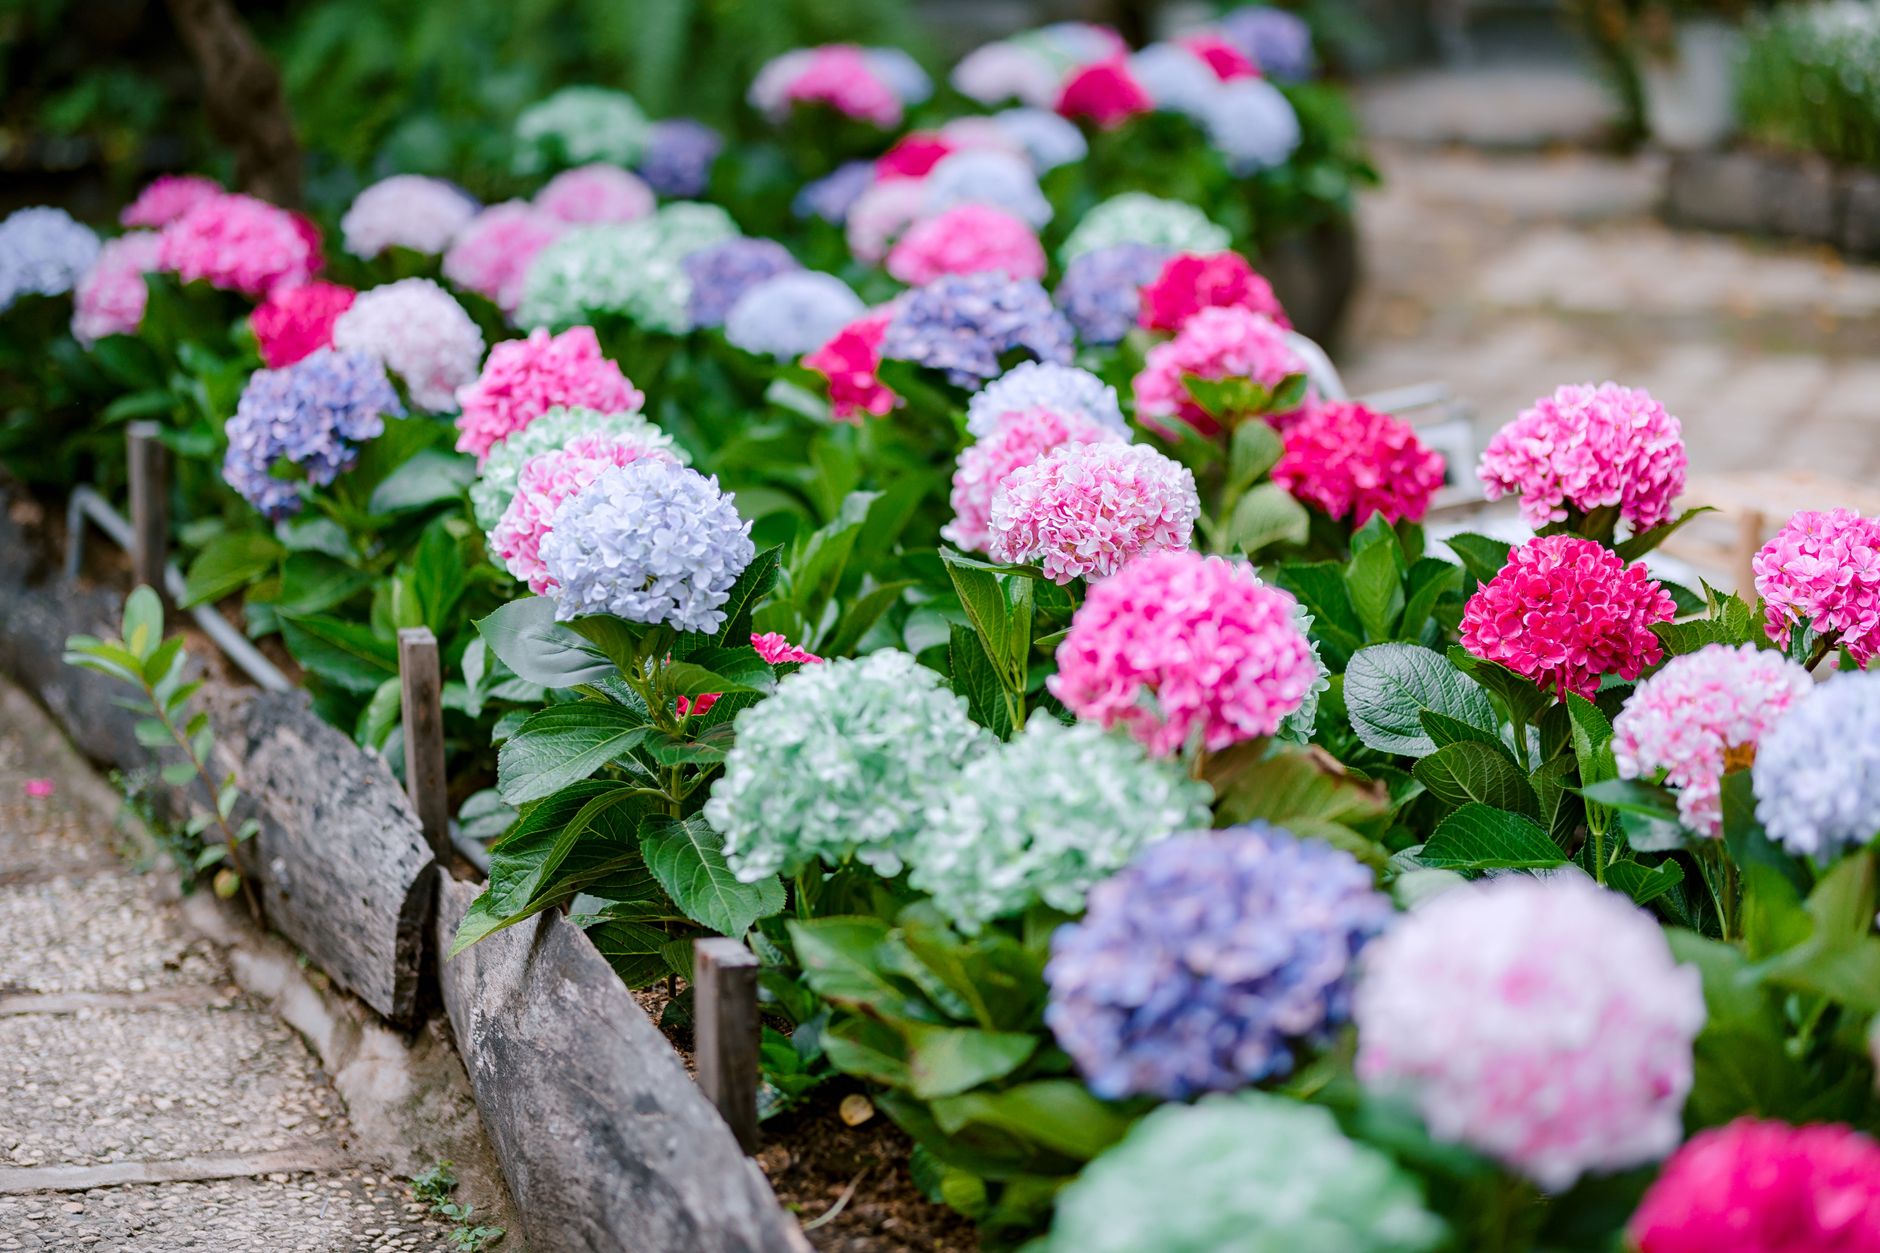
From Yellow to Lush Green: Maintaining Vibrant Hydrangeas Year After Year
Getting to the bottom of yellowing hydrangea leaves, especially interveinal chlorosis, can feel a bit like detective work at first. But I hope this guide, packed with my own trials, errors, and successes here in my UK garden, has given you the confidence to become your own plant whisperer.
We've delved into understanding the crucial role of soil pH, how to organically balance it for those magnificent blue and pink blooms, and pinpointed the signs of iron, magnesium, and nitrogen deficiencies. More importantly, we've explored practical, organic remedies that I've personally tested and refined in my Midlands patch.
My journey from a desk job in IT to a full-time gardening obsession has taught me one fundamental truth: plants are incredibly resilient, but they rely on us for the right conditions. Observing your hydrangeas closely – the colour of new leaves versus old, the pattern of the yellowing, the overall vigour of the plant – is your most powerful diagnostic tool. Combine that keen observation with a bit of soil knowledge and a commitment to nurturing your soil, and you'll be well on your way to healthy, vibrant hydrangeas.
Remember, gardening is a continuous learning curve, and our British climate often throws us curveballs. Don't be disheartened by a bit of yellowing; see it as a puzzle to solve. With the tips and tricks I've shared from my own experience, you're now equipped to tackle interveinal chlorosis head-on, organically.
So, roll up your sleeves, grab your soil test kit, and get out there. Your hydrangeas are waiting to reward you with a spectacular display of lush green foliage and those stunning, colourful blooms. There's nothing quite like sitting back with a cuppa, enjoying the fruits of your labour, is there? Happy gardening, fellow UK green thumbs!
