Tackling Stubborn Soil Diseases in Your UK Garden: Why Established Beds Need Special Care
Oh, the heartbreak! You've nurtured your seedlings, planted them out with such hope, watched them flourish for weeks, and then, slowly but surely, that tell-tale yellowing or wilting begins. For any passionate UK home gardener, seeing a beloved plant succumb to a mystery illness from the roots up is a gut punch. I know that feeling all too well. Here in my 800 sq ft Midlands garden, packed with raised beds and a busy greenhouse, I’ve had my fair share of those moments, especially when trying to replant my favourite heirloom tomatoes or brassicas in the same spots.
When I first started gardening five years ago, fresh from the world of IT and eager to get my hands dirty, I thought crop rotation was the silver bullet for everything. And don't get me wrong, it's absolutely crucial! But over time, particularly in my established raised beds where I’m growing intensively, I started hitting a wall. Certain areas, no matter what I rotated, just seemed to harbour disease. It was frustrating, to say the least, and it challenged my burgeoning expertise. I realised that after years of cultivation, even with good practices, our soil can become a breeding ground for persistent soil-borne pathogens. These aren't just fleeting issues; they're stubborn residents that can wreak havoc season after season. That's when I really started diving deep into more targeted solutions, moving beyond just rotation to proactive soil health strategies like biofumigation and organic drenches. My goal? To get those beds healthy and productive again, ready for another bumper crop, especially in our often-challenging British climate.
Pinpointing the Culprit: Identifying Common Soil-Borne Diseases in UK Gardens
Before you can tackle a problem, you’ve got to know exactly what you’re up against. This is something my IT background drilled into me: diagnose first, then fix. In my UK garden, I've learned the hard way that many symptoms can look similar on the surface, but the root cause (pun intended!) can be vastly different. Over my five years of intensive growing, I’ve encountered a fair few unwelcome guests, from the dreaded Clubroot in my brassica patch to the wilting menace of Verticillium in my greenhouse tomatoes.
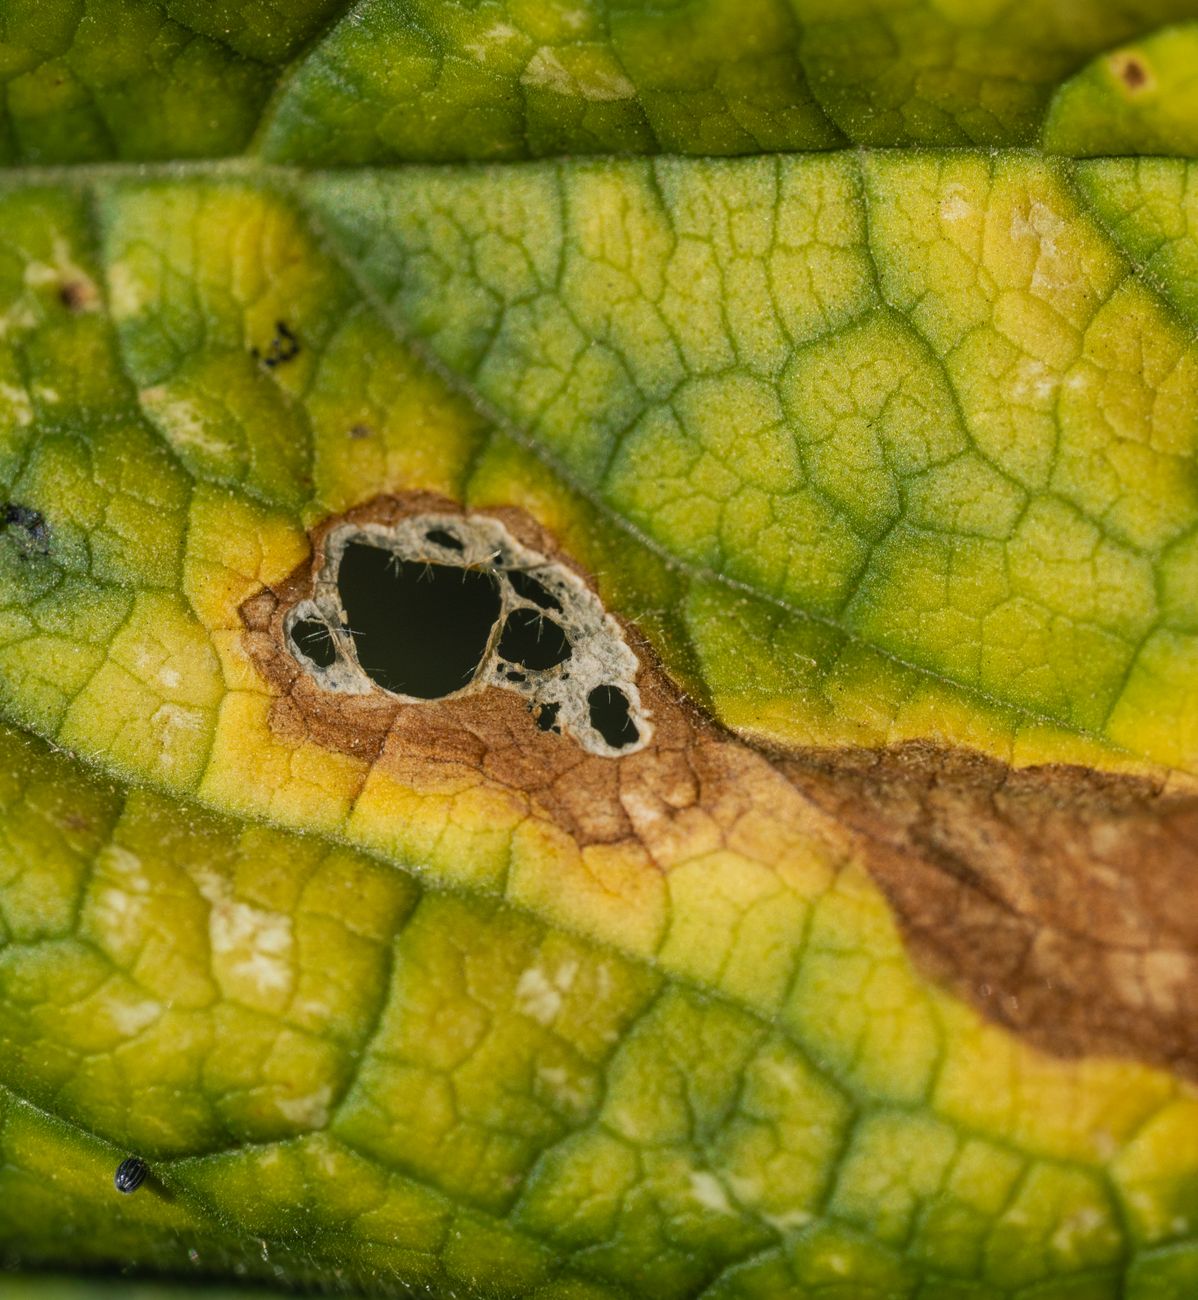
It’s easy to jump to conclusions, especially when you see a plant looking sickly. Is it overwatering? Nutrient deficiency? Or something far more sinister lurking in the soil? I've made the mistake of treating for a fungal issue when it was actually a bacterial one, or vice versa, and that just delays recovery and wastes effort. That’s why observation is key, and understanding the specific tell-tale signs for common UK soil diseases is absolutely essential. Below, I’ve put together a table of the usual suspects I’ve come across, focusing on the plants they love to attack here in Britain and what to look out for.
| Disease Name | Common UK Host Plants | Key Symptoms (Leaves & Stems) | Key Symptoms (Roots & Base) | My Experience/Tips for UK Growers |
|---|---|---|---|---|
| Clubroot | Cabbage, Broccoli, Cauliflower, Kale, Radish (Brassicas) | Stunted growth, yellowing or purpling leaves, wilting in hot weather. | Swollen, distorted, club-like roots (often look like lumpy fingers). | My nemesis in my brassica bed! Likes acidic soil, especially after a wet spring. Liming helps. |
| Verticillium Wilt | Tomatoes, Potatoes, Aubergines, Peppers, Strawberries, Raspberries | Yellowing and wilting, often starting on lower leaves and one side of the plant. Leaves may brown and die. | Vascular discolouration (brown streaks) inside the stem when cut. Roots may appear healthy initially. | A common problem in my greenhouse tomatoes. Once it's in the soil, it's tough. Look for resistant varieties. |
| Fusarium Wilt | Tomatoes, Melons, Cucumbers, Beans, Peas | Similar to Verticillium, but often more rapid. Yellowing, wilting, browning of leaves from the bottom up. | Vascular discolouration in stem (reddish-brown streaks). Roots may show some browning or lesions. | Another tomato killer for me. Often worse in warmer, poorly drained soil. Sterilising greenhouse soil is vital. |
| Damping-off | Seedlings (all types, especially in crowded conditions) | Seedlings collapse at the soil line, stems appear pinched and water-soaked. | Roots appear brown, mushy, or non-existent; seedlings fall over. | I've lost countless trays of precious seedlings to this! Good air circulation, sterile compost, and not overwatering are crucial for UK conditions. |
| White Rot | Onions, Garlic, Leeks (Alliums) | Yellowing, wilting, and collapse of leaves from the tips. | White fungal growth at the base of the bulb/stem, often with small black sclerotia (like poppy seeds). | My garlic patch has been hit by this. It can persist for years. Avoid planting alliums in affected areas for a long time. |
Biofumigation Basics: Harnessing Natural Defences for Healthier Soil
When I realised that simply rotating crops wasn't always enough to break the cycle of persistent soil diseases in my established raised beds, I started looking for more proactive, organic solutions. That’s when I stumbled upon biofumigation, and honestly, it felt like a lightbulb moment. As a former IT bloke, I love understanding the 'why' behind things, and the science behind biofumigation is just brilliant!
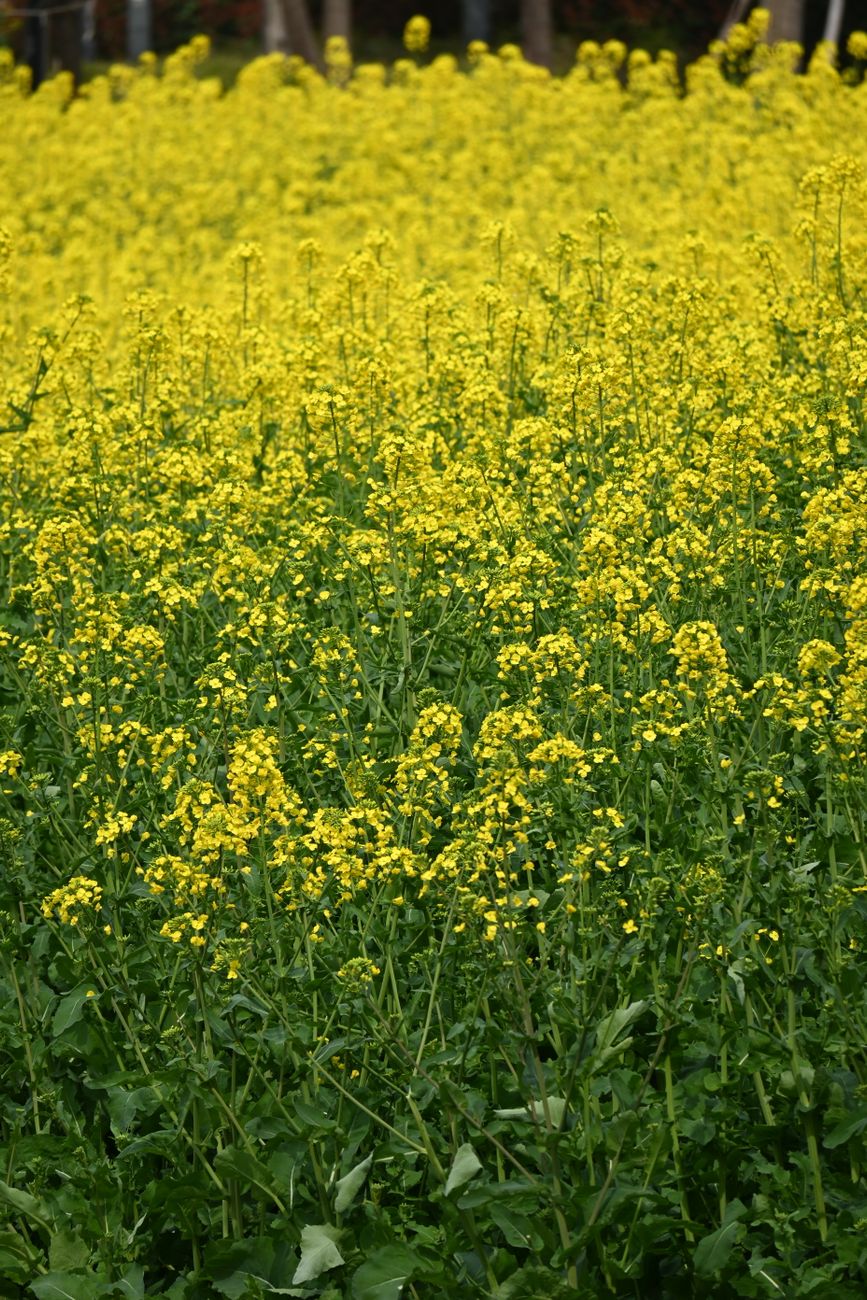
Essentially, biofumigation is like giving your soil a natural, organic cleanse using specific plants. You grow certain brassica species – think mustard, oil radish, or forage rape – as a green manure. The magic happens when you chop them up and incorporate them into the soil. These plants, particularly the Brassicas, contain compounds called glucosinolates. When their cell walls are broken down, these glucosinolates react with an enzyme called myrosinase to produce a cocktail of volatile compounds, including isothiocyanates. These are the same compounds that give mustard or horseradish their pungent kick, and they act as natural biocides. In simple terms, they release natural gases into the soil that suppress a whole host of soil-borne nasties – fungi, nematodes, and even some weeds. It’s a completely natural defence mechanism, harnessing the power of plants to create a healthier environment for your next crop. I first experimented with this in a bed that had been struggling with what I suspected was Verticillium in my bush tomatoes, and the results the following season were genuinely noticeable. It's a fantastic, eco-friendly way to get your soil back on track without resorting to harsh chemicals, which is a massive plus for me and my organic ethos here in the Midlands.
Practical Biofumigation: A UK Gardener's Guide to Soil Sterilisation
Alright, so you understand the magic behind biofumigation; now let's get down to the nitty-gritty of how I actually put this into practice in my 800 sq ft UK garden. This isn't just about throwing some seeds down; timing and technique are crucial, especially with our often-unpredictable British weather. I’ve refined my approach over a few seasons, learning what works best here in the Midlands.
The process generally starts after a main crop has finished, usually in late summer or early autumn, or even early spring if you're quick. My go-to biofumigant is typically a high-glucosinolate mustard variety like 'Caliente' or 'Carbon'. I've found these perform well in our UK climate and are readily available from British seed suppliers.
- Soil Preparation: First, I clear the bed of any remaining crop debris and weeds. I give the soil a light fork-over, just enough to break up any compaction and create a fine tilth on the surface. If the soil is particularly dry, I'll give it a good watering a day before sowing.
- Sowing the Seeds: I sow the mustard seeds fairly densely, usually at a rate of about 2-3g per square metre. I broadcast them evenly across the bed, then lightly rake them in or cover with a thin layer of compost. Water gently to ensure good seed-to-soil contact.
- Growing Period (The Green Phase): Now, you let it grow! This typically takes 6-8 weeks, depending on the temperature. The goal is to get a good, lush canopy of green growth. You want it to reach its peak biomass and start flowering, but ideally before it sets seed. This is where the UK weather can be a factor – if it’s a dry spell, I'll water to keep the growth going; if it's too wet, I'll ensure good drainage.
- The Chop & Incorporate: This is the critical step. When the mustard is at its prime (around flowering), I chop it down finely. For a small bed, a spade or a sharp hoe works, but for larger areas, I use a strimmer or even my lawnmower (on a high setting) if the bed allows access. The finer the chop, the better the release of those beneficial compounds. Immediately after chopping, I incorporate the green material into the top 15-20cm (6-8 inches) of soil. Speed is key here to minimise the loss of those volatile gases.
- Sealing the Deal: Once incorporated, I immediately water the bed thoroughly and then cover it with a clear plastic sheet or tarpaulin. This helps to 'seal in' the gases and enhance the biofumigation effect. The moisture is crucial for the chemical reaction to occur. I leave the plastic on for 2-4 weeks. If it’s a sunny period, the solarisation effect under the plastic also helps to warm the soil and further suppress pathogens.
- Rest & Replanting: After the sealed period, I remove the plastic. The soil will look darker and smell distinctly mustardy for a while. I usually leave the bed to rest for another week or two before replanting to ensure any residual gases have dissipated and won't harm new seedlings.
This process has been a game-changer for me in tackling stubborn issues like white rot in my allium bed and even some fungal issues in my main vegetable patch. It requires a bit of planning, but the payoff in healthier soil and more robust plants is absolutely worth the effort for us UK gardeners.
| Biofumigant Crop | Best UK Use & Conditions | Timing in My Midlands Garden | My Notes & Experience for UK Conditions |
|---|
Beyond Biofumigation: Organic Soil Drenches for Ongoing Disease Suppression
Biofumigation, as I’ve learned in my 800 sq ft Midlands garden, is an absolute powerhouse for resetting your soil. It’s like hitting a big 'reset' button. But here’s the thing about gardening in the UK – our weather is, shall we say, characterful. One minute it’s baking hot, the next it’s a deluge. These fluctuating conditions can create new opportunities for lingering pathogens or even new ones to creep in. That’s why, after biofumigation, I don't just sit back and hope for the best. I follow up with targeted organic soil drenches.
I made this mistake early on in my gardening journey, after dealing with a particularly nasty case of clubroot in one of my raised beds. I biofumigated, felt chuffed with myself, and planted some lovely 'Golden Acre' cabbages. Two months later, signs of a different fungal issue started to show. It was a disheartening lesson, but it taught me that prevention is a multi-layered approach. Organic soil drenches provide that crucial ongoing support, essentially inoculating your soil with beneficial microbes that outcompete or suppress disease-causing organisms. It’s about building a robust, living soil ecosystem that can defend itself.
These drenches aren't about sterilisation; they're about promoting life – the good kind of life. They introduce beneficial bacteria and fungi that act as nature's bouncers, guarding your plant roots. I've experimented with a few types over the years, carefully observing their impact on my 'Sungold' tomatoes in the greenhouse and my outdoor brassicas. What works here in Britain, especially with our often damp conditions, is a drench that establishes quickly and creates a protective barrier around the plant roots.
Here’s a comparison of some of the organic soil drenches I’ve used and found effective in my UK garden:
| Drench Type | Key Active Ingredients | How It Works | Best For (Disease/Crop) | Application Frequency (UK Context) | Randy's Pros |
|---|
- Compost Tea (Aerobically Brewed) | Diverse range of beneficial microbes, plant nutrients | Provides microbial diversity, improves nutrient availability, suppresses some pathogens by competitive exclusion. | General soil health, especially for crops susceptible to various fungal issues (e.g., tomatoes, leafy greens). | Every 2-4 weeks during growing season, or after heavy rain. Avoid during very hot, dry spells. | Easy to make at home. Boosts overall plant vigour and resilience. Improves soil structure. Helps activate existing soil life.
