
Right, let's be honest, we've all been there. You've lovingly nurtured a container plant for months – maybe it's a 'Moneymaker' tomato thriving in your greenhouse, or a beautiful 'Blackcurrant Swirl' petunia spilling over a patio pot. You water it, you feed it, you talk to it... and then, suddenly, it just looks miserable. The leaves are yellowing, it's droopy, and no matter how much you water, the soil just seems to sit there, soggy on top, or worse, the water runs straight out the bottom without soaking in. It's a proper head-scratcher, isn't it?
I’m Randy Thompson, a 32-year-old former IT chap who traded debugging code for digging in the dirt. For the past five years, my 800 sq ft backyard here in the UK Midlands has been my obsession – packed with raised beds, a bustling greenhouse, and containers everywhere you look. I live for the thrill of growing everything from 'Costoluto Fiorentino' tomatoes to a crazy assortment of herbs, all while battling our wonderfully unpredictable British weather. I’ve made my fair share of mistakes (and learned from every single one!), especially when it comes to container gardening. One of the trickiest issues I've tackled, and something I want to share my hard-won experience with, is fixing stalled drainage in established pots without the trauma of repotting. Trust me, it’s a game-changer for keeping those beloved plants happy and healthy through the season.
Is Your Container Plant Drowning? Understanding Stalled Drainage
So, what exactly is "stalled drainage"? In simple terms, it's when the water you pour into your container doesn't drain away efficiently, or it drains too quickly through channels, leaving most of the potting mix dry. It’s a bit of a paradox, isn’t it? Your plant can literally be sitting in waterlogged soil while simultaneously suffering from a lack of moisture where its roots need it most.
Here in the UK, with our propensity for sudden, torrential downpours followed by prolonged damp spells, this is a particularly common problem. I remember one season, I had a fantastic 'Hungarian Wax' pepper in a large terracotta pot out on the patio. It was doing brilliantly, loaded with fruits, and then we had a week of relentless rain. Afterwards, the plant just looked utterly miserable. I'd check the soil, and the top couple of inches were like a bog, but when I carefully poked deeper, it felt oddly dry in places. The poor thing was essentially drowning in anaerobic conditions. Roots need oxygen just as much as water and nutrients, and when the soil is constantly saturated, those vital air pockets disappear. This leads to root rot, nutrient lockout (because roots can't absorb nutrients properly without oxygen), and ultimately, a very unhappy, struggling plant that often looks like it's under-watered, which can trick you into making the problem even worse! What works here in Britain, especially with our often-heavy rainfall, is understanding how to keep that potting mix aerated.
Spotting the Signs: How to Tell if Your Potting Mix is Compacted
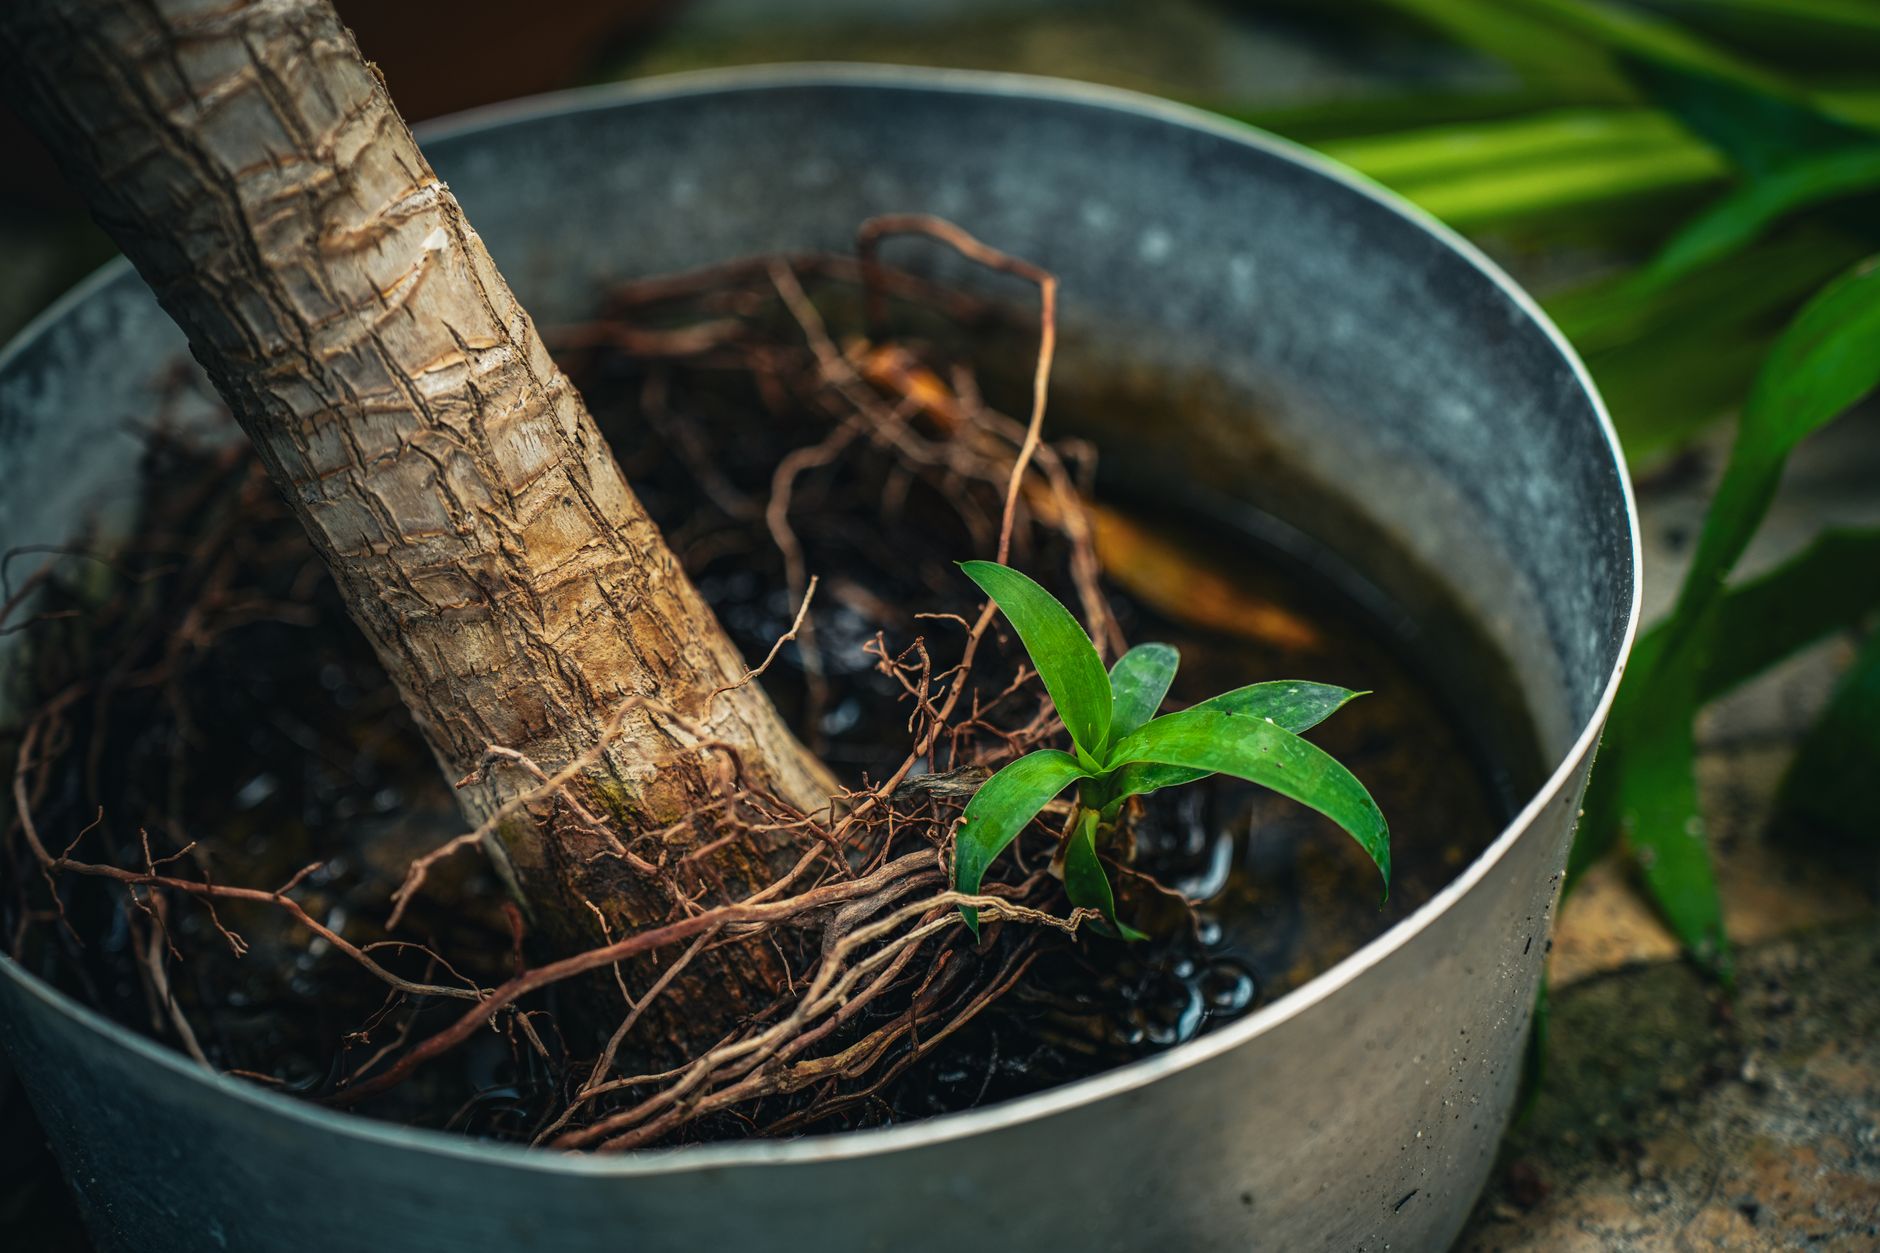
Before you go poking around in your prized 'Gardener's Delight' tomato pot, it's crucial to be able to identify the signs of compacted potting mix. I've learned this the hard way over the years, often mistaking the symptoms for nutrient deficiencies or pests, only to realise the true culprit was deep within the pot.
Here are the key indicators I look for in my UK garden:
- Water sitting on the surface: After watering, does the water just pool on top of the soil for an unusually long time before slowly, grudgingly, soaking in? This is a dead giveaway. In a healthy, well-draining pot, water should be absorbed fairly quickly.
- Water rushing out the bottom too fast (channeling): This is the other side of the coin and equally problematic. You water, and it seems to just run straight through the pot, gushing out the drainage holes almost immediately. This often means the water is finding a few clear channels through the compacted soil, bypassing the majority of the root ball entirely. The plant looks droopy and thirsty, even though you’ve just watered it.
- Persistent wilting or droopiness: Despite regular watering (or even because of it!), your plant looks perpetually sad. Leaves might be yellowing, especially lower ones, and growth can be stunted. This is often due to root damage from lack of oxygen or the inability to absorb nutrients from the waterlogged soil.
- Fungus gnats: If you're suddenly plagued by these tiny, annoying flies hovering around your pots, it’s a strong sign that the top layer of your potting mix is consistently wet. Fungus gnats thrive in damp conditions and lay their eggs in soggy soil.
- Heavy pot: A really compacted pot will often feel much heavier than a healthy, well-draining one, simply because it's holding onto so much excess water.
I remember my first year trying to grow 'Sungold' tomatoes in containers in my greenhouse. They were my pride and joy, but by mid-summer, despite my best efforts, they looked increasingly sickly. I was convinced it was some exotic disease or a nutrient issue. I tried more feed, less feed, everything! The water would just sit on the surface, or run down the sides, and the plants just got worse. It wasn't until I carefully tipped one out (a risky move I don't recommend mid-season!) that I saw how dense and claggy the soil was, especially in the bottom half. It was a massive learning curve, and now I know to spot these signs early, especially with our varying British climate impacting how quickly pots can dry out.
The Root Cause: Why Potting Mix Compacts in Established Containers
Understanding why potting mix compacts is key to preventing it and fixing it. It's not just some random act of nature; there are several specific reasons, and I’ve seen them all play out in my own UK garden. When I first started gardening, I used to think all potting mix was created equal and would last forever. Oh, how wrong I was! Potting mix isn't like garden soil; it's specifically designed to be light and airy, but it's not indestructible.
Here’s a breakdown of the main culprits:
| Cause of Compaction | How It Happens | Impact on Plant Health | Randy's UK Experience |
|---|---|---|---|
| Organic Matter Breakdown | Most potting mixes are rich in organic materials like peat, coir, and compost. Over time, these break down into finer particles, losing their structure and creating smaller air pockets. | Reduces aeration, leading to anaerobic conditions, root rot, and nutrient lockout. Roots struggle to penetrate dense soil. | This is especially noticeable by late summer in my greenhouse tomatoes. They're heavy feeders, and the mix gets exhausted and dense. I've found that using a good quality, peat-free compost initially can slow this down a bit, but it's an inevitable process over a long UK growing season. |
| Frequent Watering & Leaching | Regular watering, especially with tap water (which can be hard in many parts of the UK and contain dissolved minerals), washes fine particles downwards and can contribute to the settling and binding of the mix. | Creates a dense layer at the bottom of the pot, hindering drainage and creating a perpetually wet "perched water table" where roots sit in stagnant water. | I see this often with my patio pots that get watered daily during a dry British summer spell. The fine particles from the top layers slowly migrate downwards. It’s also more pronounced in pots that receive a lot of rain – those glorious summer downpours we get here can really compact the surface. |
| Root Growth | As the plant grows, its roots expand and fill the container. While healthy roots are good, an overly dense root ball can further compress the potting mix, particularly in pots that are becoming root-bound. | Restricts further root development, limits water and nutrient uptake, and can exacerbate compaction by physically squeezing the remaining potting mix. | My bigger vegetables like courgettes or potatoes in grow bags are prime examples. By mid-season, the sheer volume of roots means the mix has been pushed aside and compacted. This is why I always try to use the largest practical container for these hungry plants to give them space for both roots and aerated soil. |
| Lack of Soil Life | Unlike garden beds with worms and microorganisms constantly aerating and breaking down organic matter, containers are sterile environments. There's no natural process to loosen and rejuvenate the potting mix. | Without natural aeration, the potting mix becomes a stagnant, lifeless medium, unable to support healthy root function or nutrient cycling. | This is a big one for me. In my raised beds, the soil is teeming with life, but in a container, it's just you and the plant. I've experimented with adding a tiny bit of worm castings or compost tea to my pots occasionally, which helps to introduce beneficial microbes, but it's not a complete fix for physical compaction. |
| Initial Potting Mix Quality | Some cheaper potting mixes contain a higher proportion of fine particles (like sand or heavy peat) or lack sufficient perlite/vermiculite for aeration. These can compact more quickly and severely from the outset. | Leads to poor drainage from day one, setting the plant up for failure. Can make it almost impossible to maintain adequate aeration. | One mistake I made early on was trying to save a few quid on potting compost. Never again! I quickly learned that investing in a good quality, reputable UK potting mix with plenty of perlite makes a huge difference to long-term drainage and aeration. It's false economy to buy the cheap stuff, especially for plants you'll be growing all season. |
Your Decompaction Toolkit: Simple Items for Effective Aeration
Now, you might be thinking, "Randy, this sounds like a job for some fancy gardening gadget!" But honestly, you don't need to spend a fortune. My go-to tools for decompacting potting mix are usually things I already have lying around the shed, or even in the kitchen drawer! The key is to find something long, thin, and sturdy enough to poke through dense soil without damaging your plant.
Here’s my tried-and-tested toolkit for aerating those stubborn pots in my UK garden:
- A good sturdy chopstick or bamboo skewer: This is my absolute favourite for smaller to medium-sized pots (up to about 30cm/12 inches diameter) or for working around more delicate plants. It's thin enough to get into tight spaces and strong enough to break up clumps without being too aggressive. I always have a stash of these in my greenhouse.
- A thin metal rod or an old tent peg: For larger containers, especially those big patio pots or my huge potato grow bags, you need something a bit longer and more robust. An old tent peg (the sturdy metal kind, not the flimsy plastic ones!) or a piece of rebar works brilliantly. Just make sure it’s clean to avoid introducing any nasties.
- A hand trowel: While not for deep aeration, a hand trowel is perfect for carefully loosening the top inch or two of soil, especially if you've got a hard crust or a dense mat of surface roots. It's also handy for gently pushing the loosened soil back into place.
- A dinner fork: Yes, a common kitchen fork! For surface compaction, especially in smaller pots where roots might be shallow, a fork can be gently wiggled into the top layer to break it up. Be very careful not to go too deep and damage roots.
- A drill with a long, thin auger bit (use with extreme caution!): For truly massive, established containers with very woody plants (like an old olive tree or a large shrub that absolutely cannot be repotted), and where the compaction is severe, I've very occasionally resorted to a drill. You need a long, thin auger bit and you must use it on a very low speed, with extreme care, and only for specific, deep areas, avoiding the main root crown. This is an advanced technique and definitely not for everyday use – but it can be a lifesaver in extreme cases.
The main thing to remember is to work gently and patiently. You're not trying to churn the soil into a muddy mess, but rather to create new pathways for air and water. What works here in Britain, with our sometimes-damp conditions, is ensuring that even a simple tool can make a world of difference in keeping those root systems breathing.
Gentle Pokes & Prods: Non-Invasive Methods to Aerate Your Soil
Right, so you've got your toolkit ready, and you're staring at that sad-looking container, maybe a 'Tigerella' tomato that's usually bursting with fruit, but now just looks a bit… soggy. The key here, and I can't stress this enough from my own trial and error, is gentleness. We're not trying to perform surgery on your plant's roots, just give them a bit of breathing room. I learned this the hard way with a particularly robust 'Hungarian Wax' pepper a few years back; I was a bit too enthusiastic and snapped a few crucial roots. Not ideal!
My preferred method is to work systematically around the edge of the container first, then gradually move inwards. Think of it like a delicate massage for your soil. I usually start with a simple wooden chopstick – it’s firm enough to penetrate but not so sharp it causes major damage. For really large containers, like the 50-litre tubs I use for my 'Grosse Lisse' pumpkins, I sometimes grab a thin bamboo cane or even a sturdy BBQ skewer for a bit more reach.
The trick is to push the tool down, wiggle it gently, and pull it back up. You'll feel the resistance change as you hit compacted areas. Don't force it if you hit a thick root, just move slightly. I aim for about 2-3 inches from the rim, making holes every inch or two, then spiral inwards. Once I've done a full circuit, I'll give the pot a gentle rock back and forth – sometimes you can feel the soil shift and settle, which is a good sign. Then, water slowly. You should see it drain much better.
Here’s a quick comparison of what I've found works best for different situations here in my UK garden:
| Tool | Best For | Randy's UK Pro Tip |
|---|---|---|
| Wooden Chopstick | Smaller pots, delicate plants | My go-to for herbs like 'Thyme' or 'Rosemary'. Less likely to damage fine roots. Easy to clean. |
| Thin Bamboo Cane | Medium to large containers | Excellent for my greenhouse tomatoes. Offers good reach and stiffness without being too sharp. |
| Metal Skewer/Rod | Deep, very compacted large pots | Use with extreme caution! Only for those really stubborn, deep layers. Risk of root damage is higher. |
| Garden Fork (Small) | Very large planters (e.g., half barrels) | Only for the outer edges, never near the main stem! Just a few gentle prongs to break the crust. |
Rejuvenating Your Soil: Post-Decompaction Care & Amendments
Once you've given your compacted soil a good aeration, the job isn't quite done. Think of it like giving your plant a good stretch – now it needs some nourishment to really thrive again. I've found that simply aerating isn't enough; you need to replenish what was lost and help build a better structure for the future.
After I've aerated and the water is flowing freely, I'll let the plant settle for a day or two. Then, it's time for some soil amendments. This is where I get a bit excited, as it's a chance to really boost the plant. I usually start by gently scratching the top inch or so of the existing potting mix – just enough to create a little space without disturbing the newly aerated channels too much.
My secret weapon here in the Midlands is a blend of fresh, well-rotted compost (often from my own compost bins) and a good helping of worm castings from my wormery. These aren't just 'food'; they introduce beneficial microbes that are crucial for breaking down nutrients and improving soil structure naturally. I've seen my 'Costoluto Genovese' tomatoes absolutely spring back to life after this treatment, especially if they've been struggling through a particularly wet British summer.
I also like to add some granular amendments to improve the physical properties of the mix. Perlite is fantastic for long-term aeration and drainage, while a bit of horticultural grit can add some weight and stability, especially for top-heavy plants in windy UK conditions. I'll mix these together and apply a layer of about 1-2 inches over the top of the container, gently working it into that scratched-up top layer. Then, a good, slow watering again to help it all settle in.
Long-Term Solutions: Preventing Future Compaction in Container Plants
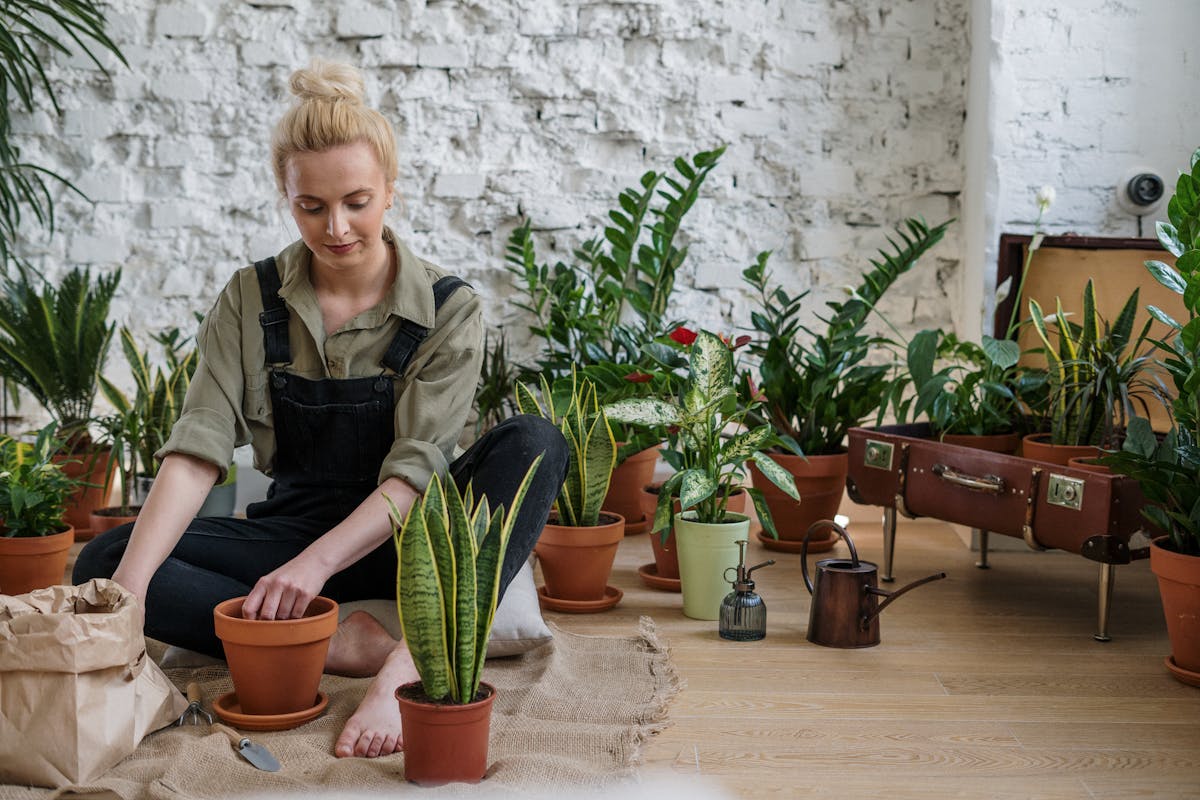
Aerating and amending is a great fix for an immediate problem, but like many things in gardening, prevention is always better than cure. After five years of intensive container gardening here in my 800 sq ft backyard, battling everything from torrential Midlands downpours to unexpected heatwaves, I've learned that a proactive approach saves a lot of headaches – and plants!
It all starts with the potting mix itself. I used to just grab any old multi-purpose compost, but I quickly learned that it compacts terribly over time, especially with our unpredictable British weather. Now, I always create my own custom blend for containers. For my hungry vegetables like 'Sungold' cherry tomatoes or my large courgettes, I'll mix a good quality peat-free multi-purpose compost with at least 20-30% perlite or horticultural grit, and often a handful of coir for water retention in drier spells, or more grit if it's a particularly wet spring. This gives the roots the air pockets they need to thrive.
Proper watering techniques are also crucial. I used to be an enthusiastic over-waterer, especially when I first started. I thought more water meant healthier plants! But I quickly saw the signs of stalled drainage in my 'Red Russian' kale pots. Now, I always check the moisture level with my finger before watering, pushing it down a couple of inches. And when I do water, I water thoroughly until it drains out the bottom, then I let it dry out a bit before the next watering. This encourages roots to grow deeper and prevents the constant saturation that leads to compaction.
Finally, don't underestimate the power of regular feeding and the occasional top-up. A slow-release granular feed at the start of the season, or a regular liquid feed, ensures your plants get the nutrients they need without you constantly flushing the soil with water. And every year, especially for perennial herbs like my 'French Lavender', I'll scrape off the top few inches of old potting mix and replace it with fresh compost and amendments. It's like giving them a fresh start without the stress of full repotting.
Here’s my go-to guide for preventing compaction in my UK container garden:
| Prevention Method | Randy's UK Rationale | My Personal Experience |
|---|---|---|
| Custom Potting Mix | Ensures long-term aeration and drainage, vital for our variable British climate. | My 'Cherokee Purple' tomatoes in the greenhouse thrive with 30% perlite; no stalled drainage issues since I started this. |
| Smart Watering | Prevents waterlogging and encourages healthy root development, critical for periods of heavy rain or sudden heatwaves. | I learned the hard way with my first batch of courgettes; now I always check the soil before watering, especially after a shower. |
| Regular Feeding | Provides consistent nutrients, reducing the need to flush with water and minimising nutrient depletion that compacts soil. | A good organic granular feed at the start of the season keeps my 'Giant of Italy' parsley happy and vigorous all summer long. |
| Annual Top-Dressing | Replenishes depleted nutrients and refreshes the top layer, stopping compaction before it becomes a problem. | Every spring, my established blueberry bushes get a fresh layer of ericaceous compost; they produce bumper crops year after year. |
| Consider Pot Size | Prevents plants from becoming root-bound too quickly, which accelerates compaction. | My 'Patio Prince' cucumbers do much better in 20-litre pots than 10-litre ones; more soil volume means slower compaction. |
Conclusion: Breathe Easy, Grow Strong
So there you have it, fellow gardeners! Stalled drainage in your established containers can feel like a really disheartening problem, especially when you've put so much effort into nurturing your plants. I've been there, staring at a sad-looking 'Marmande' tomato that just wasn't thriving, wondering what I'd done wrong. But what I've learned over my years of getting my hands dirty here in the Midlands is that it's a fixable issue, and often, you don't even need to repot.
By understanding why compaction happens, knowing the signs to look for, and arming yourself with a few simple tools and techniques, you can gently aerate that soil, give your plant's roots the oxygen they desperately need, and get that water flowing freely again. The post-decompaction care, with a good dose of compost and amendments, will rejuvenate the soil and bring your plant back to life.
And perhaps most importantly, by adopting some simple preventative measures – like crafting your own well-draining potting mixes, practicing smart watering, and regularly refreshing your container soil – you can avoid the problem altogether. Gardening is all about learning, experimenting, and adapting to what our wonderful, sometimes challenging, British climate throws at us.
Don't be afraid to get out there, grab a chopstick, and give your plants a new lease on life. They'll thank you for it with healthier growth and, hopefully, a bumper harvest. Happy gardening from my 800 sq ft patch here in the Midlands!
