Spring Awakening: Why Identifying Live vs. Dead Growth Matters After Winter
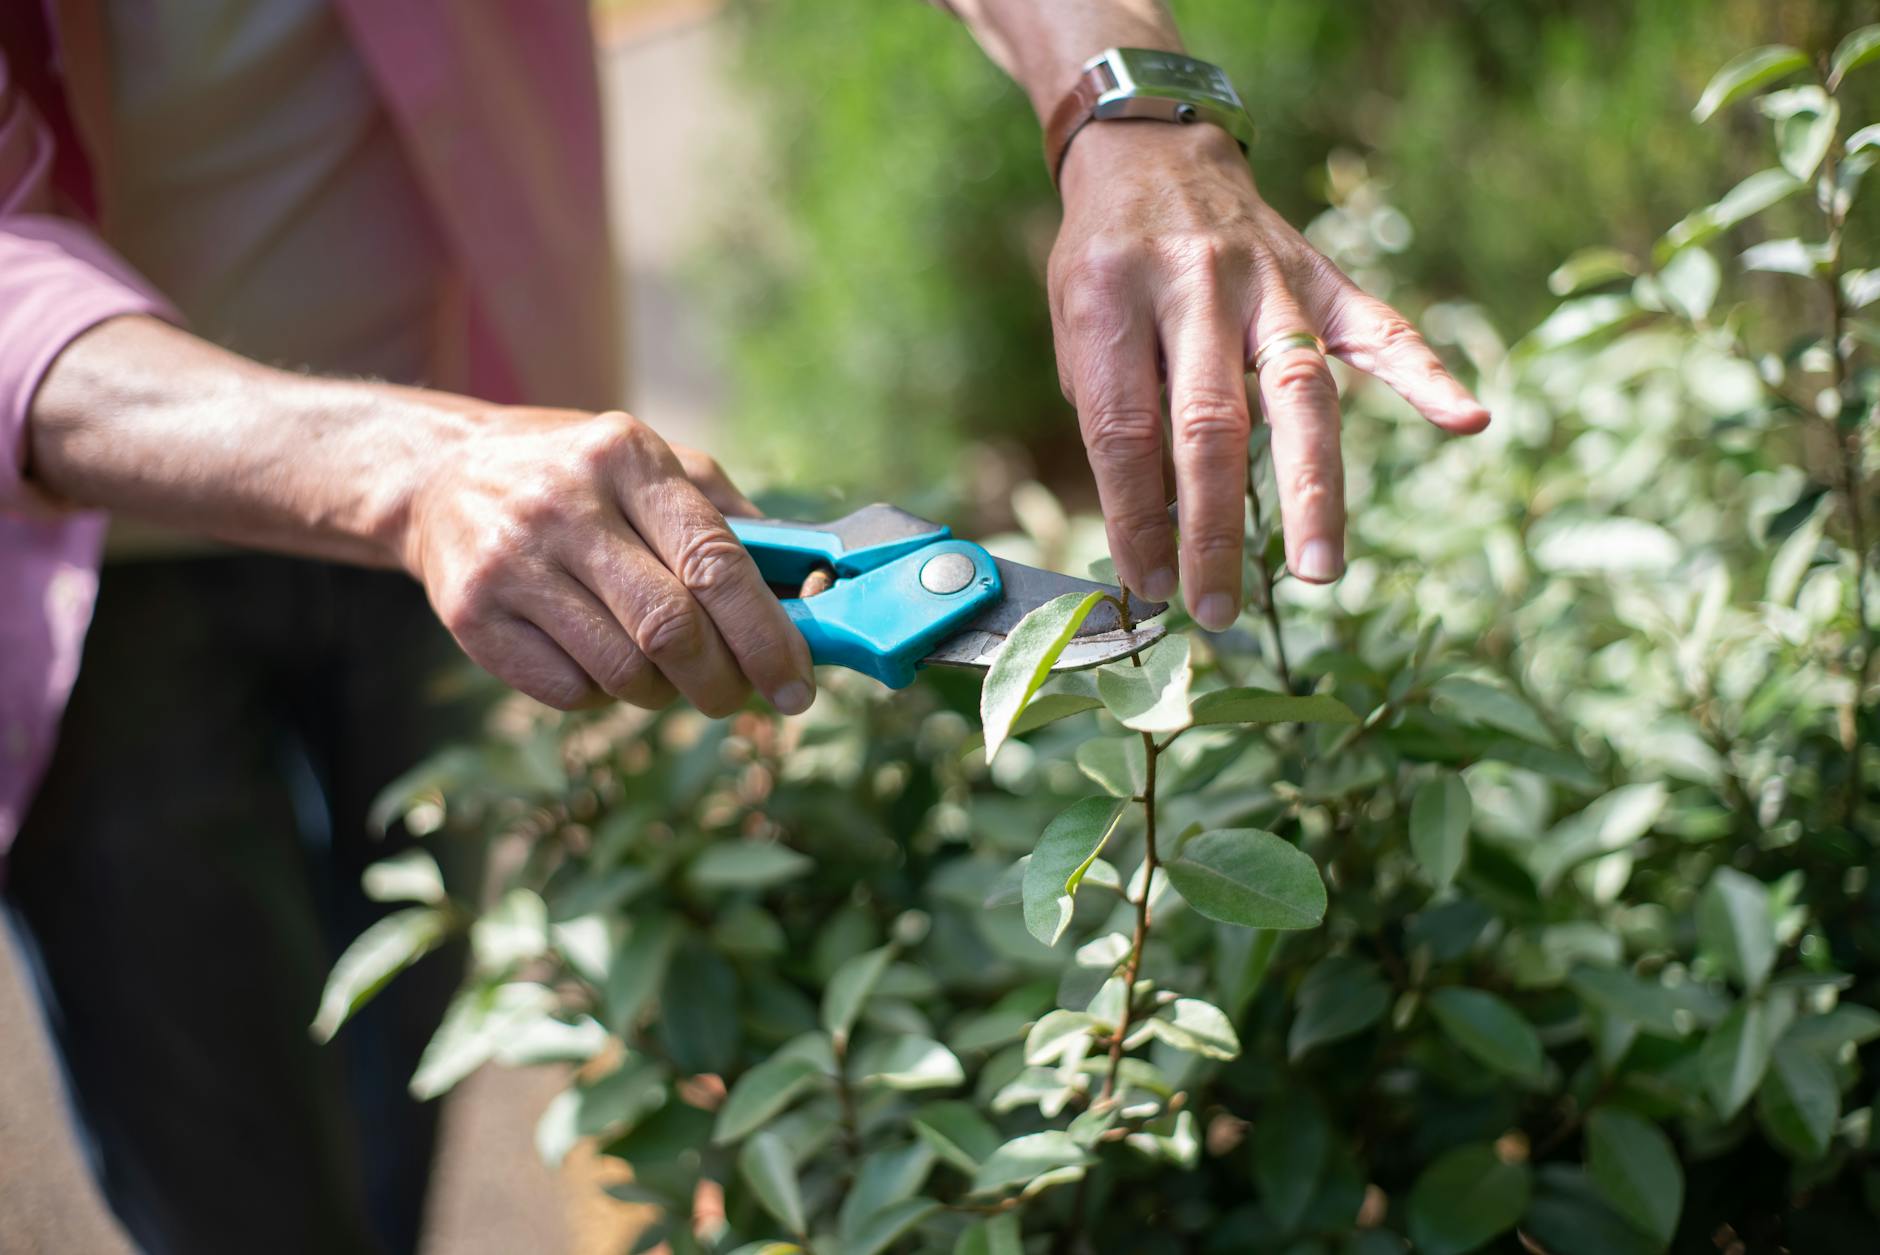
Ah, spring! There's nothing quite like that first proper breath of warmer, longer days here in the UK. My 800 sq ft garden in the Midlands, usually a quiet, muddy patch after a long winter, starts to hum with anticipation. The birds are back, the crocuses are pushing through, and frankly, I'm buzzing to get my hands dirty again. But before I even think about sowing those heirloom tomato seeds in my greenhouse or planning my next raised bed crop, there’s a crucial first step for many of my ornamental shrubs: a thorough inspection for winter damage.
Every year, after the unpredictable British weather has thrown everything it has at us – from freezing frosts to soggy, mild spells that can encourage rot – I head out with my secateurs and a bit of trepidation. Identifying what's genuinely dead versus what's just taking its sweet time to wake up is absolutely vital. I learned this the hard way during my first couple of years gardening. I remember nearly chopping back my 'Annabelle' hydrangea too severely, thinking half of it was dead, only to realise later I'd potentially sacrificed a load of blooms. What works here in Britain, especially with our often-damp winters, is patience and a keen eye. Getting this right means the difference between a thriving, floriferous shrub and one that's struggling, or worse, susceptible to disease. It's not just about aesthetics; it's about the plant's long-term health and vigour.
The Universal Signs: How to Spot Live vs. Dead Wood on Any Shrub
Before we dive into specific plants, let's talk about the universal language of live and dead wood. Over my five years of intensive gardening, I’ve found these tell-tale signs are pretty consistent across most woody ornamentals, whether it's a trusty Viburnum or a struggling Lavender bush. It's a skill that comes with practice, but once you know what to look for, it becomes second nature. I always start by taking a general look at the plant's overall shape and condition before getting up close and personal with individual stems.
One mistake I made early on was being too hasty. Sometimes, a seemingly lifeless branch just needs a bit more time, especially if we've had a particularly cold snap late in the season, which isn't uncommon here in the Midlands. I've learned to give things a week or two into proper spring before making any final decisions, unless it's clearly snapped or rotting. The 'scratch test' is my absolute go-to, but combining it with other observations gives you the full picture.
Here's a detailed comparison of what to look for:
| Characteristic | Live Wood (Healthy) | Dead Wood (Unhealthy) |
|---|---|---|
| Colour | Green, vibrant brown, or reddish, sometimes shiny. | Dull grey, brown, black, or bleached white. |
| Flexibility | Pliable; it bends slightly before snapping. | Brittle; snaps easily with little resistance. |
| Scratch Test | Reveals green tissue underneath the bark. | Reveals brown, dry, or no tissue underneath bark. |
| Buds | Swollen, often showing a hint of green, firm. | Shriveled, dry, crumbly, or completely absent. |
| Texture | Smooth, plump, firm to the touch. | Shrunken, wrinkled, dry, hollow, or spongy/rotten. |
| Growth | May show tiny new shoots emerging from buds. | No new growth; often covered in lichen or fungi. |
When I'm doing the scratch test, I use my thumbnail or the tip of my secateurs (carefully!) to gently scrape a tiny bit of the outermost bark off a suspect stem. If you see a bright green layer underneath, that stem is alive and well. If it’s brown, grey, or completely dry, it’s dead. It’s a simple but incredibly effective technique that I use on almost every shrub in my UK garden that needs a prune after winter.
Hydrangeas: Deciphering Winter Damage on Different Types
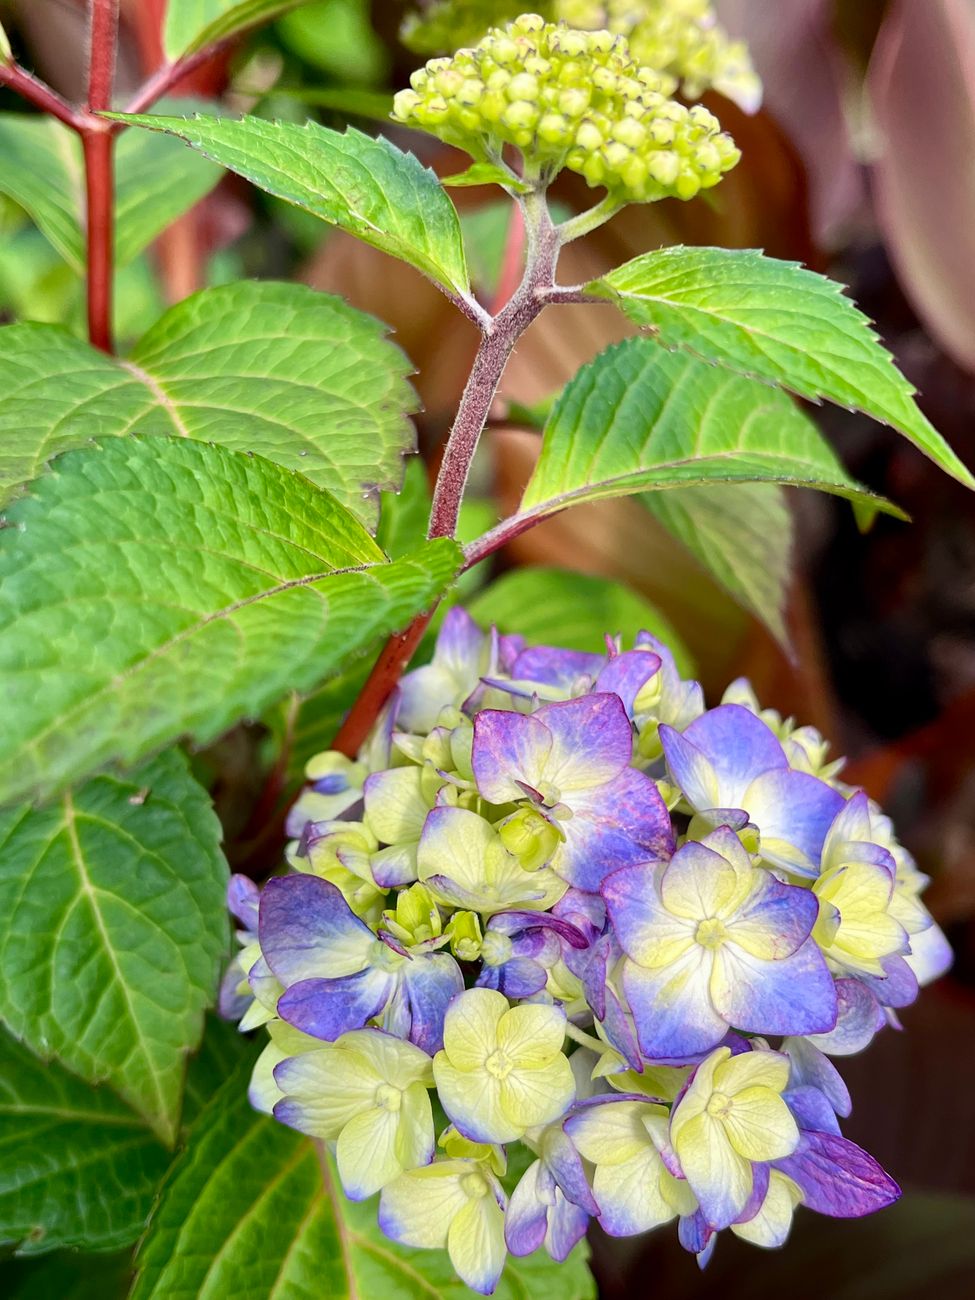
Hydrangeas are a cornerstone of many UK gardens, including mine. I've got a mix – a big 'Limelight' (a Paniculata) that absolutely revels in our summers, a 'Nikko Blue' (Macrophylla) that gives me those classic mopheads, and even a lovely 'Snowflake' (Quercifolia) for its autumn leaf colour. Each type has its own quirks, especially when it comes to winter damage and subsequent pruning. Understanding which type you have is key, as it dictates how you approach deadwood removal and overall pruning.
Our often-damp UK winters can be particularly unkind to hydrangeas, sometimes leading to quite a bit of dieback, especially on the younger, softer growth of macrophyllas. I've seen stems completely blacken after a particularly wet and cold spell, even on established plants.
Here’s how I approach identifying live vs. dead growth on the main types I grow:
| Characteristic | Macrophylla (Bigleaf, Mophead/Lacecap) | Paniculata (Panicle) | Quercifolia (Oakleaf) |
|---|---|---|---|
| Blooms On | Old wood (previous year's growth) | New wood (current year's growth) | Old wood (previous year's growth) |
| Dead Stem | Dark brown/black, often soft/hollow. Buds absent or shriveled. Scratch test is brown/dry. | Grey/brown, brittle. Buds absent or dry. Scratch test is brown/dry. | Dark brown, rigid. Buds absent or dry. Scratch test is brown/dry. |
| Live Stem | Tan/greenish, firm. Plump, often paired buds visible along the stem. Scratch test is green. | Reddish/greenish, firm. Small, pointed buds at nodes. Scratch test is green. | Brown/reddish, firm. Noticeable, often fuzzy buds. Scratch test is green. |
| Winter Damage | Very susceptible to tip dieback; main stems often survive. | Generally very hardy; less prone to extensive dieback. | Good winter hardiness; minimal dieback usually. |
For my Hydrangea macrophylla 'Nikko Blue', I'm always very careful. Since it blooms on old wood, cutting back live stems means sacrificing that year's flowers. I'm looking for stems that are clearly black, mushy, or completely devoid of any sign of life, especially those plump buds. I'll gently scratch the bark lower down the stem until I find green. Any stem that still shows green, even if the top few inches are dead, I'll prune just above the first healthy, outward-facing bud.
My Hydrangea paniculata 'Limelight' is much more forgiving. It blooms on new wood, so I'm more confident cutting back harder to shape it. Here, I'm looking for brittle, greyish stems with no visible buds. The live stems usually have a slightly reddish tinge and feel firm. I prune these back quite hard in spring, often to just a few strong buds on the main framework, and I've found it bounces back with vigour every single year here in my UK garden. What works here in Britain is to be brave with paniculatas; they love it!
Hydrangea quercifolia 'Snowflake' falls somewhere in between. Like macrophyllas, it blooms on old wood, so I'm again looking for clear signs of dead, brittle wood, usually the thinner, twiggy bits that might have succumbed to frost. The main, thicker stems are usually quite robust.
Roses: Pruning for Vigor After a Harsh Winter
Ah, roses. The queens of the garden, but they can certainly take a beating over a British winter, can't they? I've got a few beauties in my Midlands garden – my 'Munstead Wood' bush rose, a fragrant 'Gertrude Jekyll' climbing up an arch, and a couple of shrub roses like 'The Generous Gardener'. After a particularly cold or damp winter, like the one we had a couple of years ago that really hung around, inspecting for dead wood on my roses is one of my most important spring tasks. It’s not just about tidiness; it's absolutely crucial for promoting strong, healthy growth and an abundance of those glorious blooms.
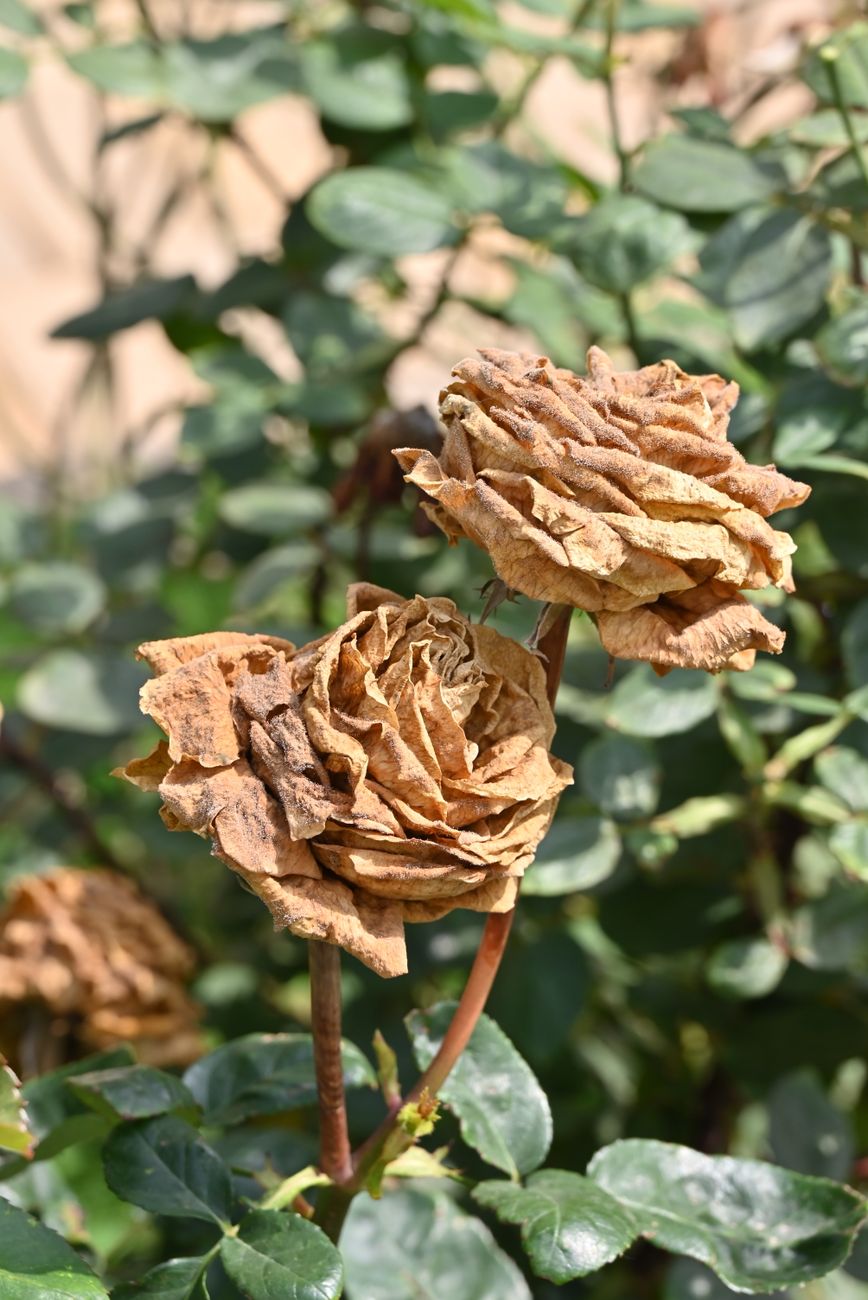
The key with roses, in my experience, is to be decisive but also to understand what healthy rose cane looks like. Dead rose cane often looks shrivelled, black, or dark brown. It might even feel a bit hollow or spongy. What works here in Britain, especially with our propensity for fungal issues in damp conditions, is to prune back to healthy, pale green or white pith. If you cut into a cane and see brown or black in the centre, keep cutting back, inch by inch, until you hit that clean, healthy centre.
For my bush roses, like 'Munstead Wood', I'm looking for any canes that have completely blackened. These are usually the ones that have succumbed to frost damage or canker. I'll prune these right back to the base if they're entirely dead. Any canes with just a bit of dieback at the tip get pruned down to a healthy, outward-facing bud. I've learned that leaving even a small amount of diseased or dead wood can act as an entry point for further problems, so a clean cut is paramount.
Climbing and shrub roses, like my 'Gertrude Jekyll', often have thicker, more established canes that are generally more resilient. However, they can still suffer from tip dieback or damage from rubbing against supports in windy weather. Again, it's about checking for that clean pith. I've also found that any thin, twiggy growth that hasn't developed properly over the previous season often doesn't survive the winter and can be removed entirely, as it won't produce good blooms anyway.
One mistake I made when I first started was leaving little stubs of dead wood. I thought I was being gentle, but these stubs just sit there, often turning black and becoming a perfect spot for fungal diseases to take hold. Now, I always prune cleanly, just above an outward-facing bud, ensuring the cut is angled away from the bud to shed water. It’s a small detail, but in our British climate, every little bit helps in keeping diseases at bay.
Other UK Garden Favourites: Lavender, Buddleia, Forsythia, and More Shrubs
While hydrangeas and roses often get the spotlight for winter damage, plenty of other fantastic UK garden shrubs can look a bit sorry for themselves after a cold, damp British winter. I've certainly had my fair share of head-scratching moments with these, wondering if they’ve finally kicked the bucket. The good news is, like our other favourites, most are incredibly resilient once you know what to look for and when to act.
Lavender: The Scented Survivor
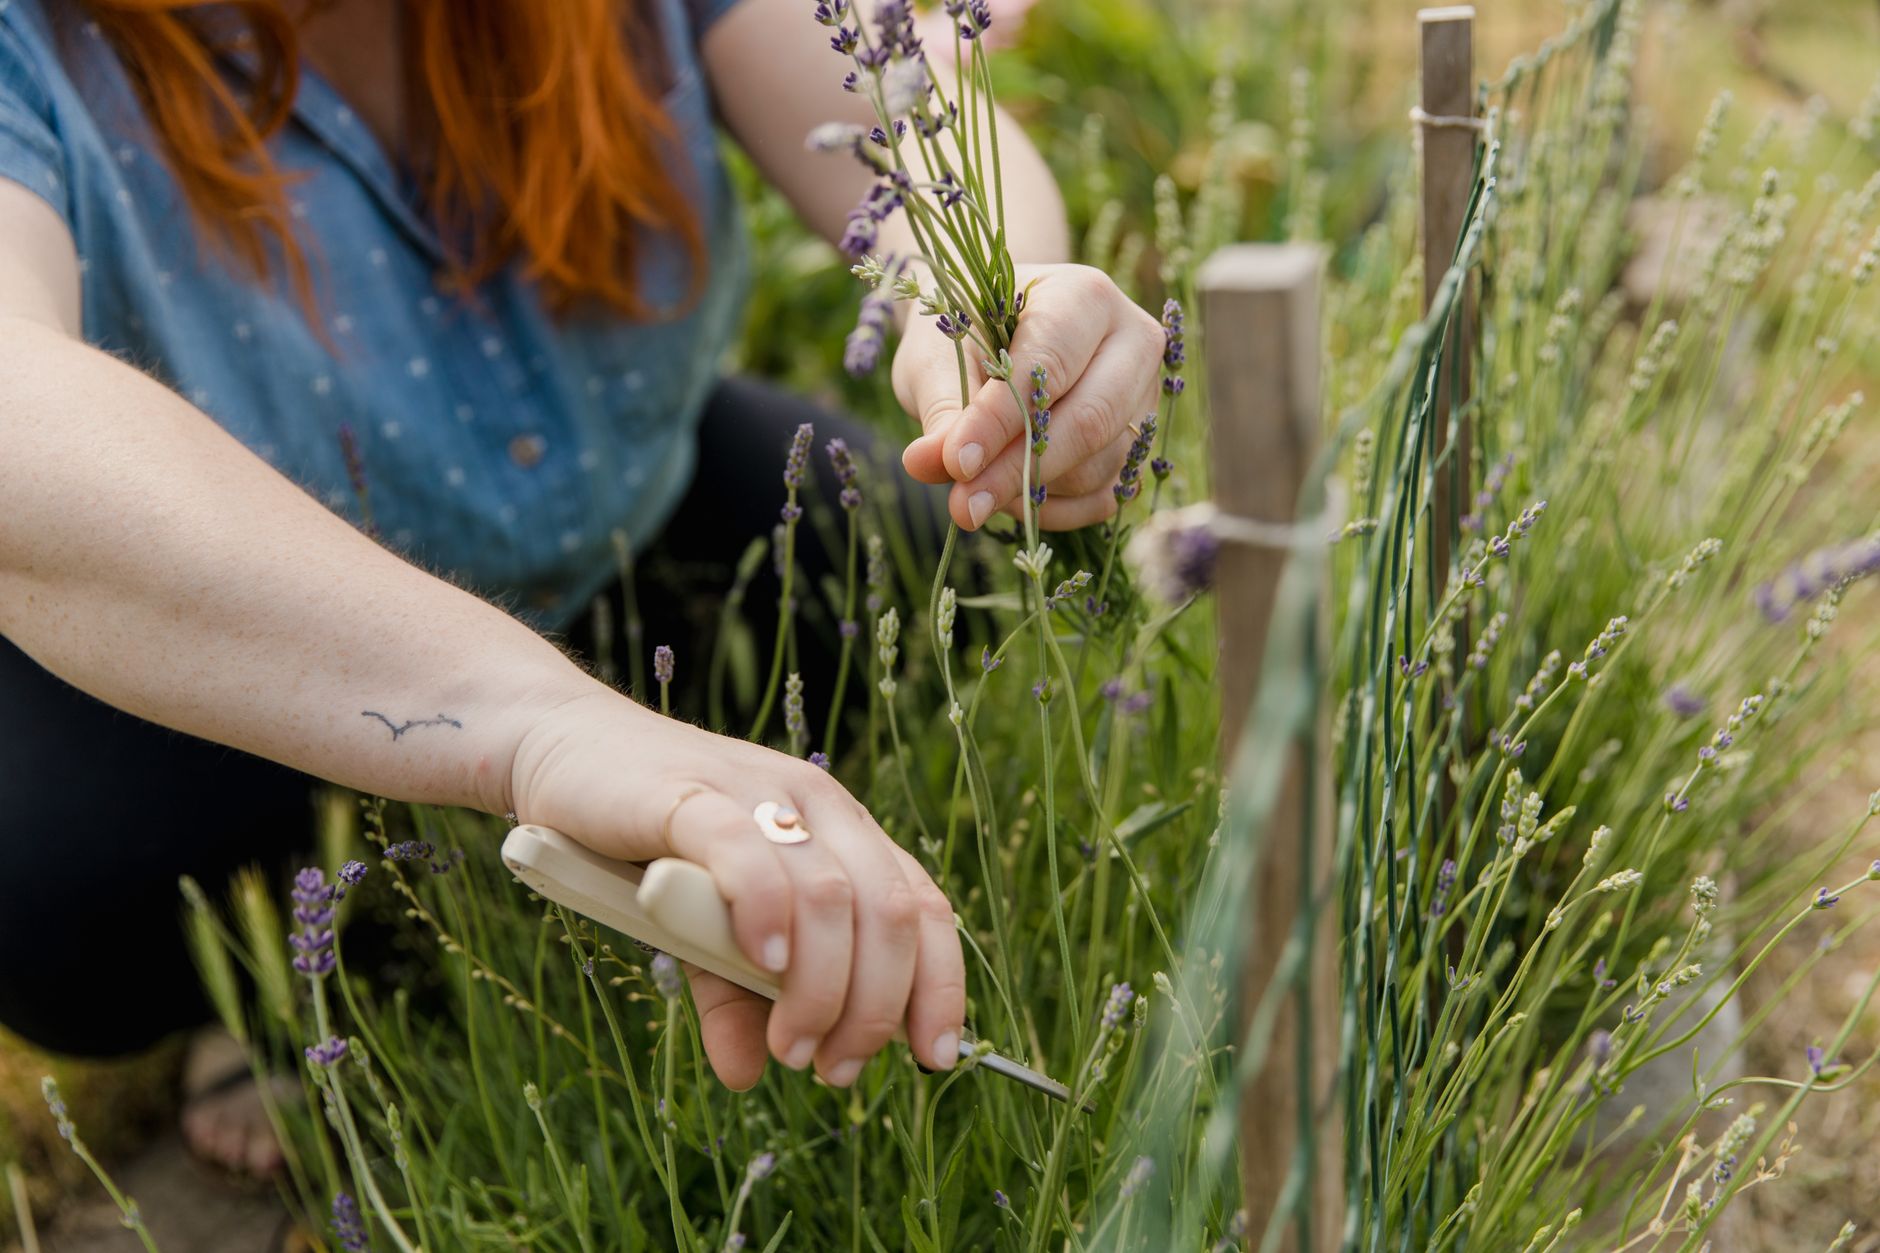
I've certainly made the mistake of leaving my lavenders unpruned, thinking I was being kind. Here in the Midlands, with our often damp winters, unpruned lavender can get really woody and leggy, and then succumb to rot. For English lavenders like 'Hidcote' or 'Munstead' – which thrive in my raised beds – I’m looking for new green shoots at the base or along the stems. If a stem snaps crisply and shows no green, it's out. I usually wait until April, past the worst of the frosts, before I get stuck in. Last spring, after a particularly wet March, I lost a couple of my older 'Hidcote' plants because I was too timid with the pruning the year before, letting them get too woody. Lesson learned: prune regularly, and don't be afraid to take it back to where you see new growth.
Buddleia: The Butterfly Magnet's Resilience
Buddleia, or the butterfly bush, is a beast! It can look utterly dead after a harsh British winter, just a collection of grey, brittle sticks. But don't be fooled! They are incredibly resilient. I've got a 'Black Knight' buddleia near my greenhouse, and every March it looks like it's given up the ghost. But if you scratch the bark, you'll almost always find green. I prune mine hard, often down to two or three pairs of buds from the ground, usually in late March or early April once the risk of severe frosts has passed. This encourages strong new growth and masses of flowers. One year, I pruned it back in February during a mild spell, only for a "Beast from the East" type cold snap to hit, killing back some of the new shoots. Now, I always err on the side of caution and wait a bit longer.
Forsythia: The Spring Herald
Forsythia is one of the earliest to flower here in the UK, often brightening up the garden in March. Unlike many others, you prune Forsythia after it flowers. But if you’re seeing dead branches, get them out. Dead wood on Forsythia tends to be quite brittle and dark. I've found that if a branch hasn't produced a single flower by mid-April, and it looks shrivelled, it's probably dead. Remove it right down to healthy wood or the ground. This also applies to any branches that look weak or spindly from winter damage. My 'Lynwood Gold' always puts on a show, but requires this kind of annual tidy-up to keep it vigorous.
Quick Guide: Identifying Live vs. Dead Growth on Other UK Shrubs
To help you out, here’s a quick overview of some other common UK garden shrubs and how I approach them in my own garden.
| Shrub Type | How to Identify Live Growth (UK) | Pruning Time & Notes (UK) | Randy's Experience |
|---|---|---|---|
| Lavender (English e.g., 'Hidcote') | Green shoots at base or along stems; pliable, not brittle wood. | Late March - April, after severe frosts. Prune back to new growth, avoid old woody stems. | Lost plants to rot from timid pruning in wet Midlands winters. |
| Buddleia (Butterfly Bush) | Scratch test often reveals green under bark, even on seemingly dead stems. | Late March - April. Hard prune back to 2-3 pairs of buds from ground. | Pruned too early once, lost shoots to late frost. Now waits. |
| Forsythia | Bright yellow flowers (on live wood); pliable branches; green inside if scratched. | After flowering (April - May). Remove any dead/weak wood down to healthy growth or ground. | 'Lynwood Gold' needs annual tidy-up of non-flowering/dead stems. |
| Spiraea (e.g., 'Goldflame') | Small, emerging leaves along stems; pliable branches. | Early Spring (March - April) before new growth fully emerges. | Responds well to seaweed extract after pruning for vigorous regrowth. |
| Choisya (Mexican Orange Blossom) | Glossy green leaves; stems remain green and supple. | After flowering (late Spring/early Summer). Remove dead, damaged, or untidy growth. | Rarely suffers severe winter damage in my garden, but dead tips get snipped. |
Essential Tools and Making the Right Cut for Healthy Regrowth
Having the right tools, and keeping them in tip-top condition, makes all the difference. I learned this the hard way when I first started gardening five years ago. Trying to hack at thick branches with blunt secateurs is frustrating for you and damaging for the plant.
My Go-To Pruning Toolkit
- Secateurs (Hand Pruners): My Felco secateurs are practically an extension of my hand in the garden. For anything up to about 1.5-2cm thick, they're perfect. I swear by keeping them razor-sharp – I give them a quick sharpen every couple of weeks during pruning season, and always clean them with rubbing alcohol between plants, especially if I'm dealing with something that looks diseased. One year, I was too lazy and used blunt secateurs on my roses; the ragged cuts left them open to disease, and I ended up losing a couple of canes. Never again!
- Loppers: For thicker branches, anything up to 4-5cm, my long-handled loppers come out. They give you extra leverage, saving your wrists. I've found them invaluable for tackling those thicker, winter-killed hydrangea stems or the older, woody growth on my buddleia. Again, sharp blades are non-negotiable.
- Pruning Saw: And for anything thicker than that, especially on older shrubs or removing a whole dead stump, a good pruning saw is your friend. I use a Japanese pull-saw; they cut on the pull stroke, making it much easier and safer. Don't be tempted to try and force loppers or secateurs on something too big – you’ll only damage your tools and the plant.
Making the Right Cut
This is where precision really counts. I always aim to make a clean cut just above an outward-facing bud. Why outward-facing? Because that's the direction the new shoot will grow, encouraging an open, airy structure rather than a crowded middle.
- Angle: A slight angle, slanting away from the bud. This helps water run off, preventing rot.
- Distance: Don't cut too close to the bud – you risk damaging it. Don't cut too far away either, as it leaves a stub that can die back and invite disease. Aim for about 0.5-1cm above the bud.
- Cleanliness: Always a clean cut. No ragged edges. This heals faster and reduces the risk of disease. I learned this the hard way with a scraggly elderflower bush; once I started making proper cuts, its vigour improved dramatically.
Post-Pruning Care: Nurturing Your Shrubs Back to Health
You’ve done the hard work of identifying and removing the dead wood. Now it’s time to give your shrubs the best chance of bouncing back with renewed vigour. This post-pruning care is just as important as the pruning itself, especially after a tough winter.
Give Them a Good Drink
After the shock of a good prune, especially if it was a significant chop, your shrubs appreciate a good drink. Even if we've had a wet spring here in the UK, the ground might still be dry a few inches down, especially under dense foliage. I always give my newly pruned plants a thorough soaking, especially those in my raised beds where they can dry out quicker.
Feed for Vigorous Regrowth
This is where I give them a little boost to encourage that vigorous new growth. For most of my ornamental shrubs, I use a general-purpose, slow-release granular feed, or if I'm feeling particularly organic, a good layer of homemade compost or well-rotted manure around the base. I've found that a good feed after pruning really helps them bounce back, particularly after a tough winter like the one we've just had. Last spring, after pruning some winter-damaged Spiraea, I gave them a dose of seaweed extract, and they bushed out beautifully.

Mulch for Moisture and Protection
A good layer of mulch is a truly beneficial practice. Here in my Midlands garden, I use a thick layer of wood chippings or compost around the base of my shrubs. This does a few things: it suppresses weeds, retains moisture (so important during our drier spells), and slowly releases nutrients as it breaks down. It also helps to insulate the roots from any unexpected late frosts, which we certainly get our share of here in Britain. I usually aim for a 5-7cm layer, keeping it a few inches away from the stem to prevent collar rot.
Protect from Late Frosts
Ah, the unpredictable British spring! Just when you think you're safe, a late frost can sweep in. New, tender growth is particularly vulnerable. If a severe cold snap is forecast after you've pruned, especially for more tender plants or those that have been heavily pruned, it's worth throwing a fleece cover over them overnight. I keep a roll of horticultural fleece in my greenhouse specifically for this. I learned this the hard way when a sudden dip in temperature browned off all the new shoots on my climbing rose after I'd given it a tidy-up.
Conclusion: Embrace the Spring Revival
So, there you have it. Spring pruning after winter damage isn't just about tidying up; it's about giving your shrubs a new lease on life. Whether it’s your majestic hydrangeas, your beloved roses, or those steadfast lavenders, taking the time to correctly identify live versus dead growth is the first, crucial step.
I've learned, often through trial and error in my own 800 sq ft Midlands garden, that patience and observation are your best tools, even before you pick up the secateurs. Don't rush into it; wait for those clear signs of life. Trust your instincts, but also trust the plant's resilience.
Remember, every cut you make is an investment in your plant's future health and vigour here in our often-challenging UK climate. Arm yourself with sharp, clean tools, make those precise cuts, and follow up with good post-pruning care.
You'll be amazed at how quickly your garden favourites bounce back, rewarding you with lush foliage and abundant blooms. It’s a truly satisfying part of the gardening year. So, grab a cuppa, head out into your garden, and give those shrubs the spring clean-up they deserve. Happy pruning, fellow gardeners!
