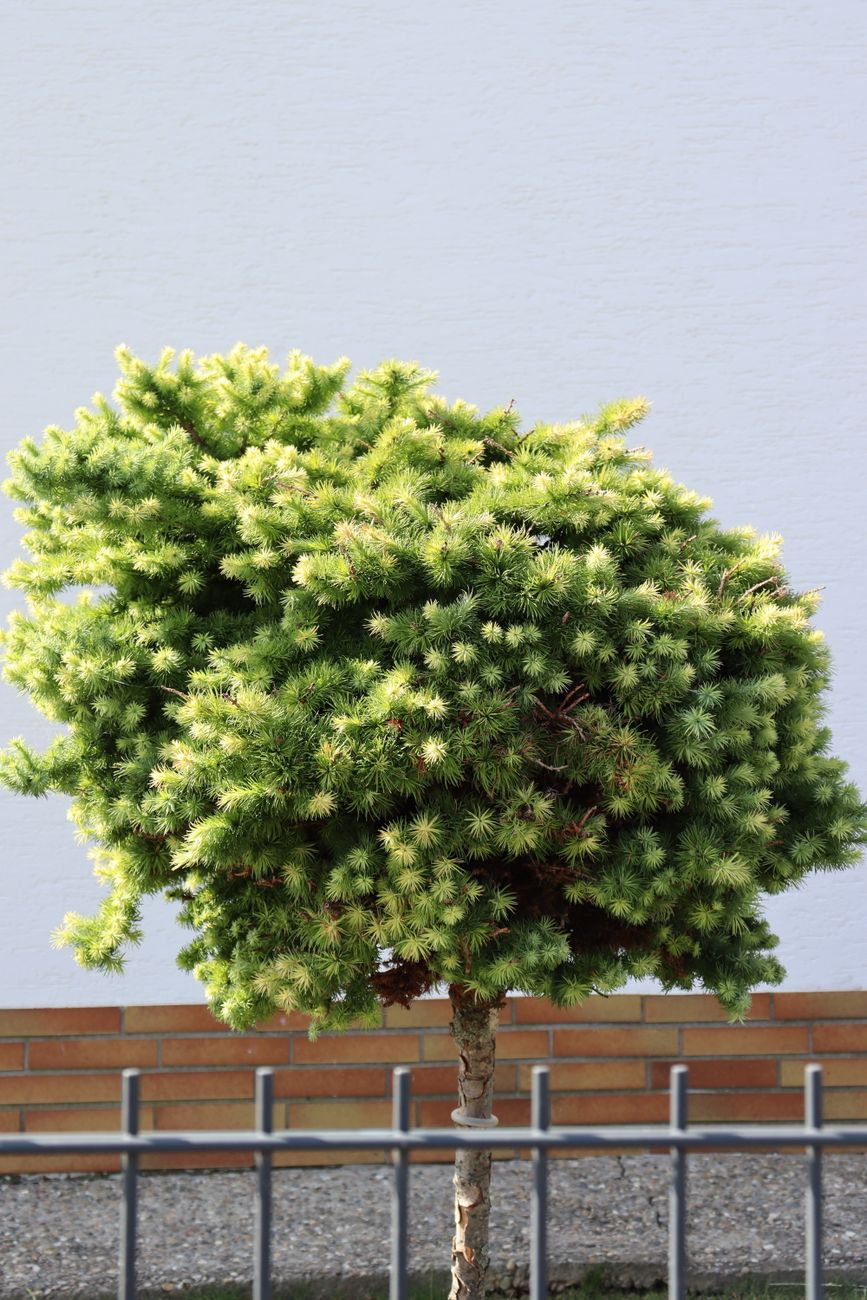
Alright, let's get stuck into it. There's nothing quite like the satisfaction of a perfectly manicured garden, especially when you're working with the limited space I've got here in my 800 sq ft Midlands backyard. For years, as an IT worker staring at screens all day, I dreamt of green spaces, and now that I'm deep into gardening, I've found an absolute joy in creating little pockets of beauty. And let me tell you, dwarf conifers have become some of my unsung heroes in this mission.
I remember when I first started out, about five years ago, I thought "dwarf" meant "no maintenance." Oh, how wrong I was! I bought a beautiful little 'Blue Star' juniper and a 'Mops' pine, thinking they'd just stay perfectly formed in their pots forever. Fast forward a couple of seasons and that juniper was starting to sprawl a bit too much, and the pine was looking a bit sparse in places. That's when I realised that even the most compact plants need a helping hand, especially if you want them to look their absolute best and not gobble up precious patio space.
This article is all about giving those fantastic dwarf conifers the love and attention they need to thrive in our UK gardens, keeping them dense, shapely, and exactly the size you want them. We're going to dive into the art of strategic pinching, shearing, and pruning. Trust me, it's not as daunting as it sounds, and the results are incredibly rewarding.
Why Dwarf Conifers Thrive in UK Small Spaces – And Why Pruning Matters
Here in the UK, with our often-compact gardens and varied climate, dwarf conifers are a proper godsend. I've got them dotted all over my Midlands garden – in raised beds alongside my heirloom tomatoes, nestled into pots on the patio, and even providing year-round structure near the greenhouse. They offer fantastic evergreen interest, a wonderful variety of textures and colours, and best of all, they generally stay within a manageable size. They're particularly brilliant for adding architectural form and winter cheer when everything else has died back.
My 'Pumilio' dwarf mountain pine, for example, has been a stalwart in a large terracotta pot by the back door for three years now. It provides a lovely, dense green backdrop that really makes the vibrant colours of my summer herbs pop. I've also had great success with a 'Blue Arrow' juniper which, while technically reaching a fair height, stays incredibly slender, making it perfect for those narrow spots where you need vertical interest without width.
However, and this is where many of us (myself included, in my early days!) make a mistake, "dwarf" doesn't mean "static." These plants are still living, growing things. While they won't become towering giants like their full-sized cousins, they will still gradually increase in size and can lose their desired shape if left entirely to their own devices. Our British weather, with its unpredictable bursts of growth-inducing rain followed by warm spells, can sometimes encourage a bit more vigour than you might expect, leading to leggy growth or a loss of that tight, bushy form we crave.
That's why pruning, in its various forms, is absolutely crucial. It's not about hacking them back; it's about strategic intervention. It allows us to:
- Maintain Compact Form: Keep them perfectly sized for their spot, whether it's a small border, a rockery, or a pot on a balcony.
- Encourage Density and Bushiness: By removing certain types of growth, we stimulate the plant to produce more side shoots, leading to a much fuller, lusher appearance.
- Enhance Health: Removing dead or damaged branches improves air circulation and reduces the risk of disease, especially important in our often damp UK climate.
- Define Shape: Whether you're after a perfect globe, a neat pyramid, or a cloud-pruned specimen, strategic pruning helps achieve and maintain that artistic vision.
In my 800 sq ft Midlands garden, every inch counts. If a plant isn't earning its keep or is outgrowing its space, it's a problem. Learning to prune my dwarf conifers correctly has meant I can keep more of these beautiful plants without them becoming unruly monsters.
Decoding Growth Patterns: Understanding Your Dwarf Conifer's Habits
Before you even think about picking up secateurs or shears, the absolute first step is to understand how your specific dwarf conifer grows. This is a critical piece of expertise I've picked up over the years, often the hard way! Different conifers have fundamentally different growth patterns, and applying the wrong pruning technique at the wrong time can either do nothing or, worse, seriously damage the plant. It's like trying to prune a rose bush the same way you'd trim a hedge – it just doesn't work!
Here in the UK, we grow a fantastic range of dwarf conifers, and generally, their growth habits fall into two main categories: those that produce 'candles' (often pines and spruces) and those with 'random' or 'spray' branching (like junipers, yews, and most chamaecyparis). Understanding which type you have dictates everything from your timing to your tools.
For instance, I have a lovely little 'Mugo' pine (a candle-former) that I treat completely differently to my 'Goldcrest Wilma' chamaecyparis (a random brancher). One mistake I made early on was trying to shear the pine like I would a hedge. It just ended up looking ragged and didn't branch out properly. You live and learn, especially with our sometimes-tricky British weather throwing curveballs at growth rates!
Let's break down the key differences:
| Feature | Candle-Forming Conifers (e.g., Pines, Spruces) | Random/Spray Branching Conifers (e.g., Junipers, Yews, Chamaecyparis) |
|---|---|---|
| Growth Habit | Produce distinct, upright 'candles' of new growth in spring from terminal buds. These elongate and then open into needles. | New growth emerges from numerous points along stems; often feathery or scale-like. No distinct 'candles'. |
| Buds | Terminal buds are prominent; lateral buds are often dormant or less vigorous. | Buds are numerous and often hidden within the foliage, ready to sprout when cut. |
| Pruning Timing | Best in late spring/early summer (April-June in the UK) when candles are fully extended but before needles harden. | Best in spring or early summer (April-July in the UK) after initial flush of growth. Can often tolerate light trimming later in the season. |
| Pruning Method | Pinching (removing part of the soft candle) is primary. Can't cut back into old wood without needles. | Shearing/Clipping (cutting stems back to a desired length). Can often tolerate cutting into older wood if there are still green needles/buds further down. |
| Regrowth | Promotes lateral bud break from the base of the cut candle, increasing density. | Encourages dense branching from numerous points along the stem. |
| Tolerance to Hard Pruning | Low. Avoid cutting into leafless old wood; it generally won't regrow. | High. Most tolerate significant cutting, as long as some green foliage remains. |
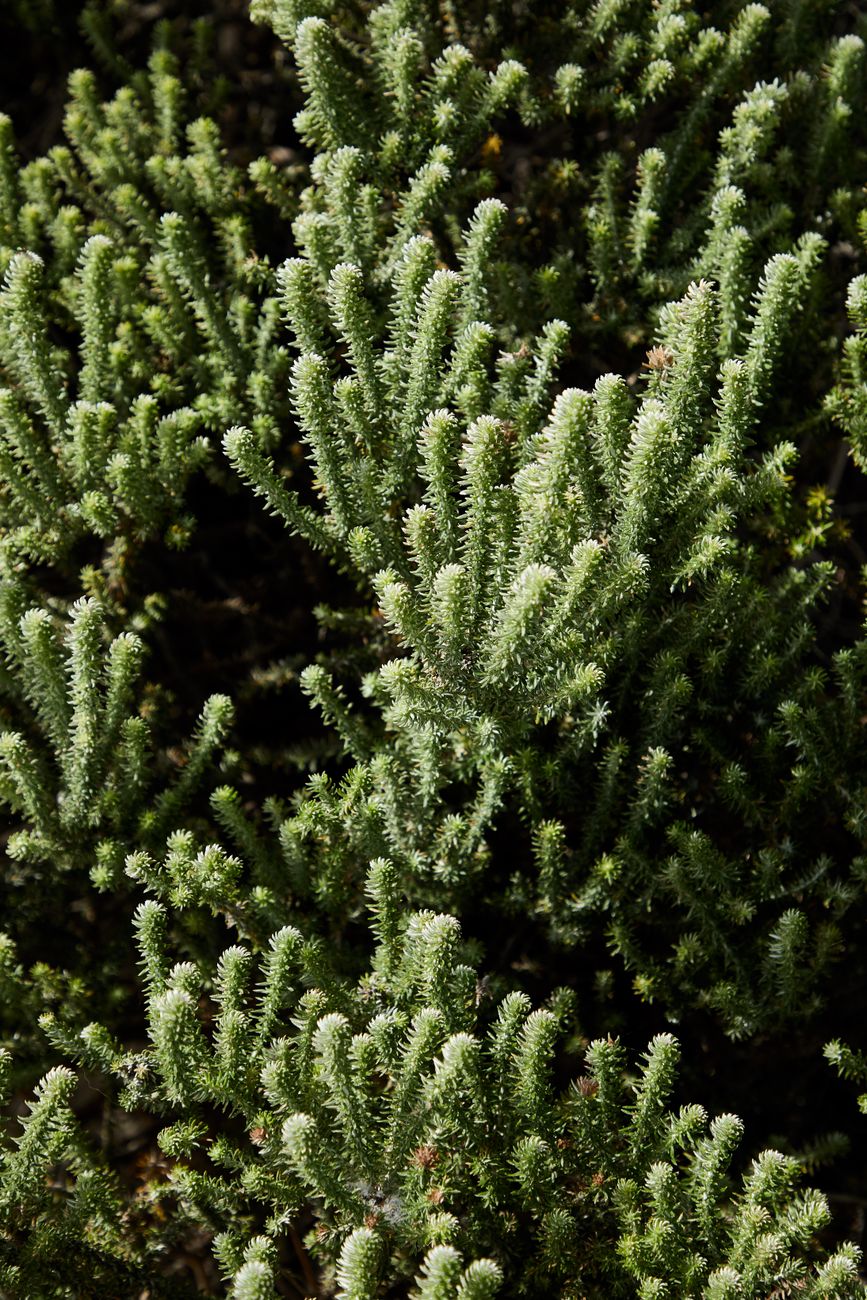
Understanding this table is like having a secret gardening superpower. It tells you exactly what to expect from your plant and, more importantly, how to approach its pruning for the best results in our UK climate.
Mastering the Pinch: Encouraging Bushiness on Pines and Spruces
When we talk about 'pinching', we're primarily talking about those wonderful candle-forming conifers: the pines (Pinus) and spruces (Picea). This technique is a game-changer for keeping them dense, compact, and perfectly shaped. I've learned this the hard way with my 'Mugo' pine, which initially tried to get a bit leggy until I started regular pinching. Now, it's a beautifully tight mound of needles, exactly what I want for a feature plant in my raised bed.
What are 'Candles'?
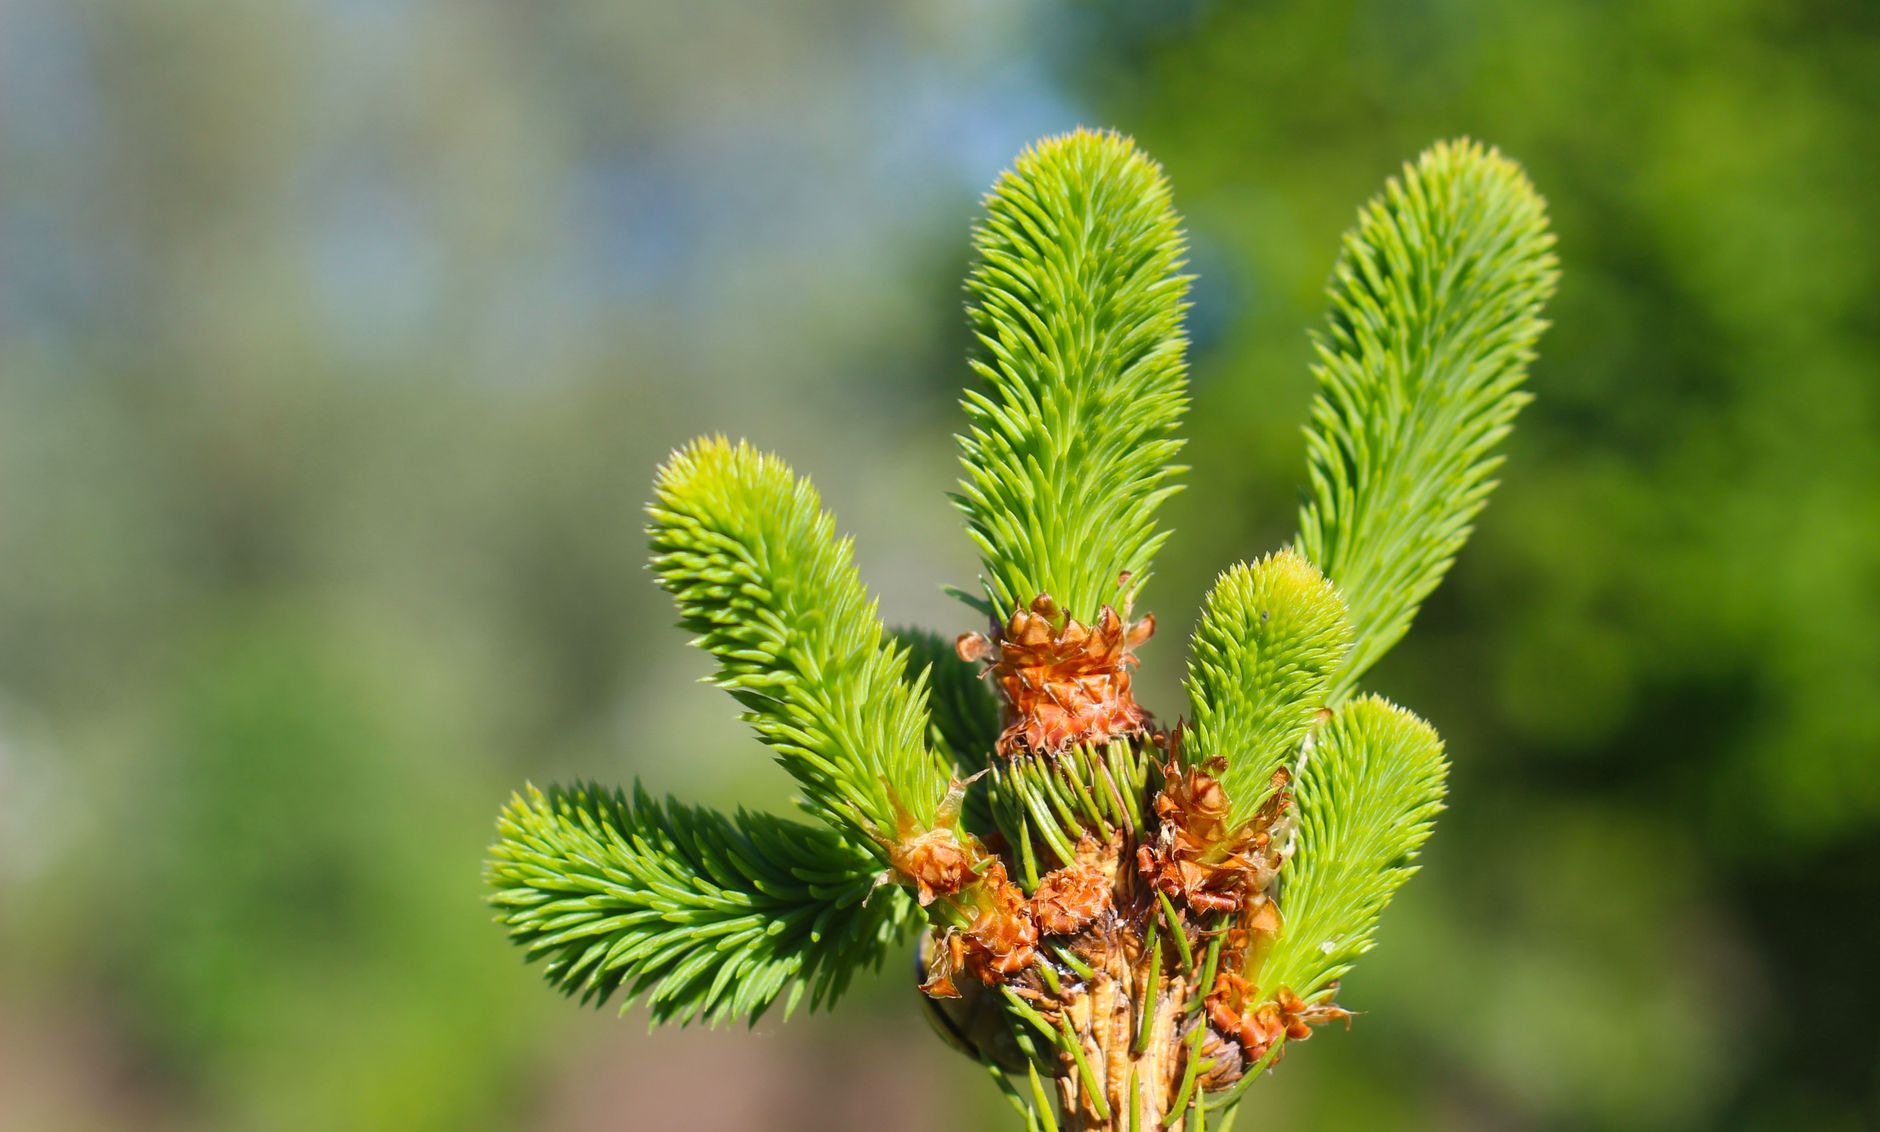
In spring, these conifers produce distinct, upright shoots that look like little candles, hence the name. These are the plant's new growth for the season. They're typically soft, pale green, and covered in tightly packed, undeveloped needles. As the season progresses, these candles elongate, and the needles unfurl and harden.
Why Pinch?
Pinching isn't about removing entire branches; it's about selectively shortening these new candles. When you remove a portion of the candle, you're essentially redirecting the plant's energy. Instead of growing long and sparse, the plant is encouraged to produce more lateral buds from the base of the shortened candle. This leads to a much denser, bushier growth habit, exactly what we want for our dwarf specimens in small spaces. It also helps maintain a more compact size without the risk of creating bare spots that can happen with indiscriminate shearing on these types of conifers.
When to Pinch in the UK
Timing is absolutely critical here in Britain. You want to pinch when the candles have fully extended but before the needles have completely hardened. This usually means late spring to early summer, typically from late April through to June in my Midlands garden. If you do it too early, the candles might not have fully developed, and if you do it too late, the needles will be stiff and hard, making it difficult to pinch and potentially causing damage to the developing buds. Our fluctuating spring temperatures can sometimes make this a bit of a moving target, so keep a close eye on your plants!
How to Pinch
This is a really satisfying process!
- Identify the Candles: Look for those soft, upright shoots of new growth.
- Assess Length: Decide how much growth you want to remove. Generally, you'll remove about one-half to two-thirds of the candle's length. If you want a really dense, compact plant, you might remove a bit more.
- Pinch with Your Fingers: The candles should be soft enough to snap cleanly between your thumb and forefinger. I find this gives the cleanest break and avoids crushing the delicate new growth. You can use sharp secateurs if you prefer, but your fingers are often the best tool here.
- Work Systematically: Go around the entire plant, pinching back all the candles that are contributing to the plant's overall size and shape. Pay particular attention to the leading candles on the top and outer edges of the plant, as these are usually the most vigorous.
One year, I had a particularly vigorous 'Mugo' pine candle that I only pinched back by about a third. The result was still a bit too leggy for my liking. The following year, I was much bolder, removing almost two-thirds of the new growth, and the difference was remarkable – it filled out beautifully. It’s all about experimentation and learning what works best for your specific plant and desired form.
The Shear Truth: Maintaining Crisp Lines and Defined Forms
Now, if you're working with those random or spray-branching conifers – think junipers (Juniperus), yews (Taxus), most chamaecyparis (false cypress), and thujas (arborvitae) – then shearing is your go-to technique for maintaining a tight, defined form. Unlike candle-formers, these plants respond incredibly well to a good trim, often putting out a flush of new growth from numerous points along the cut stems. This is how you achieve those crisp lines, formal shapes, or simply keep a plant perfectly contained in a pot.
I've got a fantastic 'Goldcrest Wilma' chamaecyparis in a pot near my greenhouse. Its vibrant lime green foliage is stunning, but it can get a bit shaggy if I don't give it a regular haircut. Shearing is how I keep it in a neat, conical shape, preventing it from getting too leggy or sprawling. It's also the technique I use for the small boxwood hedging I've got around one of my raised beds, though technically boxwood isn't a conifer, the principle is the same!
Why Shear?
Shearing allows for precision. It’s how you create and maintain clean edges, geometric shapes (like spheres or pyramids), or simply keep a plant within a very specific boundary. These types of conifers have dormant buds all along their stems, and when you cut, you stimulate these buds to sprout, leading to a very dense, solid mass of foliage. This is ideal for formal plantings or for any plant where a very tidy appearance is desired.
When to Shear in the UK
Again, timing is key for us here in the UK. The best time to shear these conifers is usually in late spring to early summer, after their first flush of new growth has emerged but before the hottest part of summer. In my Midlands garden, this typically falls between May and July.
- First Trim (May-June): This is usually the main shaping trim, removing the bulk of the unwanted growth. It gives the plant plenty of time to recover and put on a new flush of dense foliage before autumn.
- Light Trim (Late July-August): If you need to tidy up any straggly bits or achieve a super crisp line, a very light trim can be done in late summer. However, avoid heavy shearing too late in the season (after August), as the new growth might not harden off properly before winter frosts, which is a common challenge with our British climate.
How to Shear
For shearing, you'll want a good, sharp pair of hand shears or even electric hedge trimmers if you have a larger area or multiple plants to tackle.
- Assess Your Shape: Stand back and look at the plant. Envision the final shape you want to achieve. For a conical plant like my 'Goldcrest Wilma', I always start at the bottom and work my way up, gently tapering.
- Cut Sparingly but Consistently: Aim to remove only the new, soft growth. Try not to cut back into the old, woody stems that have no green needles, especially with Chamaecyparis and Junipers, as they often won't regrow from bare wood. Yews are more forgiving and can often be cut back harder, but always leave some green foliage on the stem.
- Maintain Your Angle: For a flat top or a straight side, use a guide (like a string line or a long piece of wood) if you're struggling to keep it even. For rounded shapes, move your shears in a consistent arc.
- Clean Up: After shearing, gently brush away the clippings from within the plant. This helps with air circulation and prevents disease, which is always a good idea in our often-damp UK conditions.
I remember one year, eager to get my 'Blue Arrow' juniper looking super sharp, I sheared it a bit too aggressively in late September. We then had an early cold snap, and some of the newly exposed growth got a bit nipped by the frost. It recovered, but it taught me the importance of respecting those UK seasonal timings! A consistent, lighter hand is often better than one big, late hack.
Strategic Pruning: For Health, Structure, and Size Reduction
While pinching and shearing are fantastic for maintaining density and crisp lines, sometimes a dwarf conifer needs a more significant intervention. This is where strategic pruning comes in. I often reach for my secateurs or loppers when a plant is looking a bit sorry for itself, perhaps after a particularly brutal British winter, or if it's just getting a tad too big for its boots in one of my raised beds. Pruning isn't about cosmetic touches; it's about the long-term health, structural integrity, and sometimes, a serious size reduction of your plant.
I learned the hard way with a 'Blue Star' juniper in a large pot – it had a few branches that died back after a really wet, cold spring here in the Midlands. I left them for a bit, thinking they might recover, but they just became havens for fungal issues. That's when I realised pruning out dead, diseased, or damaged (the 'DDD' rule, as I call it) wood isn't optional; it's essential for preventing problems from spreading and improving air circulation, which is vital in our often damp UK climate.
Beyond health, pruning allows you to tackle structural problems. Perhaps a branch is rubbing against another, or your conifer is starting to lean unevenly. I’ve had a 'Wilma' Goldcrest cypress that, despite my best efforts with pinching, developed a couple of dominant leaders that were making it top-heavy. A careful prune, removing the weaker leader right back to the main stem, saved it from potentially snapping in a strong gust of wind – something we get plenty of here in Britain! It can also be used for significant size reduction, though this needs to be done with care and an understanding of how your specific conifer responds. For most dwarf conifers, aim to remove no more than 20-30% of the plant's total mass in a single year.
Here’s a quick comparison of when you might choose pruning over the lighter touches of pinching and shearing:
| Feature | Pinching | Shearing | Pruning |
|---|---|---|---|
| Purpose | Encourage bushiness, denser growth | Create formal shapes, crisp lines, maintain hedges | Health, structural integrity, size reduction, remove DDD |
| Tools | Thumb & forefinger | Hand shears, hedge trimmers | Secateurs, loppers, pruning saw |
| Target Growth | Soft, new candle growth (pines/spruces) | Outer layer of foliage, new flush of growth | Individual branches, dead wood, significant portions of plant |
| Timing (UK) | Spring (as candles emerge) | Late spring/early summer (after first flush), late summer | Late winter/early spring (dormancy), or anytime for DDD |
| Impact | Promotes lateral buds, denser habit | Uniform, dense outer surface, controlled form | Alters overall structure, improves health, reduces size |
| My Experience | My go-to for 'Mops' pines to keep them tight. | Used on my 'Blue Carpet' junipers for a neat, sprawling look. | Essential for corrective work on older plants or after storm damage. |
Your Year-Round Plan: When to Pinch, Shear, and Prune in the UK
Timing is absolutely everything when it comes to conifer care, and here in the UK, our notoriously unpredictable weather adds an extra layer of challenge. I've learned this the hard way more than once! One year, I got a bit enthusiastic and pruned a dwarf spruce too late in autumn, then we had a surprise early cold snap. The fresh cuts didn't have time to heal, and the plant suffered some dieback. It was a proper head-slap moment.
Generally, the best time to perform any significant work on your dwarf conifers is when they are actively growing or just coming out of dormancy, but before the peak heat of summer and after the risk of hard frosts has passed. This allows the plant to heal quickly and channel its energy into new, healthy growth. Always keep an eye on the long-range forecast here in the Midlands – a sudden dip in temperature or a prolonged wet spell can impact how well your plants recover.
Here’s a rough guide to my year-round approach in my 800 sq ft UK garden:
| Season | Pinching (Pines & Spruces) | Shearing (Juniper, Cypress, Yew, etc.) | Pruning (All Conifers) |
|---|---|---|---|
| Late Winter / Early Spring (Feb-Mar) | N/A (candles not emerged) | N/A (wait for new growth) | Main Pruning Season: For structural issues, size reduction. Before new growth starts. |
| Mid-Spring (Apr-May) | Prime Time: As candles emerge and elongate, but before needles expand. | Light shear to tidy shapes as new growth starts. | Remove any dead/damaged wood from winter. |
| Late Spring / Early Summer (May-June) | Continue pinching if new flushes appear. | Prime Time: After first flush of growth for formal shapes. | Light corrective pruning for shape. |
| Mid-Summer (July-Aug) | Very light pinching if needed, but generally done. | Second light shear if needed for tidiness. Avoid heavy cuts. | Remove any DDD wood. Avoid heavy pruning. |
| Late Summer / Autumn (Sept-Oct) | N/A | Very light tidy-up if absolutely necessary, but generally stop. | Only remove DDD wood. Avoid stimulating new growth that won't harden off before winter. |
| Winter (Nov-Jan) | N/A | N/A | Only remove DDD wood if absolutely essential (e.g., storm damage). Avoid major cuts. |
| Randy's Tip | I look for candles about 2-3 inches long on my 'Sherwood Compact' pine – perfect for a pinch. | My 'Blue Star' junipers get a light buzz in June, then maybe another in August if they're looking shaggy. | I try to get my main pruning done by early March, before the buds really burst, to give them a head start. |
Essential Tools and Safety Tips for Conifer Care
As a former IT worker, I've always appreciated the right tool for the job – and gardening is no different! Having good quality, well-maintained tools makes all the difference in achieving clean cuts and preventing damage to your precious dwarf conifers. I’ve learned the hard way that trying to make do with dull, rusty secateurs just leads to frustration, jagged cuts that invite disease, and occasionally, a near-miss with my own fingers. Safety first, always!
Here's what I consider essential for my small-space conifer care:
- Hand Pruners (Secateurs): These are your workhorses. I highly recommend bypass pruners (they cut like scissors) for clean cuts on living wood up to about ¾ inch thick. Anvil pruners (they cut like a knife on a chopping board) are better for dead wood. Invest in a good quality pair; they’ll last years. I always give mine a quick wipe down with rubbing alcohol after each use to prevent disease spread, especially between different plants.
- Loppers: For thicker branches that your hand pruners can't manage, loppers give you extra leverage. They're great for those occasional structural branches that get a bit too ambitious.
- Pruning Saw: For anything thicker than an inch or two, a small, sharp pruning saw is invaluable. This is usually for major corrective work or removing dead limbs on larger specimens.
- Shears: If you're going for formal shapes or maintaining a small hedge of dwarf conifers, a good pair of hand shears will give you that crisp, uniform finish. I use mine for my 'Blue Carpet' junipers to keep them perfectly flat and spreading.
- Sharpening Stone/Tool: Dull tools are dangerous and damaging to plants. I make it a habit to sharpen my secateurs and shears regularly. A sharp blade makes a clean cut, which heals faster.
- Gloves: Protect your hands from sap, thorns, and blisters. I prefer a sturdy leather pair for pruning.
- Eye Protection: This is non-negotiable, especially when dealing with springy branches or using power tools (though rarely needed for dwarf conifers). A rogue twig in the eye is no fun at all.
- Kneeling Pad: My knees aren't what they used to be after five years of intensive gardening! A good kneeling pad makes working at ground level so much more comfortable.
Safety Tips (from my own mistakes!):
- Always use sharp, clean tools. As mentioned, dull tools cause damage to the plant and increase the risk of injury to you. Clean sap off blades immediately.
- Wear appropriate PPE. Gloves and eye protection are your friends.
- Think before you cut. Stand back, assess the plant, and be clear about your objective. You can always take more off, but you can’t put it back on!
- Work from the bottom up and inside out. This gives you a better view of the plant's structure.
- Be aware of your surroundings. Watch out for trip hazards, other plants, and pets.
- Dispose of diseased material properly. Don't compost diseased cuttings; bag them up and put them in your household waste to prevent spread.
Conclusion: Your Conifers, Your Canvas
Well, there you have it, fellow gardeners! My journey from IT cubicle to a packed 800 sq ft backyard here in the UK Midlands has taught me one thing: gardening is a continuous lesson, and dwarf conifers are some of the most rewarding teachers. We've delved into the art of strategic pinching, the precision of shearing, and the vital role of pruning – all aimed at helping you keep your miniature beauties compact, healthy, and perfectly formed in your own small spaces.
From understanding their unique growth habits to knowing exactly when to make that critical cut in our unpredictable British climate, it's all about observing, experimenting, and sometimes, learning from a few mistakes (I’ve certainly made my share!). I remember looking at my 'Little Gem' spruce when I first started, a shapeless blob, and now, after years of thoughtful pinching, it's a perfectly dense, vibrant green mound. It's truly satisfying to see how a little strategic intervention can transform a plant.
Don't be intimidated. Start small, perhaps with a single plant, and pay close attention to how it responds. Feel the candles, watch the new growth, and learn to anticipate what your conifer needs. With the right tools, a bit of patience, and the knowledge we’ve covered, you’ll be shaping your dwarf conifers into stunning architectural features in no time.
Your garden, no matter how small, is your canvas, and these wonderful conifers are waiting for your artistic touch. So grab your secateurs, put on your gloves, and get out there! I'd love to hear about your own experiences and triumphs with dwarf conifers in your UK gardens. Happy snipping!
