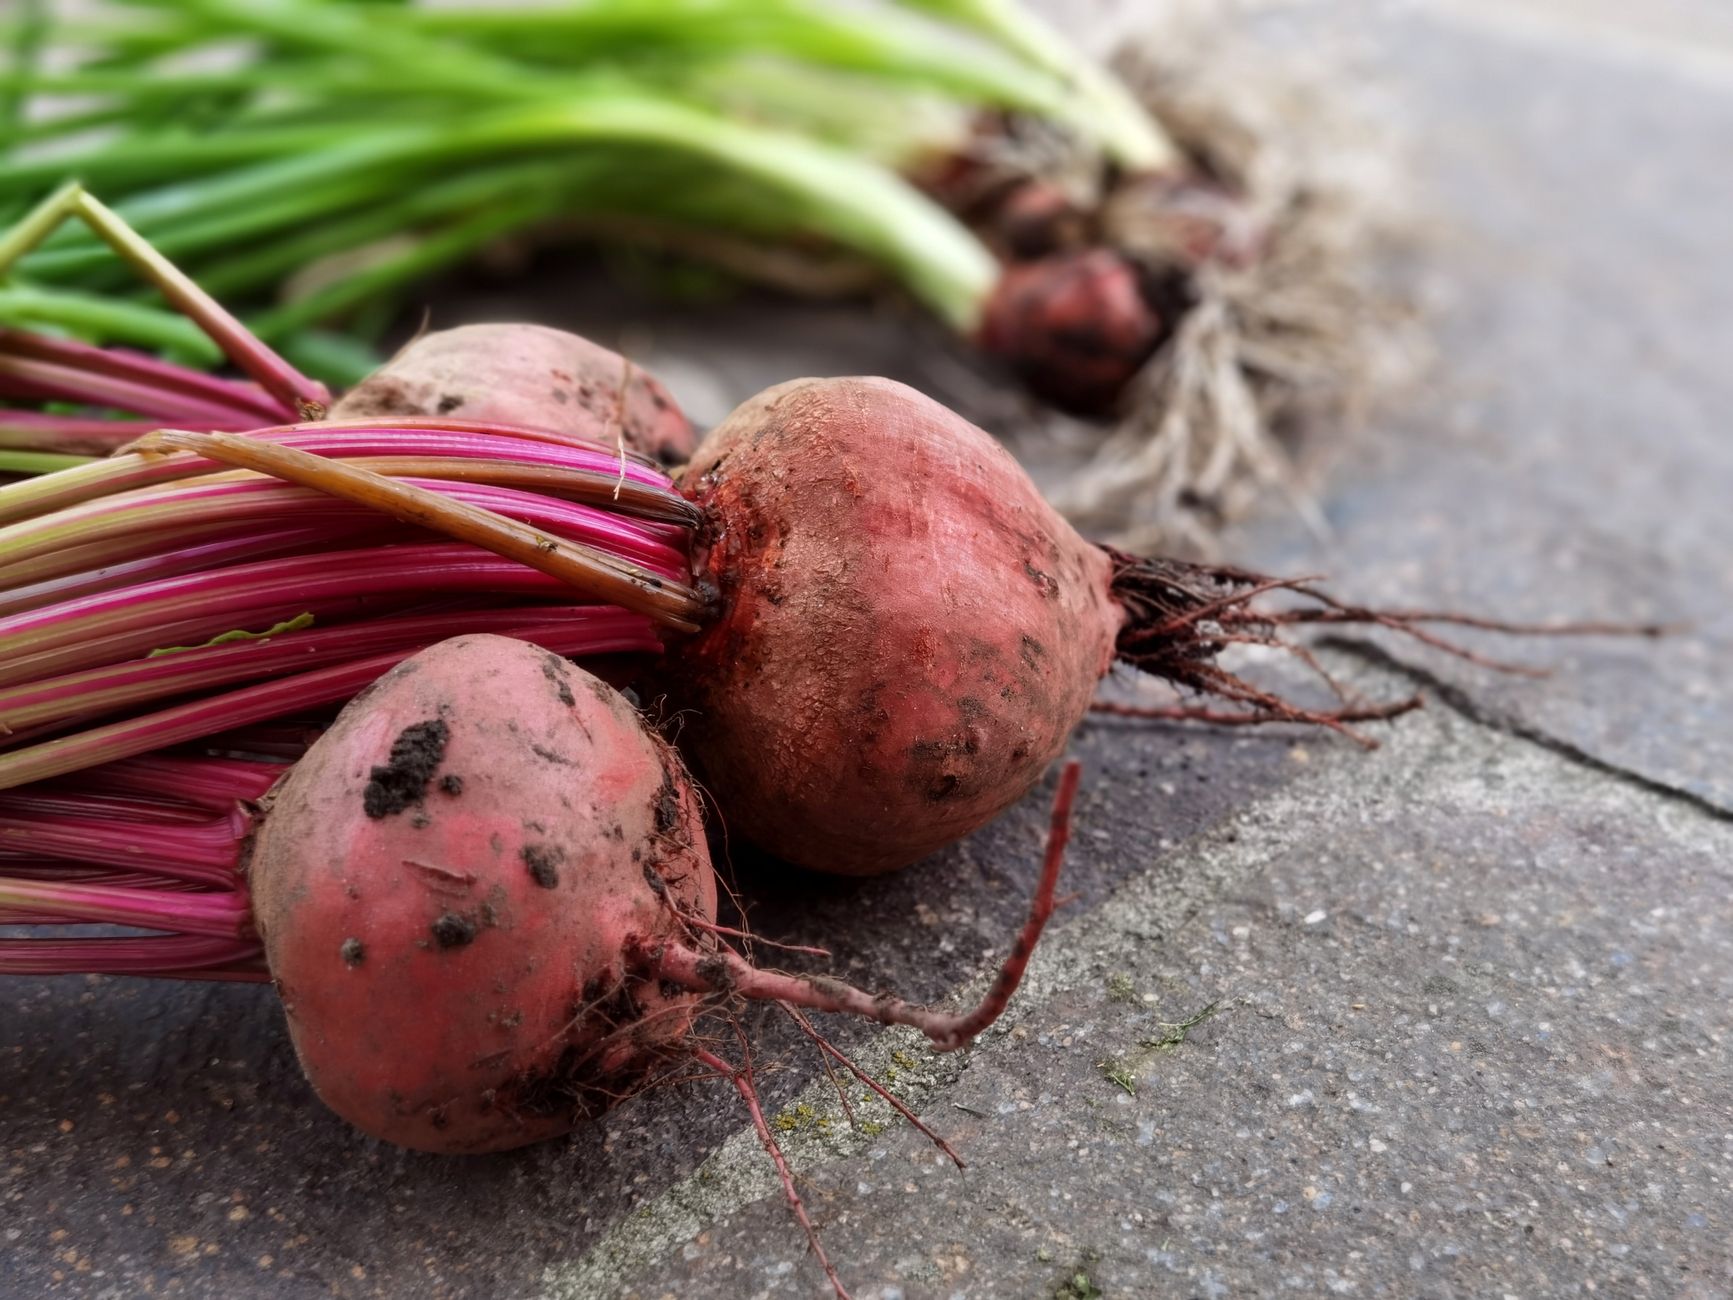
Say Goodbye to Shrivelled Roots: Long-Term Storage Without a Root Cellar
There’s a unique satisfaction that comes from pulling a perfect carrot from the soil, or unearthing a plump, earthy beetroot you’ve nurtured from a tiny seed. But let's be honest, that joy can quickly turn to a sigh of disappointment when you reach for your precious homegrown bounty a few weeks later, only to find them shrivelled, sprouting, or worse – completely rotten. I’ve been there, more times than I care to admit, especially in my early days of gardening here in the UK.
When I first started out five years ago in my 800 sq ft Midlands garden, packed with raised beds and a trusty greenhouse, I thought harvesting was the hard part. Oh, how wrong I was! Keeping those glorious root vegetables fresh through our long British winters, without the luxury of a fancy underground root cellar, felt like an impossible challenge. I’d store my beautiful 'Autumn King 2' carrots in the fridge, only for them to go limp and rubbery within a fortnight. My 'Red Baron' onions would sprout like mad, and my 'Desiree' potatoes, dug with such care, would turn green or grow long, spindly shoots in the dark of the shed. It was disheartening, to say the least.
But I'm not one to give up easily. As a former IT worker who swapped code for compost, my brain is wired for problem-solving and obsessive experimentation. Over the years, through plenty of trial and error (and more than a few wasted harvests), I’ve learned the secrets to successful long-term storage for carrots, beets, and potatoes – all without needing a dedicated root cellar. What works here in Britain, in our often-damp and unpredictable climate, might surprise you. I've tested various methods in my garage, shed, and even spare cupboards, always with an eye on practicality for the average UK home gardener. My goal is to help you enjoy your homegrown goodness for months, not just weeks, keeping them firm, flavourful, and ready for your winter stews and roasts. Let's ditch the shrivelled roots for good, shall we?
The Science of Spoilage: Why Your Roots Don't Last (Moisture, Temperature, Light)
Understanding why your root vegetables spoil is the first step to preventing it. It’s not just bad luck; there's a bit of plant science involved, and once you grasp the basics, you can manipulate the storage conditions to your advantage. I've spent hours poring over horticultural guides and experimenting in my own garden to really get to grips with this, especially how our specific British climate affects things.
Essentially, there are three main culprits behind spoilage: moisture, temperature, and light.
Moisture: Too Much or Too Little?
This is a tricky one because it's a balancing act. Too much moisture, especially on the surface of your roots, creates a perfect breeding ground for bacteria and fungi. That's how rot sets in – something I learned the hard way with a batch of 'Boltardy' beetroots I thoughtlessly piled into a damp plastic box in my shed one autumn. Within a week, they were a slimy mess. On the flip side, too little moisture in the surrounding air causes dehydration. The root vegetable, which is largely water, starts to lose it to the environment. This is why your carrots go limp and shrivelled, losing their crispness and flavour. It's like a tiny plant trying to breathe, but instead, it's drying out. Our typical UK humidity can be a double-edged sword; sometimes it’s too high, encouraging rot, and other times, especially indoors with central heating, it's too low, leading to desiccation.
Temperature: The Goldilocks Zone
Temperature plays a huge role in a root vegetable's metabolism. All living things, even harvested roots, are still 'alive' in a sense, trying to respire and conserve energy.
- Too Warm: If the temperature is too high (anything above, say, 10-12°C for most roots), it speeds up their metabolic processes. This means they're burning through their stored sugars and starches much faster. This not only depletes their flavour and nutritional content but also encourages sprouting. Potatoes, especially, are prone to this. I once left a crate of my homegrown 'Charlotte' potatoes in a slightly too-warm corner of my garage, and within a month, they looked like they were auditioning for a horror film with their long, pale sprouts!
- Too Cold: While generally less of an issue for root vegetables (they can handle near-freezing temperatures), extreme cold can cause cell damage, especially if they freeze and thaw repeatedly. For some varieties, very cold temperatures can also convert starches to sugars too quickly, changing their texture and flavour – ever had a potato that tasted weirdly sweet? That's often why.
The ideal temperature for most root storage is just above freezing, around 1-4°C (34-40°F). This slows down their respiration and metabolism significantly, putting them into a dormant state without causing damage.
Light: The Sprouting & Greening Culprit
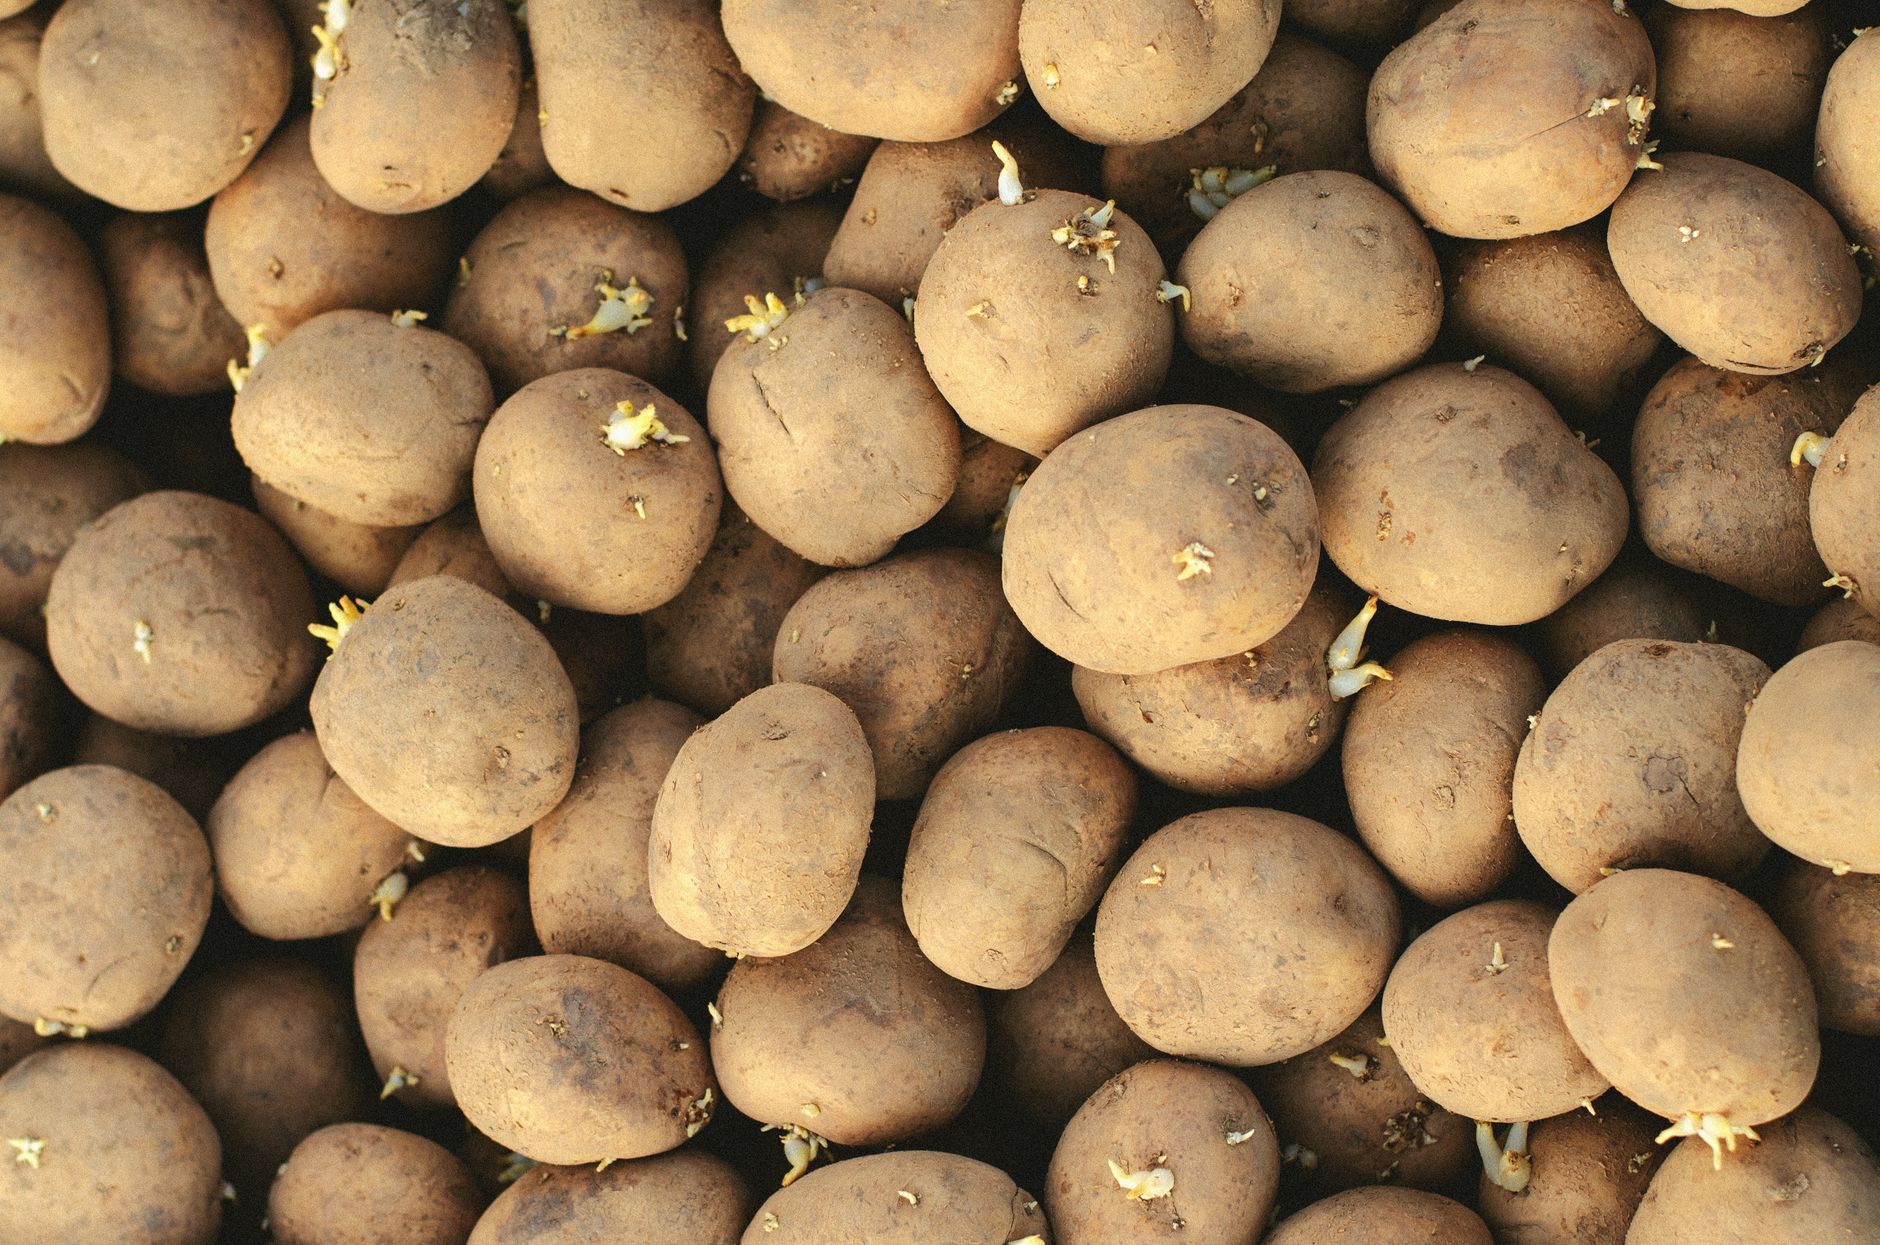
Light, even indirect light, is another enemy of long-term root storage, particularly for potatoes. When potatoes are exposed to light, they start to produce chlorophyll (which makes them green) and, more importantly, solanine, a toxic compound. While a little greening isn't immediately fatal, it indicates higher solanine levels, which can cause digestive upset and bitterness. Beyond that, light also triggers sprouting in many roots, as it signals to the plant that it's time to grow. This is why keeping roots in complete darkness is crucial. I’ve learned this the hard way when dealing with our unpredictable British weather; sometimes, even a 'dark' corner of the shed might get a shaft of sunlight at certain times of the day, leading to greening on my beloved 'Rooster' potatoes. You need truly opaque conditions.
Pre-Storage Prep: Curing, Cleaning & Trimming for Success
Before you even think about putting those precious roots away for the winter, a bit of pre-storage prep is absolutely essential. Trust me, skipping these steps is a recipe for disappointment, and I’ve made every mistake in the book in my eagerness to just get them stored! Proper curing, cleaning, and trimming are vital for preventing rot and ensuring your hard work in the garden pays off with long-lasting produce.
Curing: The Toughening Up Process
Curing is essentially a toughening-up period for your root vegetables. It allows any minor nicks or bruises from harvesting to heal over, creating a protective 'skin' that acts as a barrier against disease and moisture loss. Think of it like a scab forming on a wound. Not all root vegetables require the same curing process, and some don't need it at all.
- Potatoes: These are the big curers! After digging my 'Nicola' or 'Sarpo Mira' potatoes from my raised beds, I always spread them out in a single layer in a dark, well-ventilated spot in my shed for 1-2 weeks. The ideal conditions are around 10-15°C (50-60°F) with high humidity. This allows their skins to thicken and any scrapes to heal. Without proper curing, potatoes are far more susceptible to rot and soft spots.
- Beetroots & Carrots: These generally don't require formal curing in the same way potatoes do. Their skins are naturally thinner, and a short 'drying off' period is usually sufficient to remove surface moisture.
Cleaning: The Gentle Touch
This is where I used to go wrong! When I first started, I'd meticulously wash every bit of soil off my carrots and beets, thinking cleaner was better. Big mistake! Wet roots are a magnet for bacterial and fungal growth.
- The Golden Rule: Never wash roots you intend to store long-term.
- How I do it now: For all roots, I simply brush off any loose soil with my hands or a soft brush. For carrots and beets, I try to harvest them on a dry day if possible. If the soil is particularly claggy here in the Midlands, I might let them air dry for a few hours on a tarp in the shed until the soil is crumbly enough to brush off easily. The goal is to remove the majority of the dirt without damaging the skin or introducing moisture.
Trimming: Removing the Green Bits
Trimming is all about removing the parts of the plant that will continue to respire and draw energy from the root, or that are prone to rotting.
- Carrots & Beetroots: This is crucial. I always twist or cut off the leafy green tops, leaving about 1-2 cm (half an inch) of stem attached. Don't pull them straight off, as this can damage the crown of the root. Removing the greens prevents the plant from trying to put energy into leaf growth and significantly reduces moisture loss from the root itself. I've found that leaving even a tiny bit of green encourages earlier spoilage.
- Potatoes: Beyond brushing off soil, no special trimming is needed. Just ensure they are free from any major damage or signs of disease.
Here's a quick comparison table based on my experience in my UK garden:
| Root Vegetable | Curing Process | Cleaning Method | Trimming Instructions |
|---|---|---|---|
| Carrots | Not required; a few hours of air-drying to remove surface moisture is enough. | Gently brush off soil; never wash. | Twist or cut off leafy tops, leaving 1-2 cm of stem. |
| Beetroots | Not required; a few hours of air-drying to remove surface moisture is enough. | Gently brush off soil; never wash. Be gentle to avoid nicks. | Twist or cut off leafy tops, leaving 1-2 cm of stem. Don't cut into the root itself. |
| Potatoes | 1-2 weeks in a dark, well-ventilated spot (10-15°C, high humidity). | Gently brush off soil; never wash. | No special trimming needed, just ensure they are sound. |
UK-Friendly Methods for Carrots: The Sand, Sawdust & Peat Trick
Now, let's talk about carrots – those glorious orange sticks of sweetness that are a staple in my kitchen and an absolute joy to grow here in the Midlands. For years, I struggled to keep them crisp and firm through winter. Refrigeration only worked for a few weeks before they went limp, and just leaving them in a box in the shed was a disaster. But then I discovered the 'root storage medium' trick, and it's been a game-changer for my 'Autumn King 2' and 'Amsterdam Forcing' varieties. This method provides the perfect balance of moisture, temperature, and darkness, mimicking the soil conditions where they thrive.
The principle is simple: you create an environment that's cool, dark, and slightly humid, preventing both dehydration (shrivelling) and excessive moisture (rot). The key is the storage medium itself, which helps regulate moisture around each individual carrot.
My Go-To Method: Layering in Sand (or Sawdust/Peat)
This is my favourite and most reliable method for carrots here in my UK garden, especially as I don't have a traditional root cellar.
- Choose Your Container: I use sturdy plastic tubs with lids (the kind you might store toys or tools in) or even old wooden crates. The important thing is that they're opaque and can be sealed, or at least covered well, to keep out light and maintain humidity. For smaller batches, a deep bucket works a treat.
- Select Your Medium:
- Sharp Sand (my favourite): This is my top choice. It's readily available from garden centres or builders' merchants, relatively inexpensive, and doesn't hold too much moisture, preventing rot. Make sure it's sharp sand, not play sand, as it drains better. I usually give it a quick bake in the oven (spread thinly on trays at 150°C for 30 mins) to sterilise it before use, especially if it's come from an outdoor pile, just to be safe from any lurking fungi. Let it cool completely!
- Sawdust: A good alternative if you have access to untreated sawdust. It's lighter than sand and also works well to absorb excess moisture while providing insulation.
- Peat or Peat-Free Compost: This works too, but I find it can sometimes hold a bit too much moisture, so you need to be very careful that your carrots are completely dry and the compost is only slightly damp. I tend to avoid peat for environmental reasons now, but a good quality peat-free multi-purpose compost can be used.
- Layering Them Up:
- Put a 5-7 cm (2-3 inch) layer of your chosen medium at the bottom of your container.
- Arrange your prepped carrots (cleaned, trimmed, unwashed) in a single layer on top of the medium, making sure they don't touch each other if possible. This prevents any potential rot from spreading.
- Cover the carrots with another 5-7 cm layer of the medium.
- Repeat the layers until the container is full, finishing with a generous layer of the medium on top.
- Storage Location: Place the sealed or covered container in a cool, dark, frost-free place. For me, this is usually a corner of my garage or a cool spot in my shed that doesn't get direct sunlight. The ideal temperature is between 1-4°C (34-40°F). Our British winters usually provide these temperatures quite well in an unheated outbuilding, but I do keep an eye on extreme cold snaps to ensure they don't freeze solid.
- Check Periodically: Every few weeks, I'll lift the lid and just check for any signs of spoilage. Remove any affected carrots immediately to prevent it spreading.
Using this method, I’ve successfully kept 'Nantes 2' carrots crisp and delicious for 4-5 months, well into late winter here in the UK. It's incredibly satisfying to pull out a perfect carrot in January that tastes as fresh as it did when harvested in October.

Here’s a comparison of the mediums I've tried for carrot storage:
| Storage Medium | Pros | Cons | Randy's UK Experience & Tips |
|---|---|---|---|
| Sharp Sand | Excellent moisture regulation; readily available; reusable; affordable. | Heavy to move; sterilisation (baking) is recommended to prevent disease. | My top choice. Ensures carrots stay firm and crisp for months. I always sterilise it first. Works beautifully in my unheated garage here in the Midlands, preventing both shrivelling and rot, even with our often-damp British air. |
| Sawdust (untreated) | Lightweight; good insulation; also good at absorbing excess moisture. | Must be untreated (no chemicals); can be harder to source in bulk sometimes; can be dusty. | A decent alternative if you have a local joiner or sawmill. I've used it successfully for 'Chantenay Red Core' carrots. Just ensure it's completely dry before use and from a reliable, untreated source. |
| Peat / Peat-Free Compost | Readily available (peat-free); provides some nutrients if carrots re-sprout. | Can hold too much moisture leading to rot if not careful; environmental concerns with peat. | I've used peat-free compost in a pinch. It works, but I find it needs closer monitoring for moisture levels. The carrots must be bone dry, and the compost only ever so slightly damp. Not my first choice due to the higher risk of rot. |
Maximising Potato Shelf-Life: Dark, Cool & Ventilation is Key (Avoiding Apples!)
Ah, potatoes! The cornerstone of so many British meals, and a staple I absolutely adore growing in my 800 sq ft Midlands garden. I always aim for a bumper crop of 'Maris Piper' for roasting and 'Charlotte' for salads. But getting them out of the ground is only half the battle; storing them long-term without them turning green, soft, or sprouting like mad is a whole different challenge.
My biggest lesson with potatoes revolves around three simple words: dark, cool, and ventilated. When I first started, I’d just chuck them in a cupboard, and within a few weeks, they’d be sending out ambitious sprouts, sometimes even turning a worrying shade of green. This greening, by the way, isn't just cosmetic; it indicates the presence of solanine, which can be harmful if consumed in large quantities. So, keeping them in the dark is absolutely paramount. I use old hessian sacks or sturdy paper bags, or even cardboard boxes with plenty of ventilation holes punched in them, and stash them in the coolest, darkest corner of my shed.
Here in the UK, especially in the Midlands, our autumns and winters provide ideal cool temperatures for potato storage – usually around 7-10°C (45-50°F) is perfect. My unheated shed or a cool, dark pantry often fits the bill beautifully. The ventilation is crucial too; it prevents moisture from building up, which is a fast track to mould and rot, especially with our damp British weather. Don't ever store them in sealed plastic bags; they'll sweat and spoil in no time. I learned that the hard way one particularly wet autumn when I thought a plastic container would keep them 'fresher'. Nope, just created a rot factory!
Now, for a specific mistake I made early on, and a tip I swear by now: keep your potatoes away from apples! Seriously. Apples release ethylene gas, a natural plant hormone that accelerates ripening and, crucially for potatoes, promotes sprouting. I once stored a batch of beautiful 'Desiree' potatoes in the same cupboard as my cooking apples, and they sprouted within weeks, looking like they were trying to escape! Since then, potatoes get their own dedicated, apple-free zone. What works here in Britain, and what I've found success with for my 'King Edward' and 'Rooster' potatoes, is a breathable sack in a corner of the shed, far from any fruit.
Beyond Carrots: Specific Storage Solutions for Beets & Parsnips
While carrots are often the poster child for root vegetable storage, don't forget about their equally delicious cousins! Beets and parsnips, both firm favourites in my UK garden, have their own quirks when it comes to long-term keeping. I've grown 'Boltardy' beets for years – they're incredibly reliable here in our climate – and parsnips like 'Gladiator' always give me a good crop.
Beets: Trim, Don't Wash, and Keep Them Damp
For beets, the prep is similar to carrots but with a slight twist. Once I've lifted them, I trim the leafy tops, but I make sure to leave about an inch of stem attached. This little stub helps prevent "bleeding" of their vibrant juices and minimises moisture loss. Crucially, don't wash them! Just gently brush off any excess soil. I've found that storing beets in slightly higher humidity than potatoes, but still cool and dark, works best. My preferred method is layering them in slightly damp sand or sawdust, just like my carrots, in a sturdy plastic crate. Another technique I've used with good results, especially for smaller batches, is wrapping individual beets in newspaper and placing them in a cool, dark place. The newspaper absorbs any excess moisture and provides a bit of insulation.
Parsnips: The Winter Ground is Your Fridge
Parsnips are a bit of an outlier, and honestly, they're probably the easiest to store for us UK gardeners. My favourite method? Leaving them right in the ground! Parsnips actually improve in flavour after a few hard frosts, becoming sweeter as their starches convert to sugars. Here in the Midlands, our winters are generally mild enough that I can leave my parsnips in situ and dig them as needed, usually from November right through to February or March. Just make sure the ground doesn't freeze solid, which can sometimes happen, but is pretty rare for prolonged periods. If I do need to dig a batch up for space or if a particularly harsh spell is forecast, I'll treat them like carrots and beets: trim the tops, brush off soil, and layer them in damp sand or peat in a cool, dark spot.
To make things a bit clearer, here's a quick comparison of the common root vegetables and my go-to storage methods for my UK garden:
| Vegetable | Curing/Prep Notes (Randy's UK Experience) | Ideal Temp/Humidity (Approx.) | Recommended Method (Randy's UK Garden) | Randy's UK Notes & Tips |
|---|---|---|---|---|
| Carrots | Cure 1-2 days (dry, cool). Trim tops to 1/2 inch. Don't wash. | Cool (0-4°C), High Humidity | Layer in damp sand/sawdust/peat in crates/buckets. | 'Autumn King', 'Nantes' store well. Check moisture of medium regularly. |
| Beets | Leave 1 inch of stem. Don't wash. | Cool (0-4°C), High Humidity | Layer in damp sand/sawdust/peat OR wrap in newspaper. | 'Boltardy' is reliable. Trim leaves to prevent moisture loss. |
| Parsnips | Leave in ground until needed (post-frost for sweetness). Trim tops if dug. | Cool (0-4°C), High Humidity | In-ground storage OR layer in damp sand/peat. | 'Gladiator' is a favourite. Flavour greatly improves after UK frosts. |
| Potatoes | Cure 1-2 weeks (cool, dark, humid). Brush off soil. | Cool (7-10°C), Moderate Humidity | Dark, ventilated hessian sacks/paper bags/cardboard boxes. | 'Maris Piper', 'Charlotte'. Keep AWAY from apples! Ensure good air circulation. |
 |
Regular Checks & Troubleshooting: When to Act to Save Your Stash
Even with the best preparation and ideal storage conditions, nature sometimes finds a way. That's just part of gardening, especially with our wonderfully unpredictable British weather! I've learned, often through the sad sight of a rotten potato or mouldy carrot, that the key to long-term success is regular vigilance.
I make it a habit to check my stored root vegetables at least every couple of weeks. It’s a quick five-minute job, but it can save your entire winter supply. What am I looking for?
- Mould or Fungus: This is usually the first sign something's awry. Often, it means there's too much moisture in your storage medium or not enough ventilation. If I spot mould, I immediately remove the affected vegetable and any that were touching it. Then, I'll aerate the storage container, perhaps fluffing up the sand or peat, and ensuring there's better airflow. One year, my carrots in a bucket started getting a bit fuzzy at the bottom because the sand had become too wet. I promptly pulled them out, dried the sand a bit, and everything else was fine.
- Softness or Sliminess: This is a clear indicator of rot. Unfortunately, once a root vegetable goes soft or slimy, it's usually beyond saving. The crucial thing here is to remove it immediately. Rot spreads incredibly quickly, especially in humid, enclosed environments. Think of it like a contagious illness for your veggies – one bad apple (or beet!) can definitely spoil the bunch.
- Sprouting (for Potatoes): If your potatoes are sending out long, pale sprouts, it generally means they're too warm or getting too much light. While you can snap off small sprouts and still use the potato, repeated sprouting drains its energy and nutrients, making it less palatable. If this happens, try to move your potatoes to an even cooler, darker spot, or plan to use them up sooner rather than later.
- Shrivelling: For carrots, beets, and parsnips stored in sand or peat, shrivelling means they're losing moisture – the storage medium isn't damp enough. I simply re-dampen the sand or peat slightly. For potatoes, shrivelling usually indicates either too much warmth or that they've been stored for a very long time and are simply dehydrating.
It's important to remember that even with the most meticulous care, a few casualties are inevitable. Don't beat yourself up over it! The goal is to minimise losses and enjoy the majority of your harvest. My approach is always proactive: check frequently, act decisively, and enjoy the fruits (or roots!) of my labour for as long as possible.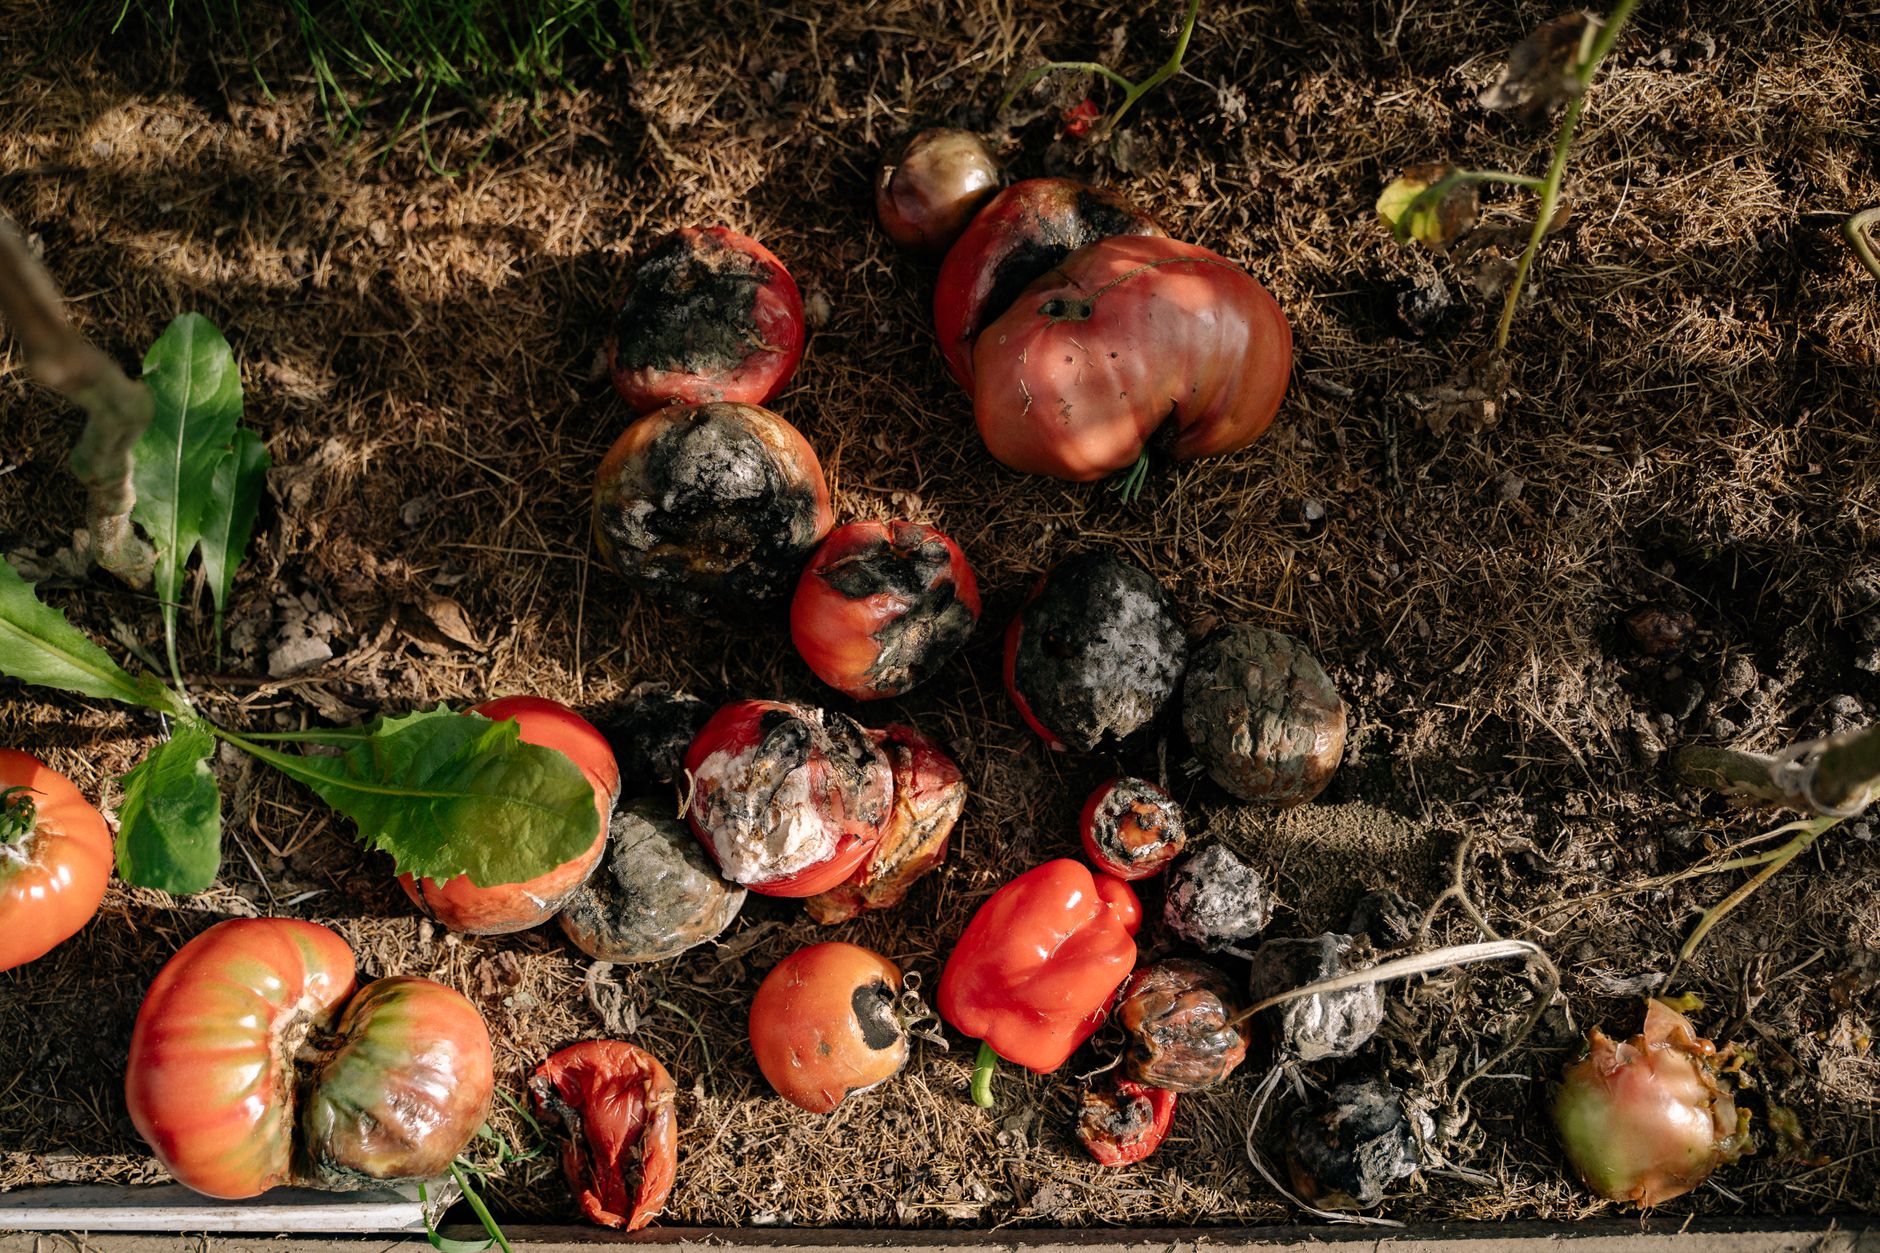
Conclusion: Your Winter Larder Awaits!
So there you have it, fellow UK gardeners – my tried-and-tested methods for keeping your homegrown root vegetables fresh, firm, and flavourful throughout the colder months, all without needing a fancy root cellar. From the careful curing of your potatoes to the damp sand beds for your carrots, beets, and parsnips, the principles are simple: control moisture, temperature, and light, and always ensure good ventilation.
I remember my first few years gardening here in the Midlands, pulling up a beautiful crop of 'Autumn King' carrots only to watch them shrivel in the fridge within a month. It was disheartening! But through a bit of experimentation, a few learning curves (like that apple incident with my potatoes!), and a good deal of shared wisdom from other UK gardeners, I've learned that truly long-term storage is absolutely achievable in a regular home.
There's a unique satisfaction that comes from reaching into your shed in the middle of a dreary January and pulling out a perfectly firm 'Charlotte' potato or a crisp 'Boltardy' beet that you grew yourself months ago. It's a connection to the soil, a defiance of the supermarket shelves, and a celebration of the season's bounty.
So, this autumn, as you're harvesting your hard-earned root crops, don't just think short-term. Take a little extra time with the preparation, set up your storage solutions, and enjoy the delicious rewards of your labour right through winter and into spring. You'll be amazed at how much longer your homegrown goodness lasts, and how much joy it brings.
Happy storing, and here's to a winter full of delicious, homegrown goodness from your very own UK garden! Let me know in the comments if you try any of these methods, or if you have any unique British storage hacks you swear by!
