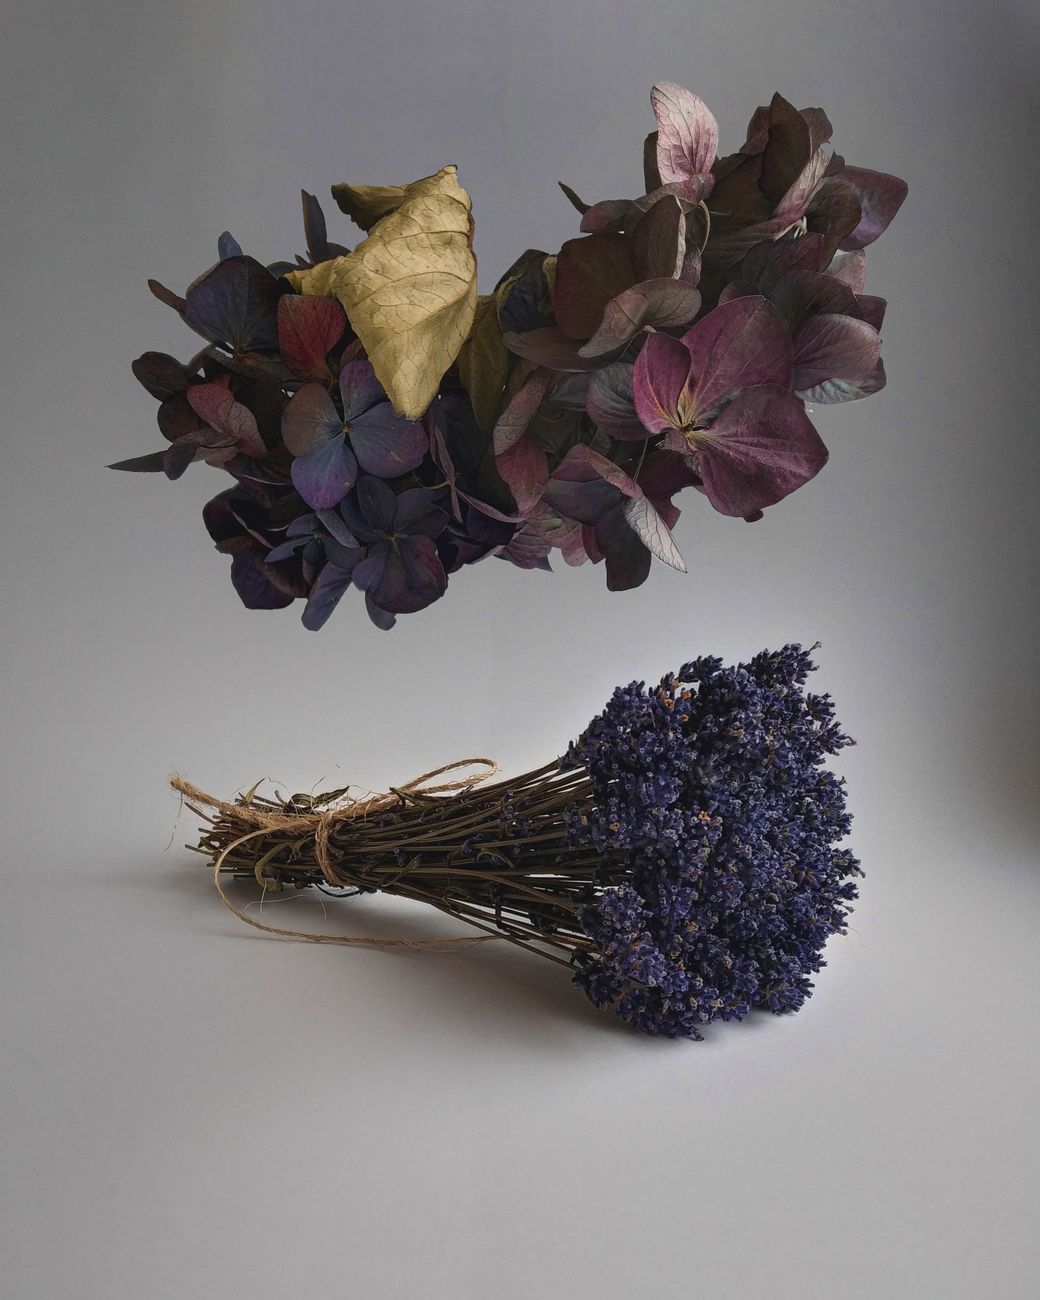
Unlock Lasting Beauty: Why Preserve Your Garden's Blooms
There’s a unique kind of magic in our UK gardens, isn't there? From the first brave snowdrops pushing through the winter chill to the last glorious burst of autumn colour, every season brings its own fleeting beauty. But if you're anything like me – Randy, a 32-year-old home gardener here in the soggy (and sometimes surprisingly sunny!) Midlands – you’ve probably felt that pang of sadness when your favourite blooms start to fade. All that hard work, the nurturing, the battle against slugs and the unpredictable British weather... only for the beauty to be gone in a blink.
That's exactly why I became obsessed with dried flower preservation a few years back. When I left my IT job to dive headfirst into the soil, one of my biggest joys was growing things, especially my beloved heirloom tomatoes in the greenhouse and those magnificent hydrangeas in the borders. But I quickly realised I wanted to extend that joy. I wanted to bring the essence of my 800 sq ft backyard indoors, to savour those colours and textures long after the chill winds of autumn set in. What started as a simple experiment with a few faded rosebuds has blossomed into a full-blown passion, and I’ve learned a fair bit about what works (and what definitely doesn't!) in our damp British climate.
In my UK garden, I grow a wonderful mix, and certain flowers just beg to be preserved. Hydrangeas, with their incredible blousy heads; fragrant roses, carrying the memory of a summer's day; and, of course, the calming scent of lavender. These aren't just pretty faces; they're superstars when it comes to drying, holding their shape and, with the right techniques, a surprising amount of their vibrant colour. I’ve made my share of mistakes – believe me, I’ve had entire batches of roses go mouldy in a particularly humid August! – but through trial and error, I've honed some reliable methods that I'm absolutely chuffed to share with you. This isn't just about making your house look nice; it's about capturing a moment, a memory, and a piece of your hard work from the garden, allowing you to enjoy it all year round. So, let's get stuck in and learn how to keep a bit of that garden magic alive, even when the rain's lashing down outside.
Timing is Everything: Harvesting Hydrangeas, Roses, and Lavender for Success
If there's one golden rule I've learned in my five years of intensive UK gardening, whether it's for growing a bumper crop of 'Cherokee Purple' tomatoes or preserving flowers, it’s this: timing is everything. Harvest your blooms at the wrong stage, and no amount of careful drying will save them from wilting, discolouring, or worse, turning into a mouldy mess. I’ve learned this the hard way, trust me. One year, I was so eager to dry some of my 'Annabelle' hydrangeas that I cut them too early, and they just collapsed into sad, papery husks. It was a proper disappointment!
Here's what I've found works best here in the Midlands for capturing the best of hydrangeas, roses, and lavender.
Hydrangeas: The Art of Patience
Hydrangeas are a dream for drying, but they demand patience. You absolutely cannot cut them when they are fresh and vibrant. If you do, they'll just wilt and turn brown. I tried it with my 'Limelight' hydrangeas in their first year in my garden, thinking "the fresher, the better," and ended up with a bin full of floppy disappointment.
The key with hydrangeas is to wait until they've fully matured on the plant. You're looking for a leathery, almost papery texture. Here in the UK, this usually means late summer to early autumn, around August or September. Their colours will have started to shift – the greens might deepen, the pinks might become more muted, or the blues might take on a lovely antique hue. Give the petals a gentle squeeze; they should feel firm, not soft or moist. If they still feel soft, leave them for another week or two. I generally wait until the leaves on the stem are just starting to show signs of yellowing, as this indicates the plant is naturally reducing moisture to the blooms.
Roses: Catching Them Just Right
Roses are a bit trickier than hydrangeas, but incredibly rewarding when dried successfully. The most common mistake I made when I first started (and I still see others do it!) is waiting until the rose is fully open and glorious. While stunning on the bush, a fully open rose often means the petals are quite thin and will just shrivel and fall off when dried.
For drying, you want to catch your roses when they are still in their prime, but not completely blown open. Think of them as being about three-quarters open. The petals should still be firmly attached, and the shape should be well-defined. I've had great success with my 'Gertrude Jekyll' and 'Munstead Wood' varieties, which hold their shape beautifully. The best time to harvest them is in the morning, after the dew has evaporated but before the midday sun has started to stress the plant. Make sure the flowers are completely dry – no rain, no dew, otherwise you're inviting mould, which is a constant battle in our British climate!
Lavender: Fragrance is Key
Lavender is probably the easiest of the three to dry, and oh, the scent! It’s perfect for little sachets or just to have around the house. The trick with lavender is to harvest it when the flower spikes are just beginning to open, but not fully bloomed. If you wait until all the little florets are open, you risk losing a lot of that beautiful fragrance, and the tiny flowers can drop off easily during the drying process.
I grow 'Hidcote' and 'Munstead' varieties in my herb raised bed, and I usually aim to harvest them in late June or early July, just as the colour is peaking and about half the individual flowers on a spike have opened. Again, choose a dry, sunny morning after any dew has evaporated. This ensures the maximum essential oil content (for that lovely scent) and minimises moisture that could lead to mould. A quick sniff test will tell you if it's the right time – the fragrance should be strong and delightful.
Here’s a quick guide to help you remember the best time to snip your garden's treasures:
| Flower Type | Ideal Harvest Stage | Key Indicators (UK Conditions) | Randy's Top Tip |
|---|---|---|---|
| Hydrangea | Fully mature, past their fresh bloom stage | Late summer/early autumn (Aug-Sept). Petals feel leathery/papery, not soft. Colours are muted/antique. | Wait until leaves on the stem show yellowing; this signifies reduced moisture. Avoid cutting fresh blooms! |
| Rose | About three-quarters open | Petals still firm, shape well-defined. Before the rose is fully blown. | Harvest on a dry morning, after dew has gone. Ensure zero moisture on petals to prevent mould. |
| Lavender | Flower spikes just beginning to open, not fully bloomed | Late June/early July. About half the individual florets are open. Strong, pleasant fragrance. | Don't wait too long; harvest before full bloom to retain maximum scent and prevent flower drop. |
Your Preservation Toolkit: Essential Supplies for UK Home Gardeners
Right, so you've got your timing spot on and you're out in your UK garden, ready to snip those perfect blooms. Now, what do you actually need to get them from the plant to your drying rack without a hitch? Over the years, I've accumulated a few essential bits and bobs that make the whole process smoother and more successful, especially when dealing with our often damp and unpredictable British climate. You don't need a fancy setup, just some reliable basics.
Here's my go-to toolkit, all tried and tested in my 800 sq ft Midlands garden:
- Sharp Pruning Shears or Snips: This might seem obvious, but a clean cut is crucial. A ragged cut can damage the stem, making it harder for the flower to dry properly and potentially introducing bacteria. I use a good quality pair of bypass secateurs for thicker hydrangea stems and smaller, finer snips for delicate roses and lavender. Keep them clean and sharp!
- Twine or Rubber Bands: For hanging, you'll need something to bind your stems together. Natural jute twine is my preference – it’s biodegradable and gives a lovely rustic look. For smaller bundles, especially lavender, a simple rubber band works brilliantly as it tightens as the stems shrink during drying, preventing them from slipping out.
- Hangers (Coat Hangers or Drying Racks): You need somewhere to hang your bundles. Old wire coat hangers are fantastic for this; just hook your twine-bound bundles over the bottom bar. I’ve also invested in a couple of tiered herb drying racks, which are perfect for smaller flowers like lavender or even individual rose heads in my greenhouse.
- A Well-Ventilated, Dark, Dry Space: This is arguably the most crucial "tool" for air drying, especially here in the UK where humidity can be a real killer for drying flowers. Think an unused cupboard, a dry attic, a corner of a shed that stays dark, or even a spare room. Avoid direct sunlight as it fades colours. Crucially, it needs good airflow to prevent mould. My greenhouse, after a good airing, works well on dry days, but I often move them indoors if the weather turns damp.
- Silica Gel (Optional, but highly recommended for colour retention): For my more precious blooms, especially roses and hydrangeas where I really want to lock in that vibrant colour, silica gel is a game-changer. It's a desiccant that draws moisture out quickly, retaining much more of the original hue. It's reusable, too, which is great. I usually pick mine up from larger craft stores or online UK suppliers. This is particularly useful in autumn when the air gets colder and wetter.
- Airtight Containers: If you're using silica gel, you'll need airtight containers (like Tupperware or old biscuit tins) to bury your flowers in. They need to be big enough to accommodate the blooms without squashing them.
- Gloves: Especially when dealing with roses, a good pair of gardening gloves will save your hands from thorns!
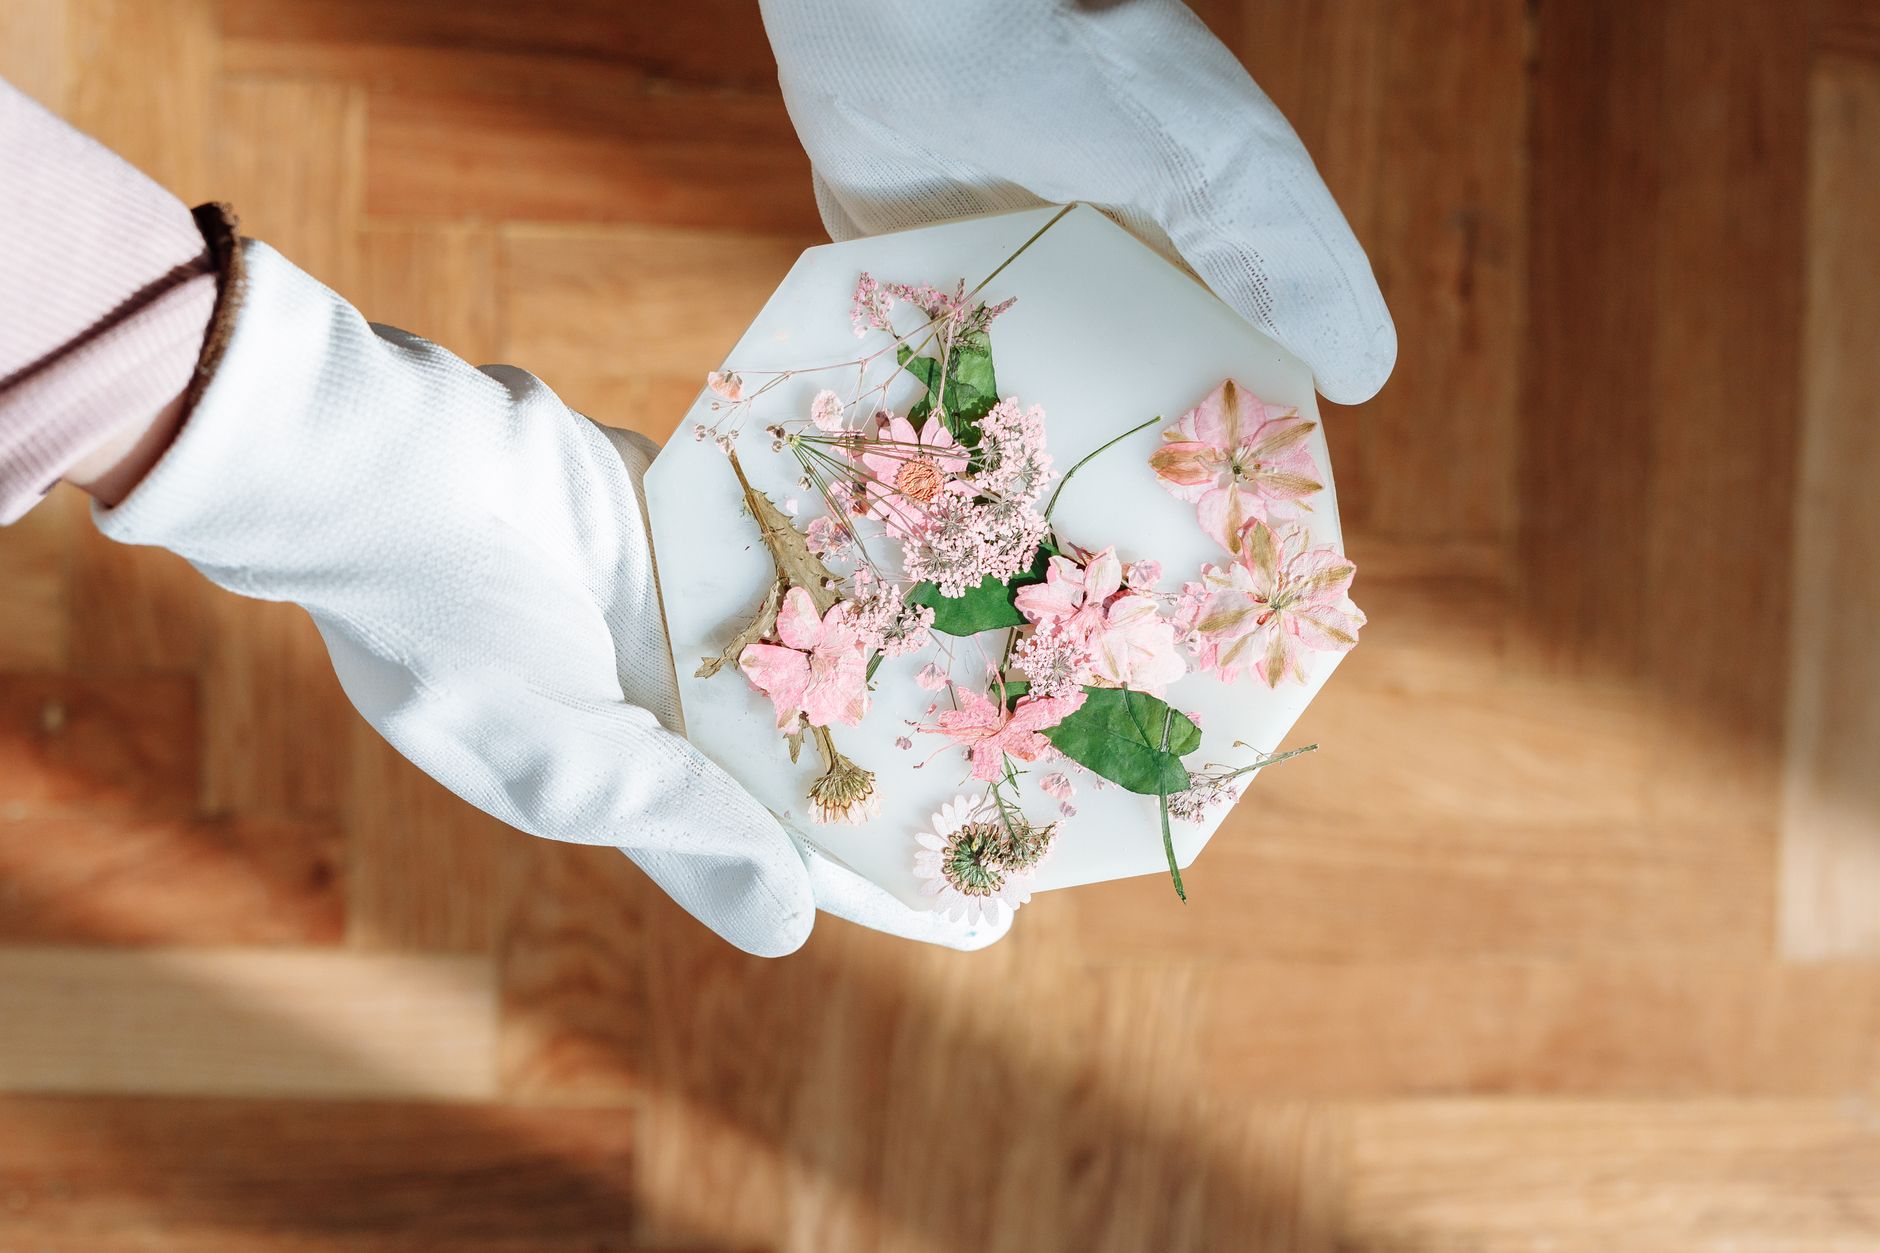
Having these bits ready before you even step outside with your snips will make the whole process much more enjoyable and, most importantly, successful. I've learned that a little preparation goes a long way, especially when you're battling against the British weather to save those beautiful blooms!
The Classic Method: Step-by-Step Air Drying for Hydrangeas and Lavender
Right, so you've got your perfectly timed blooms and your basic kit ready. Now, let's get down to the nitty-gritty of air drying – a technique I absolutely swear by for its simplicity and effectiveness, especially for those lovely hydrangeas and fragrant lavender. It’s what I started with in my 800 sq ft Midlands garden, and what I still do every season.
Air Drying Hydrangeas: My Top Tips for UK Gardeners
Hydrangeas are truly magnificent, aren't they? I've grown several varieties in my UK garden, but 'Annabelle' and 'Limelight' are my absolute favourites for drying, holding their shape and a lovely muted colour beautifully.
- Preparation is Key: Once you've harvested your hydrangeas (as we discussed, that slightly papery feel is ideal!), bring them indoors. I usually strip off all the leaves from the stems – they just hold moisture and can lead to mould, which is the last thing you want with our British humidity!
- The Water Trick (Optional but Recommended): This is a little trick I picked up after a few soggy attempts. Place your freshly cut hydrangea stems in a vase with about an inch or two of water. Let them sit for a few days. The flower head will slowly absorb the water, and as the water evaporates, the flower will gradually dry, often retaining more of its colour and structure than if you just hung it straight away. I've found this works wonders for reducing wilting.
- Hanging Time: Once they've done their water trick (or if you're skipping it), gather small bunches – no more than 3-5 stems – and secure them tightly with a rubber band or twine. Why small bunches? Airflow, my friends! Crucial here in the UK.
- The Right Environment: This is where many a good drying attempt goes wrong. You need a dark, dry, well-ventilated space. My greenhouse, in a shadier corner, works a treat in late summer. A spare room, a dry shed, or even a wardrobe if it’s not packed full, can work. Avoid direct sunlight at all costs; it bleaches the colour right out. And definitely avoid damp basements – I learned that the hard way when I ended up with a sad, mouldy bunch of 'Pinky Winky' hydrangeas one year!
- Patience, Young Grasshopper: Drying hydrangeas takes time. In our UK climate, I typically find it takes anywhere from 3 to 6 weeks, sometimes longer if it's a particularly damp autumn. You'll know they're ready when the petals feel completely dry and crisp, almost like paper.
Air Drying Lavender: Capturing That Calming Scent
My lavender hedge, 'Hidcote', is a joy – a buzzing haven for bees and then, later, a source of that unmistakable calming scent for my home. Air drying lavender is wonderfully straightforward.
- Bundle Up: Just like with hydrangeas, gather small bunches of lavender stems. Again, keep those bunches relatively small for good airflow. I use a rubber band because it contracts as the stems shrink, keeping the bunch tight.
- Hang Upside Down: Find that same dark, dry, airy spot you used for your hydrangeas. Hang the lavender bunches upside down. This helps the stems stay straight and the flower heads retain their shape.
- Quick Dry: Lavender dries much faster than hydrangeas. In my experience here in the Midlands, it usually takes about 1-2 weeks. You’ll know it's ready when the flowers feel dry and brittle, and they readily release their scent when gently squeezed.
- Mistake to Avoid: One common mistake I made early on was trying to dry lavender in a spot that was too warm and sunny. It dried quickly, yes, but the vibrant purple faded to a dull grey. Keep it out of direct light to retain that lovely colour!
Advanced Preservation: Silica Gel Techniques for Vibrant Roses and Hydrangeas
While air drying is fantastic for many blooms, if you're after truly vibrant colours and perfectly preserved shapes, especially for those show-stopping roses or delicate hydrangea petals, then silica gel is your secret weapon. I swear by it for my prize 'Gertrude Jekyll' roses from the greenhouse and those perfect blush hydrangeas.
Why Silica Gel?
Silica gel works by rapidly absorbing moisture from the flowers, much faster than air drying. This speed helps to lock in the colour and prevent the petals from shrinking or discolouring as much. It's a bit more hands-on and requires a specific material, but the results are often worth the extra effort.
Step-by-Step Silica Gel Drying for Roses and Hydrangeas
- Gather Your Gear: You'll need fine-grained silica gel (the stuff that looks like sand, not the little desiccant packets), an airtight container (a plastic tub with a good seal works perfectly), and a small brush or spoon.
- Flower Prep:
- Roses: Trim the stem to about an inch or two below the bloom. Carefully remove any sepals (the green leaf-like parts under the petals) and leaves. I sometimes leave a few small sepals on if I want a more natural look, but removing most ensures better drying.
- Hydrangeas: For hydrangeas, I usually cut individual florets or small clusters rather than whole heads. This allows for more even drying and makes them easier to arrange later.
- Layering in the Container:
- Pour a layer of silica gel, about an inch deep, into the bottom of your airtight container.
- Carefully place your flowers on top of this layer. For roses, position them upright or on their side, ensuring petals aren't crushed. For hydrangea florets, just spread them out. Make sure they aren't touching each other.
- Gently spoon or pour more silica gel over and around the flowers. The key is to completely cover every petal, getting the granules right into the nooks and crannies. I use a small paintbrush to gently work the gel between rose petals.
- Ensure the flowers are fully submerged, then seal the container tightly.
- The Waiting Game (a Shorter One!): This is where silica gel shines compared to air drying.
- Roses: Typically, roses take 3 to 7 days.
- Hydrangeas: Individual florets can be ready in as little as 2-4 days.
- The exact time depends on the flower's moisture content, the humidity in your home (oh, the British humidity!), and the amount of silica gel used.
- Checking for Dryness: Carefully unearth a flower. It should feel completely dry and crisp, almost papery, but still retain its vibrant colour. If it feels soft or damp, re-cover it and give it another day or two. Be careful not to over-dry, as this can make the petals excessively brittle. I've certainly pulled out a few too-crispy roses in my time!
- Cleaning Up: Once dry, gently remove the flowers from the silica gel. Use a soft brush (a small makeup brush works wonders) or gently tap them to remove any clinging granules.
Silica Gel vs. Air Drying: Randy's Detailed Comparison
Here's how these two methods stack up based on my years of trial and error in my UK garden:
| Feature | Air Drying | Silica Gel Drying | Randy's Verdict for UK Gardeners |
|---|---|---|---|
| Best For | Lavender, Hydrangeas (matured), Herbs | Roses, Hydrangeas (fresh/young), Delicates, Peonies | Air drying is my go-to for bulk and scent. Silica gel for those special, perfect blooms you want to show off. |
| Colour Retention | Good, but often fades to muted/vintage tones | Excellent – retains much more vibrant colour | Air drying gives a lovely "rustic" look. Silica gel is superior for keeping those bright garden colours alive. |
| Shape Retention | Good, but can shrink or slightly distort | Excellent – retains near-original shape and size | Silica gel is unmatched for preserving the delicate structure of a rose or the individual florets of a hydrangea. |
| Time Taken (UK) | 2-6 weeks (variable with humidity) | 2-7 days (faster, less affected by ambient humidity) | If you're impatient like me, silica gel is a winner. Air drying is for the slow and steady approach. |
| Equipment | Twine, scissors, dry, dark, airy space | Silica gel, airtight container, brush, scissors | Silica gel requires an initial investment, but it's reusable! Air drying is almost free if you have the space. |
| Effort Level | Low - hang and forget (mostly) | Medium - more hands-on, careful layering | Air drying is easier for large quantities. Silica gel is a more focused, delicate operation. |
| UK Climate Factor | Highly susceptible to humidity/dampness | Less susceptible, as it's in a sealed environment | This is key! Our unpredictable British weather makes silica gel a safer bet for consistent results. |
Preserving Perfection: Troubleshooting and Maintaining Your Dried Flower Creations
Even with the best techniques, sometimes things don't go exactly to plan. I've certainly had my share of dried flower disasters over the years, usually thanks to a sudden damp spell here in the Midlands! But don't despair; many common issues can be prevented or remedied.
Common Problems and Randy's Fixes
- Mould or Mildew: Ah, the bane of our damp UK climate!
- Cause: Too much moisture, not enough airflow during drying, or being stored in a humid environment.
- Prevention: Ensure your drying space is truly dry and well-ventilated. Don't overcrowd bunches. For silica gel, make sure the container is absolutely airtight.
- Fix: Sadly, once mould sets in, it's usually best to discard the affected flowers to prevent it spreading. Lesson learned: proper drying conditions are paramount!
- Fading Colour: You've put all that effort in, and they've gone dull.
- Cause: Direct sunlight is the enemy! UV rays bleach colours rapidly.
- Prevention: Always dry flowers in a dark spot. Once preserved, display them away from direct windows or strong light sources.
- Fix: Unfortunately, faded colour can't be restored. Embrace the vintage look, or use these blooms for arrangements where colour isn't the primary focus.
- Drooping or Brittleness: They looked great, but now they're a bit fragile or flopping.
- Cause: Over-drying can make them brittle. High humidity can cause them to re-absorb moisture and droop.
- Prevention: With silica gel, keep an eye on drying times to avoid over-drying. Once dried, store or display in a stable, low-humidity environment.
- Fix: For brittleness, a very light misting of unscented hairspray can add a tiny bit of flexibility and protect them. For drooping, if it's due to humidity, try placing them in a low-humidity area for a few days to see if they firm up again.
Maintaining Your Dried Flower Creations
Once your beautiful blooms are perfectly preserved, a little ongoing care will ensure they last for years. I love making little arrangements for my kitchen table or as gifts for friends, and they always comment on how long they last.
- Dusting is Key: Dried flowers are dust magnets! Use a soft, dry paintbrush (a fluffy makeup brush works well) or a hairdryer on its coolest, lowest setting to gently blow away dust. Never use water or damp cloths.
- Location, Location, Location:
- Avoid Direct Sunlight: As mentioned, this causes fading.
- Avoid High Humidity: Steamy bathrooms or kitchens directly above a hob are not ideal. Dampness can lead to mould or cause flowers to droop. My greenhouse is great for drying, but not for long-term display!
- Stable Temperatures: Extreme temperature fluctuations aren't great.
- Handle with Care: Dried flowers are delicate. Move them as little as possible and handle them gently.
- Hairspray for Protection: A light, even coat of unscented hairspray can provide a protective barrier, helping to set the petals and reduce brittleness. I usually do this for any pieces I know will be handled or displayed in a slightly more exposed spot.
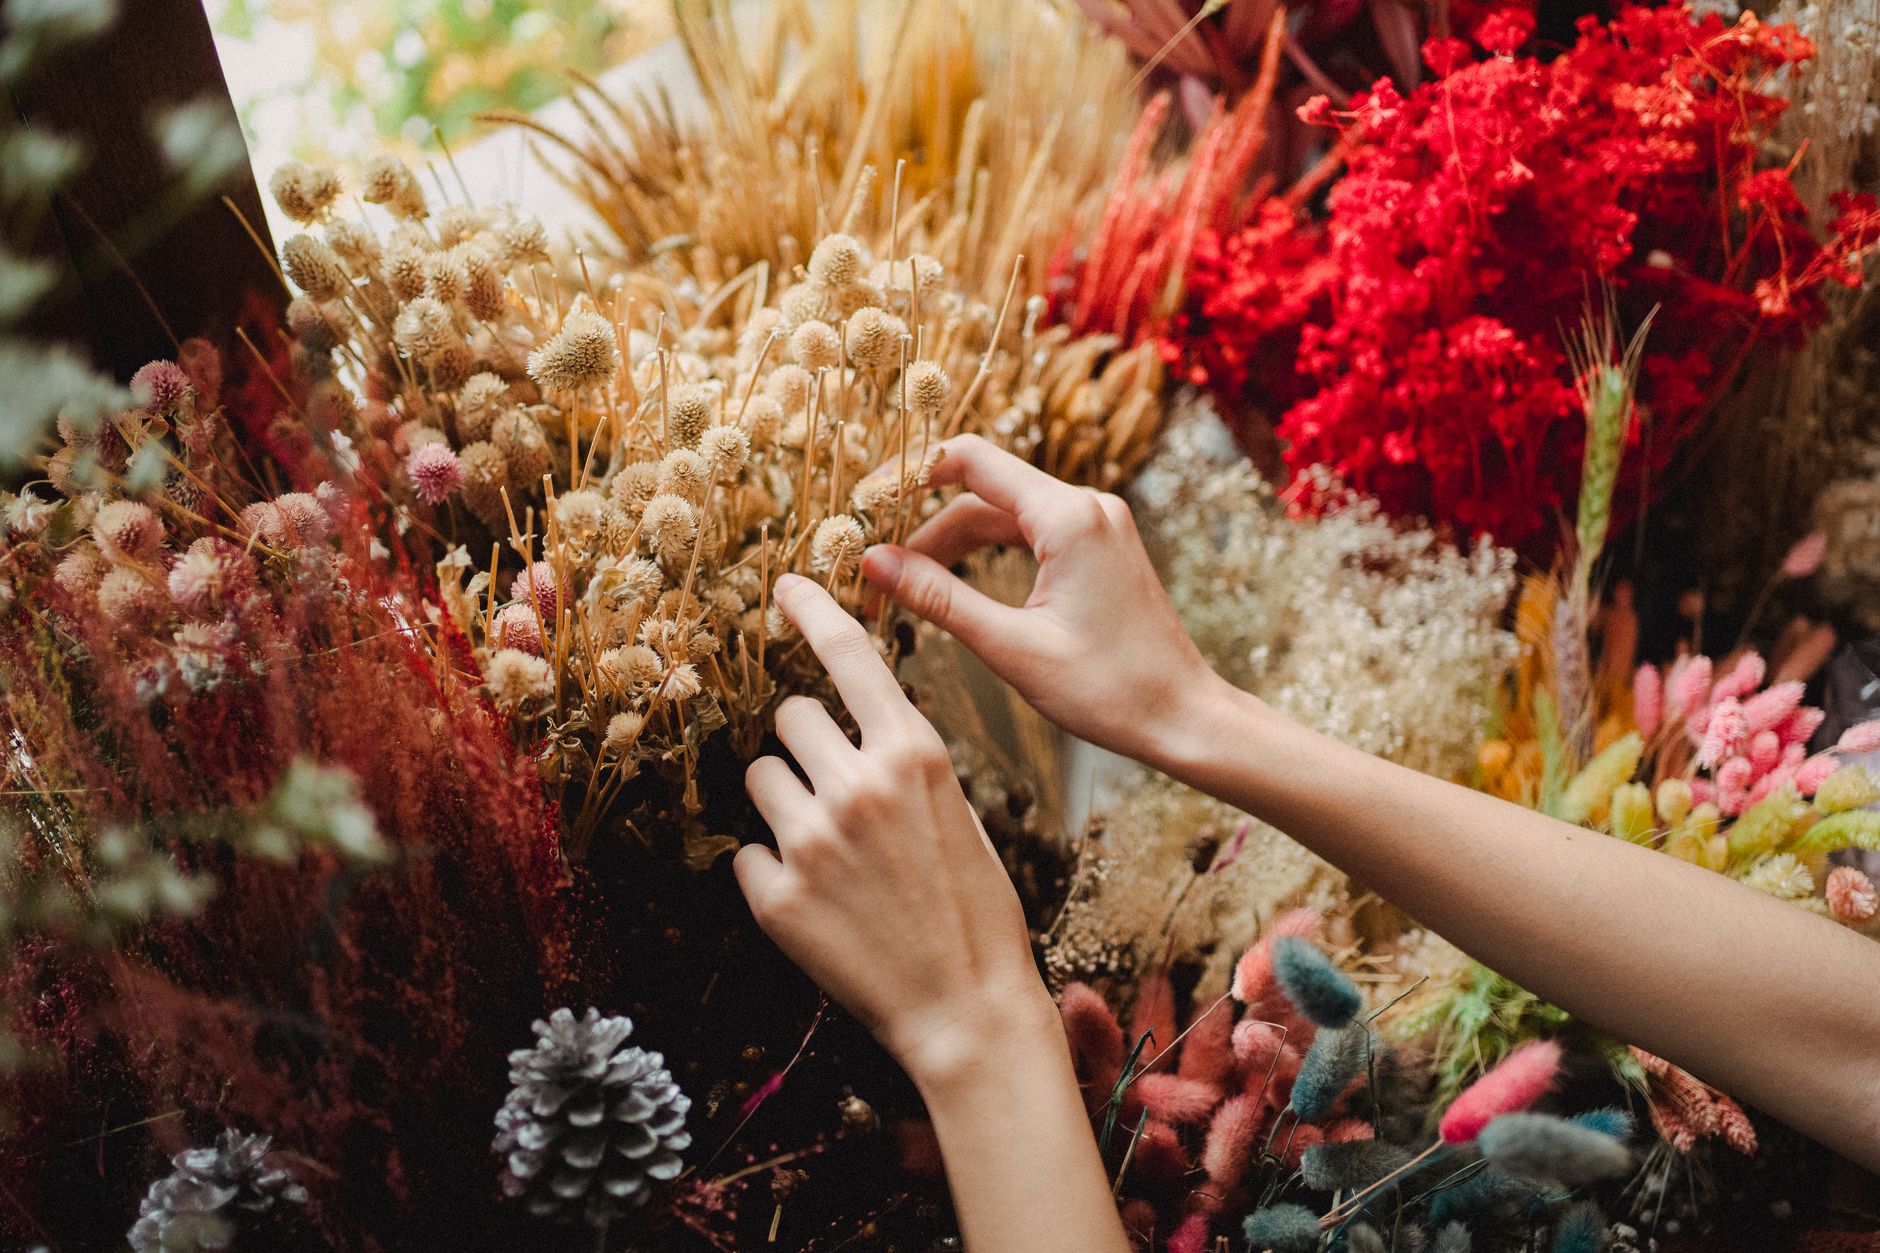
Conclusion: Your Garden's Beauty, Preserved for Every Season
There you have it, fellow gardeners! From the precise timing of your harvest to the final flourish of a protective spray, preserving your garden's blooms is a wonderfully rewarding venture. It's about extending the joy of your hard work, bringing a slice of summer's vibrancy indoors, even when the British winter is doing its worst outside my Midlands window.
We've covered the crucial steps:
- Timing is everything: Harvesting hydrangeas when papery, roses just before full bloom, and lavender when the bottom florets open.
- Your toolkit: Sharp snips, twine, airtight containers, and silica gel.
- The classic air drying: Perfect for hydrangeas and lavender, best done in a dark, dry, well-ventilated space to combat our UK humidity.
- Advanced silica gel: Your secret weapon for retaining the most vibrant colours and delicate shapes of roses and fresh hydrangeas.
- Troubleshooting: Battling mould, fading, and brittleness with a few simple tricks and careful placement.
I've learned so much over my five years in this 800 sq ft UK garden, and preserving flowers has become one of my favourite ways to connect with my plants year-round. It's a journey of experimentation – I've made plenty of mistakes along the way, often thanks to our wonderfully unpredictable British weather, but each one has taught me something valuable.
So, I encourage you to get out there, experiment with your own hydrangeas, roses, and lavender. Don't be afraid to try both air drying and silica gel. Find what works best for your specific blooms, your home, and our unique UK climate. There's immense satisfaction in looking at a beautiful dried arrangement and knowing those flowers came straight from your own backyard. It’s a tangible reminder of the beauty you cultivate, and that, for me, is what gardening is all about. Happy preserving!
