Introduction: Why Relocate? Understanding the Stakes for Established Plants
Alright, fellow green thumbs, Randy here from my little patch of heaven in the UK Midlands! If you're anything like me, your garden is a constantly evolving tapestry of plants, ideas, and sometimes, a few "whoops, that grew a bit bigger than I expected!" moments. My 800 sq ft backyard, packed to the brim with raised beds and my beloved greenhouse, is living proof of this. We're always trying new things, experimenting, and sometimes, that means a plant that was once in the perfect spot suddenly needs to find a new home.
I've been there, trust me. When I first got serious about gardening five years ago, after swapping my IT desk for a trowel, I thought moving a plant was just a case of digging it up and sticking it somewhere else. Oh, how naive I was! I learned the hard way with a beautiful 'Little Princess' Spiraea that I’d crammed into a border that became far too shady. I just yanked it out, moved it, and it sulked for a solid year, barely flowering, before eventually giving up the ghost. It was heartbreaking, and a real lesson in understanding what "transplant shock" truly means for established plants.
Moving an established ornamental shrub or a small deciduous tree isn't like popping a bedding plant into a pot. These plants have spent years building a complex root system, getting comfortable with their microclimate, and forming vital relationships with the soil fungi. When you disturb that, you're essentially putting them through major surgery. The stakes are incredibly high: a poorly executed move can lead to severe shock, stunted growth, susceptibility to disease, and in the worst cases, complete plant failure. Here in the unpredictable British climate, with our sometimes soggy, sometimes bone-dry spells, giving our plants the best possible chance of survival is absolutely crucial. That's why I'm so passionate about sharing what I've learned through my own trials, errors, and eventual successes right here in my UK garden. This isn't just about moving a plant; it's about giving it a fighting chance to thrive in its new home.
Strategic Planning: Choosing the Right Time & Preparing the New Site
When it comes to moving an established plant, impulse decisions are the enemy. Trust me, I've tried to sneak in a quick move on a sunny April morning here in the Midlands, only for a sudden cold snap or relentless rain to follow, leaving my poor plant utterly bewildered. The truth is, strategic planning is probably the most critical step, determining about 70% of your success. It’s all about timing and preparation, especially when dealing with our specific UK conditions.
Choosing the Right Time for Transplanting in the UK
In my experience, there are two prime windows for relocating established shrubs and small deciduous trees here in Britain: late autumn and early spring. Both have their pros and cons, and what works best can sometimes depend on the specific plant and, of course, our notoriously fickle weather.
My Personal Take: I generally lean towards late autumn here in my Midlands garden. The soil is still warm enough for some root establishment, but the plant is entering dormancy, so it's not trying to juggle active growth with root repair. Plus, our autumn rains usually mean less initial watering for me! However, if you have a particularly exposed site or very heavy, waterlogged clay soil that gets boggy in winter, spring might be a safer bet to avoid root rot.
| Feature | Late Autumn (October - November in UK) | Early Spring (March - April in UK) |
|---|---|---|
| Plant State | Entering dormancy; leaves typically fallen. | Breaking dormancy; before significant bud burst. |
| Root Recovery | Some root growth can occur in still-warm soil before winter. | Active root growth begins rapidly with warmer temperatures. |
| Watering Needs | Often reduced due to natural rainfall and plant dormancy. | Critical and consistent watering required as plant begins active growth. |
| Temperature Stress | Minimal immediate stress; plant is dormant. | Risk of late frosts or sudden heatwaves causing stress. |
| Soil Conditions | Can be wet if heavy clay; generally workable. | Thawing, potentially still cold and wet; quickly warms up. |
| My UK Garden Pro | Less immediate demand on the plant; often good natural rainfall. | Plant has a full growing season ahead to recover. |
| My UK Garden Con | If heavy winter wet sets in, root rot can be a risk before new growth. | Requires very diligent monitoring for water, especially in a dry spring. |
| Best For (Randy's view) | Most deciduous shrubs & small trees, especially in well-drained soil. | Evergreen shrubs, or areas prone to winter waterlogging; if autumn was missed. |
Preparing the New Site: The Welcome Mat for Your Plant
You wouldn't move into a new house without making sure it's ready, right? The same goes for your plant! This step often gets overlooked, but it's where you truly set your plant up for success, minimising the shock of relocation. I always aim to prepare the new site a few weeks, or even a month, before the actual move. This allows any soil amendments to settle and integrate.
First off, dig your new planting hole. I always make it at least twice as wide as the root ball you anticipate, and roughly the same depth. You want the roots to have plenty of soft, uncompacted soil to spread into without being too deep. Here in my Midlands garden, where we have a fair bit of clay, I pay extra attention to breaking up the sides of the hole with a fork to prevent a 'bathtub effect' where water can collect.
Next, it's all about improving the soil. I always incorporate a generous amount of well-rotted garden compost or leaf mould into the excavated soil and the bottom of the hole. For my 'Red Robin' Photinia that I moved last year, I also added a handful of mycorrhizal fungi granules directly into the hole – these friendly fungi form a symbiotic relationship with the roots, helping them absorb water and nutrients, which is a massive boost for a stressed plant. Avoid adding too much high-nitrogen fertiliser at this stage, as it can encourage leafy growth at the expense of root development. The goal is a rich, free-draining, and welcoming environment for those precious roots.
Essential Tools & Pre-Digging Root Preparation for Success
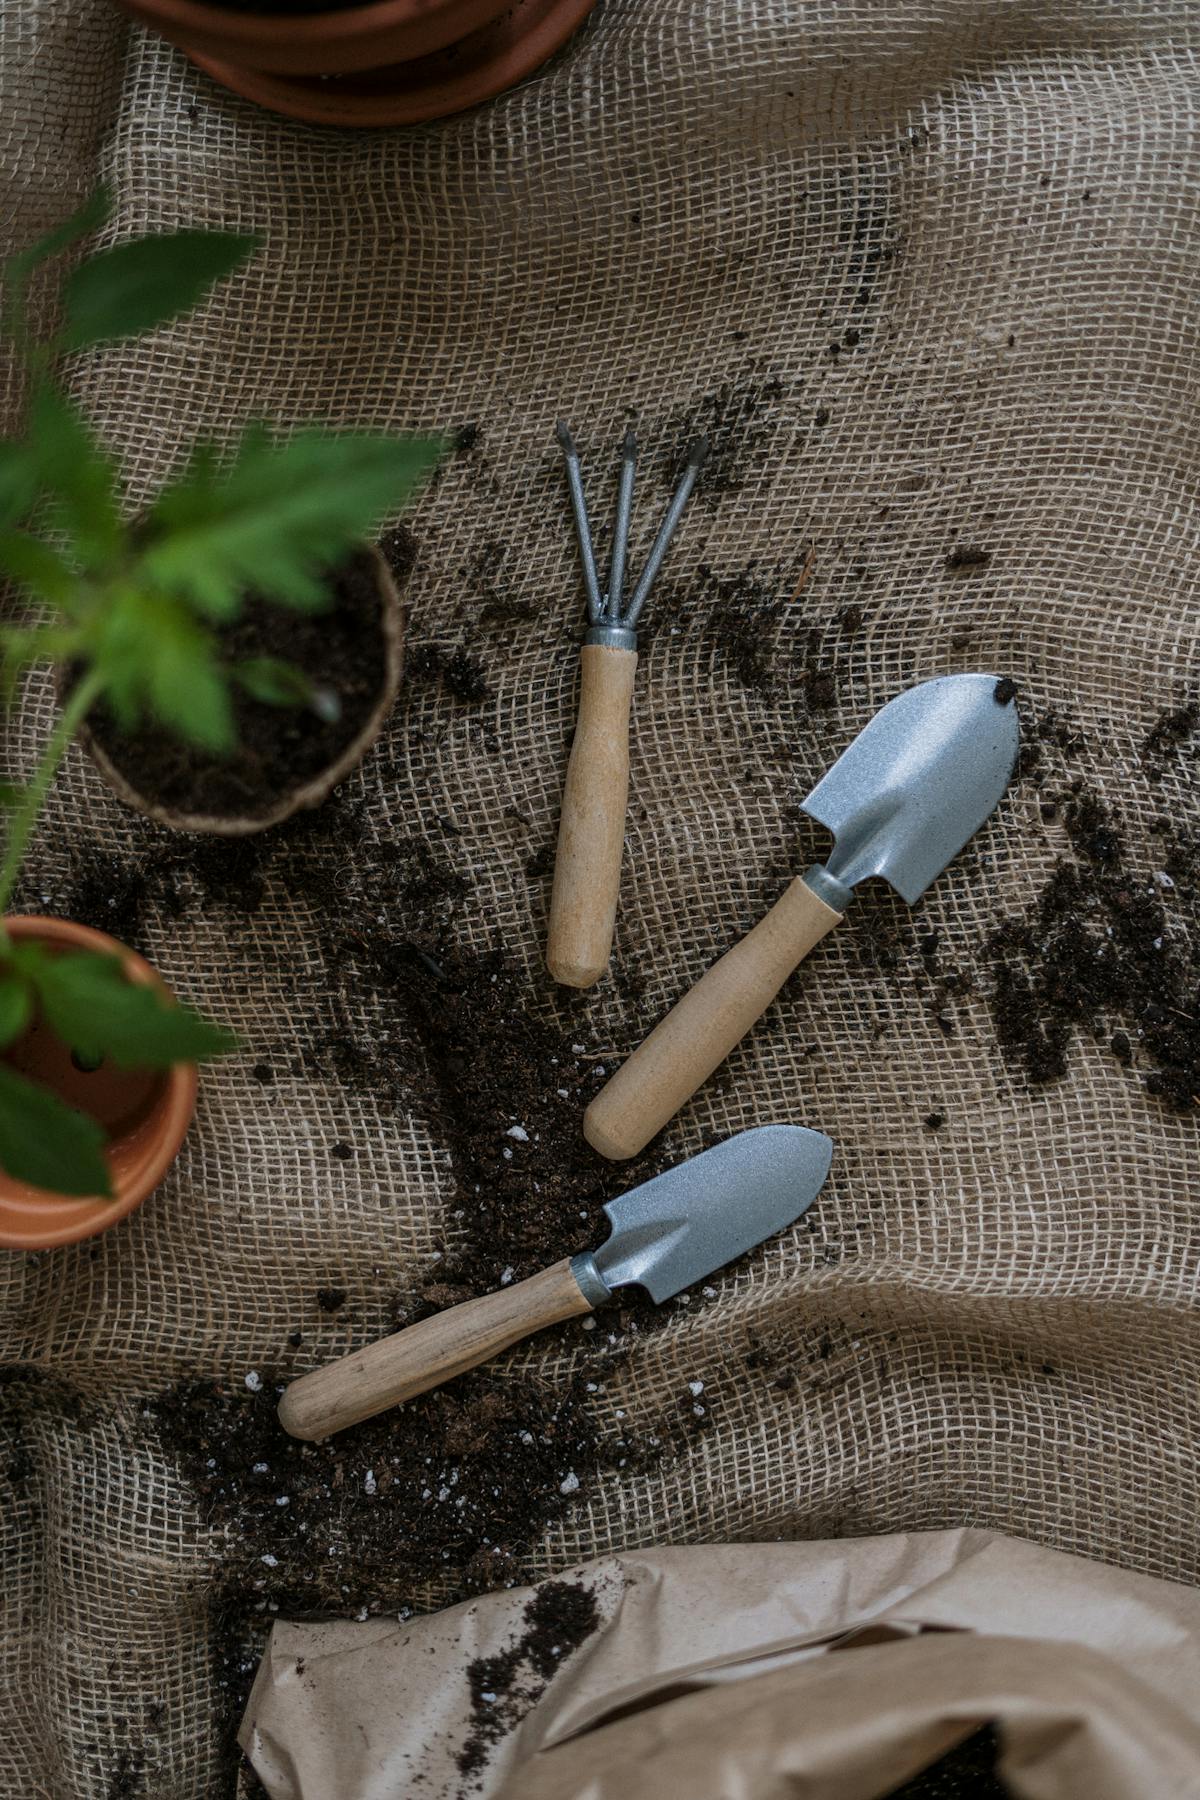
Alright, with our timing sorted and the new home prepared, it's time to talk about getting our hands dirty – well, not yet digging, but getting ready for it! Just like my old IT job, having the right tools makes all the difference, and a bit of pre-planning can save a lot of heartache. I've learned that investing in good quality, sharp tools is absolutely non-negotiable for success, especially when you're trying to minimise damage to a living thing.
My Go-To Tools for the Job
In my 800 sq ft garden, I don't have space for a vast array of specialist equipment, so I rely on a few versatile, heavy-duty items. For moving anything beyond a small perennial, these are my absolute must-haves:
| Tool | Why Randy Uses It (UK Specifics) | My Experience (Randy's Garden) |
|---|---|---|
| If it comes to making sure your plant is happy, a little bit of root preparation can go a long way. This isn't always feasible, but if you know you're going to move a plant well in advance (like a year or more), you can actually encourage it to grow a more compact root ball. |
Pre-Digging Root Preparation for Success
This step is often overlooked, but it can significantly reduce transplant shock. It's especially useful for plants that have been in the ground for many years and have extensive, far-reaching roots.
- Hydrate, Hydrate, Hydrate: About a week before you plan to move the plant, start giving it a good, deep watering every
Seamless Transition: Protecting the Root Ball & The Replanting Process
Alright, you've done the hard graft, the plant is carefully extracted, and that precious root ball is sitting there, looking a bit vulnerable. This next bit is all about speed, care, and making sure that delicate network of roots gets into its new home as quickly and smoothly as possible. I can't stress enough how critical this stage is – any delay or damage now can undo all your meticulous prep work.
Keeping Those Roots Happy and Hydrated
The moment that root ball is out of the ground, it's exposed to the elements. Here in the UK Midlands, that could mean a blustery wind drying it out in minutes, or a sudden downpour making it heavy and difficult to handle. My go-to strategy is immediate protection.
- Wrap it Up: For anything but the smallest shrubs, I immediately wrap the root ball in burlap or a sturdy tarpaulin. Even a thick plastic sheet will do in a pinch. This isn't just about holding the soil together; it's about preventing moisture loss from those fine feeder roots. I learned this the hard way when relocating a mature 'Miss Willmott's Ghost' Eryngium – its taproot was fine, but the delicate side roots desiccated quicker than I could say "cuppa tea" on a surprisingly sunny April morning.
- Handle with Care: Never lift a plant by its stem or branches. Always support the root ball from underneath. For larger shrubs or small trees, this often means getting an extra pair of hands. My partner, Sarah, has been roped into more than a few of these heavy lifting operations in our 800 sq ft garden! We use the burlap as a sling to minimise any jarring or crumbling of the root ball.
- Time is of the Essence: This is not the time for a tea break, tempting as it might be. Your goal is to get that plant from its old spot to its new home and back into the ground within an hour or two at most. The less time those roots are exposed to air, the better their chances.
The Grand Arrival: Placing Your Plant in Its New Home
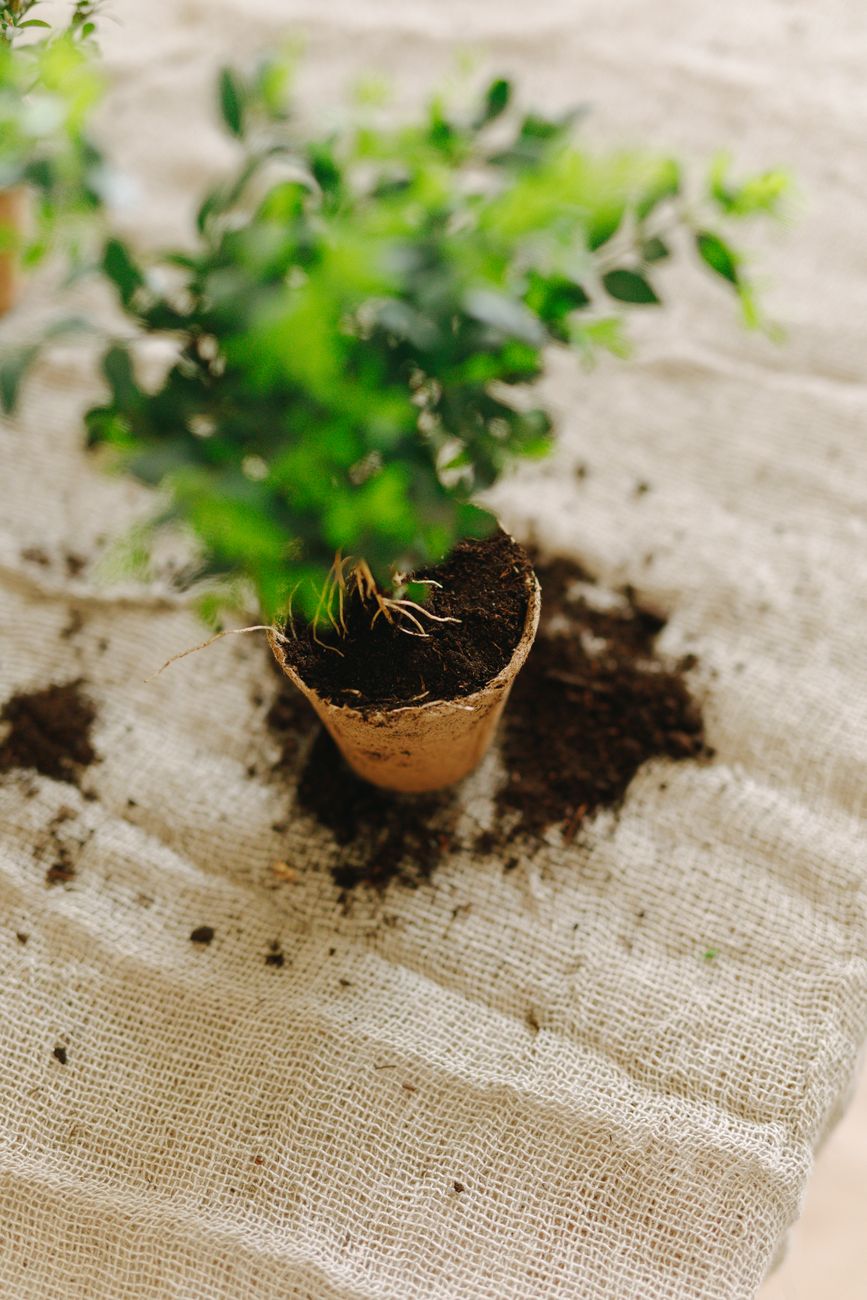
You've got your carefully prepared new planting hole, as discussed in the planning section, ready and waiting. Now it's time for the big moment.
- Check the Depth (Again!): Before unwrapping, place the root ball in the centre of the hole. The top of the root ball should be level with, or even slightly above, the surrounding soil line. This is crucial for drainage and preventing rot – especially important in our often-damp British climate. If it's too deep, lift it out and add more soil to the bottom of the hole, firming it gently. Too shallow? Carefully remove some soil.
- Orient for Success: If your plant had a "favourite" side for sun exposure or a particular aesthetic in its old spot, try to orient it the same way in its new home. It helps the plant adjust, and frankly, it looks better!
- Unwrap and Backfill: Carefully remove the burlap or plastic from around the root ball. Some people leave biodegradable burlap in place, but I prefer to remove it completely to ensure no barrier to root expansion. Start backfilling with the excavated soil, mixed with any amendments you prepared. Work the soil gently around the root ball, ensuring there are no large air pockets. I use my hands to gently firm the soil, ensuring good contact between the roots and the new soil. Don't compact it too much, though – roots need air too!
- The First Drink: Once the hole is mostly filled, give the plant a deep, slow watering. This helps settle the soil around the roots and eliminates any remaining air pockets. After this initial watering, top up the soil if necessary. Create a small soil berm or 'saucer' around the edge of the planting hole to help retain water for future irrigation – a trick I picked up after seeing too much precious water run off during dry spells in my garden!
The Critical Aftercare: Watering, Feeding & Monitoring for Transplant Shock
Congratulations! Your plant is in the ground. But the journey isn't over; in fact, this is where the real test begins. The next few weeks and months are absolutely vital for your plant's survival and long-term health. Think of it like bringing a new baby home – it needs constant care and attention. I've seen countless plants fail at this stage, often due to over- or under-watering, or simply not understanding the signs of stress.
Watering: The Golden Rule
This is, without a doubt, the most important aspect of aftercare. Your newly relocated plant has lost a significant portion of its root system and needs consistent moisture to establish new roots.
- Consistency is Key: For the first few weeks, I aim to check the soil moisture every other day. Stick your finger about an inch or two into the soil. If it feels dry, water deeply. If it's still damp, hold off. Our British weather is notoriously fickle; a week of glorious sunshine can be followed by days of relentless rain. You need to adapt your watering schedule accordingly. Don't just water on a fixed schedule – check the soil!
- Deep and Thorough: When you water, do it slowly and deeply, allowing the water to penetrate the entire root ball. Shallow watering encourages surface roots, which are more susceptible to drying out. I usually give a newly planted shrub or small tree a good 5-10 litres of water initially, then monitor.
- Mulch, Mulch, Mulch: Once you've got the watering right, apply a good layer (2-3 inches) of organic mulch around the base of the plant, keeping it a few inches away from the stem. This is a game-changer for moisture retention, weed suppression, and temperature regulation – especially helpful during our drier spells or unexpected cold snaps. I use my own compost from the raised beds, or well-rotted wood chippings.
Feeding for Revival
While immediate feeding isn't always necessary, giving your plant a gentle boost can aid recovery.
- Root Stimulants First: I generally hold off on strong fertilisers for the first few weeks. Instead, I opt for a liquid seaweed extract or a specific root stimulant. These products encourage new root growth rather than lush top growth, which is exactly what your stressed plant needs. I've had great success with a kelp-based product on my greenhouse tomatoes, and I apply a diluted solution to newly moved shrubs too.
- Delayed Nutrition: Once you start seeing signs of new growth (usually after 4-6 weeks), you can introduce a balanced, slow-release granular fertiliser, or a diluted liquid feed. Always follow the product instructions carefully, and remember, less is often more when a plant is recovering.
Monitoring for Transplant Shock: Your Vigilance is its Lifeline
Transplant shock is real, and it's your plant's way of telling you it's struggling. Knowing what to look for, and how to react, is vital.
- What to Look For:
- Wilting: This is the most common sign. If leaves are drooping, it could be a sign of insufficient water (the roots can't keep up with demand) or, paradoxically, too much water (root rot). Check the soil moisture immediately.
- Leaf Scorch/Browning: Edges of leaves turning brown or crispy, especially during warmer weather, often indicates the roots aren't able to supply enough moisture.
- Leaf Drop: Plants shedding healthy-looking leaves is a clear sign of stress.
- Lack of New Growth: If weeks go by with no new shoots or buds, your plant is likely struggling to establish.
- What to Do:
- Adjust Watering: This is almost always the first step.
- Provide Shade: If it's a particularly sunny period, rig up some temporary shade using a garden parasol or shade cloth to reduce stress on the leaves. I've done this for a struggling 'Silver Queen' Euonymus on a scorching August day here in the Midlands – it made all the difference.
- Consider Pruning (Lightly): If wilting is severe and persistent, very light pruning of outer branches can reduce the amount of foliage the struggling root system needs to support. Only do this if you're sure it's necessary and avoid heavy pruning.
- Be Patient: Sometimes, plants just need time. As long as the stems are still pliable and green, there's hope!
Here's a quick comparison table to help you spot the signs in your UK garden:
| Feature | Signs of a Happy, Recovering Plant (UK Edition) | Signs of Transplant Shock (UK Edition) |
|---|---|---|
| Leaves | Turgid, vibrant green (or natural colour), new growth appearing (even small buds). | Wilting, drooping, curling, browning/scorching at edges, yellowing, premature leaf drop. |
| Stems/Branches | Plump, firm, flexible, healthy colour. | Limp, shrivelling, brittle, discoloured (e.g., blackening), no new bud development. |
| Soil Moisture | Consistently damp but not waterlogged; drains well. | Either bone dry (underwatering) or perpetually soggy (overwatering/poor drainage). |
| Overall Vigor | Gradual return to previous vitality, new shoots emerging. | Stunted growth, no new development, looking generally "sad" or "tired" for weeks. |
| Pests/Diseases | Generally resilient. | More susceptible to common UK pests (aphids, slugs, snails) and fungal issues due to stress. |
| Timeframe | New growth within 2-6 weeks, settling in within 3-6 months. | Symptoms persist or worsen over 2-3 weeks without improvement. |
Conclusion: Patience & Persistence for a Thriving Relocated Plant
Phew! If you've made it this far, you're armed with the knowledge and, more importantly, the mindset to successfully relocate an established plant in your UK garden. It’s certainly not a task for the faint-hearted, and it definitely requires more than just a shovel and a prayer.
From my own five years of intensive gardening here in the Midlands, I've learned that moving a mature shrub or a small tree is a delicate dance between planning, technique, and sheer stubbornness. I've made mistakes – trying to move a mature Buddleia on a sunny June day (rookie error!), not preparing the new hole adequately, or simply underestimating the weight of a root ball. Each hiccup taught me something valuable about our specific British conditions and the resilience (or lack thereof) of different plants.
The truth is, there are no guarantees in gardening, especially when you're asking a plant to pack up its bags and move home. But by following these steps – strategic planning, meticulous preparation, careful execution, and vigilant aftercare – you drastically stack the odds in your favour. Think of it as an investment in your garden's future.
The reward, when that relocated plant not only survives but truly thrives in its new spot, is immense. It's a testament to your hard work, your understanding of nature, and your dedication to creating the garden you envision. I remember the sheer joy when my relocated 'Pinky Winky' Hydrangea burst into bloom the following summer after a particularly stressful move – it was a moment of pure gardening triumph!
So, don't be afraid to tackle this challenge. Approach it with respect for the plant, an understanding of the process, and a good dose of patience. Your garden will thank you for it, and you'll gain invaluable experience that no textbook can teach.
Have you successfully moved an established plant in your UK garden? What were your biggest challenges or triumphs? Share your stories and tips in the comments below – I'd love to hear them! Happy relocating, fellow gardeners!
