Alright, let's get those sun-loving plants truly thriving, even in those awkward, borderline shady spots! I've spent years wrestling with the British weather and trying to squeeze every last ray of sunshine into my 800 sq ft Midlands garden, so trust me, I know the struggle.
Unlocking More Sunshine: Why Reflective Panels are Your Shady Spot Solution
If you're anything like me, you've probably got a few spots in your UK garden that you eye up longingly, wishing they just got a bit more direct sunlight. Here in the Midlands, with our often-grey skies and the sun's lower angle for much of the growing season, those "part-sun" areas can quickly become "mostly shade" for anything that truly craves the sun. I've been there, planting my favourite 'Sungold' tomatoes outside the greenhouse, hoping for the best, only to see them stretch, look a bit pale, and produce a fraction of what they could. My 'Cosmic Crimson' basil, usually a vibrant purple, would end up a leggy, pale green mess in anything less than perfect sun.
That's where strategic reflective panels come in. This isn't about magically creating a new sun, but about intelligently redirecting the sun you do get. Think of it like a clever IT solution for your garden – optimising your existing resources! When I first started gardening about five years ago, I thought "more light" was just "more light." I soon learned the hard way that sun-loving vegetables and flowers don't just need brightness; they need direct photons hitting their leaves for optimal photosynthesis. Without that concentrated energy, they struggle to produce the sugars they need for strong growth, abundant flowers, and delicious fruit.
My first foray into reflection was pretty crude, I'll admit. I stapled some old kitchen foil to a bit of plywood and propped it up behind a struggling chilli plant – a 'Hungarian Hot Wax' that was clearly not enjoying its spot by the fence. To my surprise, it actually perked up! Not a miracle, but a noticeable improvement. That's when the obsession truly began. I realised that for those precious hours of direct sun, a well-placed panel could extend that light exposure, bouncing rays into areas that would otherwise be in shadow. It’s been a game-changer for pushing the boundaries of what I can grow in my compact UK garden, allowing me to ripen more tomatoes outside the greenhouse, get better yields from my peppers and chillies, and even encourage more prolific blooms on my sunflowers and dahlias in slightly less-than-ideal spots. It's about giving those plants the best possible chance to thrive, even when our British weather isn't playing ball.
Decoding Your Garden's Light: How to Map Sun Exposure for Optimal Growth
Before you even think about putting up a single reflective panel, you must understand your garden's existing light patterns. This is absolutely critical. I learned this the hard way when I assumed a spot got "enough sun" because it looked bright, only to find my courgettes were struggling. Brightness isn't the same as direct sunlight.
My method, which I've refined over several seasons here in my 800 sq ft Midlands garden, involves a bit of detective work. Grab a notebook, a pencil, and if you're fancy, a compass (or just your phone's compass app). Over the course of a typical sunny day in late spring or early summer (when the sun is highest), go out into your garden every hour or two, from sunrise to sunset. Draw a simple sketch of your garden layout and mark down exactly where the direct sun falls at each interval. Pay close attention to shadows cast by fences, sheds, trees, and even your house.
You'll quickly start to see patterns. That spot that gets glorious morning sun might be in deep shade by lunchtime, or vice-versa. Remember, the sun's path changes throughout the year, so what works in June might not be the same in August. For our UK climate, where the sun is often lower in the sky and we have more cloudy days, those hours of direct sun are gold.
Here's a breakdown of how I categorise light in my garden, focusing on what truly counts for sun-lovers:
| Light Category | Hours of Direct Sun (UK Context) | What it Means for Your Plants (in my experience) |
|---|---|---|
| Full Sun | 6+ hours of uninterrupted direct sunlight daily. | The holy grail! Ideal for most fruiting vegetables (tomatoes, peppers, squashes), sunflowers, many herbs. Often hard to achieve consistently here. |
| Partial Sun | 4-6 hours of direct sunlight daily, often including some afternoon sun. | Good for many vegetables that tolerate some shade (beans, chard), and flowers that appreciate a break from intense midday sun (if we get any!). |
| Partial Shade | 2-4 hours of direct sunlight daily, typically morning sun or dappled light throughout the day. | Where reflective panels shine! This is my target zone for boosting light for herbs like basil, some salad greens, and even smaller tomato varieties. |
| Full Shade | Less than 2 hours of direct sunlight, or dappled light all day. | Best for shade-loving plants (hostas, ferns). Reflective panels are unlikely to make enough difference for sun-lovers here. |
My "borderline" spots are typically those in the partial shade category, like the patch against the north-facing fence where my runner beans always struggled to reach their full potential, or the corner near the old apple tree that gets dappled light in the morning but then goes into full shadow by 2 PM. By mapping these areas, I know exactly where I need to strategically bounce some extra rays. It's a bit of effort upfront, but it pays dividends in healthier, more productive plants.
Selecting Your Shine: Best DIY Reflective Materials for UK Gardeners
Once you've mapped your garden's light, it's time for the fun part: choosing your reflective materials. When I first started, I grabbed anything shiny. Kitchen foil was a disaster – it tore easily, crinkled up, and looked awful after the first bit of British drizzle. Old mirrors were too heavy, too fragile, and frankly, a bit dangerous in a busy garden. I quickly learned that for DIY reflective panels in the UK, you need materials that are not only highly reflective but also durable, weather-resistant, and cost-effective.
Here in the Midlands, we get our fair share of rain, wind, and varying temperatures, so whatever you choose needs to stand up to our unpredictable climate. I've tried several options over the years, some more successful than others.
Here’s a comparison of the best DIY reflective materials I've found work well for UK gardeners:
| Material | Reflectivity | Durability (UK Weather) | Cost | Ease of DIY (My Experience) | Best Use Cases (in my garden) |
|---|---|---|---|---|---|
| Mylar Film (e.g., Space Blanket) | Excellent | Moderate (can tear) | Low | Very easy to cut and attach to a frame (plywood, cardboard). Needs protection from strong winds. Can crease easily. | Inside greenhouse, temporary outdoor boosts, behind individual potted plants. My 'Ailsa Craig' tomatoes love it! |
| Rigid Aluminium Panels (e.g., Insulation boards with foil) | Very Good | Excellent | Medium | Can be cut with a utility knife. Heavier than Mylar, so needs a sturdy frame or propping. Edges can be sharp, so handle with care. | Permanent outdoor panels, behind raised beds or against fences. Great for my peppers and chillies outside the greenhouse. |
| White Painted Board (Exterior Paint) | Good | Good | Low | Easy to paint any spare wood. Less reflective than Mylar/Aluminium, but still effective. Needs repainting every 1-2 years. | Large, subtle background panels, behind flowers where extreme reflection isn't needed. My shed wall is painted white. |
| Aluminium Foil (Heavy Duty, mounted) | Good | Poor (without backing) | Very Low | Needs to be carefully smoothed and glued/taped onto a rigid backing board (plywood, cardboard). Prone to wrinkling and tearing. | Short-term, experimental panels. I used this for my first chilli experiment, but it's a faff for anything long-term. |
For my own garden, I've settled on a combination. Inside the greenhouse, particularly in the slightly shadier spots for my heirloom tomatoes like 'Cherokee Purple' or 'Black Krim', Mylar stapled to a simple wooden frame works wonders. It's cheap, effective, and easy to adjust. For outdoor use, especially behind my raised beds where I grow thirsty sun-lovers like peppers or 'Fatali' chillies, I prefer rigid aluminium-backed insulation boards. They stand up to the wind and rain much better, though they are a bit more of an initial investment. White painted boards are also a great, more subtle option if you're trying to integrate the panels into your garden aesthetics without them screaming "shiny!". Remember, the goal is practical reflection that lasts, not just a quick fix that falls apart in the first stiff breeze.
The Art of Angle: DIY Reflective Panel Placement for Maximum Sun Boost
This is where my old IT brain kicks in! It's not just about having a shiny panel; it's about getting that light exactly where your plants need it most. Think of it like a carefully aimed laser beam, not just a floodlight. The key principle here is simple physics: the angle of incidence equals the angle of reflection. This means if the sun hits your panel at a certain angle, it will bounce off at the same angle. Your goal is to direct that bounced light onto the leaves of your plants.
I've spent countless hours, often with a small hand mirror and a sundial app on my phone, experimenting with panel placement in my Midlands garden. One mistake I made early on was just propping a panel up randomly, assuming "more light" was enough. It wasn't. You need to consider the sun's path throughout the day, the height of your plants, and what exactly you're trying to illuminate.
Here’s how I approach the art of angling for maximum sun boost:
- Observe the Shadows: Go back to your light map. Identify the exact times and areas where your plants are in shadow. This is your target zone for the reflected light.
- Trial with a Small Mirror: Before committing to a large panel, use a small mirror on a sunny day. Hold it where you plan to place your panel and adjust its angle until the reflected sunlight hits your target plant's leaves. This gives you a fantastic visual of the optimal angle.
- Positioning is Key:
- South-Facing Backdrops: If you have a south-facing wall or fence, this is your prime real estate. Panels placed here can capture the low morning or late afternoon sun and bounce it deeper into your beds.
- North of the Plant: For plants that are struggling with insufficient light from the south, placing a panel to their north (or slightly north-east/north-west) can capture direct sun and reflect it back onto the plant's south-facing side, effectively doubling its exposure.
- East/West Sides: If your plants get good morning sun but fade in the afternoon (or vice versa), a panel on the east or west side can extend that crucial direct light.
- Adjust for Plant Growth: Plants grow! What works for a seedling won't work for a fully grown tomato plant. I'm constantly adjusting the angle and height of my panels as my plants mature. This often means having adjustable stands or simply propping panels on bricks or wooden blocks.
- Consider the Sun's Seasonal Shift: The sun's path is highest in summer. As we move into late summer and autumn here in the UK, the sun sits lower in the sky. You'll need to adjust your panels to catch those lower angles. I learned this the hard way when my late-season 'Black Krim' tomatoes suddenly stopped ripening after a great start – I'd forgotten to lower their reflective panel!
- Keep Them Clean: Dust, pollen, and our notorious British rain can dull the reflective surface. A quick wipe down every few weeks will ensure maximum efficiency.
Here's a visual example of how strategic placement can work:
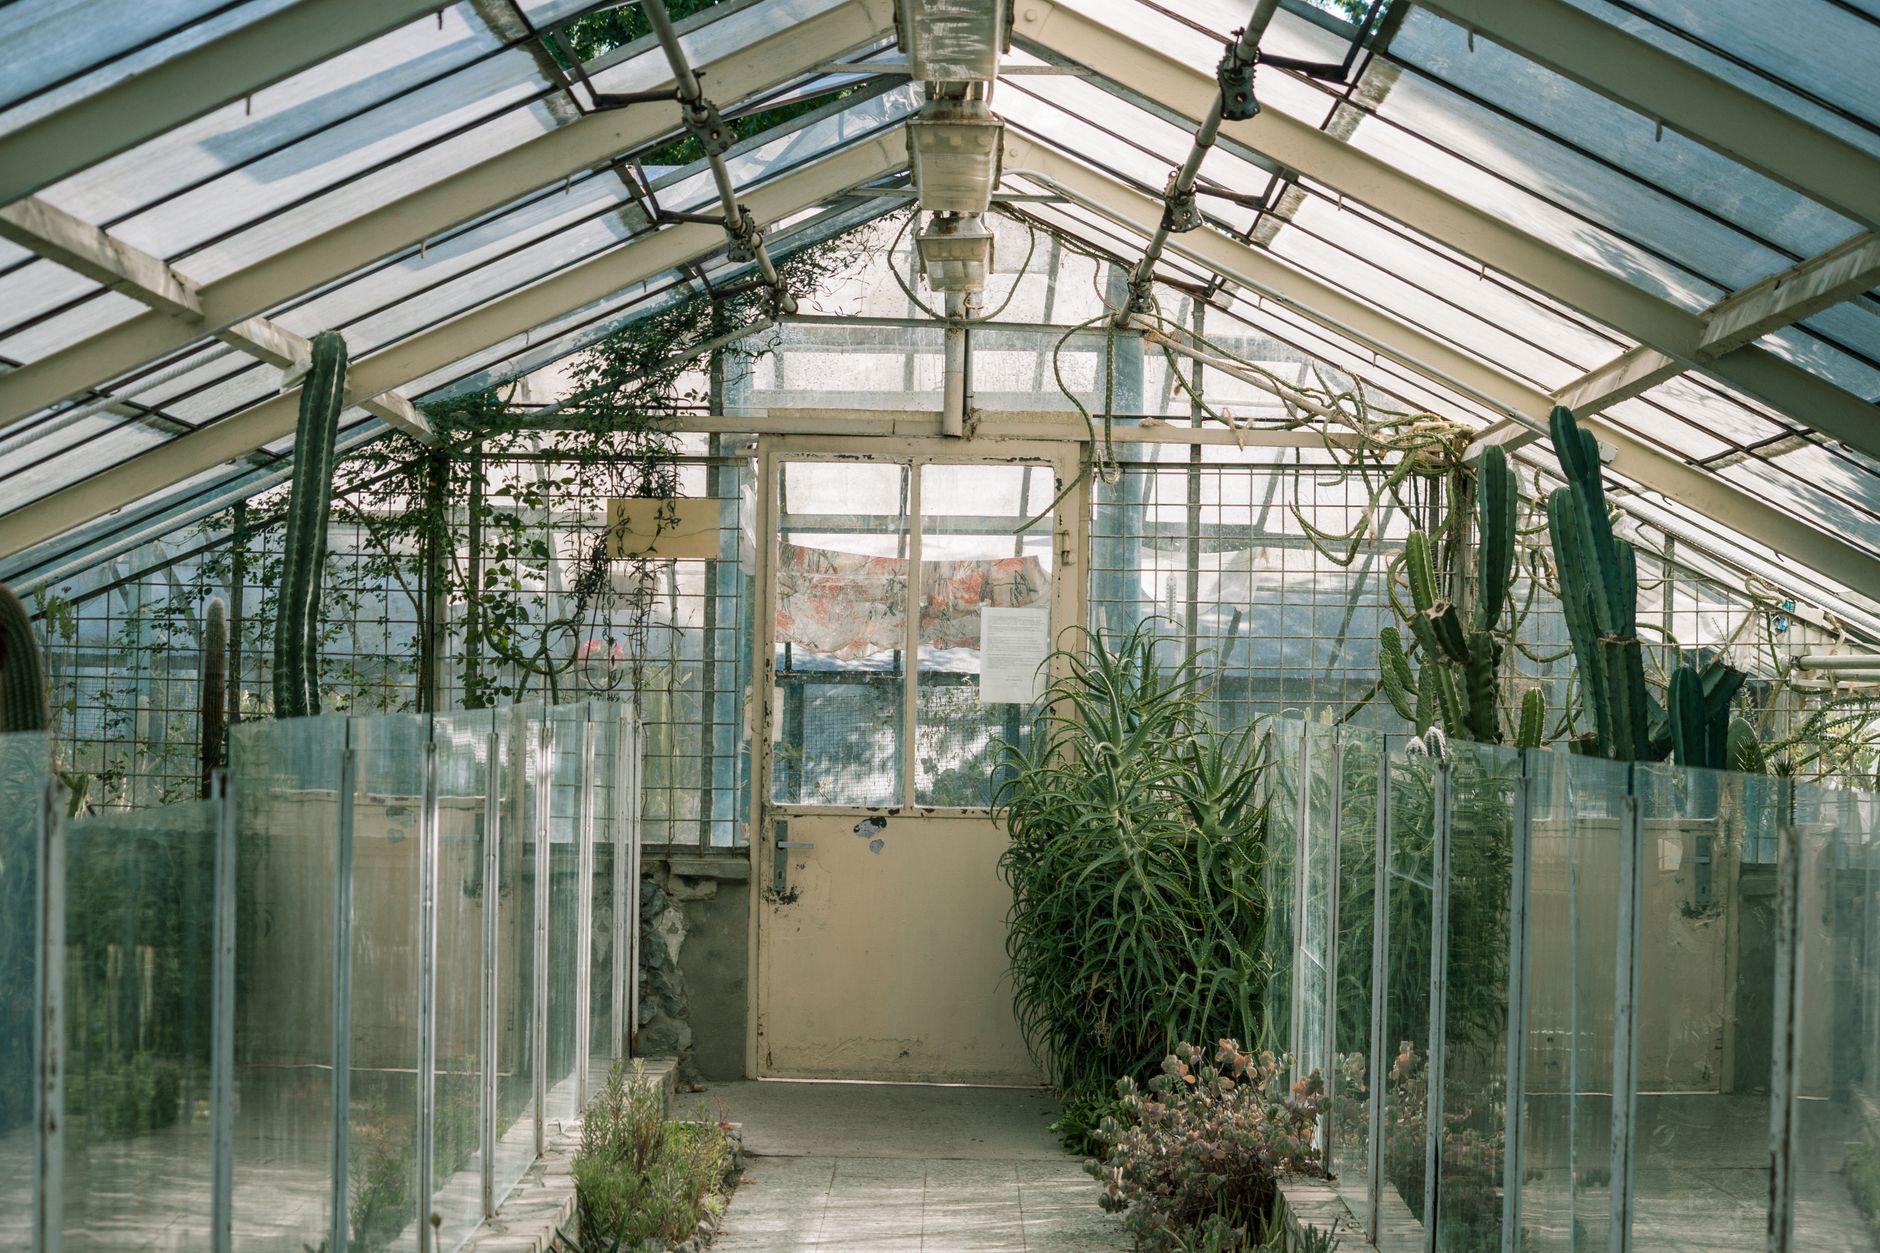
In my own garden, I had a particularly stubborn 'Black Krim' tomato plant that was getting about 4 hours of direct sun near the shed. By placing a rigid aluminium panel angled just so, to the north-east of the plant, I managed to extend its direct sun exposure by another 2 hours during the critical fruiting period. It made all the difference, giving me a fantastic yield of those dark, rich tomatoes that season. It’s all about being observant and a little bit clever with how you use the light you've got.
Build Your Own Sun-Catcher: Step-by-Step DIY Reflective Panel Construction
Alright, you've mapped your light, you've chosen your materials – now for the fun bit: getting hands-on and building these sun-boosters! I remember my first panel; it was a bit wonky, made from an old piece of plywood and some kitchen foil, but it taught me loads. What I've learned from countless iterations in my 800 sq ft Midlands garden is that simplicity and durability are key, especially with our changeable British weather.
Here’s a basic, robust method I've refined over the years that works a treat for our UK conditions:
What You'll Need:
- Your chosen reflective material: As we discussed, Mylar sheeting, aluminium flashing, or even heavy-duty kitchen foil (if you're on a tight budget and don't mind replacing it more often).
- A rigid backing material: Plywood, MDF, or even thick corrugated plastic sheets work well. I often repurpose old fence panels or bits of shed cladding. The size will depend on your sun-mapping and the area you want to boost. For my 'Cherokee Purple' tomatoes in a tricky corner of the greenhouse, I used a panel roughly 2ft x 3ft.
- Strong adhesive: Spray adhesive, heavy-duty contact adhesive, or even outdoor-grade wood glue if your reflective material can handle it.
- Staple gun or small tacks: For extra security, especially if you're using Mylar or foil.
- Utility knife or strong scissors: For cutting your reflective material.
- Saw: For cutting your backing material to size.
- Outdoor-grade paint or sealant (optional but recommended): Especially for wooden backing, to protect against our damp UK climate.
- Stakes or mounting brackets: For positioning the panel in your garden. I often just use sturdy wooden stakes screwed into the back of the panel, then hammered into the ground.
The Build Process:
- Prepare Your Backing: Cut your plywood or chosen backing material to the desired size. If it's wood, I highly recommend giving it a coat of outdoor paint or sealant. I learnt this the hard way when my first few panels started to warp and rot after a particularly wet Midlands winter! Let it dry completely.
- Cut Your Reflective Material: Lay your reflective material flat and cut it to size, leaving a slight overlap (about an inch) around all edges of your backing board. This overlap will give you something to wrap around for a neater, more secure finish.
- Apply Adhesive: Working in sections if necessary, apply your strong adhesive to the backing board. Make sure you get good, even coverage right to the edges.
- Attach Reflective Material: Carefully lay your reflective material onto the adhesive, starting from one edge and smoothing it out to avoid air bubbles or wrinkles. This is where a steady hand comes in handy!
- Secure the Edges: Wrap the overlapping edges of the reflective material around the sides of the backing board and secure them with more adhesive, staples, or small tacks. This creates a much cleaner look and prevents the edges from peeling back with wind and rain – a common issue I faced early on here in Britain.
- Add Mounting: Now, attach your chosen mounting method. For garden beds, I typically screw two sturdy wooden stakes to the back of the panel, spaced about 18 inches apart. Make sure they're long enough to go deep into the soil for stability. For a greenhouse, you might attach hooks or eyelets to hang it.
- Cure Time: Let everything dry and cure completely according to your adhesive's instructions. Patience here prevents your hard work from falling apart after the first gust of wind!
That's it! You've built your very own sun-catcher. I love seeing my DIY creations out in the garden, knowing they're giving my plants that extra boost they need to thrive in our often-challenging UK climate.
Sunshine Superstars: UK Veg & Flowers That Thrive with Extra Light
So, you've got your reflective panels ready. But which plants will truly sing with that extra bit of directed sunshine? In my UK garden, I've seen some incredible transformations, especially with varieties that traditionally struggle to reach their full potential in our often-cooler, cloudier climate. We might not have endless Mediterranean sun, but we can certainly fake it for certain crops!
I've learned that heat-loving annuals and fruiting vegetables are the real beneficiaries. That extra light energy translates directly into more vigorous growth, earlier ripening, and often, significantly higher yields.
For example, my greenhouse tomatoes, particularly my beloved heirloom varieties like 'Brandywine' and 'Black Krim', absolutely adore the reflected light. Placing a panel on the north side of the greenhouse, angled just right, pushes their growth even further, helping them ripen those huge fruits before the autumn chill sets in. Outside, in a slightly shaded raised bed, I've used panels to coax better harvests from peppers and aubergines, which normally sulk if they don't get enough warmth and sun.
Here's a detailed comparison table of some of the UK veg and flowers that truly become "sunshine superstars" with a little help from reflective panels:
| Plant Type | Specific UK Varieties I Recommend | Why Extra Light Helps (Randy's Experience) |
|---|---|---|
| My tomatoes in a slightly shaded area used to ripen slowly. With panels, they're earlier and larger. | ||
| :--- | :--- | :--- |
| Tomatoes | 'Sungold', 'Shirley', 'Gardener's Delight', 'Cherokee Purple' (Greenhouse) | My 'Sungold' tomatoes in a slightly shaded raised bed needed extra light to reach their full potential. The reflective panel doubled their yield, making them truly vibrant and stopping them from getting leggy. For the 'Cherokee Purple', it helped ripen the tricky fruit in the greenhouse before the UK autumn chill arrived. |
