
Unmasking the Midnight Marauders: Protecting Your UK Garden Starts
Oh, the sheer heartbreak of it, isn't it? You’ve spent weeks nurturing those precious seedlings indoors, carefully pricking them out, watching their first true leaves unfurl. Then, you harden them off, ready for their grand debut in the garden. You tuck them into your raised beds with such optimism, dreaming of homegrown salads or a bumper crop of 'Sungold' tomatoes. You wake up the next morning, grab your cuppa, and step outside, only to find a line of your young plants mysteriously toppled, cut clean off at the soil line, like some tiny, invisible assassin has been through with a microscopic chainsaw.
I’ve been there. More times than I care to admit, especially in my early years of gardening here in the UK Midlands. That gut-wrenching feeling of seeing a whole row of promising 'Cosmic Purple' carrot seedlings or my beloved 'Black Krim' tomato starts simply vanish overnight. For a while, I blamed everything – slugs, birds, even rogue squirrels. But after five years of intense, hands-on gardening in my 800 sq ft backyard, packed with raised beds and a bustling greenhouse, I’ve learned to identify the true culprit behind these midnight massacres. And for me, and countless other UK gardeners, it’s often the dreaded cutworm.
What works here in Britain, with our often-unpredictable weather and specific pest pressures, isn't always what you'll read in a generic guide. I’ve experimented, failed, learned, and finally found organic ways to protect my young plants from these stealthy destroyers. If you’re tired of losing your hard work, pull up a chair, grab a biscuit, and let’s talk about how we can outsmart these little blighters. I'm going to share everything I've learned from my own UK gardening experience – from identifying the enemy to finding them, and most importantly, stopping them in their tracks, organically.
Understanding the Enemy: Cutworm Life Cycle and Habits in the UK
So, who exactly are these shadowy figures causing all the chaos? Cutworms aren't a single species, but rather the larval stage of several different moth species, mostly from the Noctuid family. Here in the UK, we commonly encounter species like the Turnip Moth (Agrotis segetum) and the Heart and Dart Moth (Agrotis exclamationis), among others. They’re a common garden pest right across Britain, from the south coast up to the Scottish Highlands.
Their life cycle is precisely why they cause so much trouble, especially in spring and early summer when our young plants are most vulnerable. Adult moths typically lay their eggs in late summer or autumn on weeds, grass, or directly in the soil. These eggs hatch into tiny larvae that feed on roots and decaying matter through the autumn. Here in the Midlands, if we have a mild winter – which seems to be happening more often lately – many of these larvae will simply overwinter in the soil, growing larger and hungrier.
Come spring, when the soil warms up and we gardeners are enthusiastically planting out our tender young starts, these overwintered cutworms emerge from the soil at night. They're nocturnal feeders, which is why you rarely see them in action. They’ll wrap themselves around the stem of a young plant, often just at or below the soil line, and chomp straight through it. A single cutworm can decimate several seedlings in one night! During the day, they burrow back into the soil, usually within an inch or two of the surface, to hide from predators and the sun. This habit of hiding during the day and feasting at night is what makes them such a frustrating pest to deal with. I remember one particularly mild spring, I lost an entire bed of 'Red Russian' kale and 'Rainbow Chard' starts in a week before I properly understood their nocturnal habits. It was a tough lesson!
Is it Cutworms? Differentiating Damage from Other UK Garden Pests
When you discover your precious seedlings toppled and lifeless, it’s easy to jump to conclusions and blame the first pest that comes to mind. Believe me, I've done it! I've sworn at slugs, shooed away birds, and even had stern words with a particularly brazen robin. But understanding the specific signs of cutworm damage is crucial for effective organic control. It’s a bit like being a detective in your own garden.
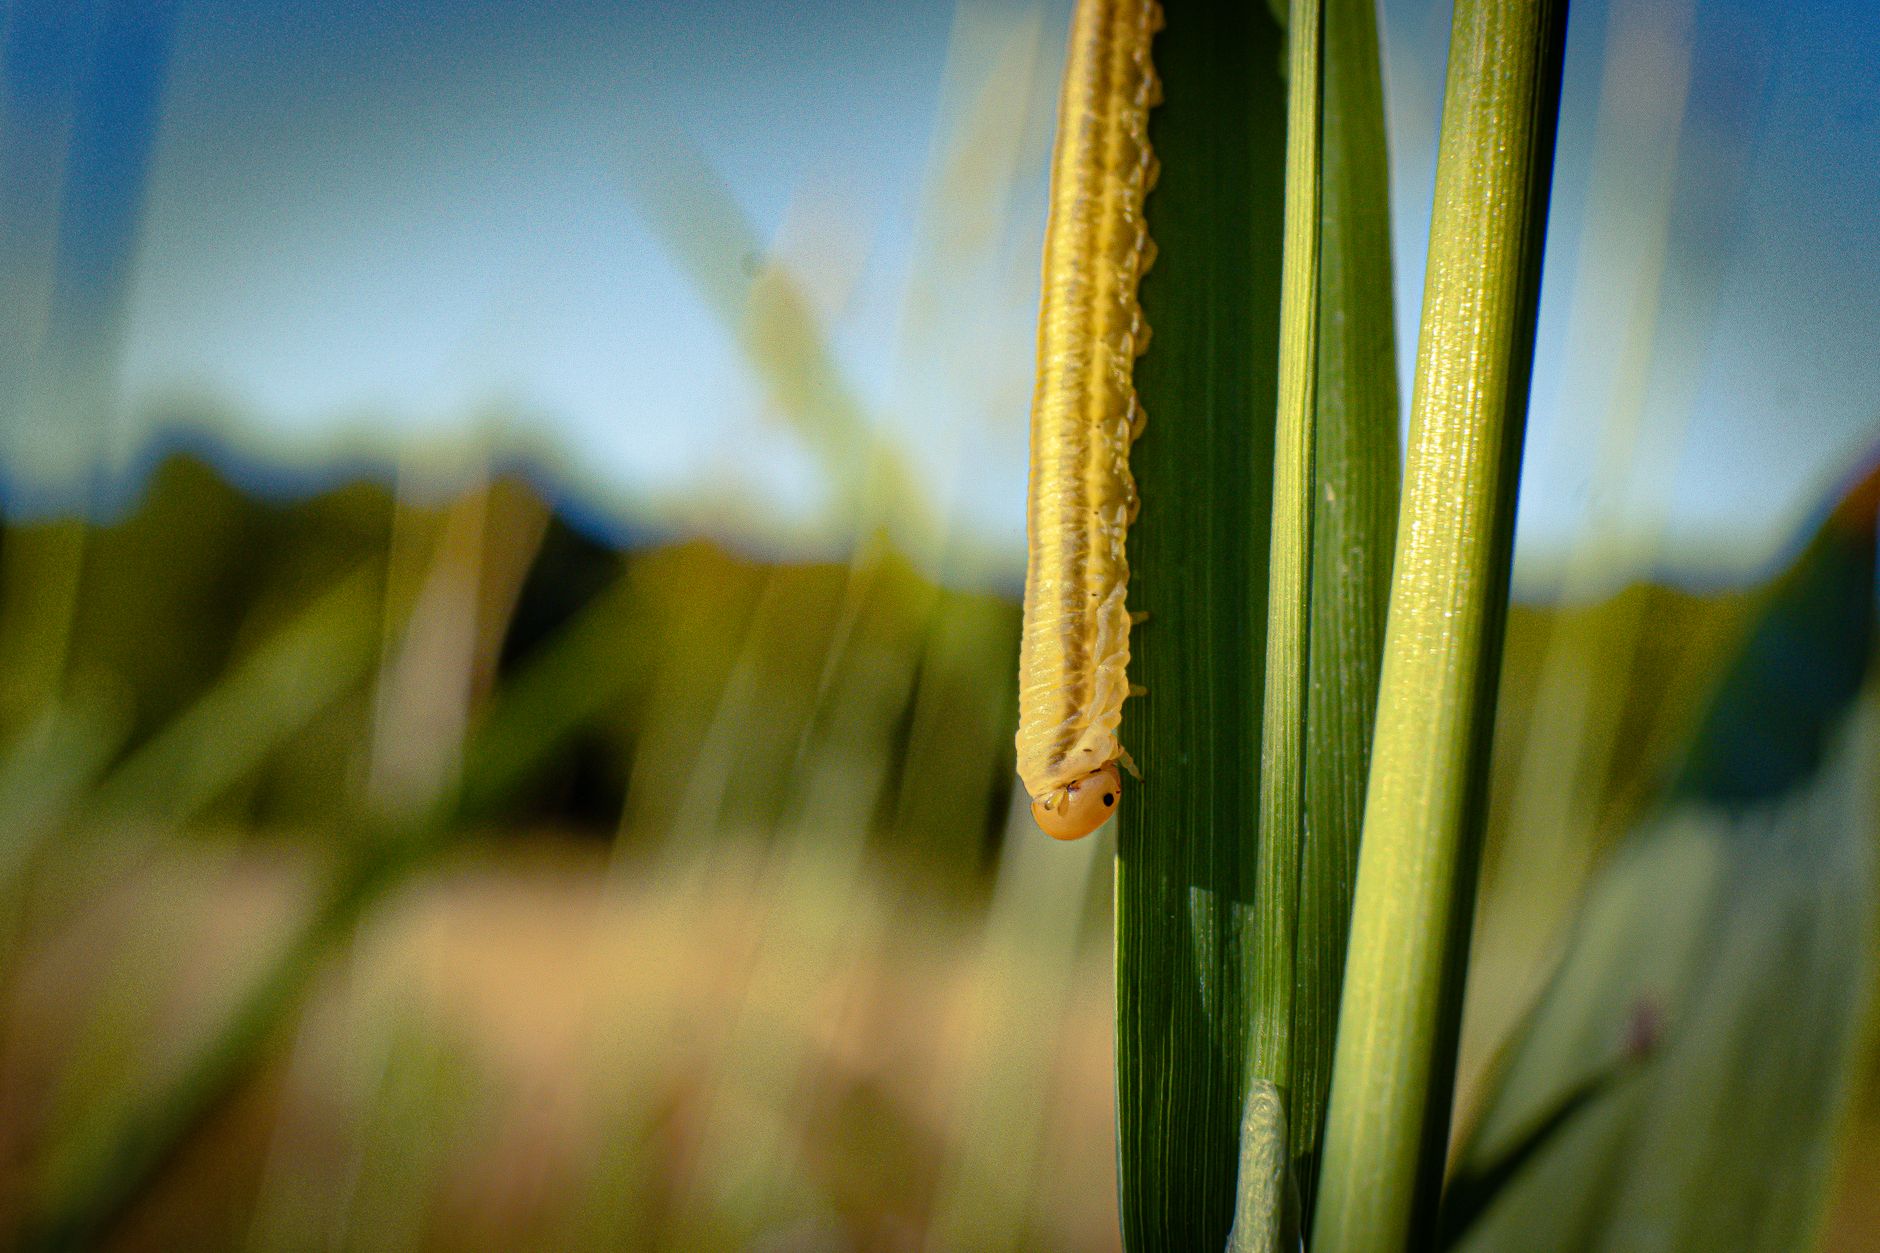
The classic cutworm damage is usually a clean cut through the stem, right at or just below the soil surface. The seedling will often be lying on its side, sometimes pulled slightly into the soil. You might find several plants in a row affected, or a patch of them. What you won't typically see are chewed leaves, slime trails, or visible pests during the day. This is the key differentiator.
One year, I lost a whole row of 'Costoluto Fiorentino' lettuce starts and initially thought it was slugs because we'd had a lot of rain. I put out slug traps, but the damage continued. It was only when I carefully investigated the soil around a freshly cut plant that I found the tell-tale curled-up cutworm. That's when I realised my mistake.
To help you narrow down the culprit, here’s a quick comparison of cutworm damage versus other common UK garden pests that might be targeting your young plants:
| Pest | Typical Damage in UK Garden | Key Differentiating Signs |
|---|---|---|
| Cutworms | Seedlings cut cleanly at or just below soil level; plants toppled and often look like they've been snipped. | No visible pest during the day; no slime trails; usually a single, clean cut; plants disappear quickly. |
| Slugs/Snails | Ragged holes in leaves; entire leaves sometimes consumed; often from the edges inwards. | Silvery slime trails visible on leaves, soil, or nearby surfaces; visible slugs/snails (especially at night or in damp conditions). |
| Birds | Pecked leaves, pulled-up seedlings (sometimes whole plants removed), scattered soil. | Often active during the day; bird droppings nearby; damage can look more like tearing than a clean cut. |
| Mice/Voles | Gnawed stems/roots; plants pulled into burrows; seeds dug up. | Small droppings; visible burrows or tunnels; plants disappearing entirely from the soil. |
| Disease | Wilting, discoloration (yellowing, browning), stunted growth; no physical cuts. | No pest visible; symptoms spread over time; often specific patterns on leaves or stems; plants may slowly decline. |
If you're seeing those clean, surgical cuts and no other obvious signs, it’s highly probable you’re dealing with cutworms. Knowing this is half the battle won, because now we can move on to finding these elusive little destroyers!
Locating the Lurking Larvae: How to Find Cutworms in Your Soil
Alright, so you’ve got the characteristic cutworm damage. Now comes the slightly less glamorous, but absolutely essential, part of the job: finding the buggers. This is where my old IT debugging skills actually come in handy – it's all about methodically searching for the problem source. You can't stop them if you can't find them, right?
Cutworms are incredibly good at hiding. As I mentioned, they spend their days burrowed just beneath the soil surface. So, the best time to look for them isn’t at night when they’re feeding, but rather first thing in the morning, immediately after you’ve discovered fresh damage. They’ll still be close to their last meal, digesting and hiding.
Here’s how I go about my cutworm hunt in my 800 sq ft Midlands garden:
- Identify Fresh Damage: The fresher the damage, the closer the cutworm will be. Look for plants that have been cut down overnight.
- Focus Your Search: Concentrate your efforts in a 5-10 cm (2-4 inch) radius around the base of the damaged plant. This is usually where they'll be hiding.
- Gentle Digging: Using a small trowel, a stick, or even your fingers (wear gloves if you prefer!), gently sift through the top inch or two of soil around the plant. You don't need to dig deep – they rarely go more than 5cm down during the day. I find a small hand fork or even a sturdy butter knife works wonders for this delicate operation.
- What to Look For: Cutworms are typically grey, brown, or greenish, and often have a greasy or plump appearance. When disturbed, their most distinctive habit is to curl up into a tight "C" shape. They can range in size from tiny hatchlings to chunky larvae up to 4cm (1.5 inches) long. Don't confuse them with wireworms, which are thinner, shiny, and typically yellow-orange.
- Be Patient and Persistent: Sometimes, you won't find one immediately. They are excellent at camouflage. If you don't find one around the first damaged plant, move to another. I’ve spent many an evening with a headlamp, trowel in hand, feeling a bit like a garden detective. The first time I actually found one, curled up like a greasy little croissant, it was a 'eureka!' moment. It confirms you're on the right track.
In my experience here in the UK, especially after a good spell of British rain, the soil can be lovely and damp, sometimes making it a bit easier to spot them near the surface. Once you find one, congratulations! You've successfully located the enemy. The next step, of course, is to deal with them, which we'll get into soon. But for now, knowing how to find them is a massive step towards protecting your precious young garden starts.
Organic Shields: Building Defences Against Cutworms Before They Strike
This is where the real preventative magic happens, folks! After losing a whole row of 'Costoluto Fiorentino' lettuce seedlings to cutworms a couple of springs ago – a truly gutting sight, I tell you – I really buckled down on proactive measures. I don't want to find myself doing a midnight cutworm hunt under the beam of my headtorch if I can help it. It's all about making your garden less appealing to these nighttime nibblers from the get-go.
Physical Barriers: My First Line of Defence
When I'm putting out young plants, especially those precious heirloom tomatoes like 'Black Krim' or my early brassicas, I've learned that a simple physical barrier can be a lifesaver. Here in my Midlands garden, where the soil can stay quite moist in spring, cutworms seem particularly bold.
- Cardboard Collars: This is my absolute go-to for individual plants. I cut strips of old cereal boxes or toilet roll tubes about 5-7 cm wide, then form them into a circle and secure with a bit of tape or a staple. I push these collars about 2-3 cm into the soil around the stem of each seedling, ensuring the top edge is well above the soil line. This creates an impenetrable barrier that the cutworm can't get over or under. I've found this incredibly effective for my greenhouse tomatoes and squashes, which are just too vital to lose.
- Diatomaceous Earth (DE): For broader areas, or around rows of seedlings, I'll sprinkle a fine ring of food-grade DE around the base of the plants or along the seedling rows. This stuff is essentially fossilised diatoms, microscopic sharp particles that dehydrate soft-bodied insects like cutworms if they try to cross it. Just remember, it needs to be reapplied after rain, which, let's be honest, is a frequent occurrence here in Britain! I learned that the hard way one particularly drizzly April.
- Copper Tape: I've experimented with copper tape around raised beds, and while it's more often touted for slugs and snails, I've noticed a reduction in general pest activity. It creates a small electrical charge that deters pests. It's a bit pricier, so I tend to reserve it for my most vulnerable, high-value beds, like where I grow my 'Sweet Million' cherry tomatoes.
Companion Planting: Nature's Deterrents
I'm a big believer in working with nature, not against it. Over the past five years, I've spent a lot of time observing what thrives together in my 800 sq ft plot. Certain plants seem to have a knack for deterring pests, and cutworms are no exception.
- Marigolds (Tagetes spp.): These cheerful flowers are more than just pretty faces. I interplant French marigolds ('Petite French Mix' is a favourite) throughout my vegetable beds. Their strong scent is thought to confuse and deter various pests, including cutworms. Plus, they attract beneficial insects, which is always a win in my book.
- Herbs with Strong Aromas: I've had good success planting herbs like thyme, sage, and chamomile around susceptible plants. I don't have scientific proof it stops every single cutworm, but I've certainly noticed fewer issues in beds where I've incorporated these aromatic plants. My theory is that their strong smells mask the scent of the tender seedlings, making them harder for cutworms to locate.
Here's a quick comparison of some of my favourite preventative methods:
| Method | Description | Pros | Cons | Best Use Case in UK Garden |
|---|---|---|---|---|
| Cardboard Collars | Cardboard ring placed around seedling stem, 2-3 cm into soil. | Very effective for individual plants; cheap, easy, biodegradable. | Time-consuming for many plants; needs checking. | High-value seedlings (tomatoes, peppers, squashes, brassicas). |
| Diatomaceous Earth | Fine powder sprinkled around plants or rows. | Organic, safe for pets/humans; dehydrates pests. | Ineffective when wet; needs reapplication after rain (common in UK!). | Protecting rows of young seedlings, vulnerable areas after planting. |
| Companion Planting | Interplanting marigolds, aromatic herbs. | Enhances biodiversity, aesthetically pleasing, long-term benefit. | Not 100% foolproof; takes time to establish; effectiveness can vary. | General pest deterrence across beds; creating a balanced ecosystem. |
| Copper Tape | Tape applied around raised beds or pots. | Long-lasting; deters multiple pests including slugs/snails. | More expensive upfront; less direct cutworm control than collars. | Perimeter defence for raised beds, protecting container-grown plants. |
Soil Management: The Unsung Hero
Healthy soil is the foundation of a healthy garden, and I've learned that good soil practices can significantly reduce cutworm problems. When I first started, I used to dig over my beds quite aggressively, but I've since moved towards a no-dig approach. This disturbs the soil less, which in turn means less disturbance to beneficial organisms, and it helps keep cutworms' underground activities in check. I also ensure my compost is fully broken down before adding it to beds – raw organic matter can sometimes attract pests looking for a meal.
Stopping the Slaughter: Natural and Organic Methods for Active Infestations
Right, so you've found the damage. That tell-tale severed stem, the disappeared seedling. It's a gut punch, isn't it? I remember finding my 'Sungold' tomato seedling gnawed through one morning, right at the soil line, and my heart just sank. But don't despair! Even with an active infestation, there are plenty of organic tactics we can deploy to stop them in their tracks.
Manual Removal: Getting Your Hands Dirty
This is my absolute first port of call when I suspect cutworms. It's old-fashioned, but incredibly effective, and it gives you a real sense of taking back control.
- The Midnight Hunt: As I mentioned earlier, cutworms are nocturnal. So, armed with a headtorch (or a good phone light) and a small trowel, I head out into the garden about an hour after sunset. I carefully check around the base of damaged plants, looking for those tell-tale curled-up larvae just beneath the soil surface. They're usually within an inch or two of the stem. When I find them, it's a simple matter of picking them up and dispatching them – usually into a bucket of soapy water. I've found that one successful hunt can drastically reduce damage in a small area.
- Daytime Digging: If a plant has been freshly cut, I'll gently dig around the base during the day, usually within a 5-10 cm radius and a few inches deep. More often than not, the culprit is still curled up in the soil nearby, digesting its midnight snack. I don't always catch them, but it's worth a try!
Targeted Organic Treatments: Bringing in the Big Guns
Sometimes, manual removal isn't enough, especially if you're dealing with a larger area or a persistent problem. That's when I turn to some more targeted organic solutions.
- Nematodes (Steinernema carpocapsae): These microscopic, beneficial roundworms are absolute superheroes in the organic gardener's arsenal. You can buy them online or from garden centres in the UK. They're applied to the soil (usually mixed with water and watered in) and they actively hunt out and parasitize soil-dwelling pests like cutworms. I used these effectively in my raised beds last spring when I had a particularly stubborn cutworm issue with my early potato starts. The key is to apply them when soil temperatures are right (usually above 12-14°C) and the soil is moist – perfect for our UK spring and early summer conditions. They're completely safe for humans, pets, and other wildlife.
- Bacillus thuringiensis (Bt): Specifically, the kurstaki strain (Bt-k) is effective against caterpillars, including cutworms. It's a naturally occurring soil bacterium that, when ingested by the cutworm, disrupts its digestive system. I've used this as a spray directly onto affected plants or surrounding soil when I've had a significant outbreak. It's selective, meaning it won't harm beneficial insects, which is incredibly important for maintaining a healthy garden ecosystem. Just remember, it needs to be reapplied, especially after rain, and it only works if the cutworms actually eat it.
Here's one of my 'Black Krim' seedlings protected by a simple cardboard collar. It's not pretty, but it works a treat! I usually make these from old toilet roll tubes or cereal boxes, pushing them a couple of inches into the soil.
Beyond the Battle: Creating a Cutworm-Resistant UK Garden Ecosystem
Winning the immediate battle against cutworms is great, but my goal in my 800 sq ft Midlands garden is always to create a resilient, balanced ecosystem where pests are naturally kept in check. It's about working with nature, not constantly fighting it. This long-term approach has truly transformed my gardening experience over the last five years.
Nurturing Beneficial Wildlife
My garden isn't just a place for vegetables; it's a mini-wildlife haven. Attracting natural predators of cutworms is one of the most effective long-term strategies.
- Birds: Blackbirds, thrushes, and robins absolutely love a good grub. I encourage them by providing fresh water in a bird bath and planting berry-producing shrubs around the perimeter of my plot. I also try to leave some areas a little wilder, with leaf litter, as this provides habitat for them.
- Ground Beetles: These unsung heroes are voracious predators of cutworm larvae. I provide them with shelter by having plenty of mulch, logs, and flat stones in my beds. I also avoid disturbing the soil too much, as this can disrupt their habitat.
- Toads and Frogs: If you're lucky enough to have a pond or a damp area, toads and frogs are fantastic pest controllers. They'll happily munch on cutworms and other garden nuisances. I've got a small wildlife pond near my greenhouse, and I often see frogs hopping around my raised beds in the evenings.
Soil Health and Organic Matter
I can't stress this enough: healthy soil equals healthy plants, which are much more resistant to pests. Over the years, I've shifted to a completely no-dig system in my raised beds.
- Compost, Compost, Compost! I regularly top-dress my beds with a thick layer of well-rotted compost. This feeds the soil microbes, improves drainage (crucial in our often-wet UK climate), and creates a rich environment that supports beneficial insects and fungi. It also helps to suppress weeds, which can sometimes provide shelter for cutworms.
- Mulching: Beyond compost, I use straw, wood chip, or leaf mould as mulch. This not only conserves moisture and suppresses weeds, but it also creates a protective layer that makes it harder for cutworm moths to lay their eggs directly into the soil near young plants. It also provides habitat for those wonderful ground beetles!
Crop Rotation and Garden Hygiene
Simple practices make a big difference.
- Rotate Your Crops: I never plant the same family of vegetables in the same spot year after year. This helps to break pest cycles. If cutworms were a problem in a brassica bed one year, I'll plant something entirely different, like beans or carrots, there the next.
- Clear Debris: While I love a bit of wildness, excessive plant debris and weeds can offer perfect hiding spots for cutworms and other pests. I make sure to clear away spent crops and keep my paths tidy. But I'll always leave a few 'sacrificial' weeds or wildflowers in other areas to attract beneficial insects away from my veg.
My Final Thoughts: Cultivating Resilience in Your UK Garden
So there you have it, my fellow gardeners. The mysterious seedling massacre caused by cutworms is a challenge we all face here in the UK, especially with our often-unpredictable spring weather creating perfect conditions for them. I've certainly had my share of heartbreak, seeing my carefully nurtured seedlings vanish overnight. I remember one year, I lost nearly all my 'Red Russian' kale starts in one bed – a real lesson learned!
But what I've discovered over these past five years in my Midlands garden is that by understanding these little nocturnal nibblers, and by consistently applying a range of organic strategies, we can absolutely protect our precious young plants. It's not about eradicating every single pest; it's about building a balanced, vibrant ecosystem where nature does most of the heavy lifting.
From those simple cardboard collars – which I still swear by for my greenhouse tomatoes – to inviting beneficial predators and enriching our soil with homemade compost, every action we take contributes to a more resilient garden. Don't be afraid to experiment, to try different things, and yes, to make a few mistakes along the way. That's how we truly learn and grow as gardeners.
Keep an eye out for those tell-tale signs, get out there with your headtorch if you need to, and most importantly, keep nurturing that incredible patch of green you're creating. Your efforts will be rewarded with a thriving, productive garden. Happy growing, everyone!
