Say Goodbye to Stubborn Roots: The UK Gardener's Guide to No-Dig Decomposition
Right then, fellow UK gardeners! If there’s one thing that can really test your patience and back muscles here in our often-damp British climate, it’s dealing with a stubborn old shrub or small tree stump. I’m Randy, and I’ve spent the last five years transforming my 800 sq ft patch in the Midlands into a thriving haven, packed with everything from heirloom tomatoes in the greenhouse to a riot of herbs and veg in my raised beds. And believe me, when you’re working with limited space like I am, every square inch counts. I'm always looking for smart, efficient, and most importantly, natural ways to get the most out of my plot.
I remember when I first started, fresh out of the IT world and brimming with theoretical gardening knowledge, but very little practical experience. I tackled a particularly tenacious old cotoneaster stump that was hogging prime real estate right where I wanted to put in a new strawberry bed. Armed with a spade and sheer will, I spent what felt like an entire weekend digging, levering, and frankly, cursing under my breath. My back was in bits, the soil was utterly destroyed, and it was an exhausting, messy, and quite brutal affair. I’ve learned a lot since then, often the hard way!
That experience really got me thinking. There had to be a better way, a more garden-friendly way, to reclaim that space without resorting to back-breaking labour or, even worse, nasty chemicals that I absolutely refuse to use in my organic-focused patch. My own philosophy for my UK garden has always gravitated towards working with nature, not against it. And that’s what led me down the path of natural decomposition – encouraging those stubborn roots to simply… melt away, right where they sit.
It’s a game-changer, especially for us UK gardeners who often contend with heavy clay soils or unpredictable weather. This isn't about quick fixes; it's about patience and working with nature, turning a problem into a soil-enriching opportunity. I've found this method incredibly effective for everything from old rose bushes to small hawthorn saplings that decided to pop up where they weren't wanted. In this guide, I’m going to share everything I’ve learned and personally tested in my own Midlands garden about chemical-free, no-dig root removal. Ready to say goodbye to those tough roots without breaking your back or the bank? Let's dive in!
Why Choose Natural Decomposition? Benefits for Your UK Garden
After that cotoneaster ordeal, I swore I’d never put my back through that again. But more importantly, I saw the damage it did to my precious soil. We often have heavy, clay-rich soils here in the Midlands, and digging out a large root system can completely disrupt that delicate structure. This leaves you with compacted patches or areas prone to waterlogging – a real nightmare when our British weather decides to unleash a typical downpour! I’ve learned through trial and error that preserving soil health is paramount, especially when you're growing nutrient-hungry crops like my beloved 'Cherokee Purple' tomatoes.
That’s why, for me, choosing natural decomposition is a no-brainer. It aligns perfectly with my commitment to a chemical-free, no-dig approach wherever possible. I’ve seen first-hand how much healthier and more vibrant my raised beds are since I stopped disturbing the soil unnecessarily. With decomposition, you’re not just removing a root; you’re feeding your soil, encouraging beneficial fungi and microbes, and laying the groundwork for future success. It’s a slow burn, yes, but the long-term benefits for your entire garden ecosystem are truly invaluable, especially when you’re aiming for a productive patch like mine.
Let's be honest, we're not always blessed with endless sunshine here in Britain, so anything that improves soil health and drainage is a huge win. Plus, it saves your back for more enjoyable tasks, like wrestling with a particularly vigorous 'Sungold' tomato plant in the greenhouse or planning your next succession planting! One of the biggest challenges I've faced in my 5+ years is maintaining consistent soil quality through our temperamental seasons, and this method actively contributes to that.
To really highlight why I'm such a proponent of this method, I've put together a little comparison of the two main approaches I've encountered here in the UK. I hope this helps you weigh up the options for your own UK garden, considering our specific climate and soil types.
| Feature | Natural Decomposition (No-Dig, Chemical-Free) | Traditional Manual Removal (Digging/Levering) | Chemical Stump Removers |
|---|---|---|---|
| Effort Required | Low physical effort (initial prep only) | Very High physical effort (back-breaking!) | Low physical effort (application only) |
| Cost | Very Low (basic tools, organic materials) | Moderate (tools, skip hire for waste) | Moderate to High (specialised products) |
| Timeframe | Slow (weeks to 1-2 years, depending on stump size & conditions) | Fast (hours to a few days) | Moderate (weeks to months) |
| Soil Health | Improves: Enriches soil, enhances microbial life, maintains structure. | Damages: Disrupts soil structure, causes compaction, removes topsoil. | Harms: Introduces chemicals, can kill beneficial microbes. |
| Environmental Impact | Very Low: All natural, promotes biodiversity. | Moderate: Fuel for machinery, waste disposal, soil erosion risk. | High: Chemical runoff, potential harm to wildlife/plants. |
| UK Climate Suitability | Excellent: Moisture retention aids decomposition, less soil disruption in wet. | Poor: Messy in wet weather, hard on heavy clay soils. | Variable: Effectiveness can be reduced by heavy rain. |
| Re-growth Prevention | High: Decomposing roots less likely to sprout. | Moderate: Can re-sprout if small root fragments are left behind. | High: Chemicals kill root system. |
| Suitability for Edibles | Excellent: Safe for growing vegetables, herbs, fruit nearby. | Good: Once soil recovers, no chemical residue. | Poor: Not recommended due to chemical residues. |
| Aesthetics | Initial stump can be an eyesore, but easily covered. | Clean removal leaves a clear space. | Stump remains until fully decomposed. |
As you can see, for me and my organic, productive UK garden, the benefits of natural decomposition far outweigh the patience it requires. It's an investment in the long-term health and vitality of your growing space.
Essential First Steps: Preparing the Root Site for Success
Alright, you’re convinced! Now for the practical bit. This isn't just about leaving a stump to rot; it's about giving nature a helping hand. The initial preparation is crucial, and it’s where you can really set yourself up for success. I’ve learned this through a few attempts, including one where I didn't cut the stump low enough and it became a bit of an unsightly trip hazard for a while, right next to my 'Black Krim' tomato plants!
The goal here is two-fold: first, to remove as much of the visible stump as possible without digging, and second, to create the perfect environment for fungi, bacteria, and insects to move in and start their decomposition party. We're essentially creating a damp, nutrient-rich habitat that these beneficial organisms adore.
Here’s exactly how I prepare a stubborn root system in my Midlands garden:
Cut the Stump as Low as Possible
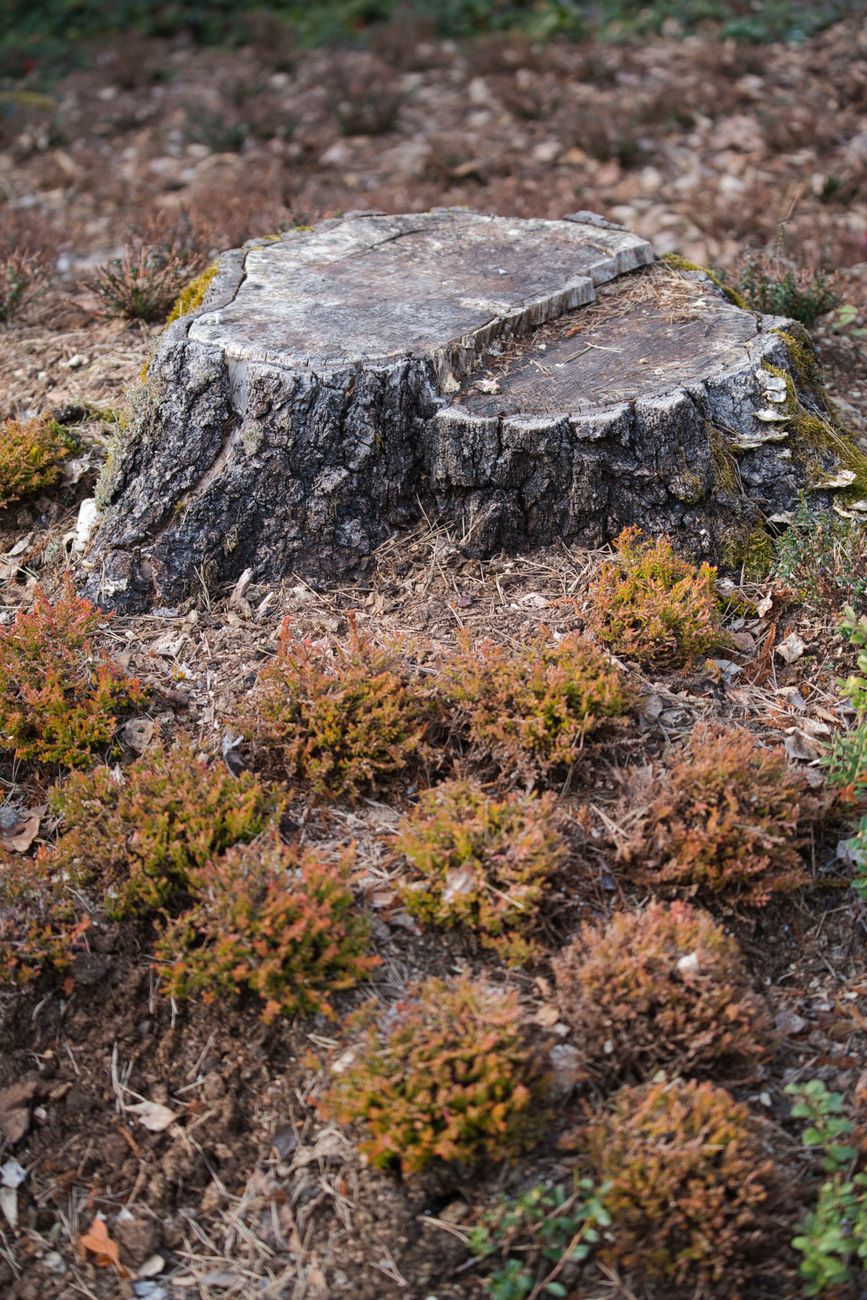
This is your first, and arguably most important, step. Grab a good, sharp saw – I use a sturdy bow saw for most jobs, or a pruning saw for smaller ones, depending on the thickness. You want to cut the main stump as close to the ground level as you possibly can. I aim for within an inch or two (2-5 cm) of the soil surface. Sometimes, if it's a really awkward spot, I'll even dig a little trench around the base just to get that extra low cut, but I keep that digging minimal.
- Randy's Tip: Don't rush this. A clean, level cut is ideal. If you're dealing with a particularly thick trunk, like the old apple tree I took down to make way for my greenhouse extension, it might take a bit of effort and maybe even a few cuppas. The lower you cut it, the less of an eyesore it will be, and the easier it is to cover later. Plus, it prevents it from becoming a mini-table for slugs and snails – a common problem in our damp British gardens!
Drill Deep Holes into the Stump
This is where we really invite decomposition. Once your stump is trimmed low, you’ll need a decent drill and a large drill bit – I typically use a 1-inch (25mm) auger bit, but anything from 1/2 inch (12mm) upwards will do the trick. A good quality, sharp bit makes all the difference here, especially with tough, dry wood.
- Randy's Technique: Drill multiple holes into the top surface of the stump. I aim for them to be about 6-8 inches (15-20cm) deep, and spaced roughly 3-4 inches (7-10cm) apart across the entire surface. If the stump is particularly wide, or has some larger visible roots near the surface, I'll even drill a few into the sides, angled downwards, to catch more moisture.
- Why this works in the UK: These holes act like little reservoirs. They collect rainwater (which we get plenty of here in Britain!) and hold moisture, which is absolutely essential for fungal growth and bacterial activity. They also dramatically increase the surface area for decomposition and provide entry points for those beneficial microbes and even small insects. Without these holes, the top of the stump can dry out too quickly, especially during a brief dry spell in summer, slowing down the whole process considerably. I've found that in our often-wet climate, these holes really accelerate things by keeping the core damp and inviting the natural decomposers in.
Score the Sides (Optional, but Recommended for Thicker Stumps)
For really thick, woody stumps, especially those with thick bark, I'll sometimes take a sharp chisel or even an old axe and score some lines down the sides of the stump. This exposes more of the inner wood to the elements and provides even more entry points for moisture and microbes. This isn’t strictly necessary for smaller shrubs, but for anything substantial, it really helps speed things along. Just be careful not to damage any surrounding roots you want to keep!
By taking these initial steps, you're not just removing a nuisance; you're actively setting the stage for a natural, chemical-free breakdown that will ultimately enrich your soil. It’s a bit of work up front, but nothing compared to the back-breaking alternative. Next, we'll talk about what to put into those holes to really get things moving and kickstart that decomposition process!
Proven Methods to Accelerate Natural Root Breakdown In-Situ
Right, so you’ve prepped your site, cleared the stump, and you’re ready to get those stubborn roots breaking down naturally. This is where the real fun, and a bit of my inner science geek, comes into play! Over my five years of intensive gardening, I’ve experimented with a few different approaches in my 800 sq ft Midlands patch, and I've definitely found what works best here in our UK climate.
The core idea is to create the perfect environment for microbes and fungi to thrive. They’re the unsung heroes of decomposition, and we need to give them a five-star hotel with all the amenities.
High-Nitrogen Boosters
This is probably my go-to method for really getting things moving. Nitrogen is a crucial nutrient for the bacteria and fungi that do the decomposing, acting like rocket fuel for their activity.
- Urine: Yes, you heard me right! It's free, readily available (for some of us!), and packed with nitrogen. I've used diluted urine around smaller root systems in my garden, especially in less visible spots. Just make sure it’s diluted (about 1 part urine to 10 parts water) to prevent burning, and apply it sparingly. It works a treat, especially on fresh cuts.
- Blood Meal: This is a fantastic organic source of nitrogen. I usually sprinkle it directly onto and around the exposed roots, then cover it with a layer of mulch or soil to help it incorporate and prevent it from washing away too quickly with our British rain. Last year, I used it on an old hawthorn root system that was giving me grief, and I saw noticeable softening within a few months.
- Comfrey Tea/Liquid Feeds: I brew my own comfrey tea in a big trug – it’s stinky but brilliant! The liquid is full of nutrients, including nitrogen, and is perfect for pouring over the root system to encourage microbial action. Any high-nitrogen organic liquid feed will do the trick if you don't have comfrey. I just find comfrey to be a truly fantastic, sustainable option for my UK garden.
Mycorrhizal Fungi & Microbial Inoculants
This is a bit more advanced, but trust me, it’s worth considering. Mycorrhizal fungi form symbiotic relationships with plant roots, but some species are also excellent decomposers. You can buy specific microbial inoculants or even just use a good quality, well-rotted compost, which is teeming with beneficial organisms.
I've experimented with a brand called 'Rootgrow' in some of my raised beds, and while it's primarily for establishing new plants, the general principle of boosting fungal activity can help with decomposition too. If you've got access to really good, active compost, piling it directly onto the roots is a superb, budget-friendly way to introduce a diverse range of decomposers.
Maintaining Moisture and Aeration
Decomposition needs moisture, but not waterlogging. Imagine trying to breathe underwater – microbes struggle too! Here in the UK, we often get plenty of rain, but during dry spells (which we do get, even in the Midlands!), you might need to water the area.
Conversely, compacted soil can slow things down. If the soil around the roots is very dense, gently aerating it with a garden fork can help oxygen penetrate, which is vital for aerobic decomposition. I learned this the hard way when trying to break down a particularly stubborn privet hedge root system in heavy clay soil; once I started forking around it, the progress accelerated noticeably.
Here’s a quick comparison of my preferred methods:
| Method | Pros (UK Context) | Cons (UK Context) | Randy's Experience |
|---|---|---|---|
| High-Nitrogen (e.g., Blood Meal) | Readily available, potent nitrogen source. | Can be pricey; needs covering to prevent wash-off. | My top choice for speed. Saw significant breakdown on a large sycamore root in about 6 months, even through a wet winter. |
| High-Nitrogen (e.g., Urine) | Free, extremely effective, sustainable. | Requires careful dilution; perceived "gross-out" factor. | Great for smaller, less prominent roots. Used it on an old rose root ball – worked a treat without any fuss. |
| Comfrey Tea/Liquid Feed | Organic, nutrient-rich, easy to apply. | Can be smelly; requires comfrey plants or buying feed. | Brilliant for consistent application. I've used my own brew on an old Leylandii stump and it really softened the outer layers over a season. |
| Mycorrhizal/Microbial Inoculants | Introduces specific beneficial organisms, long-term soil health. | Can be expensive; results can be slower or less visible initially. | Used with good compost, it seems to enhance overall soil vitality. Hard to isolate its direct impact on root breakdown compared to nitrogen, but I believe it supports the ecosystem. |
| Good Quality Compost | Free (if homemade), introduces diverse microbes, improves soil. | Slower acting, especially on very dense roots. | Always a winner. Piling a good 6-inch layer of my own hot compost around old roots has consistently shown good results, albeit over a longer period. |
Monitoring Progress & Troubleshooting Common UK Garden Challenges
Patience, my friends, is the biggest virtue in this no-dig game. You're working with nature's rhythm, which isn't always as fast as we'd like, especially with our notoriously variable British weather.
How to Monitor Progress
- The Fork Test: My favourite method! Every few weeks or months, gently probe the roots with a garden fork or a trowel. You're looking for a change in texture – from hard and woody to soft, spongy, and crumbly. When it starts to feel like a damp sponge, you know you're making headway.
- Visual Inspection: As the roots break down, you might see them visibly shrinking, becoming darker, and sometimes even developing a fungal growth (which is a good sign!).
- Smell: A healthy, earthy smell indicates good microbial activity. If you detect a sour or unpleasant odour, it might mean the area is waterlogged or lacking oxygen.
- Subsidence: As the roots decompose, the soil directly above them might start to sink slightly. This is a clear sign that space is being created underground!
Troubleshooting Common UK Garden Challenges
I've definitely hit a few bumps in the road with this method, often thanks to our glorious British climate.
- Slow Progress in Cold/Wet UK Winters: Decomposition slows down significantly when soil temperatures drop. This is completely normal. Don't get disheartened if you don't see much change between November and March. One mistake I made was expecting miracles through a particularly soggy February – nature just hibernates a bit! Just keep the area mulched to protect it and pick up the boosting in spring.
- Re-Sprouting: Some tenacious roots, especially from things like willow, elder, or even some roses, might try to send up new shoots. This is their last ditch effort! Don't let them win. Snip off any new growth as soon as you see it. Every time you remove a shoot, you deplete the root's energy reserves, further weakening it and speeding up its demise. I had an old Buddleia that was a nightmare for this; it took persistent snipping for a full season, but eventually, it gave up.
- Pests Attracted to Decomposing Matter: Slugs, woodlice, and other detritivores love damp, decomposing material. While they're part of the natural breakdown crew, sometimes they can get a bit too comfortable, especially slugs. I usually just leave them to it, as they're helping, but if you're worried about them spreading to nearby plants, a barrier of crushed eggshells or copper tape around precious seedlings can help. I've never found them to be a major problem for the decomposition process itself.
- Dry Spells: Even in the UK, we get dry spells. If the soil around the roots dries out completely, microbial activity grinds to a halt. Make sure the area stays consistently moist, like a wrung-out sponge, especially if you've added nitrogen boosters. A good layer of organic mulch (like wood chip or straw) helps retain moisture and regulate soil temperature, which is always a good idea in our variable climate.
- Heavy Clay Soil: My Midlands garden is blessed with some proper heavy clay in parts. This can be fantastic for nutrients but terrible for drainage and aeration. If you're struggling with very dense soil, gently aerate it with a fork before and during the process. Adding gypsum can also help break up clay over time, but good organic matter is usually my first port of call.
Replanting and Enhancing Soil Health Post-Decomposition
This is the truly rewarding part! Once those stubborn roots have succumbed to nature's relentless work, you're left with a gift: rich, friable, nutrient-dense soil, far better than if you'd ripped everything out.
Assessing the Area
When the roots are mostly gone and you can easily push a fork deep into the area, it's time to prepare for replanting. You might still find some smaller, softer fragments, but that's perfectly fine – they'll continue to break down and feed your new plants. The key is that the major woody structure is gone.
Replenishing and Replanting
Now is the perfect opportunity to really supercharge your soil. You've essentially created a fantastic, slow-release organic matter factory underground.
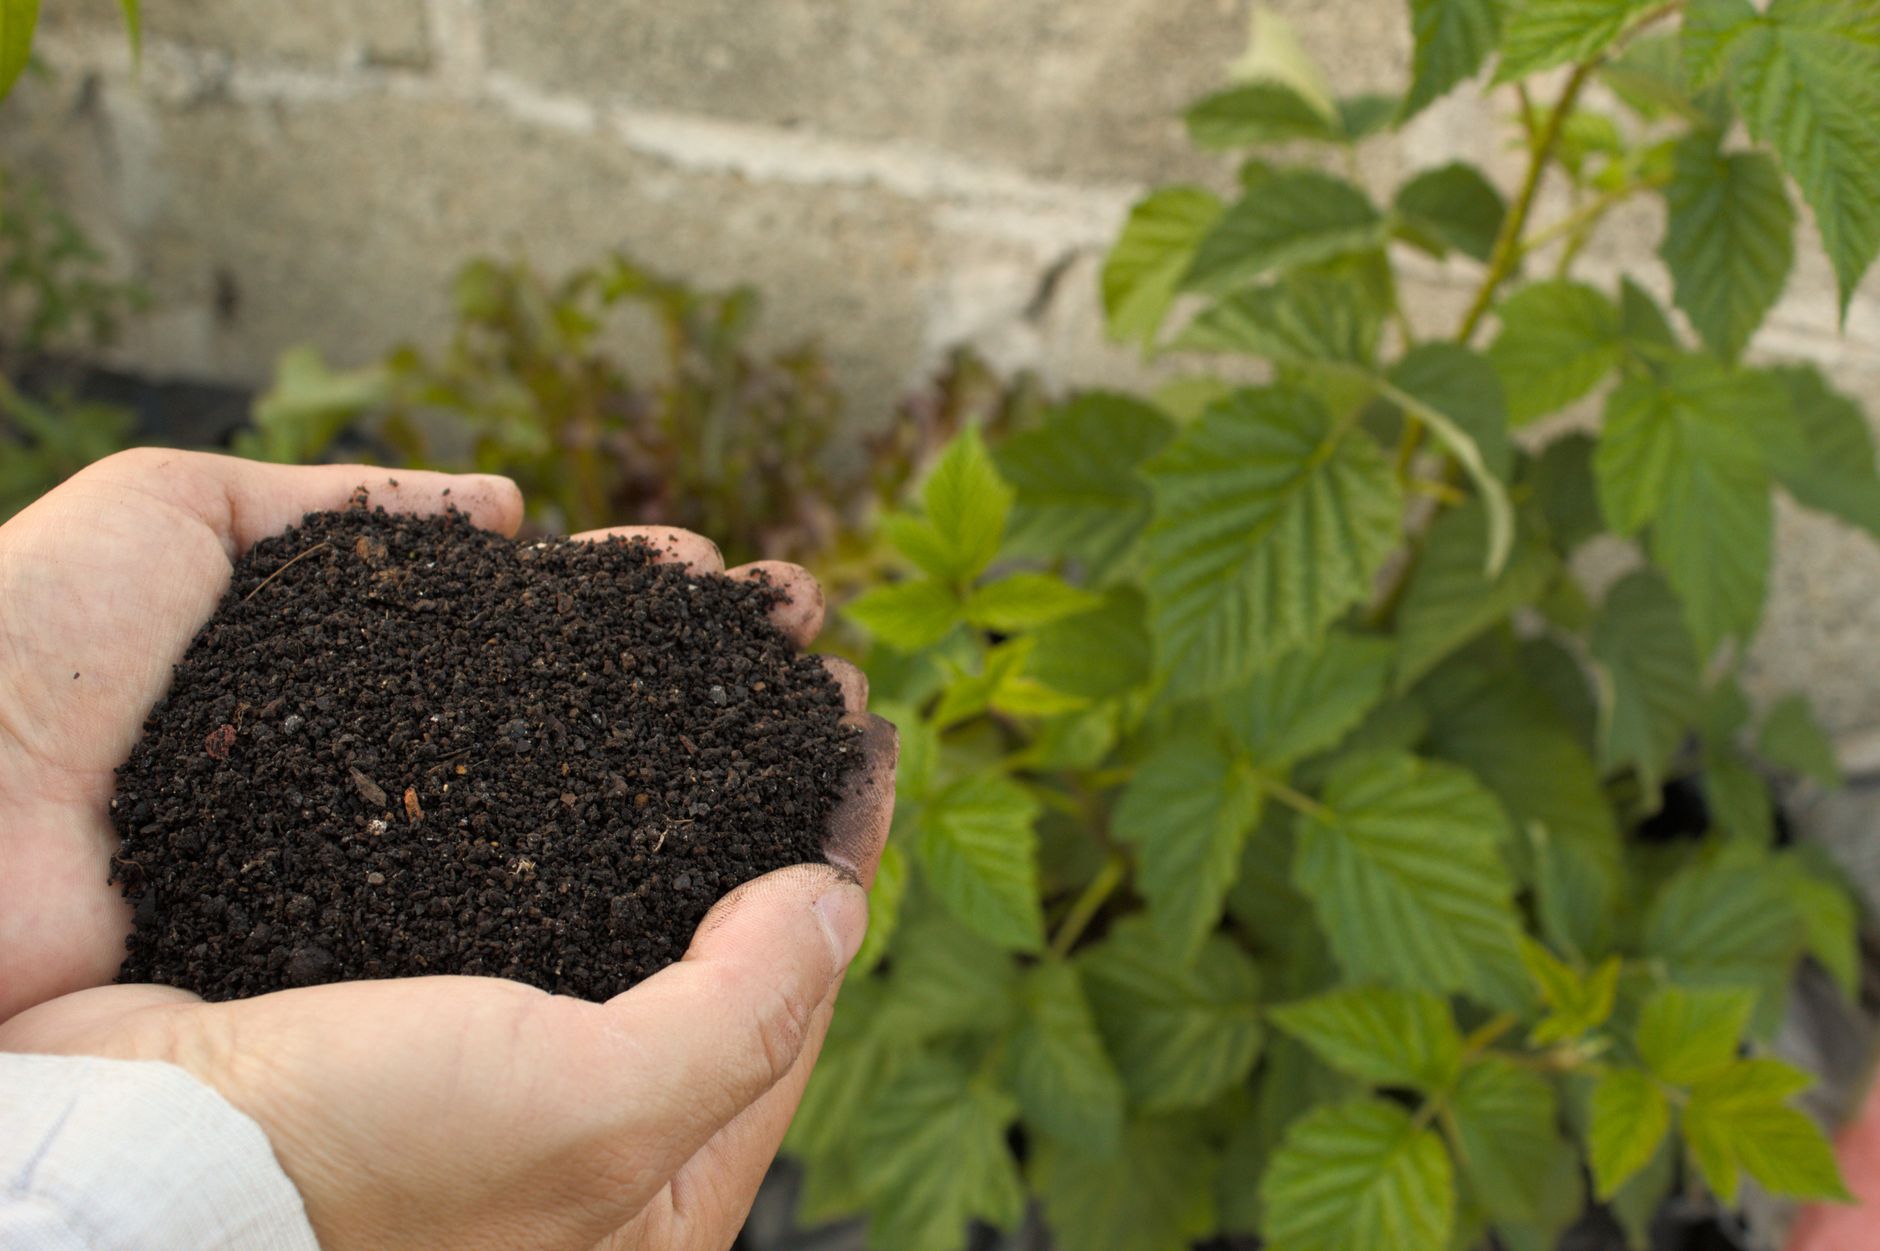
- Add More Organic Matter: I always dig in a generous amount of my homemade compost, or well-rotted manure, into the area. This isn't just about adding nutrients; it's about further improving soil structure, encouraging more beneficial microbes, and replacing any volume lost from the decomposed roots. In my UK garden, I aim for at least a 2-3 inch layer mixed into the top 6-8 inches of soil.
- Cover Crops: If you're not planning to plant immediately, consider sowing a green manure or cover crop. Things like crimson clover, field beans (for winter), or mustard (for summer) are fantastic here in the UK. They protect the soil, add nitrogen, improve structure, and suppress weeds. When you're ready to plant, you just chop and drop them, letting them decompose in place.
- Planting Choices: With the improved soil, you can plant almost anything! I often use these newly reclaimed spots for my hungry vegetable crops. Last year, after removing an old laurel stump, I turned the area into a bed for 'Gardener's Delight' tomatoes (outside the greenhouse for once!) and some 'Cosmic Purple' carrots. They absolutely thrived in the enriched soil.
Long-Term Soil Health
The beauty of the no-dig decomposition method isn't just about getting rid of roots; it's about embracing and enhancing the natural processes that create healthy, living soil. You'll find that areas treated this way often become some of the most productive spots in your garden. The soil will be teeming with life, hold moisture better, drain well, and generally just feel good underfoot. It’s a testament to working with nature, not against it.
Conclusion: Embrace the Slow, Sustainable Path to a Thriving UK Garden
So there you have it, fellow UK gardeners! My complete rundown on tackling those stubborn shrub and small tree roots without a single spade of back-breaking digging or a drop of nasty chemicals. I've tried this method extensively in my own Midlands garden, from old roses to overgrown privet, and I can honestly say it's transformed how I approach garden clearance.
We've covered why natural decomposition is a win for your soil, your back, and the environment. We've talked through the essential first steps of preparation, which are crucial for success. And I've shared my favourite methods for speeding up the process, along with the common pitfalls and triumphs I've experienced here in the often-unpredictable British climate.
Remember, this isn't a quick fix. It requires patience, observation, and a willingness to let nature do its thing. But the rewards are immense: healthier soil, a thriving ecosystem, and a deeper connection to the rhythms of your garden. You're not just removing a nuisance; you're actively building future fertility, creating a beautiful, no-dig canvas for your next gardening adventure.
Give it a go in your own UK garden. Start small, monitor your progress, and don't be afraid to experiment. I'd love to hear about your experiences and any unique challenges or successes you encounter. Let's keep sharing our knowledge and growing together, one naturally decomposed root at a time! Happy gardening!
