
Introduction to Precision Weeding: Why Every Millimetre Matters for UK Gardeners
Let's be honest, standing over a perfectly planted border or a neat row of future dinner, only to spot a defiant weed elbowing its way in – it's enough to make any UK gardener sigh. I know that feeling all too well. When I first traded my IT keyboard for a trowel five years ago here in the Midlands, I thought weeding was just, well, weeding. Grab it, pull it, job done. Oh, how naive I was! Especially in my 800 sq ft backyard, where every square inch of my raised beds and borders is precious real estate, a rogue weed isn't just an eyesore; it's a direct threat to my carefully nurtured 'Moneymaker' tomatoes or that delicate patch of chives.
I quickly learned the hard way that a clumsy pull could take out a cherished seedling or disrupt the roots of a prized perennial. I've accidentally decapitated a 'Little Gem' lettuce, mistaken a young calendula for a weed, and even ripped out a precious heritage bean sprout while wrestling with a particularly stubborn bindweed. Those early mistakes, often made in the unpredictable British weather after a quick downpour had encouraged everything to grow, weeds included, taught me a crucial lesson: when your garden is as packed as mine, precision isn't just a nice-to-have; it's absolutely essential.
That's where precision weeding comes in. It's not about endless hours of backbreaking labour; it's about working smarter, not harder. It's about understanding your enemy, choosing the right tools, and applying techniques that allow you to organically remove unwanted invaders from the tightest spots without causing collateral damage to your beloved plants. I'm talking about getting that sneaky ground elder out from between your hostas or liberating a young beetroot from the clutches of hairy bittercress, all without disturbing a single root of your desirable crops. In this article, I'm going to share everything I've learned through years of trial and (plenty of) error in my own UK garden, from identifying the most common British weeds to mastering the delicate art of surgical extraction. Let's get those borders and rows pristine!
Understanding the Enemy: Identifying Common UK Weeds and Their Growth Habits
Before you can tackle a weed, you need to know what you're up against. Trust me, I've made the mistake of treating all weeds the same, only to find myself in a never-ending battle. It's like trying to debug a complex piece of software without knowing the error codes – you're just flailing! Understanding a weed's growth habit, especially here in our varied UK climate, dictates how you approach its removal. Is it an annual that will quickly set seed and multiply? Or a perennial with deep, tenacious roots that laugh at a shallow pull?
Take bindweed, for example. When I first started, I'd just yank at the visible vine. Big mistake. I quickly learned that its deep, brittle roots mean if you leave even a tiny fragment, it'll be back, usually stronger, within days, especially after a warm, damp spell. I had a particularly aggressive patch trying to strangle my greenhouse 'Sungold' tomatoes one summer, and it took months of diligent, precise removal every time a new shoot appeared to finally get it under control. The key was understanding its rhizomatous nature.
Here in my Midlands garden, and likely across much of the UK, we face a common rogues' gallery. Knowing their M.O. is half the battle won.
| Weed Name | Key Characteristics (UK Context) | Growth Habits | Randy's Tip for Removal (UK Focus) |
|---|---|---|---|
| Ground Elder | Umbellifer leaves, white flowers. Extremely invasive. | Spreads rapidly via extensive, brittle white rhizomes underground. | Persistent digging out every fragment. I use a hand fork to gently tease out roots from around desirable plants. Never compost. Mulch heavily after removal. |
| Bindweed | Twining vines, white trumpet flowers. "Devil's guts." | Deep, extensive root system; new shoots emerge from root fragments. Wraps tightly around plants. | Regular, persistent removal of all visible growth to starve the roots. Do not snap; try to get as much root as possible using a fishtail weeder. |
| Creeping Buttercup | Glossy yellow flowers, deeply lobed leaves. Low growing. | Spreads aggressively via runners (stolons) that root at nodes, forming new plants. | Dig out individual plants, ensuring you get the runners. Easy to pull when young, especially after rain, but runners are key. |
| Hairy Bittercress | Small rosettes, tiny white flowers. Explosive seed pods. | Annual. Prolific self-seeder, catapulting seeds metres away. Thrives in disturbed soil. | Remove before flowering! My biggest frustration in spring. Hand-pulling when seedlings are tiny is crucial, especially in raised beds. |
| Annual Meadow Grass | Fine, pale green grass, small seed heads. | Annual. Fast-growing, shallow roots. Spreads by masses of seeds, often germinating quickly after disturbance. | Easy to hoe or hand-pull when very young and shallow-rooted. Critical to remove before it sets seed, which it does incredibly quickly. |
| Dandelion | Bright yellow flowers, distinctive leaves, fluffy seed heads. | Perennial with a deep, strong taproot. Can regrow from root fragments. | Use a specialized fishtail weeder or a sharp trowel to extract the entire taproot. Don't just pull the top off, or it will be back! |
| Nettles | Stinging hairs, heart-shaped leaves. | Perennial. Spreads by rhizomes and seeds. | Wear thick gloves! Dig out the root system thoroughly. Young nettles are easier to pull, but the rhizomes need careful extraction. |
The Right Tools for the Job: Essential Precision Weeding Equipment
You wouldn't use a sledgehammer to tap in a picture hook, would you? The same logic applies to precision weeding. For years, I relied on a general-purpose trowel and a standard hoe, and I often ended up damaging my prize plants or leaving half the weed behind. It was frustrating, especially when trying to navigate around my delicate 'Shirley' tomato plants in the greenhouse or my tightly packed herb bed. Investing in the right tools, tailored for those intricate jobs, was a game-changer for me. It transformed weeding from a chore into a focused, almost meditative task.
I've experimented with countless gadgets over the years, and what works best here in Britain, especially for those densely planted areas, often comes down to ergonomics, sharpness, and the ability to get into tight spots. A good grip and a sturdy blade are non-negotiable.
Here's my go-to arsenal for precision weeding, honed over five years of battling British weeds:
| Tool Name | Best Use (UK Specific Scenarios) | Why it's "Precision" | Randy's Pro Tip (UK Focus) |
|---|---|---|---|
| Japanese Hori Hori Knife | Digging out stubborn taproots, cutting through small roots, planting bulbs in tight spots. | Sharp, serrated edge and pointed tip allows for surgical removal of weeds and roots without disturbing surrounding soil. | I use mine constantly in my raised beds for getting bindweed roots out from between courgettes. Keep it sharp! Excellent for cutting through fibrous weed roots. |
| Small Hand Fork | Loosening soil around weed roots in dense borders, teasing out shallow weeds. | Multiple tines gently lift weeds and break up compacted soil without harming delicate plant roots. | Indispensable for loosening soil around perennial weeds like ground elder near hostas. Great for aerating small patches too. |
| Fishtail Weeder / Dandelion Weeder | Extracting deep taproots like dandelions, docks, and thistles from lawns or borders. | Long, slender, V-shaped head slides deep alongside the taproot, allowing for full extraction. | Crucial for tackling dandelions in my lawn or borders without leaving root fragments. Works best when the soil is slightly moist after a shower. |
| Thin-Bladed Hoe (e.g., Collinear Hoe) | Skimming annual weeds from tight vegetable rows (e.g., between carrot rows, lettuce). | Long, narrow, sharp blade cuts weeds just below the soil surface with minimal disturbance to crop roots. | Fantastic for my densely planted salad greens. I use it on a dry, sunny day so the severed weeds wither quickly. |
| Small Hand Trowel | Careful digging around small plants, transplanting seedlings, scooping soil. | Compact size and pointed blade allow for delicate work in confined spaces. | My go-to for carefully lifting tiny weed seedlings that pop up right next to my 'Sweet Million' tomato starts in the greenhouse. |
| Gardening Gloves (Dexterous) | Protecting hands from thorns, stings (nettles!), and rough soil, enhancing grip. | Good fit and grip allow for precise handling of tools and delicate plant manipulation. | Essential for handling nettles or prickly weeds. I prefer thin, nitrile-coated ones for maximum dexterity. |
| Kneeling Pad / Stool | Providing comfort and stability during prolonged close-up work. | Allows you to get down to plant level, improving visibility and reducing strain, leading to more precise work. | My knees aren't what they used to be! A good pad or a low stool is a lifesaver for those long sessions in the borders. |
Mastering Techniques for Densely Planted Borders and Ornamental Beds
Okay, you've got your tools, you know your enemy. Now, how do you actually get those pesky weeds out of those incredibly tight spaces without taking out your prized 'Caradonna' salvia or disturbing the delicate roots of your newly planted delphiniums? This is where the art of precision weeding truly shines, and it's a skill I've spent years refining in my own packed Midlands garden. My herbaceous border, overflowing with perennials and annuals, used to be a minefield, but I've developed a few core techniques that make all the difference.
The first rule I learned, often the hard way, is to take your time. Seriously, rush this, and you'll regret it. I've been too impatient on many an occasion, trying to clear a patch quickly before the rain came, only to snap off a treasured plant or leave a crucial root behind. Now, I approach it like a surgical procedure.
Here are the techniques I've mastered for those tricky, densely planted areas:
The "Slow & Steady" Approach (Working in Sections)
Instead of trying to clear a whole border at once, focus on small, manageable sections. I'll often pick a square foot or two, get down close, and concentrate solely on that area. This prevents overwhelm and ensures you don't miss anything. In my garden, especially around my grouped hostas and ferns, I'll clear one clump at a time. This allows me to see the weeds clearly, identify their roots, and work methodically.
Root-First Strategy & The "Wiggle & Lift"
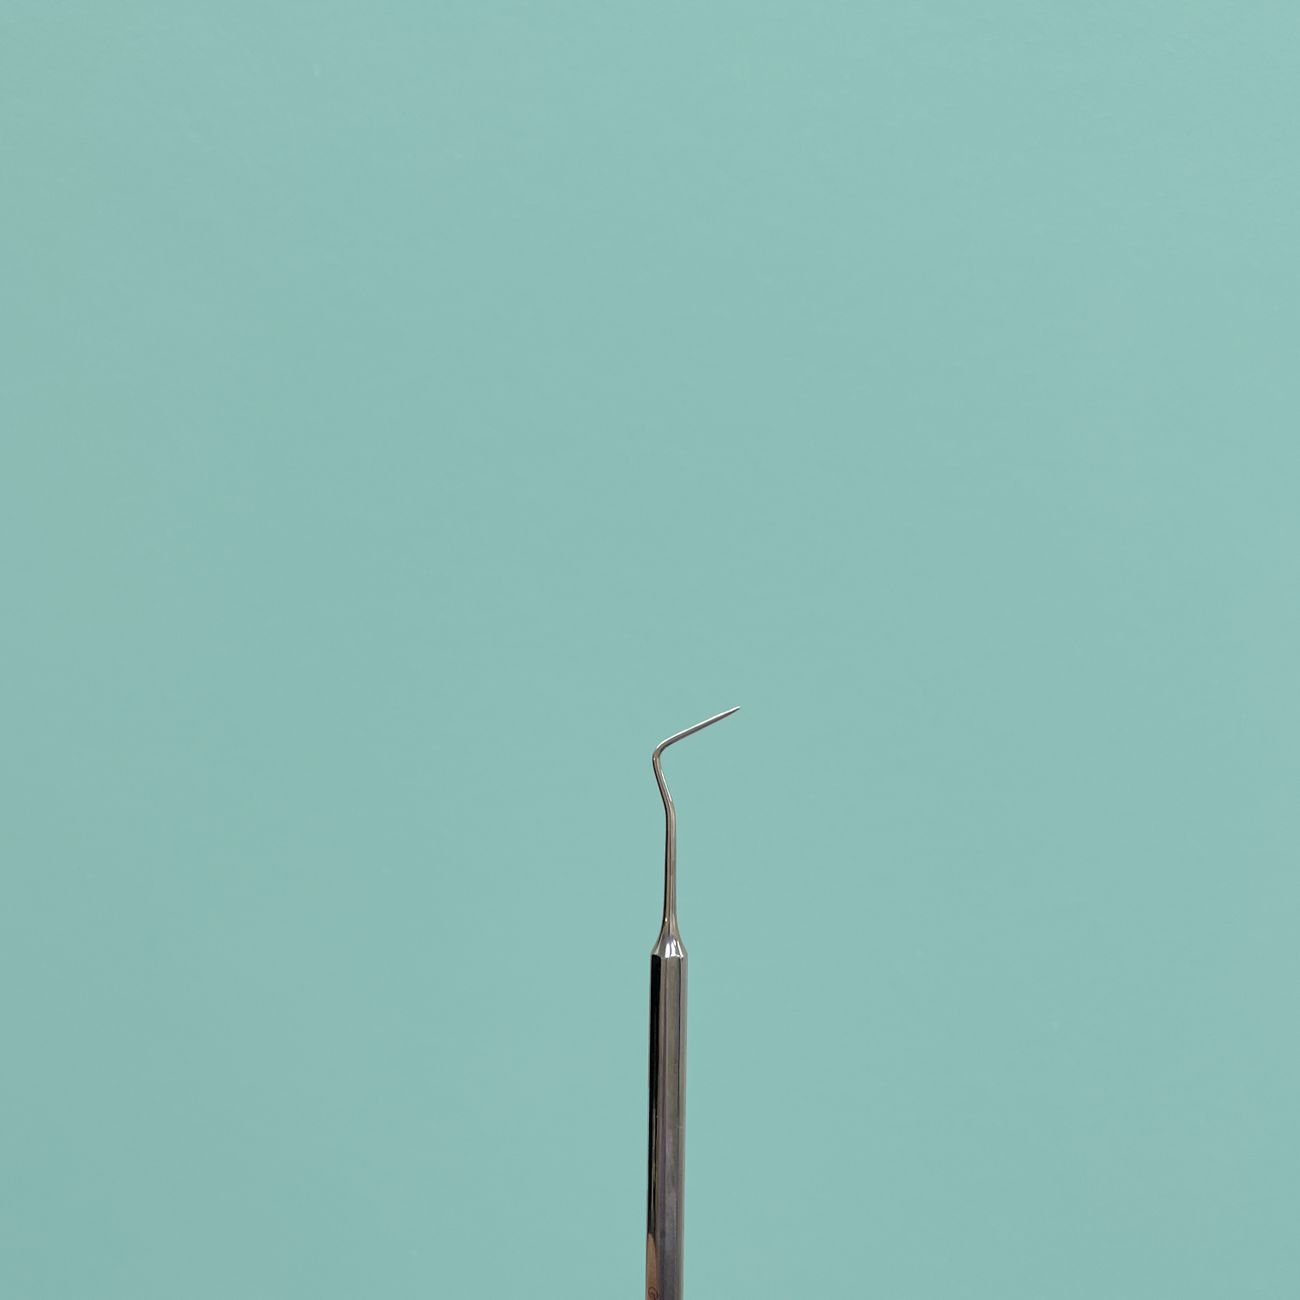
This is crucial for perennial weeds with deep or spreading roots like bindweed or ground elder. Instead of just pulling the top, you need to understand where the root is going. For taproots, I use my fishtail weeder or hori hori knife. I'll push the tool deep alongside the weed, aiming to get under the main root. Then, I'll gently wiggle the handle to loosen the soil around the root before slowly lifting. The goal is to get the entire root out in one go. If it's a spreading rhizomatous weed like ground elder, I'll use my small hand fork to carefully tease out the white runners, following them as far as possible without disturbing the desirable plants nearby. I literally hold back my desired plants with one hand while I excavate with the other.
Weeding When the Soil is Just Right
Timing is everything. Trying to weed dry, hard-baked British soil is a nightmare, often resulting in snapped weed tops and broken tools. On the flip side, trying to weed boggy, waterlogged soil just makes a muddy mess and can compact your precious soil. I've found the sweet spot is after a good, but not torrential, rain shower, or after I've given the area a targeted watering. The soil is soft enough to allow tools to penetrate easily and roots to be extracted whole, but not so wet that it's sticky or heavy. This is especially important for my ornamental beds that are heavily mulched – the mulch helps retain moisture, making weeding easier when I do need to get in there.
The "Observation & Intervention" Method
Precision weeding isn't just about removing existing weeds; it's about preventing them from getting established. I make it a habit to regularly stroll through my borders, not just admiring my plants, but looking under them. Spotting tiny weed seedlings when they've only just emerged is far easier than battling a mature plant. My greenhouse, where I grow my heirloom tomatoes like 'Black Krim' and 'Cherokee Purple', gets a daily inspection. A tiny hairy bittercress seedling that can be pinched out with two fingers now will be a seed-spreading menace in a week, especially in the warm, humid environment. Early intervention saves so much work later.
Protecting Desirable Plants
When working in densely planted areas, your desirable plants are often intertwined with the weeds. Before I start, I'll gently part the foliage of the plants I want to keep, sometimes even tying them back temporarily with a soft tie if they're particularly bushy. This gives me a clear view of the weed and space to work without accidentally snapping a stem or tearing a leaf. It’s about creating a clear working zone. I learned this the hard way after accidentally pruning a favourite lavender bush while trying to wrestle a particularly vigorous dock out from underneath it. Now, my 'Munstead' lavenders get protected first!
By adopting these methodical, patient, and precise techniques, weeding those challenging, densely planted areas in my UK garden has become far less daunting and much more effective. It's about respecting your plants and understanding that sometimes, slower is faster in the long run.
Delicate Operations: Weeding Tight Vegetable Rows Without Damaging Crops
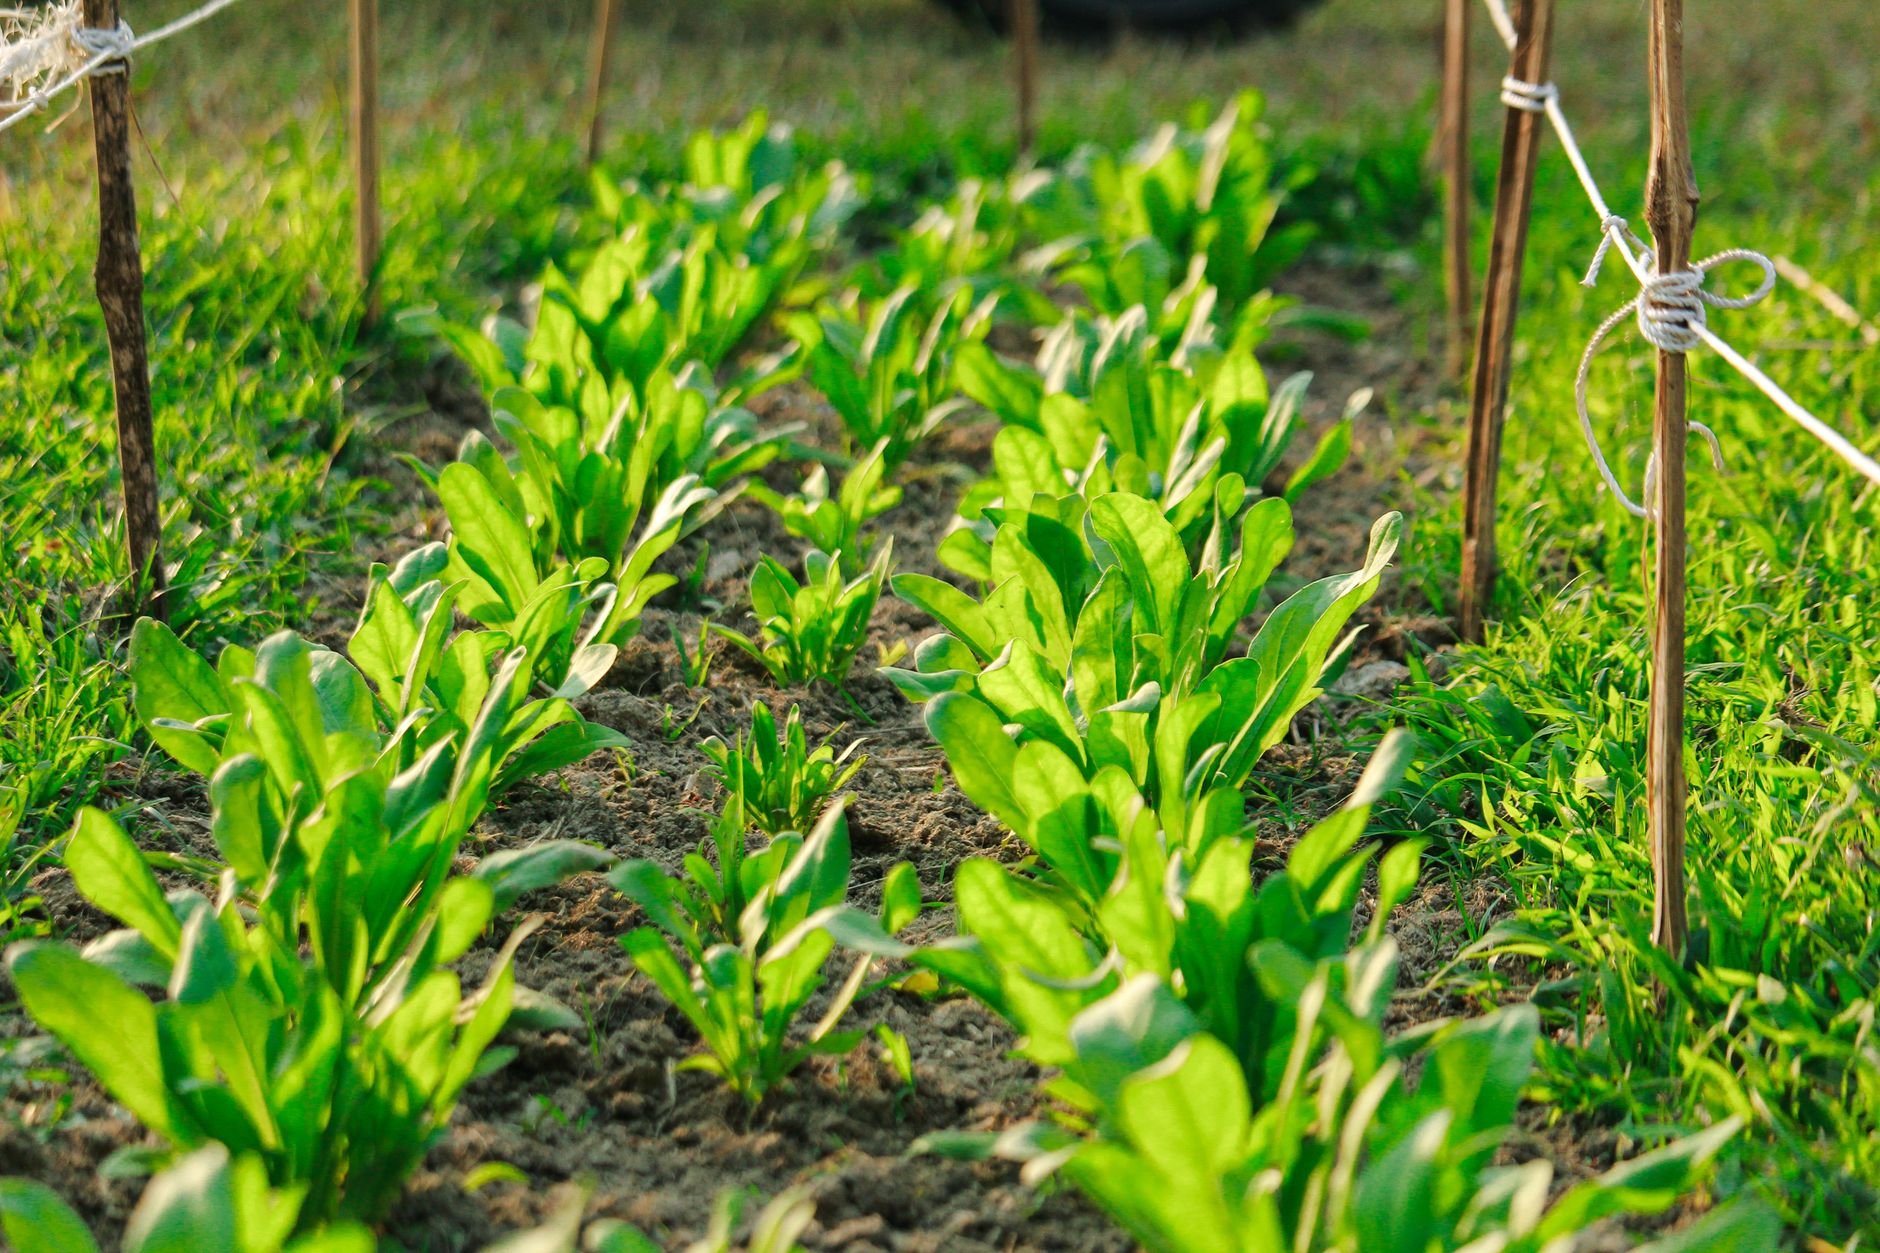
This is where your patience truly gets tested, and where precision weeding really shines. Weeding between delicate vegetable seedlings – think tiny carrots, rows of salad leaves, or young onion sets – is a dance between careful extraction and not disturbing the desirable plants. I've learned this the hard way more times than I care to admit, accidentally pulling up a promising young 'Nantes' carrot seedling instead of a pesky groundsel. It stings every time!
The key here, much like in borders, is timing and technique. I always aim to weed my vegetable rows when the soil is just moist – not soaking wet, which can turn into a muddy mess and make it hard to distinguish roots, but definitely not bone dry either. Dry soil means weeds break off at the stem, leaving their roots to regrow, and you risk disturbing the entire root ball of your intended crop. Here in the Midlands, with our often damp weather, finding that sweet spot of 'just moist' usually means waiting a day or two after a good downpour, or watering lightly the day before if it's been dry.
For these tight spaces, my go-to tools are often even smaller than for borders. A sharp Japanese Hori-Hori knife (the pointed end is brilliant for teasing out taproots) or even just a small, pointed hand trowel is invaluable. But honestly, for the really delicate work, nothing beats your fingers. "Finger weeding" involves carefully pinching the weed at its base and gently wiggling it free, using your other hand to stabilise the soil around your precious crop. I've found this particularly effective for those initial rounds of weeding around young beetroot, spinach, or even when thinning my 'Little Gem' lettuce seedlings. You can feel the resistance, helping you understand if you're pulling a single weed or a cluster of your desired plants.
One of my biggest breakthroughs was learning to identify weed seedlings very early. Many common weeds like chickweed or annual meadow grass look quite distinct even as tiny sprouts. The sooner you can spot them, the less established their root system will be, making them far easier to remove without collateral damage. I spend a lot of time just observing my vegetable beds, getting to know the unique look of each sprout, because once a weed gets too big in a tight row, you're almost guaranteed to cause some disturbance to your crops trying to get it out.
Beyond the Weeding Fork: Organic Prevention and Long-Term Management Strategies
While precision weeding is brilliant for dealing with existing problems, the true mastery of an organic, weed-free garden lies in prevention. It’s about creating conditions where weeds struggle to thrive in the first place, rather than constantly battling them. In my 800 sq ft UK garden, I’ve experimented extensively with various organic methods, and a multi-pronged approach has proven to be the most effective for our British climate.
Mulching: Your Garden's Best Friend
Mulching is, hands down, one of the most powerful weed prevention tools in my arsenal. By covering the soil surface, you block out light, suppressing weed seed germination, and starving any existing weed seedlings. But it does so much more! Mulch also helps retain soil moisture (a godsend during our occasional summer droughts here in the Midlands), regulates soil temperature, and as it breaks down, it slowly adds valuable organic matter to your soil.
I use different types of mulch for different areas:
- Straw: My absolute favourite for my raised vegetable beds, especially around my greenhouse tomatoes ('Moneymaker' and 'Gardener's Delight' thrive under straw) and cucamelons. It’s light, decomposes well, and looks neat.
- Compost: A layer of well-rotted garden compost or leaf mould is fantastic for fertility and weed suppression in my ornamental beds and around my fruit bushes.
- Wood Chip: I use this primarily on paths and in areas where I want a more permanent, less frequently disturbed mulch, like around my established raspberry canes or rhubarb. It lasts longer but isn't ideal for annual vegetable beds where you're digging and planting often.
One mistake I made early on was applying mulch too thinly. You need a good 2-4 inches (5-10 cm) to be truly effective. Also, remember to leave a little breathing space around the stems of your plants to prevent rot.
Close Spacing & Companion Planting
Another strategy I swear by, particularly in my small-space raised beds, is intelligent plant spacing. By planting desirable crops closer together (within their recommended guidelines, of course!), their leaves quickly grow to form a canopy that shades the soil. This natural shade significantly reduces weed germination. It’s like creating a living mulch!
I often interplant fast-growing crops like radishes or lettuce between slower-growing ones. For example, I’ll sow a row of 'French Breakfast' radishes between my future broccoli plants. The radishes are harvested long before the broccoli needs the space, and in the meantime, they’ve kept that patch weed-free. Similarly, growing herbs like basil or marigolds strategically among vegetables can not only deter pests but also help fill gaps and shade the soil.
No-Dig Gardening
This technique has been revolutionary for me. By disturbing the soil as little as possible, you avoid bringing dormant weed seeds to the surface, where they can germinate. My raised beds are predominantly no-dig, built up with layers of organic matter. I simply add a fresh layer of compost each year, and the difference in weed pressure compared to when I used to dig is astounding. It’s not just about less weeding; it's about building incredibly healthy soil that benefits all my plants.
Crop Rotation and Cover Cropping
While primarily for soil health and disease prevention, a good crop rotation plan also helps manage specific weed populations that might favour certain crops. For bare patches over winter, especially in beds that have finished their main harvest, I often sow a green manure (cover crop) like 'Crimson Clover' or 'Field Beans'. These cover the soil, prevent weeds from taking hold, protect the soil from our often harsh British winter weather, and then get dug in (or chopped and dropped in a no-dig system) to enrich the soil before spring planting.
Here’s a quick overview of some key organic prevention strategies:
| Strategy | Pros (UK Garden Specific) | Cons (UK Garden Specific) | My Experience/Tips (Midlands, 800 sq ft) |
|---|
## Delicate Operations: Weeding Tight Vegetable Rows Without Damaging Crops
Now, this is where precision weeding really earns its name, and where your gardening zen will truly be tested! Weeding between delicate vegetable seedlings – think tiny carrots, rows of 'Salad Bowl' lettuce, or young onion sets like 'Sturon' – is a careful dance between extraction and not disturbing the desirable plants. I've learned this the hard way more times than I care to admit, accidentally pulling up a promising young carrot seedling instead of a pesky groundsel. It absolutely stings every single time, especially after all the effort of sowing thinly!
The key here, much like in borders, is impeccable timing and a gentle technique. I always aim to tackle my vegetable rows when the soil is just moist – not soaking wet, which can turn into a muddy, root-destroying mess, but definitely not bone dry either. Dry soil means weeds break off at the stem, leaving their roots to regrow, and you risk disturbing the entire, fragile root ball of your intended crop. Here in the Midlands, with our often damp weather, finding that sweet spot of 'just moist' usually means waiting a day or two after a good downpour, or giving the bed a light watering the day before if it's been a dry spell.
For these extremely tight spots, my go-to tools are often even smaller than for general border weeding. A sharp *Japanese Hori-Hori knife* (the pointed end is brilliant for teasing out taproots without much disturbance) or even just a small, pointed hand trowel is invaluable. But honestly, for the really delicate work, nothing, and I mean nothing, beats your own fingers. "Finger weeding" involves carefully pinching the weed at its base and gently wiggling it free, often using your other hand to stabilise the soil right around your precious crop. I've found this particularly effective for those initial rounds of weeding around young beetroot, spinach, or even when thinning my 'Little Gem' lettuce seedlings. You can actually feel the resistance, helping you understand if you're pulling a single weed or a cluster of your desired plants. It really comes down to touch.
One of my biggest breakthroughs came from learning to identify weed seedlings *very* early. Many common culprits like chickweed, annual meadow grass, or fat hen look quite distinct even as tiny sprouts. The sooner you can spot them, the less established their root system will be, making them far easier to remove without collateral damage. I spend a lot of time just observing my vegetable beds, getting to know the unique look of each sprout. If a weed gets too big in a tight row, you're almost guaranteed to cause some disturbance to your crops trying to get it out – and that's just not worth it when you're trying to grow a bumper crop of 'Autumn King 2' carrots!

## Beyond the Weeding Fork: Organic Prevention and Long-Term Management Strategies
While precision weeding is brilliant for dealing with existing problems, the true mastery of an organic, weed-free garden lies in prevention. It’s about creating conditions where weeds struggle to thrive in the first place, rather than constantly battling them. In my 800 sq ft UK garden, especially within my raised beds and around the greenhouse, I’ve experimented extensively with various organic methods, and a multi-pronged approach has proven to be the most effective for our often unpredictable British climate.
### Mulching: Your Garden's Best Friend
Mulching is, hands down, one of the most powerful weed prevention tools in my arsenal. By covering the soil surface, you block out light, significantly suppressing weed seed germination, and starving any existing weed seedlings. But it does so much more! Mulch also helps retain crucial soil moisture (a godsend during our occasional summer droughts here in the Midlands), regulates soil temperature, and as it breaks down, it slowly adds valuable organic matter to your soil, feeding the underground ecosystem.
I use different types of mulch for different areas:
* **Straw:** This is my absolute favourite for my raised vegetable beds, particularly around my greenhouse tomatoes (heirloom 'Cherokee Purple' and 'Gardeners Delight' absolutely thrive under a good straw mulch) and my courgettes. It’s light, decomposes well, and looks wonderfully neat.
* **Compost:** A generous layer of well-rotted garden compost or leaf mould (I make my own from autumn leaves) is fantastic for both fertility and weed suppression in my ornamental beds and around my established fruit bushes. It really gives the soil a boost.
* **Wood Chip:** I use this primarily on paths and in areas where I want a more permanent, less frequently disturbed mulch, like around my established raspberry canes or my hungry rhubarb patch. It lasts longer but isn't ideal for annual vegetable beds where you're constantly planting and sowing.
One mistake I made early on was applying mulch too thinly. You really need a good 2-4 inches (5-10 cm) to be truly effective. Also, remember to leave a little breathing space right around the stems of your plants to prevent rot, especially during damp British summers.
### Close Spacing & Companion Planting
Another strategy I swear by, particularly in my small-space raised beds, is intelligent plant spacing. By planting desirable crops closer together (always within their recommended guidelines, of course!), their leaves quickly grow to form a dense canopy that shades the soil. This natural shade significantly reduces weed germination. It’s like creating a living mulch!
I often interplant fast-growing crops like radishes or lettuce between slower-growing ones. For example, I’ll sow a row of 'French Breakfast' radishes between where my future 'Calabrese Sprouting' broccoli plants will grow. The radishes are harvested long before the broccoli needs the space, and in the meantime, they’ve kept that patch remarkably weed-free. Similarly, growing herbs like basil or marigolds strategically among vegetables can not only deter pests but also help fill gaps and shade the soil.
### No-Dig Gardening
This technique has been absolutely revolutionary for me since I started implementing it a few years ago. By disturbing the soil as little as possible, you avoid bringing dormant weed seeds to the surface, where they can germinate. My raised beds are predominantly no-dig, built up with layers of organic matter. I simply add a fresh, thick layer of compost each year, and the difference in weed pressure compared to when I used to dig is astounding. It’s not just about less weeding; it's about building incredibly healthy, resilient soil that benefits all my plants, even through our sometimes soggy Midlands winters.
### Crop Rotation and Cover Cropping
While primarily for soil health and disease prevention, a good crop rotation plan also helps manage specific weed populations that might favour certain crops. For bare patches over winter, especially in beds that have finished their main harvest, I often sow a green manure (cover crop) like 'Crimson Clover' or 'Field Beans'. These cover the soil, prevent weeds from taking hold, protect the soil from our often harsh British winter weather, and then get dug in (or chopped and dropped in a no-dig system) to enrich the soil before spring planting. It’s a fantastic way to keep the soil alive and productive all year round.
Here’s a quick overview of some key organic prevention strategies I rely on in my UK garden:
| Strategy | Pros (UK Garden Specific) | Cons (UK Garden Specific) | My Experience/Tips (Midlands, 800 sq ft) |
| :--- | :--- | :--- | :--- |