
Introduction: Navigating Your Garden Safely & Protecting Your Prized Plants
There’s nothing quite like the feeling of stepping out into your own garden, is there? For me, it’s pure joy. After years of tapping away at a keyboard in IT, finding my calling in the soil has been a revelation. My 800 sq ft backyard here in the UK Midlands is absolutely packed – a glorious, thriving jungle of raised beds, a busy greenhouse bursting with heirloom tomatoes, and herbs spilling out everywhere. It's my happy place, my experimental station, and my sanctuary.
But with all that lush growth and all the busy activity of tending, watering, and harvesting, there's a flip side: the dreaded accidental snap or crush. I've been there more times than I'd care to admit. One minute, you're admiring a perfect 'Black Krim' tomato setting fruit in the greenhouse, the next you've leaned in too close, heard that sickening snap, and a promising side shoot is on the ground. Or perhaps you're trying to reach a stubborn weed and accidentally flatten a delicate seedling you've been nurturing for weeks. I learned the hard way that a bustling, productive garden, especially a small one like mine, needs a bit of strategic planning to protect its most vulnerable residents. It's not just about growing; it's about growing safely – for both us gardeners and our prized plants. Over the past five years, I've tried all sorts of things to create harmony and prevent those heartbreaking accidents, and I'm keen to share what's actually worked here in my very active British garden.
Designing for Flow: Strategic Pathways & Clearly Defined Walking Zones
When I first started out, my garden was a bit of a free-for-all. I just dug beds wherever I fancied, and the "paths" were really just muddy strips where I hoped I wouldn't step on anything. Spoiler alert: I always stepped on something. Especially in the spring when everything was just waking up, or after a typical British downpour turned the soil into a treacherous bog. One year, I completely flattened a promising row of 'Sugar Ann' snap peas trying to get to some early season lettuce. That was a wake-up call. I realised that good garden design isn't just about aesthetics; it's fundamentally about functionality and protection, especially in a compact space like my 800 sq ft.
What I've learned is that strategic pathways are non-negotiable. They clearly define where you should walk, and by extension, where you absolutely shouldn't. In my garden, I've got two main pathways – a wider one (about 75cm) that runs down the middle, connecting the greenhouse to the main veg beds, and narrower access paths (around 50-60cm) between the raised beds themselves. This allows for easy wheelbarrow access on the main path and comfortable working space around the beds without leaning over or treading on precious plants. I've experimented with different materials, and for our changeable UK weather, good drainage and grip are key.
Initially, I used just bark chippings, which look great and are soft underfoot. However, after a few wet Midlands winters, they started to break down quickly and needed regular topping up. Plus, they could get a bit slippery when really damp. I've since transitioned to a mix. My main path now has a base of compacted scalpings topped with decorative gravel, which offers excellent drainage and a firm surface year-round. For the narrower paths between beds, I still use bark chippings, but I refresh them annually. They're lighter, cheaper, and still provide a good visual and physical barrier to keep my feet out of the growing zones. This mix works brilliantly for keeping my shoes mud-free and my plants safe, even during the wettest British summers.
| Pathway Material | Pros for UK Gardeners | Cons for UK Gardeners | Randy's Experience & Tips |
|---|---|---|---|
| Gravel (Decorative) | Excellent drainage, durable, low maintenance, deters slugs. | Can shift, costly to install, uncomfortable for bare feet, needs edge retention. | I use this for my main path. Go for a smaller aggregate (e.g., 10mm) for comfort. Essential to lay a weed membrane underneath to prevent British weeds popping through! |
| Bark Chippings | Affordable, natural look, good weed suppression, soft underfoot. | Breaks down over time (needs topping up), can get slippery when wet, can blow away in strong winds. | Great for secondary paths. I replenish mine annually, usually in late spring. Look for locally sourced, sustainable options. |
| Reclaimed Brick/Paving | Very durable, creates a classic UK garden look, permeable if laid with gaps. | Labour-intensive to lay, can be costly, uneven surfaces can trip if not laid well. | I’ve incorporated some reclaimed bricks as edging for my raised beds, which also doubles as a narrow, firm path directly around the bed. Looks fantastic. |
| Wood Slices/Stepping Stones | Natural, adds character, relatively cheap for small areas. | Can become very slippery when wet (a real hazard in the UK!), prone to rot, can shift. | I tried these once near my herb spiral. Looked lovely but were treacherous in the rain. Not practical for high-traffic areas in our climate. |
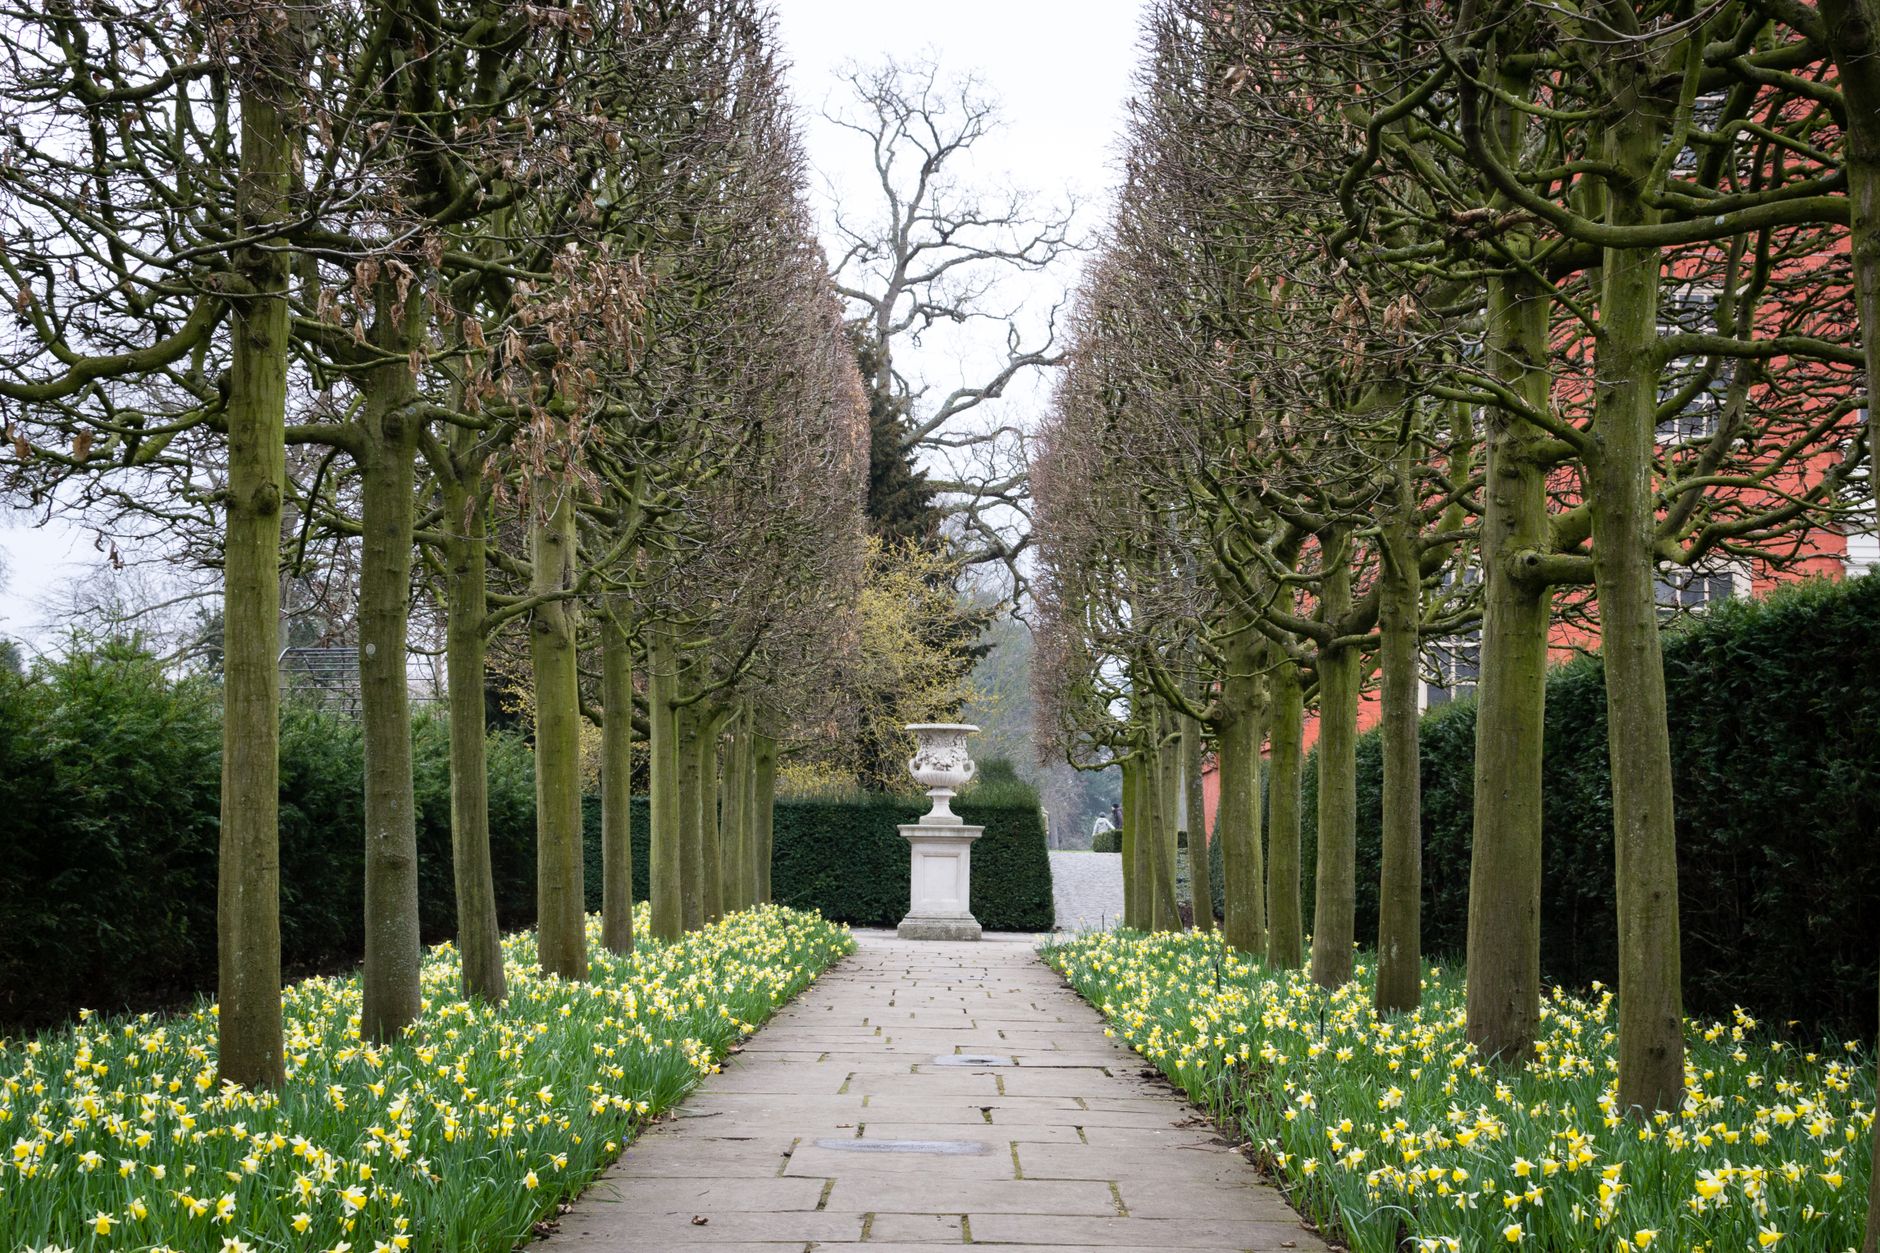
Living Fences: Utilising Barrier Plants for Natural Protection & Definition
Beyond physical pathways, I've discovered the magic of using plants themselves as 'living fences' or gentle deterrents. This is something I got really keen on when I realised that even with clear paths, a curious hand (or my own distracted self!) might still wander too close to a delicate 'Indigo Rose' tomato plant laden with fruit, or a newly transplanted row of 'Red Russian' kale seedlings. Barrier plants work wonders by creating a natural, soft boundary that signals "stay back a little" without being an aggressive fence.
In my packed 800 sq ft, every plant has to earn its keep, and these barrier plants are no exception. They protect, they define, and often, they provide an extra harvest or attract pollinators! For instance, I've got rows of English Lavender (specifically 'Hidcote' and 'Munstead' for their compact size and hardiness in the Midlands) running along the front edges of some of my raised beds. Their woody stems and fragrant foliage act as a perfect buffer, keeping hands and feet a gentle distance away from the more delicate annuals and vegetables nestled behind them. Plus, the bees absolutely adore them, which is a huge bonus for my squash and tomato pollination!
Another one I use is Rosemary, particularly the upright 'Miss Jessopp's Upright' variety. It forms a lovely, fragrant, evergreen hedge that is tough as old boots and perfectly suited to our UK climate. I've planted it strategically around the corners of my main beds, where accidental bumps are most likely. Not only does it protect the plants within the bed, but it also gives me a constant supply of fresh rosemary for the kitchen. It's a win-win! I've also had success with low-growing varieties of Thyme and Oregano, which spill beautifully over the edges of my beds and create a soft, aromatic barrier that encourages you to step carefully. It's all about making the garden guide you, rather than having to constantly police your own movements.
| Barrier Plant | Height & Form | UK Suitability | Maintenance | Pros for Protection & Gardeners | Cons |
|---|---|---|---|---|---|
| English Lavender (e.g., 'Hidcote', 'Munstead') | Compact, woody shrub, 40-60cm high. | Excellent, very hardy across UK. | Prune after flowering. | Fragrant deterrent, visual boundary, attracts pollinators, edible flowers. | Can get leggy if not pruned, takes a year or two to establish. |
| Rosemary (e.g., 'Miss Jessopp's Upright') | Upright, woody shrub, 100-150cm high. | Excellent, hardy in most UK areas. | Light trim after flowering. | Strong scent deters, robust physical barrier, evergreen, culinary herb. | Can grow quite large if not maintained, needs well-drained soil (important in wet UK winters). |
| Thyme (Low-growing varieties) | Spreading, ground cover, 10-20cm high. | Excellent, very hardy across UK. | Minimal, occasional trim. | Aromatic barrier, spills over edges, suppresses weeds, culinary herb. | Not a strong physical barrier, more of a visual/scent cue. |
| Lamb's Ear (Stachys byzantina) | Soft, fuzzy ground cover, 30-40cm high. | Excellent, very hardy across UK. | Minimal, remove spent flower spikes. | Distinctive texture and colour acts as a visual 'no-go', drought tolerant. | Can spread vigorously, not edible. |
| Boxwood (Buxus sempervirens) (Dwarf varieties) | Dense, evergreen shrub, 30-60cm high. | Good, but susceptible to box blight. | Regular clipping for shape. | Classic formal barrier, evergreen, very dense. | Vulnerable to box blight (a real problem in the UK now), slower growth, not edible. |
Visual Cues & Marking Systems: Guiding Movement and Signalling 'No-Go' Zones
Even with the best pathways and barrier plants, there are always those times in the garden when you need a little extra help, a visual nudge, or a clear "STOP!" sign. This is particularly true for newly sown seeds that haven't germinated yet, delicate young seedlings, or areas where I'm trying a new experimental crop that needs a bit of extra space and protection. I learned this lesson the hard way one spring when I'd carefully sown some 'Sungold' cherry tomato seeds directly into a greenhouse border, only for my partner to inadvertently rake over them a week later, thinking it was just bare soil. Heartbreak!
That's when I really started to embrace visual cues and marking systems. They're simple, effective, and can even add a touch of personality to the garden. For me, it's about being explicit without being ugly. I've tried everything from simple wooden stakes to fancy decorative markers, and what works best is a combination of clarity and visibility.
For newly planted seeds or very young, easily-missed seedlings, I use small, clearly labelled stakes. I'm a big fan of using old slate tiles, which I break into smaller pieces and write on with a permanent paint pen – they're incredibly durable in our British weather, don't fade, and look quite charming. I push them firmly into the soil right at the beginning of a row. For areas that are temporarily off-limits – maybe I've just fed a particular bed and don't want it walked on, or there's a fragile new perennial settling in – I'll often use a slightly taller, more prominent marker. Sometimes, it's just a decorative garden fork stuck in the ground, or a bright piece of twine tied between two small bamboo canes to create a mini 'fence' around a particularly vulnerable spot.
I also use a system of coloured markers in my greenhouse for my heirloom tomatoes. Red markers mean 'do not prune this side shoot, it's a suckering variety I'm letting fruit', while green means 'prune this one hard'. It sounds a bit much, but it saves so much confusion when I'm tired or distracted, and it's certainly prevented me from accidentally butchering a promising 'Mortgage Lifter' branch! The key is consistency and making sure whatever you use is robust enough to withstand the wind and rain that are a common feature of gardening here in the UK.

Smart Planting Strategies: Grouping & Zoning Delicate Blooms for Enhanced Safety
Beyond the physical barriers and clear paths, how you arrange your plants themselves can make a world of difference in preventing those dreaded accidental snaps. In my 800 sq ft Midlands garden, I've learned that strategic grouping and zoning of delicate plants is just as crucial as building a sturdy raised bed. It's all about creating micro-environments where your most vulnerable plants feel secure.
I often think of it like setting up a VIP section in a busy place – you want to keep the important bits safe and separate. For instance, my greenhouse is a prime example. Inside, my heirloom tomatoes, like the 'Cherokee Purple' and 'Gardener's Delight' that I nurture from seed every year, are incredibly delicate, especially when heavy with fruit. I group them together in one area, giving them ample space and individual stakes, rather than scattering them amongst more robust plants. This way, when I'm reaching for a ripe tomato, I'm not inadvertently brushing past a young pepper plant or a tender basil seedling.
Out in the raised beds, I apply the same principle. Young, freshly transplanted seedlings are incredibly vulnerable. I often plant a block of them together, perhaps a dozen 'Little Gem' lettuces or a row of 'Early Nantes' carrots, and then surround that block with something slightly hardier. For example, I might put a row of chives or spring onions – which are far more resilient to an accidental brush – as a border around a patch of delicate calendulas or newly emerging broad bean sprouts. This creates a buffer zone. It's a small detail, but it means that if I'm reaching into the bed to weed or harvest something, my hand is more likely to hit the tougher chive leaves first, giving me a moment to adjust before I accidentally crush a tender lettuce.
Another technique I swear by, especially for those blustery British days, is using larger, more robust plants as natural windbreaks and physical shields for their more delicate neighbours. I often plant my taller, sturdier brassicas – think 'Calabrese' broccoli or robust kale varieties – on the windward side of more fragile plants like cosmos or young sweet peas. They act as a living bodyguard, taking the brunt of any stray knocks or gusts of wind. I learned this the hard way one spring when a sudden Midlands gale flattened a whole row of young French beans because I hadn't thought about their exposed position. Now, I plan for it.
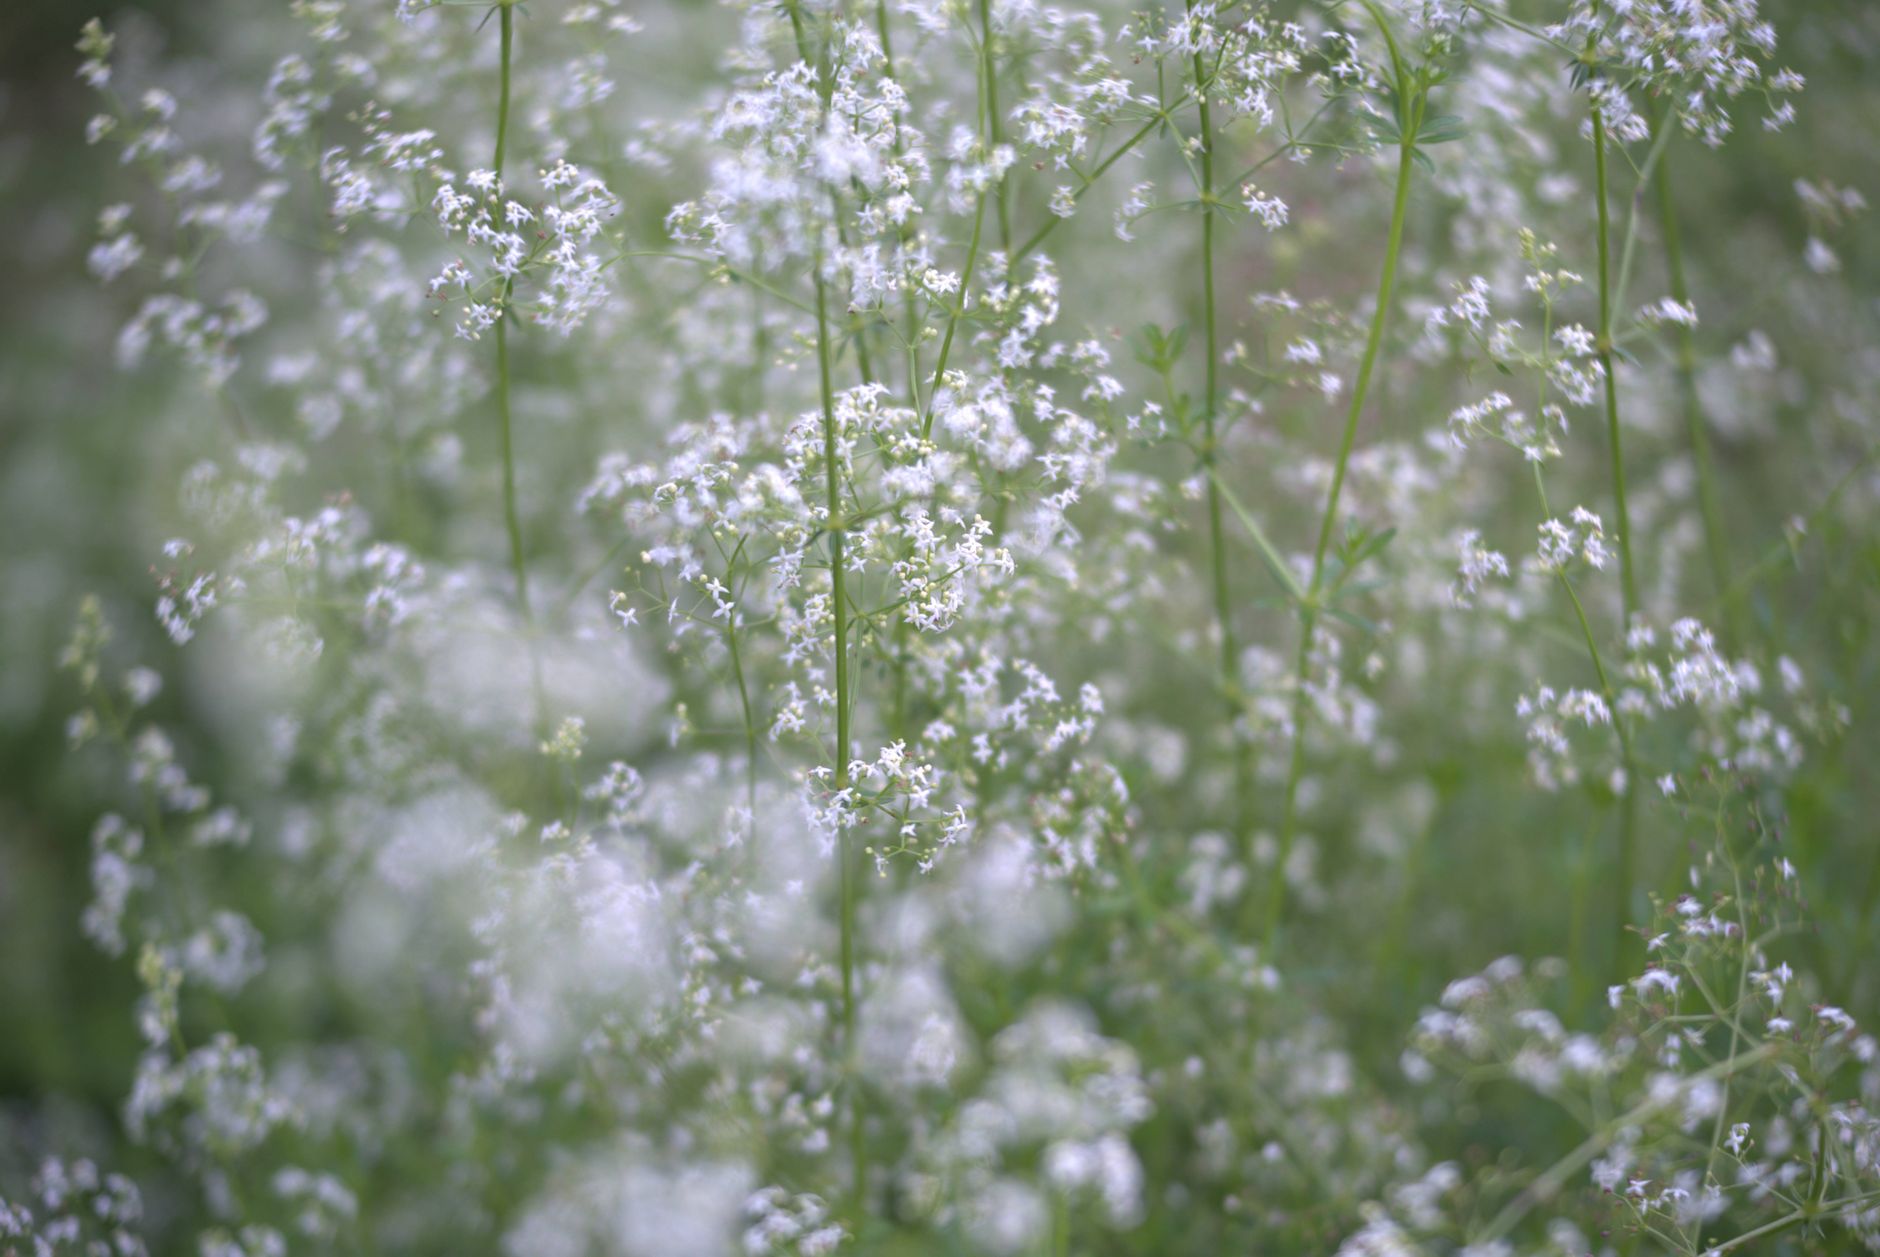
The Art of Underplanting & Vertical Zoning
Don't forget the power of vertical space and underplanting. For instance, in my greenhouse, once the tomato plants are established and growing tall, I often underplant them with less delicate, shade-tolerant herbs like mint (in pots, of course, to contain its enthusiasm!) or parsley. These plants don't mind a bit of accidental contact, and it means I'm not treading on precious ground space or bending over delicate seedlings when I'm tending to the tomatoes above. It's a system I've refined over five years, and it really maximises every inch of my 800 sq ft.
Beyond the Path: Practical Tools & Techniques for Active Gardeners
Even with the best layout and planting strategies, an active garden, especially one packed like mine, still requires some hands-on vigilance. This is where specific tools and techniques come into play – the everyday things that help us prevent those frustrating 'oops' moments. I've tried countless gadgets and methods over the years, and here are the ones that have truly earned their place in my UK gardening arsenal.
One of my go-to techniques, particularly for those gangly, top-heavy plants, is proper staking and support. I use various types, from simple bamboo canes for my climbing beans and peas to more elaborate spiral stakes for my greenhouse tomatoes once they get really laden with fruit. I've found that getting stakes in early, when the plant is still small, prevents disturbing the root system later and provides crucial support before a gust of wind or an accidental bump causes damage. For my dahlias out in the beds, I often use a 'grow-through' support ring. It's a simple metal grid that the plant grows up through, providing gentle, all-around support without looking too intrusive.
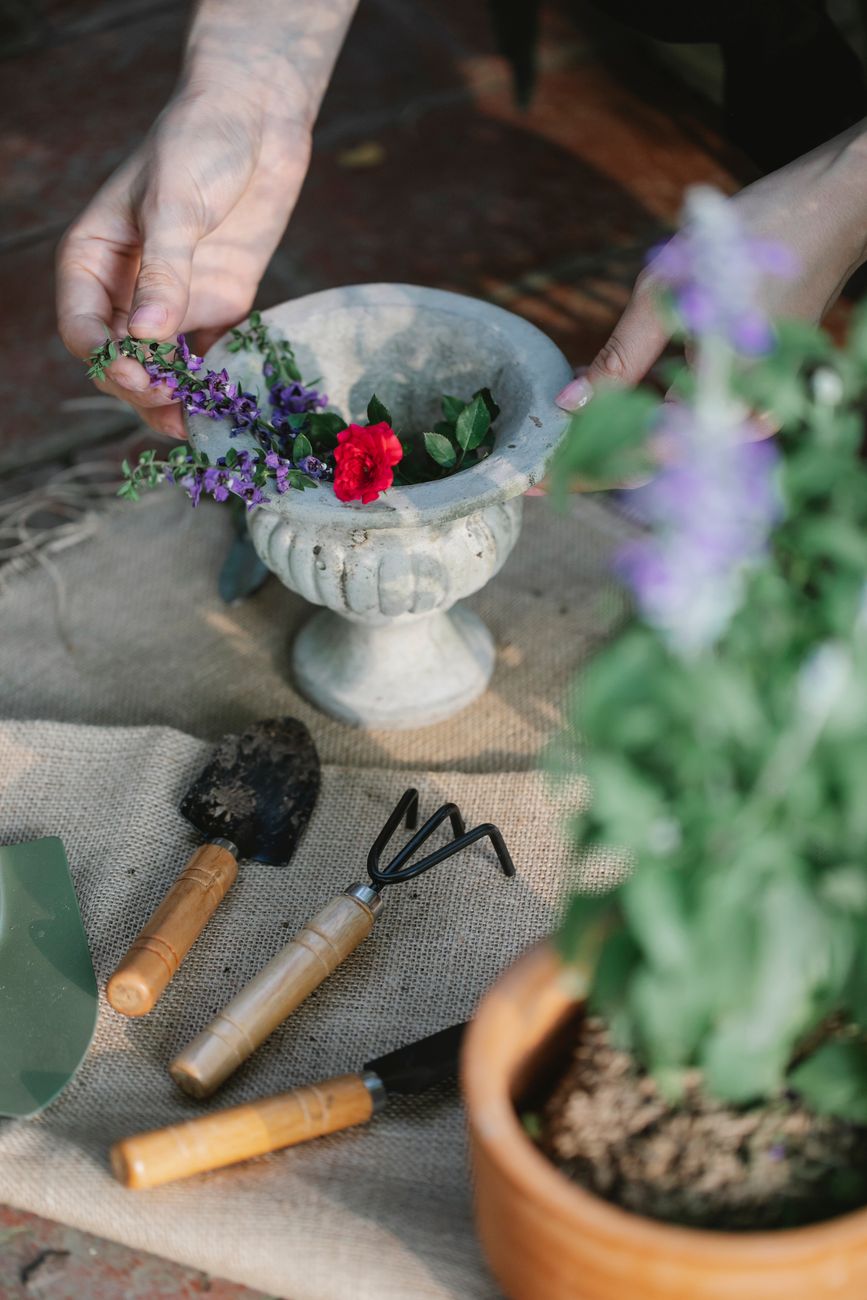
For working around delicate plants, I've swapped out my big, broad trowel for a narrower, more precise one for weeding in tight spots. It means I can get right up close to a prized perennial or a tender seedling without accidentally slicing through a neighbouring stem. A good quality kneeling pad or a small garden stool is also essential for me. Getting down to eye-level with your plants helps you see what you're doing, reduces the likelihood of stumbling, and saves your knees – a win-win, especially after a long day in the garden!
And for those really vulnerable moments, like when I've just transplanted a tray of 'Sungold' tomato seedlings into their final positions, I often use temporary cloches or mini hoop tunnels. These aren't just for frost protection here in the Midlands; they act as a fantastic physical barrier, signalling "don't touch!" to me and anyone else who might be helping out. They provide a clear visual and physical boundary during those critical first few weeks.
Comparing Protection Techniques for UK Gardeners
Here's a quick look at some common tools and techniques I use, with their pros and cons, specifically from a UK gardener's perspective:
| Technique/Tool | Purpose | Pros (UK Context) | Cons (UK Context) | Randy's Tip for UK Use |
|---|---|---|---|---|
| Staking/Trellising | Supporting tall/heavy plants | Prevents snapping from wind/weight; keeps fruit off ground. Works well for climbing beans, peas, tomatoes (indoors/out). | Can be time-consuming to install; stakes can be eyesores if not chosen well. Needs regular tying in. | Use sturdy bamboo or spiral stakes. Install before plants get too big. For tomatoes, tie loosely with soft twine to avoid stem damage. |
| Cloches/Mini Tunnels | Temporary protection for young/delicate plants | Excellent for frost protection and physical barrier. Protects from early season wind damage. | Can overheat in direct sun if not ventilated; might blow away in strong British winds if not secured. | Use fleece or perforated plastic. Secure firmly with pegs, especially in spring. Remove on warm days to allow air circulation. |
| Grow-Through Supports | All-around support for bushy perennials | Discreet, provides even support as plant grows. Great for dahlias, peonies, salvias. | Can be tricky to install once plant is established; not suitable for very tall climbers. | Install early in spring when plants are still small. Choose dark green ones to blend in. |
| Narrow Trowel/Hand Fork | Precise weeding & planting in tight spaces | Reduces accidental damage to nearby plants; ideal for raised beds & containers. | Slower for large areas; less leverage for tough weeds. | Invest in a good quality stainless steel set. Keep them clean to prevent disease spread. |
| Kneeling Pad/Stool | Comfort & stability while working | Prevents stumbling; allows closer, more careful work. Saves knees on cold, damp UK ground. | Can be bulky to carry around; another item to trip over if left in a pathway. | Mine lives by my main raised bed. It's a simple foam pad, but it's invaluable. |
Conclusion: Cultivating a Beautiful, Safe, and Resilient UK Garden
Phew! We've covered a fair bit, haven't we? From the grand design of pathways to the smallest detail of a narrow trowel, the goal has always been the same: to create a garden where both you and your precious plants can thrive without fear of accidental bumps, snaps, or crushes. My 800 sq ft here in the Midlands is a testament to the fact that you can pack a lot in, grow incredible produce, and still keep things safe and sound – even with our notoriously unpredictable British weather throwing curveballs.
It boils down to thoughtful planning and a bit of proactive care. Start with those strategic pathways, making sure you have clear, comfortable routes through your garden. Then, think about those living fences – the barrier plants like lavender or rosemary that not only look beautiful but gently guide you away from delicate areas. Don't underestimate the power of visual cues, whether it's a simple stone or a temporary marker, to signal 'no-go' zones.
And remember, it's not just about what's around your plants, but how they're arranged. Grouping your most delicate blooms and foliage together, perhaps with a sturdier 'bodyguard' plant or in a sheltered spot, can make a huge difference. And finally, equip yourself with the right tools and techniques – good staking, temporary cloches, and even a comfy kneeling pad – to make your active gardening sessions safer and more enjoyable.
I've learned all of this through five years of trial and error, plenty of 'oops' moments (especially with those early tomato seedlings!), and a whole lot of passion. My journey from an IT desk to digging in the dirt has taught me that gardening is a constant learning curve, and sharing these experiences, successes and failures alike, is what it's all about.
So, take these ideas, adapt them to your own unique UK garden, and cultivate a space that's not just productive and beautiful, but also safe and resilient. What are your favourite tricks for protecting your delicate plants? I'd love to hear them! Drop a comment below and let's keep the conversation growing. Happy gardening, everyone!
