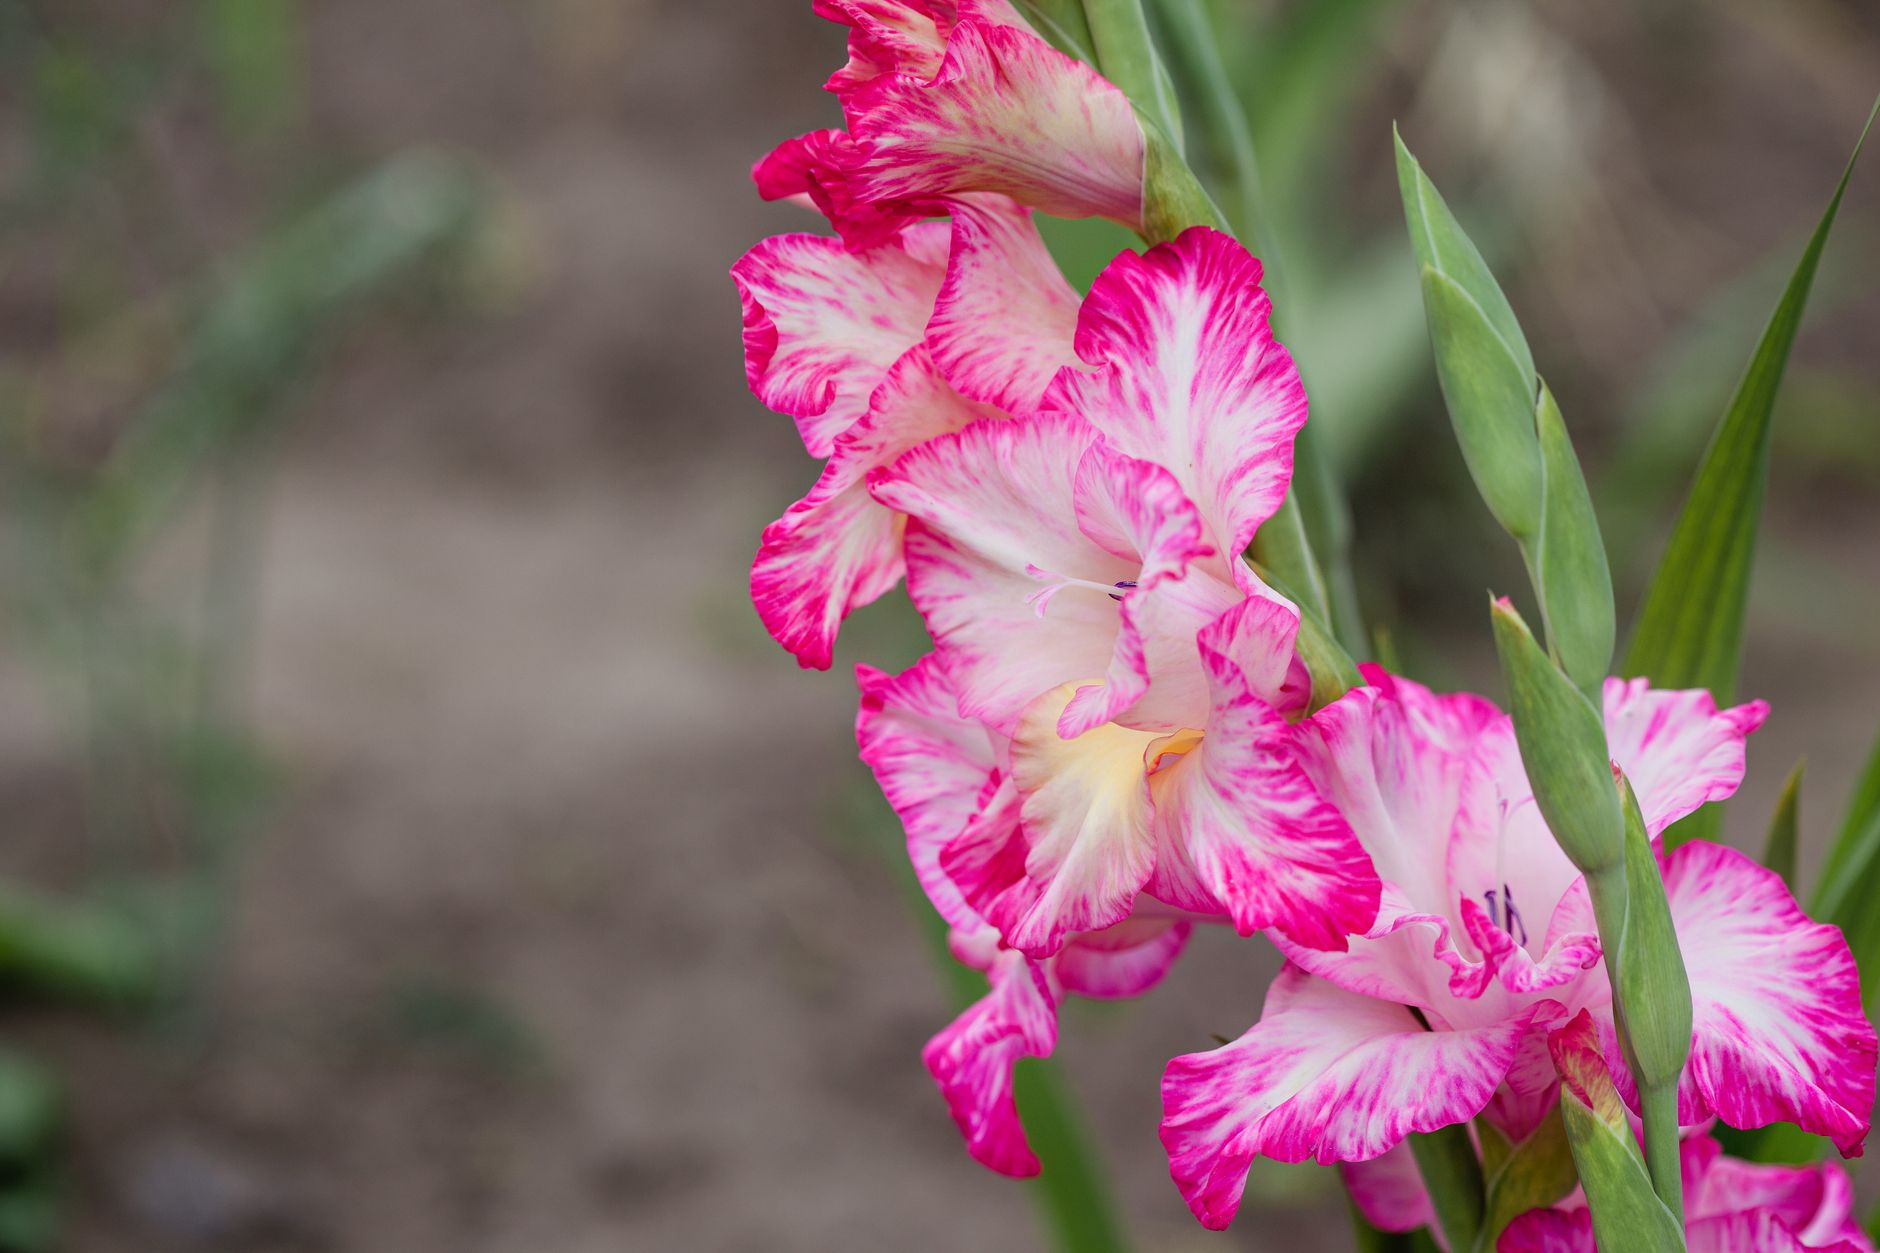
Introduction: Unlocking Consistent Summer Displays with Perennial Gladiolus and Oriental Lilies
Right then, fellow gardeners, let's talk about summer showstoppers! If you're anything like me, you dream of those towering spires of gladioli and the intoxicating fragrance of Oriental lilies filling your garden year after year without endless faff. For too long, I, like many others here in the UK, treated gladiolus as an annual, dutifully digging up corms every autumn. And while Oriental lilies are generally hardier, getting them to truly thrive and repeat bloom consistently, preventing that dreaded flopping after a good British downpour, well, that's a whole other ball game.
When I first traded my IT desk for a trowel five years ago, my 800 sq ft backyard in the Midlands quickly became my laboratory. I was obsessed with getting the biggest, most vibrant displays possible, especially in our often-unpredictable British weather. I tried everything, and believe me, I made my share of mistakes – corms rotting in wet soil, lily stems snapping in a gust of wind, disappointing, sparse blooms. But through a fair bit of trial and error, and a deep dive into what really makes these beauties tick, I’ve cracked the code. This isn't about just getting them to survive; it's about helping them establish themselves as true perennials, rewarding you with increasingly spectacular displays each summer. If you’re ready to stop replanting and start truly cultivating, let's get stuck in!
Understanding Your Bulbs: Key Differences for Perennial Success (Gladiolus vs. Oriental Lilies)
Before we even think about getting our hands dirty, it’s crucial to understand the fundamental differences between gladiolus and Oriental lilies. They might both give us those gorgeous, upright summer blooms, but botanically and behaviourally, they’re quite distinct. This understanding is the bedrock of perennial success, especially with our variable UK climate.
Gladiolus, often called 'Glads' or 'Sword Lilies', grow from what’s known as a corm, which is essentially a swollen, underground stem that stores food. Think of it like a solid disc, not the layered structure of a true bulb. This corm produces a new corm on top of the old one each year, and often several smaller 'cormels' or 'cormlets' around its base. It's these cormels that can eventually grow into flowering plants, but they need time and specific conditions. Here in the Midlands, most gladiolus varieties aren't reliably hardy enough to withstand our damp, frosty winters if left in the ground in exposed positions. They're more often treated as tender perennials, lifted annually.
Oriental lilies, on the other hand, are true bulbs, made up of fleshy scales. These scales don't have a protective papery tunic like daffodils or tulips, making them a bit more susceptible to drying out or, conversely, rotting if conditions are too wet. Lilies are generally much hardier than gladioli, with many varieties surviving perfectly well through a British winter in well-drained soil. Their perennial nature comes from the bulb naturally regenerating and sometimes splitting to form new bulbs over time. Getting them to repeat bloom means looking after that energy store effectively.
Understanding these structural differences is key to knowing how to protect them, how deep to plant them, and how to encourage those repeat performances. I've learned this the hard way – treating a gladiolus corm like a lily bulb, or vice versa, often leads to disappointment in our climate.
Here's a quick comparison to keep things clear:
| Feature | Gladiolus (Corm) | Oriental Lily (True Bulb) |
|---|---|---|
| Botanical Type | Corm (swollen stem base) | True Bulb (fleshy scales) |
| Hardiness (UK) | Generally tender; Zones 7-10 (often lifted in UK) | Generally hardy; Zones 4-9 (often left in ground in UK) |
| Growth Habit | Produces new corm on top of old; cormels around | Bulb regenerates, can split into new bulbs |
| Energy Storage | Corm stores energy for next year's growth | Fleshy scales store energy |
| Protection Need | Often requires lifting/winter protection in UK | Generally tolerates UK winter if well-drained |
| Flopping Risk | High, especially taller varieties without support | Moderate, especially with heavy blooms/rain |
| Propagation | Cormels, division of larger corms | Bulb offsets, scales |
Strategic Site Selection and Soil Preparation for Long-Term Health and Stability
Okay, so you know your corms from your true bulbs. Now, let's talk about where they're going to live and what kind of home we're going to build for them. This is absolutely critical for both preventing flopping and ensuring they come back year after year. Getting this wrong is one of the biggest mistakes I made early on, losing more than a few 'Purple Prince' gladioli to soggy ground.
Both gladiolus and Oriental lilies demand sunshine – and plenty of it – to really perform. In my 800 sq ft Midlands garden, I've found that a spot receiving at least 6-8 hours of direct sunlight a day is ideal. Less than that, and you'll get leggy growth, fewer flowers, and a much higher chance of those beautiful stems flopping over at the first hint of a breeze or a summer downpour. Think about the path of the sun throughout the day, especially from late spring through to late summer.
But sun isn't enough; the soil is paramount. Both gladiolus corms and lily bulbs absolutely detest sitting in wet, boggy soil, especially during our notoriously damp British winters. This is a fast track to rot and disappointment. My garden, like many in the Midlands, tends towards heavy clay, so I've learned the hard way how vital good drainage is.
Here's how I prepare my beds for perennial success:
- Improve Drainage: If you have heavy clay soil, like I do, dig down at least 30-40cm (12-16 inches). Incorporate a generous amount of organic matter – think well-rotted garden compost, leaf mould, or even some fine grit. This isn't just about feeding the soil; it's about improving its structure, allowing water to drain away freely while still retaining enough moisture for healthy growth. I usually add a good 5-10cm (2-4 inches) layer of compost and fork it in thoroughly.
- Optimal pH: Both prefer a slightly acidic to neutral soil pH (around 6.0 to 7.0). If you're unsure, a simple soil test kit will tell you. Here in the UK, many garden centres stock them, and they're worth the small investment. If your soil is too alkaline, you might need to add a bit of elemental sulphur, but generally, regular additions of organic matter will help balance things out over time.
- Nutrient Boost: Before planting, I mix in a balanced slow-release granular fertiliser (something like a 5-10-10 or similar, often labelled for bulbs or flowers) into the planting area. This provides a gentle, consistent feed that encourages strong root development and sets them up for those magnificent blooms without promoting overly lush, weak foliage that's prone to flopping.

Remember, a well-prepared site isn't just about the first year's bloom; it's about creating a sustainable environment where your bulbs can truly thrive and multiply for years to come. This groundwork is the secret to enduring beauty in your UK garden.
Optimising Planting Depth and Spacing to Prevent Flopping and Encourage Vigor
Right, with your site selected and soil prepped, the next crucial step is getting those bulbs (or corms!) into the ground correctly. This isn't just about getting them to sprout; it's absolutely vital for preventing those beautiful stems from flopping over in a summer storm and for ensuring strong, healthy plants that return year after year. I've learned that a few extra centimetres of depth and thoughtful spacing can make all the difference, especially with the gusty winds and heavy rain we often get here in Britain.
For both gladiolus and Oriental lilies, the general rule of thumb for planting depth is usually around 2-3 times the height of the bulb or corm itself. However, for perennial success and flopping prevention, I often go a little deeper, especially with lilies. This extra depth provides more anchorage for the roots, helping to stabilise those tall stems against wind and rain. It also helps to insulate the bulbs from extreme temperature fluctuations, offering a bit more protection during a harsh winter or a sudden cold snap.
Spacing is equally important. Crowding your bulbs might give you a denser look initially, but it leads to competition for nutrients and light, weaker stems, and poor air circulation. Poor air circulation, in turn, can lead to fungal diseases – a real concern in our often-damp UK climate. Giving each plant enough room to breathe and develop a strong root system is key to its long-term health and ability to stand tall.
Here’s my tried-and-tested approach for planting depth and spacing in my UK garden:
| Feature | Gladiolus (Corm) | Oriental Lily (True Bulb) |
|---|---|---|
| Optimal Planting Depth | 10-15 cm (4-6 inches), measured from the top of the corm to the soil surface. For really tall varieties like 'Black Star', I sometimes go 18 cm (7 inches) deep for extra stability. | 15-20 cm (6-8 inches), measured from the top of the bulb to the soil surface. This is deeper than some guides suggest, but it provides excellent anchorage and protection, crucial for repeat flowering. |
| Reason for Depth | Deeper planting encourages stronger root development and provides better stability for the tall flower spikes, especially important in windy UK conditions. | Deeper planting helps anchor the tall stems, encourages stem rooting (which helps feed the plant), and insulates the bulb from temperature extremes and frost. |
| Optimal Spacing | 10-15 cm (4-6 inches) apart. If planting in rows, give them at least 20-30 cm (8-12 inches) between rows to allow for good air circulation and easy access for weeding. | 20-30 cm (8-12 inches) apart. This allows each plant ample room to develop, reduces competition, and ensures good air circulation, which helps prevent fungal issues in our damp climate. |
| Reason for Spacing | Prevents overcrowding, reduces competition for resources, and promotes good air circulation to minimise disease risk. Also allows space for cormel development. | Ample spacing allows for robust foliage development, strong stems, and prevents disease. It also gives room for future bulb offsets to develop without undue competition. |
| Orientation | Pointy side up! | Pointy side up, or the side with root nubs (basal plate) down. |
I've learned that planting gladiolus corms in groups of 5-7, rather than a single line, often provides a bit of mutual support, creating a more visually impactful display that stands up better to the elements. For Oriental lilies, especially the taller varieties like 'Stargazer' or 'Casa Blanca', don't underestimate the need for that deeper planting. I made the mistake of planting some 'Salmon Star' lilies too shallow one year, and after a particularly blustery August, they were all over the place, snapping stems and looking generally dejected. Never again! Getting this right from the start saves you a lot of heartache and gives your plants the best chance at long-term, self-supporting success.
Essential Ongoing Care: Feeding, Watering, and Timely Staking for Robust Blooms
Once your gladioli and Oriental lilies are nestled in their chosen spots, the real long-term commitment begins. It’s not just about planting and forgetting; consistent care is what truly transforms them from a one-season wonder into a reliable, perennial display. I've learned this through a fair bit of trial and error in my 800 sq ft Midlands garden, especially when our British weather decides to throw a curveball!
Feeding for Flourish, Not Just Foliage
For both gladioli and Oriental lilies, you're aiming for strong growth and spectacular blooms, not just a sea of green leaves. This means a balanced approach to feeding.
- Initial Boost: When I plant in spring, I always amend my raised beds with a good dose of well-rotted garden compost and a sprinkle of a general-purpose granular feed (something like a 'Blood, Fish & Bone' works wonders here in the UK). This gives them a gentle, slow-release start.
- Mid-Season Top-Up: Once you see proper growth emerging – usually late spring/early summer – that's when I give them a second feed. For gladioli, I tend to use a liquid tomato feed (high in potassium) every two to three weeks once flower spikes begin to form. I use the same feed for my greenhouse tomatoes, so it's efficient! For Oriental lilies, a similar high-potassium feed or a balanced granular feed scratched into the soil surface around their base works well. Avoid anything too high in nitrogen at this stage, or you'll get lush leaves but fewer, weaker flowers. I made that mistake early on, thinking more growth was always better – wrong!
Watering Wisely: Adapting to Our British Weather
Watering is probably the trickiest part, given our famously unpredictable UK climate. The key is consistent moisture, especially during dry spells and when they're actively growing and flowering.
- Deep and Infrequent: Rather than a daily sprinkle, I aim for deep watering every few days, checking the soil moisture first. Stick your finger in about an inch or two – if it feels dry, it's time to water. This encourages roots to grow deeper, making the plants more resilient.
- Rainy Days: Obvious, I know, but don't bother watering if we've had a proper downpour! I've learned to rely on the rain gauge in my garden. Here in the Midlands, we can go from weeks of drizzle to a sudden dry spell. During prolonged dry periods, especially when gladioli are forming their flower spikes or lilies are opening their blooms, I make sure they get a good soak. A lack of water at this critical time can lead to stunted growth and fewer flowers.
Timely Staking: Preventing the Dreaded Flopping
This is absolutely crucial for gladioli and many taller Oriental lily varieties. There's nothing more disheartening than seeing your beautiful, heavy blooms bent over or snapped by a gust of wind or a sudden rain shower.
- Gladiolus: I start staking gladioli early, when they're about 18-24 inches (45-60cm) tall. Don't wait until they're top-heavy! I use slender bamboo canes, pushing them firmly into the ground about 2-3 inches (5-7cm) behind each plant. Then, I use soft twine or specific plant clips to gently secure the main stem to the cane. I tie them loosely in a figure-eight pattern to prevent rubbing and allow for growth. Last year, I had a particularly majestic 'Purple Prince' gladiolus that I foolishly thought could stand on its own – a strong July downpour flattened it completely. Never again!
- Oriental Lilies: Many Oriental lilies are more robust, but the taller varieties, especially with multiple heavy blooms, will benefit from support. I use a similar cane and twine method, or sometimes a grow-through support ring if I'm growing them in a clump. Again, get the support in early before the stems get too woody and susceptible to damage.
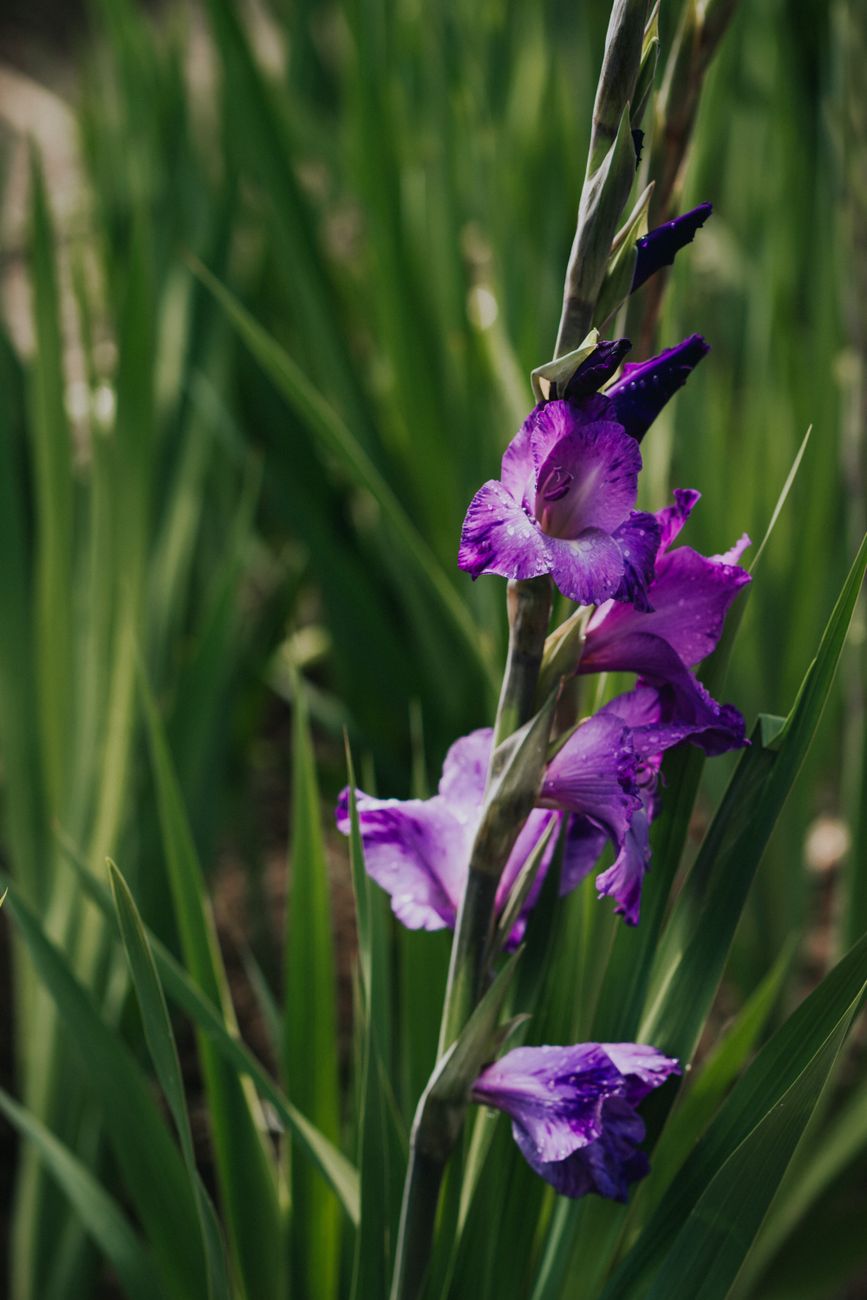
Winter Protection Strategies: Ensuring Survival and Repeat Blooms in UK Climates
Now, this is where the real perennializing magic – and challenge – comes in for us UK gardeners. Our temperate, often damp, and sometimes frosty winters can be tricky for bulbs not native to our shores. Getting this right is key to seeing those repeat blooms year after year.
Gladiolus: To Lift or Not to Lift? That is the UK Question
Generally, gladiolus corms are considered tender in the UK and are usually lifted for winter storage. However, I've experimented a lot with leaving some in the ground, especially in my well-drained raised beds, and here's what I've learned:
- Lifting (The Safest Bet): For most gladiolus varieties, especially the more common hybrids, lifting is the most reliable method for perennializing in our climate.
- Timing: Wait until the foliage has completely yellowed and died back, usually late October or early November here in the Midlands, or after the first light frost. This allows the corm to draw all the energy back from the leaves.
- Process: Gently dig up the corms, being careful not to damage them. Shake off excess soil.
- Curing: Lay them out in a warm, dry, well-ventilated spot (my greenhouse bench or a corner of the shed works perfectly) for 2-3 weeks to cure. This hardens the skin and helps prevent rot.
- Cleaning: Once cured, remove any old, shrivelled mother corm, remaining soil, and trim the foliage to about an inch (2.5cm). You'll often see small "cormels" forming around the base – these can be saved and grown on, though they take a few years to reach flowering size.
- Storage: Store the clean corms in paper bags, old onion nets, or shallow trays filled with dry peat-free compost, sawdust, or vermiculite. Keep them somewhere cool, dark, and frost-free – a shed, garage, or even a cool cupboard indoors. Aim for temperatures between 5-10°C (40-50°F). I check mine periodically for any signs of mould or shrivelling.
- Leaving in the Ground (My Experimentation): I've had some success leaving more hardy varieties like Gladiolus communis subsp. byzantinus or the smaller G. nanus types in very well-drained spots in my raised beds. The trick is exceptional drainage and a thick layer of winter mulch. I apply about 4-6 inches (10-15cm) of straw or wood chippings over the area in late autumn. This offers insulation and keeps the soil from getting waterlogged. It's a gamble, and not all varieties will make it, but for a few specific types, it's paid off with earlier blooms.
Oriental Lilies: Hardier but Still Appreciative of Protection
Oriental lilies are generally much hardier than gladioli and can often overwinter in the ground quite successfully in the UK. However, a little help goes a long way, especially in colder regions or during particularly harsh winters.
- Excellent Drainage is Paramount: This is the single most important factor for lilies overwintering in the ground. If your soil gets waterlogged, the bulbs will rot. This is why my raised beds work so well for them.
- Winter Mulch: Once the foliage has died back in late autumn (don't cut it back until it's completely yellow), I apply a generous layer of organic mulch – compost, leaf mould, or straw – about 3-4 inches (7-10cm) thick over the planting area. This insulates the soil, protects the bulbs from extreme temperature fluctuations, and suppresses weeds. It also slowly breaks down, enriching the soil.
- Potted Lilies: If you're growing Oriental lilies in pots, they'll need extra protection. The roots are much more exposed to freezing temperatures. I either move the pots into an unheated greenhouse, shed, or garage, or I wrap the pots in bubble wrap or hessian and cluster them together against a sheltered wall. I still check them periodically and give a tiny bit of water if the compost is bone dry, but very sparingly.
Winter Protection Comparison: Gladiolus vs. Oriental Lilies
| Feature | Gladiolus (Most Varieties) | Oriental Lilies (Most Varieties) |
|---|---|---|
| Typical UK Method | Lift and store corms indoors | Overwinter in ground with mulch |
| Hardiness | Tender (Zones 7-10) | Hardy (Zones 4-9) |
| Moisture Tolerance | Low tolerance for winter wet; prone to rot | Moderate tolerance; excellent drainage vital |
| Mulch Efficacy | Helps for specific hardy varieties, but riskier | Highly beneficial for insulation |
| Storage Temp. | Cool, dark, dry (5-10°C) | N/A (in-ground) |
| UK Climate Note | Lifting is advised for consistent success | In-ground survival common, but protect pots |
Troubleshooting Common Issues and Maximising Your Perennialised Summer Show
Even with the best intentions and care, gardening always throws a curveball or two. I've certainly had my share of challenges, from slugs munching my gladioli shoots to lilies refusing to bloom. Here's what I've learned to look out for and how to ensure your efforts pay off with a truly spectacular summer display.
Common Issues and My Solutions
- Pests (Ah, the Joys of UK Gardening!):
- Slugs and Snails: These slimy fiends are the bane of every UK gardener's existence, especially in spring when new shoots emerge. For gladioli and lilies, they adore the tender young growth. My strategy is multi-pronged: regular evening patrols with a head torch (odd, but effective!), setting beer traps, and encouraging natural predators like hedgehogs and birds. I also use organic slug pellets sparingly around vulnerable new growth if an infestation gets out of hand.
- Aphids: Occasionally, I find aphids on the developing flower buds or new growth. A strong jet of water often knocks them off, or I use a homemade garlic spray or a diluted horticultural soap solution. Ladybirds are my best friends here, so I try not to spray too aggressively.
- Diseases:
- Fungal Rots (Especially for Gladioli): If you notice gladiolus corms rotting in the ground or in storage, it's almost always due to poor drainage or damp conditions. Ensure good air circulation during curing and storage, and plant in well-drained soil. For lilies, root rot can occur in waterlogged conditions, reinforcing the need for excellent drainage.
- Botrytis (Grey Mould): This can sometimes affect lilies, particularly in wet, humid weather. You'll see fuzzy grey patches on leaves or flowers. Good air circulation is crucial – don't plant too densely. Remove affected parts immediately to prevent spread.
- Flopping (Again!): If your plants are still flopping despite initial staking, it might be due to exceptionally heavy blooms or an unexpected storm. Don't be afraid to add extra support or reinforce existing stakes. Sometimes, a second, higher tie is needed as the flower spike elongates.
- Lack of Blooms: This is frustrating after all your hard work!
- Gladioli: Often caused by immature corms (cormels take a few years), planting too shallow, or too much nitrogen feed early on. Make sure your corms are of a good size (at least 1.25 inches/3cm diameter) for first-year blooms.
- Lilies: Can be due to overcrowding (they need dividing every 3-5 years), too much shade, or nutrient imbalance. Ensure they get at least 6 hours of sun.
Maximising Your Perennialised Summer Show
- Succession Planting (Gladioli): To extend your gladiolus display, plant batches of corms every 2-3 weeks from April to early June. This ensures a continuous show of colour rather than one massive flush. I do this in one of my dedicated cutting beds, staggering my plantings.
- Deadheading: For both gladioli and Oriental lilies, deadheading is key.
- Gladioli: As individual flowers fade, pinch them off. Once the entire flower spike has finished, cut the stalk back to about 1 inch (2.5cm) above the foliage. Crucially, leave the foliage intact until it yellows naturally. This is vital for the corm to regenerate and store energy for next year's blooms.
- Oriental Lilies: Remove individual faded flowers to prevent seed formation (which saps energy). Once all blooms on a stem are finished, you can cut the spent stem back to the base, but again, leave the foliage until it dies back naturally.
- Soil Health is Everything: My biggest lesson from years of gardening is that healthy soil leads to healthy plants. Regularly top-dressing with homemade compost or well-rotted manure, and avoiding compaction, will make a massive difference to the long-term vigour and floriferousness of your perennialised bulbs.
Conclusion: Unlocking Years of Glorious UK Summer Colour
Well, there you have it – my comprehensive guide to perennializing gladioli and Oriental lilies right here in our often-challenging UK climate. It's a journey, not a destination, and one I've found incredibly rewarding in my Midlands garden.
We've covered everything from understanding the nuances of these beautiful bulbs, choosing the perfect site in your garden, and optimising their planting depth, right through to the essential ongoing care, crucial winter protection strategies, and troubleshooting those inevitable gardening hiccups.
My hope is that by sharing my personal experiences, including the successes and the occasional soggy failure, you'll feel empowered to get out there and experiment. Don't let the thought of lifting corms or tricky weather put you off. With a bit of thought, good drainage, timely feeding, and that all-important winter care, you absolutely can enjoy the vibrant, consistent summer displays of perennialised gladioli and Oriental lilies for years to come.
Imagine those stately gladiolus spikes standing tall, defiant against a summer breeze, or the intoxicating perfume of Oriental lilies wafting through your garden evening after evening. It’s not just a dream; it’s a perfectly achievable reality for us UK gardeners. So, grab your trowel, embrace the joy of learning, and get ready to transform your summer garden into a truly spectacular, long-lasting show! Happy gardening!
