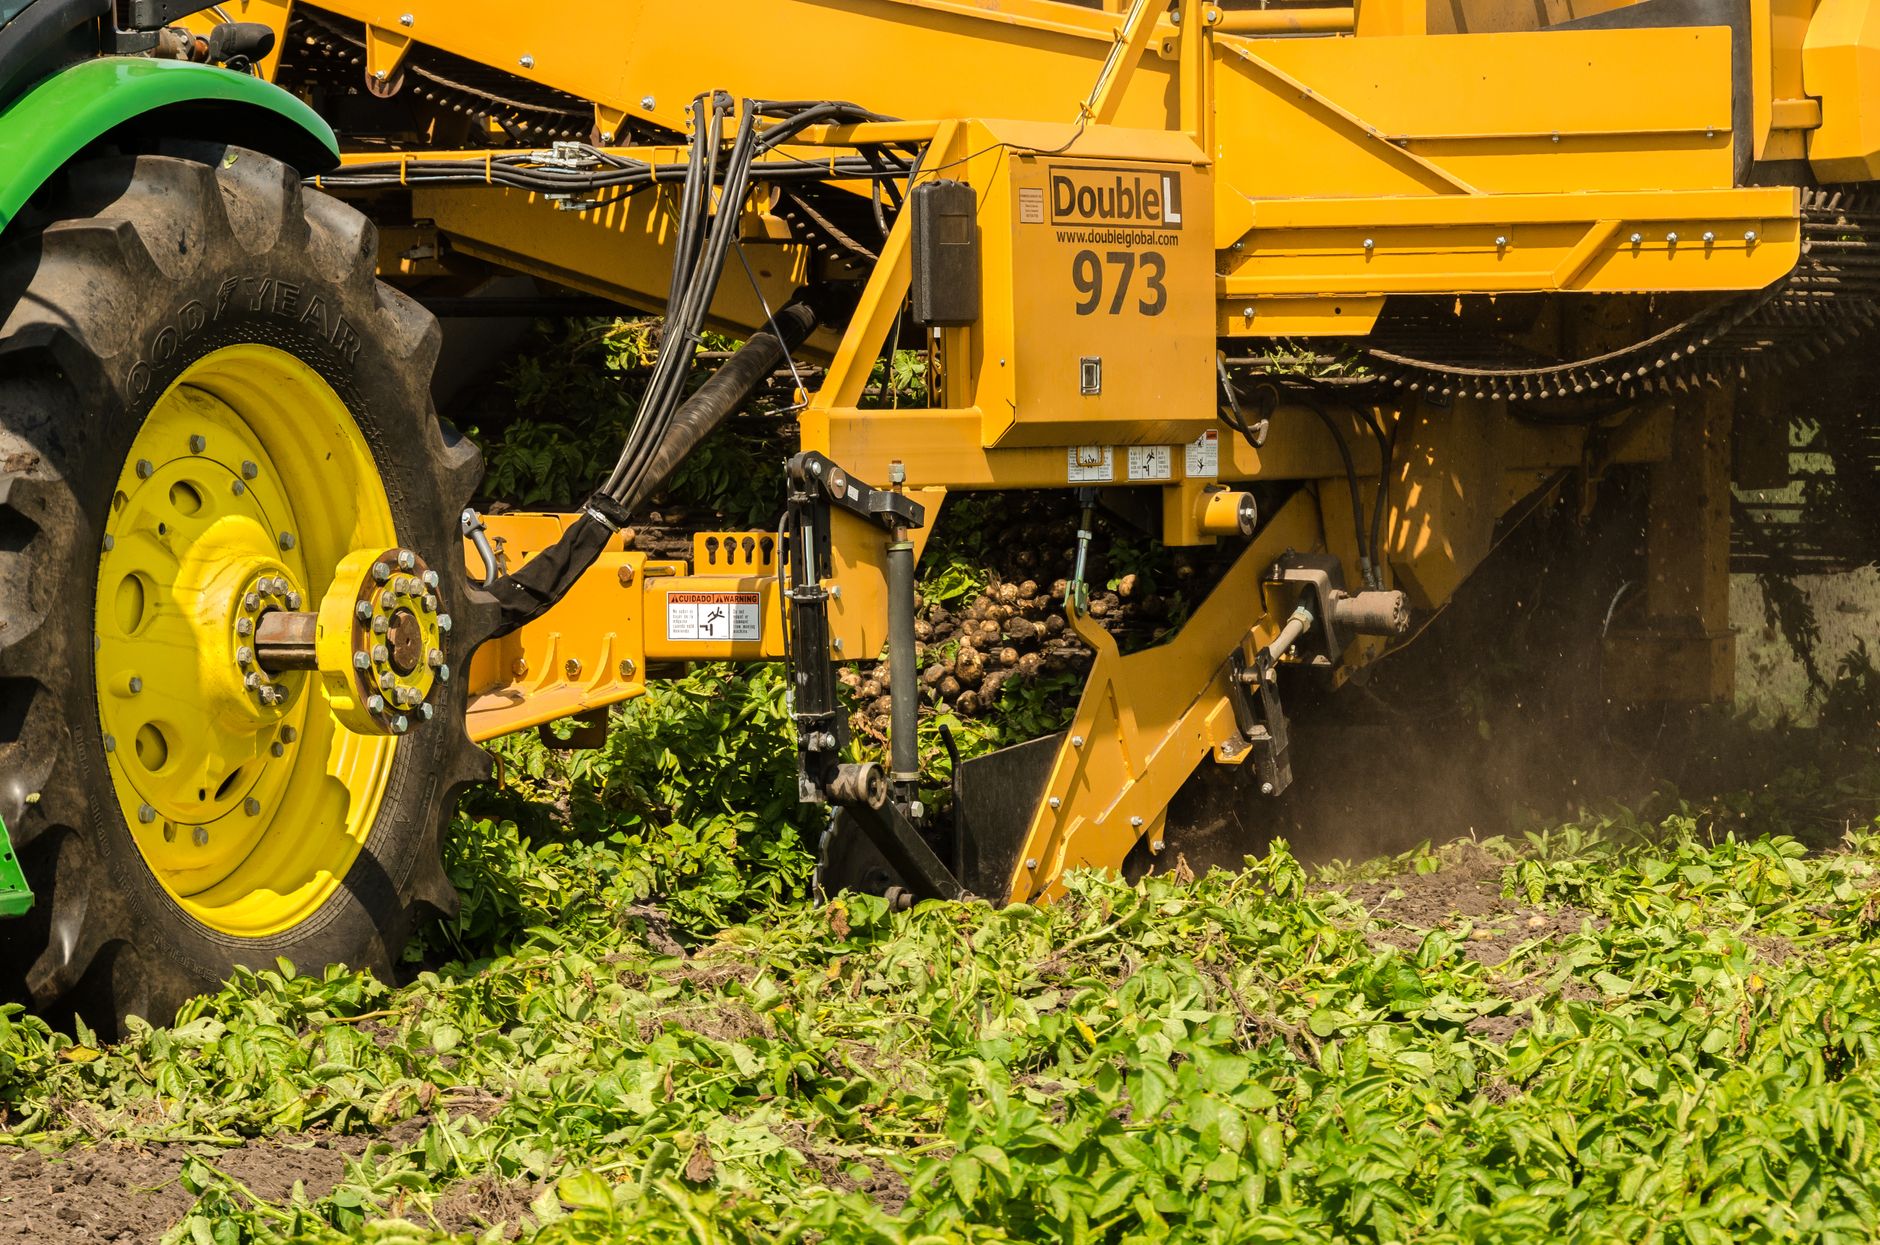
Right then, let's talk spuds! There's nothing quite like digging up your own home-grown potatoes here in the UK. The earthy smell, the satisfaction of unearthing those perfect tubers – it's one of the real joys of my 800 sq ft Midlands garden. But let's be honest, we've all been there: you unearth a beauty, only to find a tell-tale greenish tinge peeking through. My heart always sinks a little when that happens. When I first started gardening five years ago, fresh out of the IT world and diving headfirst into growing my own food, green potatoes were a common sight in my early harvests. I quickly learned that this wasn't just a cosmetic issue; it's a sign of a problem that needs addressing for both safety and flavour.
That's why I'm so passionate about sharing what I've learned through plenty of trial, error, and some truly dodgy British weather. Preventing green potatoes is entirely within our control as gardeners. It boils down to a few strategic practices: making sure those tubers are well-covered, protected from the sun, and harvested at the right time. Stick with me, and I'll walk you through the tried-and-tested methods I use in my own UK garden to ensure a harvest of safer, tastier potatoes every single year.
Why Green Potatoes are a Problem: Understanding Solanine and Your Role
So, what's the big deal with a bit of green on a potato? Well, that green isn't just chlorophyll (the stuff that makes plants green, totally harmless). It's a clear warning sign that your potato has been exposed to light, and that light exposure triggers the potato to produce something called solanine. Solanine is a natural glycoalkaloid, and it's essentially the potato's defence mechanism against pests and diseases.
While small amounts won't harm you, higher concentrations of solanine can make potatoes taste bitter, and more significantly, can cause digestive upset like nausea, vomiting, diarrhoea, and headaches. In very rare, extreme cases, it can be quite toxic. I've certainly tasted a potato with a bit of green on it before – that bitter, almost acrid flavour is unmistakable, and it ruins the whole meal. My goal, and hopefully yours, is to avoid that entirely!
Here in my UK garden, I've grown varieties like 'Sarpo Mira' and 'Charlotte' for years, and I've learned that every potato, regardless of variety, is susceptible if not properly protected. Our role as gardeners is crucial because we're the ones managing their environment from planting to harvest. It's about understanding that sun exposure is the enemy, and then actively taking steps to build a barrier. It’s not just about getting a bigger yield; it’s about getting a safe and delicious yield.
Mastering Potato Hilling: Strategic Earth Barriers for Sun Protection
Hilling potatoes is, without a doubt, the most fundamental practice for preventing greening. It’s simply the act of mounding soil (or other material) around the base of your growing potato plants as they get taller. The primary goal is to keep those developing tubers buried deep, away from any sunlight. If you don't hill enough, or if a heavy rain washes soil away, those shoulders of your potatoes can pop out and start to green up in no time, especially during our long summer daylight hours here in Britain.
I usually start hilling when my potato plants are about 6-8 inches tall. I gather soil from the pathways in my raised beds and carefully mound it up around the stems, leaving just the top few inches of foliage exposed. I'll repeat this process two or three more times as the plants grow, usually every couple of weeks, until they're quite substantial. I've found that building a good, wide mound is key, especially with our often-unpredictable British weather. One mistake I made in my first year was hilling too narrowly, and a few heavy downpours eroded the soil, exposing some of my precious 'Desiree' potatoes to the sun. Lesson learned: go wide and sturdy!
For potatoes grown in containers or grow bags, it's even simpler. As the plant grows, you just keep adding more compost or potting mix, covering the stems and encouraging more tubers to form, all while keeping everything nicely buried. It's the same principle, just a different method of delivery.
Here's a look at different hilling approaches I've experimented with:
| Hilling Method | Benefits for UK Gardeners | Considerations for UK Climate |
|---|---|---|
| Traditional Earth | Readily available, excellent sun block, good moisture retention. | Can be heavy work, soil may wash away in heavy rain, needs loose soil. |
| Straw/Hay | Lightweight, great insulation, suppresses weeds, improves soil. | Can be prone to blowing away in windy conditions, may need more material. |
| Compost/Leaf Mould | Enriches soil, adds nutrients, good moisture retention. | Can be expensive in large quantities, may attract slugs/snails more. |
| Combined (Earth & Straw) | Best of both worlds: sturdy base, light top cover, excellent insulation. | Requires gathering two materials, slightly more effort initially. |

The Mulch Advantage: Complementary Cover for Greening Prevention
While hilling is your primary defence, mulch is an incredible ally in the battle against green potatoes, especially here in the UK with our sometimes-damp and often-cool climate. Think of mulch as a complementary blanket over your hilled earth. After I've done my main hilling, I often add a good 2-4 inch layer of organic mulch around the base of my potato plants. This isn't just about solanine prevention; it brings a whole host of other benefits that I've come to rely on in my Midlands garden.
The main benefit regarding greening is that mulch acts as an extra layer of light blockage. Even if a bit of soil erodes from a heavy rainstorm, that layer of straw or compost is still there, shielding those tubers. Beyond that, mulch helps tremendously with moisture retention – a godsend during those dry spells we occasionally get, reducing the need for constant watering. It also suppresses weeds, which means less competition for nutrients and less disturbance to the soil around your potato plants, further preventing accidental exposure. I've definitely noticed healthier, more vigorous plants when I consistently mulch, leading to better yields of those lovely 'Orla' potatoes.
I've experimented with different types of mulch over the years. When I first started, I used a lot of grass clippings, but I found they could get a bit matted and sometimes encourage slugs, which are a constant battle here in Britain. Now, I mostly stick to straw, well-rotted compost, or leaf mould. Last summer, despite a particularly wet May, my straw-mulched potato beds stayed beautifully moist and weed-free, and I had virtually no green potatoes.
| Mulch Type for Potatoes | Benefits for UK Gardeners | Considerations for UK Climate |
|---|---|---|
| Straw | Excellent light block, good insulation, decomposes slowly, improves soil structure. | Can be a bit messy, needs securing in windy areas, may introduce weed seeds if not clean. |
| Well-Rotted Compost | Adds nutrients, improves soil structure, great moisture retention. | Can be expensive in bulk, may need to be topped up more frequently. |
| Leaf Mould | Fantastic for soil health, improves drainage and water retention, free! | Takes time to make, may not provide as much physical barrier as straw. |
| Wood Chips (Fine) | Long-lasting, good weed suppression, aesthetic. | Can tie up nitrogen as it breaks down, may acidify soil over time. |
Optimal Harvest Practices: When and How to Dig for Safer Tubers
Even with perfect hilling and mulching, your job isn't quite done until those potatoes are safely out of the ground. When and how you harvest plays a huge role in preventing last-minute solanine buildup and ensuring your potatoes store well. Rushing the harvest or being careless can expose freshly dug tubers to light, turning them green very quickly.
I've learned that patience is a virtue here. For maincrop varieties like 'King Edward', I generally wait until the foliage has completely died back and withered, usually a couple of weeks after it's gone yellow. This is a crucial step because it allows the potato skins to "set" or toughen up, which is vital for good storage and less susceptibility to greening once harvested. Digging too early means thin-skinned potatoes that are prone to damage and quick greening. For my early varieties, like 'Foremost', I might dig a few 'new potatoes' when they're flowering, but for storage, I still wait until the foliage starts to yellow.
When it's time to dig, I always choose a dry day – no damp, muddy conditions if I can help it. I use a digging fork, starting a good 6-12 inches away from where the main stem was, carefully loosening the soil around the plant. The key is to be gentle and avoid piercing the tubers. I learned this the hard way one year with a particularly enthusiastic jab that speared a beautiful 'Nicola' potato right through the middle – a frustrating waste! Once I've loosened the soil, I gently lift the plant, shaking off the excess earth to reveal the treasure beneath.
Crucially, once dug, I never leave my potatoes exposed to direct sunlight. I gather them up immediately and place them in buckets or crates, out of the sun, for a brief 'curing' period. I usually let them sit in a cool, dark, well-ventilated spot in my shed for a week or two. This further toughens their skins and helps them store better, preventing moisture loss and further greening. Only then do I brush off the remaining soil (never wash them before storing!) and move them to their long-term storage spot.

Post-Harvest Care: Curing and Storing Potatoes to Maintain Quality
This is where all your hard work really pays off, folks! You've nurtured those spuds, kept them hidden from the sun, and dug them up with care. But the journey isn't over yet. Proper post-harvest care is absolutely crucial for long-term storage and to ensure those beautiful tubers stay solanine-free and delicious. I learned this the hard way – nothing worse than digging up a perfect crop only to have them go soft or start sprouting too soon because I rushed the storage.
The Art of Curing: Toughening Up Your Tubers
Think of curing as giving your potatoes a little spa treatment to prepare them for the long haul. It's a short period where the potato skins toughen up, and any minor scrapes or bruises you might have inflicted during harvest (we've all done it!) start to heal. This healing process is vital; it reduces moisture loss and creates a protective barrier against diseases, meaning your potatoes will store much better and longer.
In my UK garden, especially with our often-damp climate, I find a well-ventilated shed or a corner of my greenhouse (after the tomatoes are done and it's cooled down) works perfectly. The key is moderate temperature and good air circulation. I usually spread my freshly dug potatoes in a single layer on old newspaper or cardboard. I aim for about 10-14 days at around 10-15°C (50-60°F) with decent humidity – not bone dry, but not soaking wet either. Our typical late summer/early autumn weather in the Midlands often provides just the right conditions naturally. One year, I tried curing them in a dark, damp corner of the garage, and they started to get mouldy spots – definitely a lesson learned about ventilation!

Long-Term Storage: Keeping Them Happy and Healthy
Once cured, it's time to put your potatoes to bed for the winter. The goal here is to mimic their natural underground environment: cool, dark, and slightly humid. These conditions slow down sprouting and prevent greening. Light is the enemy here, folks – even ambient light can trigger solanine production over time.
I store my potatoes in hessian sacks or old onion nets. These allow for air circulation while keeping the light out. Plastic bags are a definite no-no, as they trap moisture and encourage rot. I tuck them away in the darkest, coolest part of my unheated garage or shed. For varieties like 'Desiree' or 'Rooster' that I've grown for years, I know they can easily last me until spring if stored correctly. Temperature is key; ideally, it should be between 4-7°C (40-45°F). Much warmer, and they'll sprout quickly; much colder, and they can develop a sweet flavour as their starches convert to sugars – not always a bad thing for some dishes, but generally not ideal for all-purpose spuds.
Here's a quick comparison of good versus poor storage practices:
| Feature | Optimal Potato Storage (Randy's Way) | Suboptimal Potato Storage (Mistakes I've Seen/Made) |
|---|---|---|
| Curing | 10-14 days, 10-15°C, good ventilation, moderate humidity | No curing, or in damp, poorly ventilated areas |
| Light Exposure | Complete darkness post-curing | Stored near windows, in ambient room light, or exposed shelves |
| Temperature | 4-7°C (unheated garage/shed in UK) | Warm kitchen cupboard (sprouts quickly), freezing temperatures (sweetens) |
| Humidity | Moderate (prevents shrivelling, allows airflow) | Too dry (shrivels), too damp (mould/rot) |
| Ventilation | Excellent (hessian sacks, nets, open crates) | Poor (sealed plastic bags, airtight containers) |
| Inspection | Regular checks for sprouts, soft spots, greening | Left forgotten until needed, no checks |
| Outcome | Firm, healthy, long-lasting, solanine-free tubers | Green, sprouting, soft, mouldy, short shelf-life, potential solanine issues |
Identifying and Safely Handling Green Potatoes: Trim or Discard?
Despite all your best efforts, sometimes a rogue potato might still develop a green tinge. Maybe a bit of soil washed away, or it got exposed to light during storage. Don't panic, but do pay attention. This is where knowing how to identify and handle green potatoes becomes essential for kitchen safety.
Spotting the Green: It's Not Always Obvious
The green colour you see is chlorophyll, which isn't harmful itself. However, its presence indicates that the potato has been exposed to light, which also triggers the production of solanine. Green patches can range from a faint, almost imperceptible blush to a distinct emerald hue. Always inspect your potatoes thoroughly before cooking, especially those stored for a while. I've found that sometimes it's just a tiny patch around an 'eye' or on one side. It's easy to miss if you're not looking carefully.
The Solanine Dilemma: When to Trim, When to Bin
This is the big question, isn't it? My rule of thumb, based on years of growing and eating my own spuds here in the UK, is always to err on the side of caution.
- Small, Superficial Green Patches: If the greening is very slight and only on the surface, affecting a small area, you can often trim it away. I'm talking about a patch the size of a fingernail or less. Peel the potato generously, cutting away all green areas and a little extra flesh around them (at least 1/8 to 1/4 inch deep). Remember, solanine isn't just on the surface; it can penetrate a little way into the flesh. If there are sprouts, especially long ones, cut those out deeply too, as sprouts are also high in solanine.
- Extensive Greening or Bitter Taste: If a potato is extensively green – say, more than a quarter of its surface, or if the greening has penetrated deeply into the flesh – then I strongly recommend discarding it. Don't risk it. The same goes if a potato, even one that doesn't look particularly green, tastes noticeably bitter. Bitterness is a key indicator of high solanine levels. I once tried to 'save' a slightly too-green potato for a batch of mash, thinking I'd just peel it extra thick. The resulting mash had a faint, unpleasant bitter undertone, and it wasn't worth the risk or the ruined meal. Into the compost it went!
- Soft or Wrinkled Potatoes: While not directly related to solanine, soft or wrinkled potatoes are past their prime. They've lost moisture and nutrients, and their quality will be poor. Best to use them quickly or discard if they're too far gone.
Remember, solanine isn't destroyed by cooking, so don't think you can just boil it out. It's a heat-stable compound. Your best bet is always prevention, and failing that, careful removal or outright discarding. For me, the peace of mind of knowing my family is eating safe, healthy food from my garden is always worth sacrificing a few questionable spuds.

Your Path to a Bountiful, Solanine-Free Potato Harvest (Conclusion)
Right, that's it then! We've covered a fair bit, haven't we? From the moment those seed potatoes hit the soil in my 800 sq ft Midlands garden, to the careful storage in my shed, every step plays a part in getting those perfect, safe tubers onto your plate. My journey from an IT desk to digging up my own food has taught me countless lessons, and preventing green potatoes is definitely high on the list.
It all boils down to a few key principles:
- Understanding Solanine: Know why green is bad and what causes it – light exposure.
- Mastering Hilling: This is your primary defence! Keep those tubers buried deep, building up those earth mounds as your plants grow. I've found that regular, generous hilling is the single most effective thing I do every season here in Britain.
- Embracing Mulch: A fantastic partner to hilling, mulch provides an extra layer of protection, conserves moisture (a godsend during our drier spells), and suppresses weeds. Straw, grass clippings, compost – use what you've got!
- Smart Harvesting: Don't rush it! Let the plants die back naturally, and dig carefully on a dry day to minimise damage.
- Diligent Post-Harvest Care: Curing your potatoes properly and then storing them in cool, dark, well-ventilated conditions is just as important as the growing itself for long-term safety and quality.
- Vigilant Inspection: Always check your spuds before cooking. When in doubt, trim generously or, better yet, discard. Your health and peace of mind are worth more than a single potato.
I've made my share of mistakes over the years – under-hilling in a busy season, leaving a bag of spuds too close to a window, or trying to save a potato that was clearly too green. But each mistake has been a valuable lesson, helping me refine my techniques and understand what truly works in our often-unpredictable British climate.
There's immense satisfaction in pulling up a harvest of perfectly formed, clean, and healthy potatoes from your own patch. It's a feeling of accomplishment, self-sufficiency, and pure joy that I wouldn't trade for anything. So, whether you're working with raised beds like mine, or a traditional allotment, put these strategies into practice. Experiment with what works best in your specific UK garden and microclimate.
Here's to a future of bountiful, solanine-free potato harvests for all of us! Happy growing, fellow gardeners! Let's keep those spuds safe and delicious.
