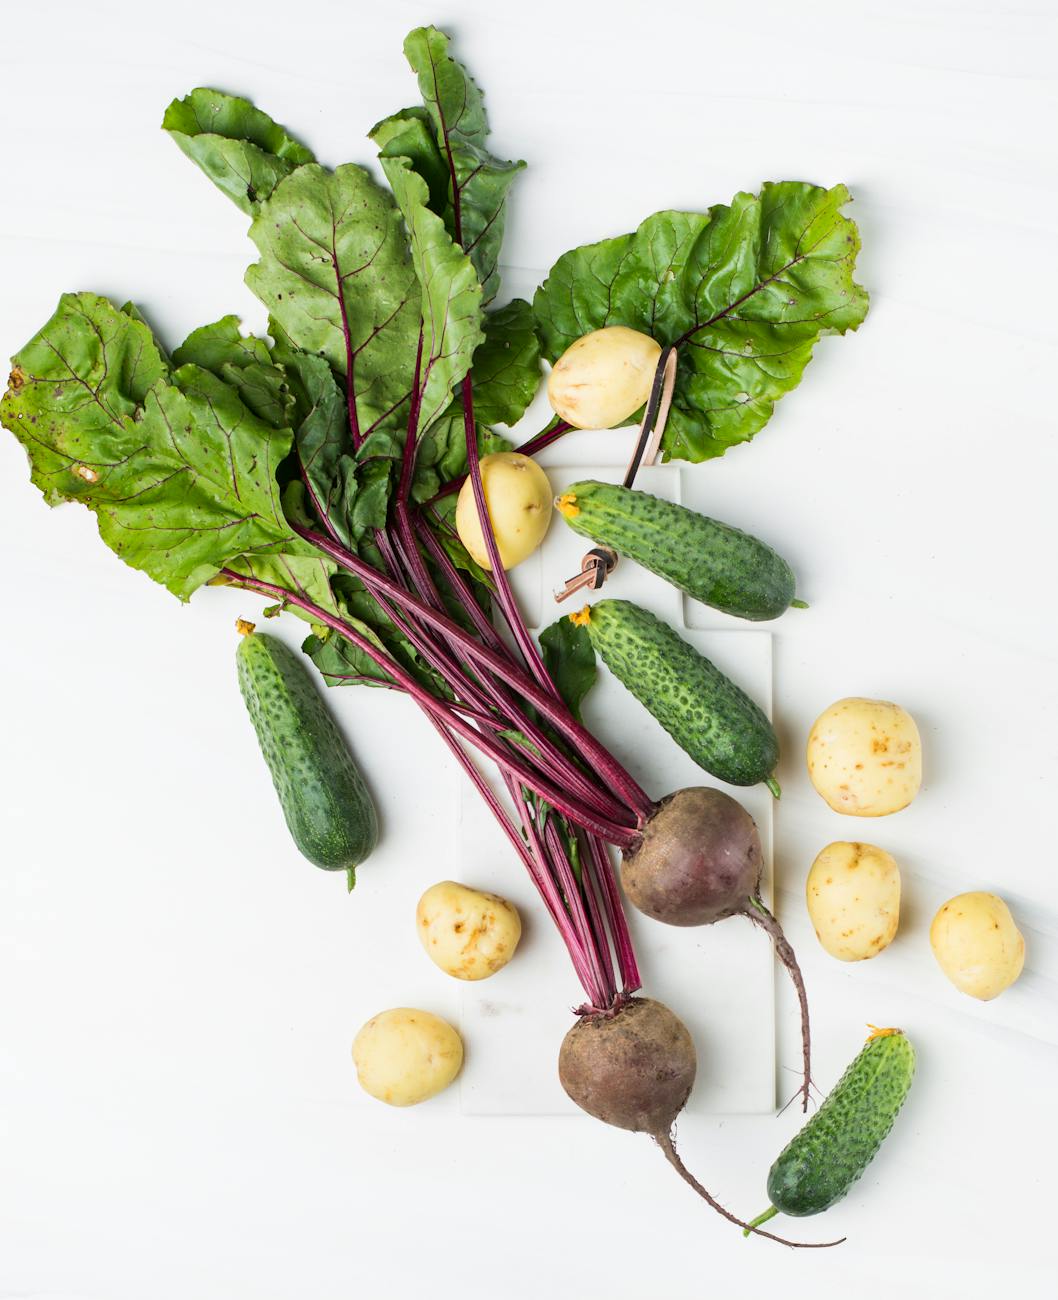
Beyond the Green Top: Why Protecting Your Root Veggies Matters
There's nothing quite like the satisfaction of pulling up a perfectly formed, vibrant root vegetable from your own patch here in the UK. That earthy smell, the promise of flavour – it's why I swapped my IT desk for dirty knees and a greenhouse! But let me tell you, fellow gardeners, few things are as disheartening as tugging up what you think is a prize-winning carrot or a hefty potato, only to find a distinctly green, bitter, or even downright dangerous shoulder staring back at you. I've been there, more times than I care to admit, especially in my first couple of years gardening in the Midlands.
Here in my 800 sq ft backyard, packed with raised beds and a bustling greenhouse, I've spent the last five years obsessing over every detail, from heirloom tomatoes to the humble spud. And one of the biggest lessons I've learned the hard way is that simply getting roots into the ground isn't enough. Our glorious, often unpredictable British weather – those sudden bursts of sun after a week of rain, or a heatwave that bakes the topsoil – can expose the developing crowns of our carrots, beets, and potatoes to too much light. This isn't just an aesthetic issue; it can seriously impact flavour, texture, and, in the case of potatoes, even safety.
I remember my first proper potato crop, 'Desiree' I think they were. I was so proud, but when I dug them up, a good third of them had these nasty green patches. I felt like such a novice! That experience, and similar ones with bitter carrot tops, spurred me on. I began experimenting, reading everything I could get my hands on, and refining my techniques specifically for our UK climate. This article isn't just about preventing a bit of green; it's about strategic hilling, mulching, and planting depths that I've personally tried, tested, and tweaked in my own garden to ensure you get the perfect harvest every time. No more green shoulders, no more sun-damaged tops – just pure, delicious root veggie goodness. Let's dig in!
The Science of Sun Damage: Why 'Green' Isn't Always Good for Your Harvest
So, what exactly is going on when your root vegetables start to show a bit of green on top? It's more than just a cosmetic flaw, believe me. In my early days, I used to just shrug it off, thinking "a bit of sun never hurt anyone, right?" Wrong. Especially when it comes to potatoes.
For carrots and beets, that green you see on the exposed shoulders is largely chlorophyll, the same pigment that makes leaves green. Just like their leafy counterparts, when the crowns of your carrots or beetroots are exposed to sunlight, they start producing chlorophyll. While not toxic, this process can lead to a distinct bitter taste and a tougher texture in the affected part. I've pulled up beautiful 'Autumn King 2' carrots from my raised beds, only to find the top inch or so was pale green and tasted oddly earthy and unpleasant. It’s a real shame to lose that much of your harvest!

Potatoes, however, are a different beast entirely. When potato tubers are exposed to light – whether it's sunlight in the field or even artificial light in storage – they don't just produce chlorophyll. They also produce a group of toxic compounds called glycoalkaloids, the most common of which is solanine. Solanine is a natural defence mechanism for the plant, designed to deter pests and predators. The green colour you see on a potato is a strong indicator that solanine is present, and often, the greener the potato, the higher the concentration of solanine. Even if the potato isn't visibly green but has been exposed to light, solanine can still be accumulating.
Ingesting too much solanine can cause digestive upset, headaches, and in severe cases, more serious neurological problems. You'd likely need to eat a lot of green potatoes for severe poisoning, but even a small amount can give you a nasty stomach ache or a bitter taste that makes the potato inedible. I learned this the hard way when I first started growing 'Charlotte' potatoes in sacks. I didn't earth them up enough, and the top tubers were a vivid green. Thinking I could just cut the green bit off, I cooked them. The whole batch had a faint, bitter, unpleasant aftertaste. Never again! It's a reminder that 'green' in a potato isn't just a colour; it's a warning sign from nature.
This is why, especially here in Britain where a sudden downpour can wash away soil from around developing roots, or an unexpected heatwave can dry out the surface, proactive protection is absolutely vital. Understanding why this happens is the first step to preventing it, and it's what drives my obsession with these techniques in my Midlands garden.
Mastering Initial Planting Depths: A Foundation for Protected Growth
When I first started gardening, I thought planting depth was pretty straightforward: follow the packet instructions. And while that's a good starting point, I've learned through trial and error in my UK garden that a little strategic thinking about initial planting depths can make a world of difference, especially for preventing those dreaded green shoulders and sun-damaged tops. It's the first, most crucial line of defence.
Think about it: the deeper you start your seeds or seed potatoes, the more natural soil cover they have from day one. This gives them a head start against the elements, particularly the strong spring and summer sun we get here. But it's a balance – too deep, and some seeds might struggle to germinate, especially in our cooler, sometimes damp springs. What works for a carrot seed is completely different from a seed potato, and even within those categories, varieties and your specific soil type (my raised beds have lovely loamy soil, but my unamended patch is heavy clay) will influence the ideal depth.
I've experimented extensively with this. For instance, with carrots, I used to sow them a bit too deep (around 2cm) thinking it would protect them. While they germinated, it felt like it took forever, and the plants often looked a bit weaker initially. Now, I go shallower, but then immediately plan for progressive hilling. For potatoes, my initial shallow planting disaster taught me a lot. Now, whether they're in my potato sacks or a dedicated raised bed, I ensure those seed potatoes are tucked in deeply from the start.
Here's a detailed comparison table based on what I've found works best in my UK Midlands garden:
| Vegetable | Recommended Initial Planting Depth (UK Conditions) | Why it Matters (Randy's Experience) | Specific UK Variety/Context |
|---|---|---|---|
| Carrots | 1-2 cm (approx. 0.5-0.75 inches) for seed | Shallow enough for good germination in spring, but deep enough to offer initial protection. Crucially, this requires immediate planning for progressive hilling as they grow. I've found deeper sowing (2.5cm+) can delay germination significantly in our cooler Midlands springs, especially for finer-seeded varieties. | 'Autumn King 2' (maincrop) & 'Amsterdam Forcing 3' (early) in my sandy loam raised beds. |
| Beets | 2-3 cm (approx. 0.75-1.25 inches) for seed | This depth provides excellent initial coverage for the developing 'shoulder' of the beetroot. Any shallower than 2cm, and I've noticed a higher incidence of greening even in moderately sunny periods before the leaves provide good shade. Deeper isn't usually an issue for germination with beet 'seeds' (which are actually clusters). | 'Boltardy' (my go-to for bolt resistance) in both raised beds and slightly heavier amended soil. |
| Potatoes | 10-15 cm (approx. 4-6 inches) for seed potato | Absolutely critical for immediate sun protection and encouraging a strong root system for tuber formation below the soil surface. My first potato crop was planted at about 5cm (2 inches) depth, and the result was a high percentage of green, inedible tubers. This deeper initial planting sets the stage for less intensive hilling later on. | 'Charlotte' (early) in potato sacks and 'Sarpo Mira' (maincrop, blight resistant) in large raised beds. I adjust slightly for variety; early potatoes often get a bit shallower (10cm) than maincrop (15cm) if I'm aiming for speed. |
Getting these initial depths right is the bedrock of preventing sun damage. It reduces the amount of work you have to do later and gives your plants the best possible start. It's a small detail, but one that my five years of intensive UK gardening has taught me can make a huge difference to the quality and usability of your harvest.
The Hilling Up Handbook: Protecting Developing Roots with Strategic Soil Mounds
Right, so we've got our initial planting depths sorted, which is a brilliant foundation. But as those root crops grow, especially our beloved potatoes, they have a sneaky habit of pushing their way up towards the light. That's where hilling comes in, and believe me, it's a game-changer for a proper harvest here in the UK.
Hilling is essentially creating a mound of soil around the base of your plants as they grow. For potatoes, it's absolutely non-negotiable if you want a decent crop of unblemished tubers. The logic is simple: potatoes form along the stem above the seed potato, and any that get exposed to sunlight will turn green and bitter – a real waste of effort, I tell you.
I usually start hilling my maincrop potatoes, like the 'Desiree' I love growing for roasting, when the plants are about 6-8 inches tall. I carefully draw up loose soil from between the rows or add fresh compost from my heap, creating a mound about 4-6 inches high around the base of each plant. The goal is to cover all but the top few inches of foliage.

Then, as they grow another 6-8 inches, I repeat the process. Depending on the variety and how vigorous they are, I might do this 2-3 times before the canopy closes over. One year, I got a bit complacent with my 'Charlotte' earlies. We had a sudden warm spell in late May here in the Midlands, and before I knew it, some of the tubers were peeking out, turning green right before my eyes! It taught me to be vigilant, especially with our unpredictable British spring weather. It’s better to hill a little and often than to let them get too exposed. For carrots and beets, hilling is less common, but if you notice the shoulders of your carrots pushing up in particularly heavy soil, a gentle mound of fine compost can prevent them from getting tough and sun-damaged.
Mulch Magic: An Extra Layer of Defence Against Sun, Weeds, and Moisture Loss
Once you've got your plants at the right depth and hilled them up, adding a layer of mulch is like putting on a superhero cape for your root vegetables. It's an extra line of defence against the sun's rays, but it does so much more. In my 800 sq ft garden, mulch is indispensable, especially in raised beds where soil can dry out quicker.
I've experimented with various mulches over my five years of intensive gardening, and I've found that a good 2-4 inch layer really helps to:
- Block Sunlight: This is the primary reason we're here, right? It physically prevents light from reaching any developing roots that might emerge.
- Retain Moisture: This is huge here in the UK, especially during our often-dry summer spells. Mulch significantly reduces evaporation, meaning less watering for me – and trust me, every bit helps!
- Suppress Weeds: Fewer weeds mean less competition for nutrients and water, and less back-breaking weeding for me. A win-win!
- Regulate Soil Temperature: Mulch keeps the soil cooler in hot weather and can offer a slight insulation boost in cooler snaps, providing a more consistent growing environment for your roots.
Here's a little comparison table of some common mulches I've used and what I've learned about them for root crops in my UK garden:
| Mulch Type | Pros for Root Veg in UK | Cons for Root Veg in UK | Randy's Take (UK Specific) |
|---|---|---|---|
| Straw (Wheat/Barley) | Excellent light block, fantastic moisture retention, good weed suppression, breaks down slowly, improves soil. | Can blow away in windy British weather if not applied thickly, might introduce weed seeds if not clean. | My absolute go-to, especially for potatoes and carrots. I get a big bale from a local farmer. Just make sure it's actual straw, not hay, to avoid grass seeds. |
| Garden Compost | Nutrient-rich, improves soil structure, good moisture retention, decent light block. | Can be heavy and compact if not coarse enough, might encourage slugs if too wet and thick. | I often use a layer of my homemade compost for carrots and beets. It feeds the soil and protects. Just be mindful of slugs in damp periods, as they love lurking under it. |
| Grass Clippings | Free and readily available, adds nitrogen, good moisture retention. | Can mat down and become anaerobic if applied too thickly (smells bad!), might contain weed seeds. | I use these sparingly and in thin layers. Great for a quick top-up around beets or brassicas, but for long-term sun protection on potatoes, straw or compost is better. Our frequent rain can make thick layers slimy. |
| Wood Chips | Long-lasting, excellent weed suppression, good moisture retention. | Can tie up nitrogen as it breaks down (needs supplementing), less ideal for annual root crops. | I use wood chips mainly for paths or around perennial fruit bushes. For annual root veg, it’s not my first choice as it can impact nitrogen availability, which root crops need for good leafy growth and tuber development. |
I've found that a combination often works best. For my carrots, I'll often put down a layer of fine compost, then a lighter layer of straw. It's all about observing your garden and seeing what works with our specific British climate.
Crop-Specific Strategies & UK Climate Tips: Tailoring Your Approach for Perfect Harvests
While the principles of deep planting, hilling, and mulching apply across the board, each root vegetable has its own quirks and preferences. Here in the UK, adapting these strategies to our specific weather patterns is key.
Carrots: The Deep Seekers
Carrots are perhaps the most finicky about their growing environment. They need deep, loose, stone-free soil to develop long, straight roots.
- Initial Planting Depth: As I mentioned earlier, sow carrot seeds a good 1/2 to 1 inch deep. This helps them get established well below the surface.
- Soil Preparation: This is crucial. I dig my raised beds for carrots down about 12-18 inches, incorporating plenty of well-rotted compost to keep it friable. Varieties like 'Autumn King 2' need plenty of depth for their impressive length, while 'Paris Market' is more forgiving in shallower soils, though still benefits from protection.
- Hilling/Mulching: While carrots don't 'hill' like potatoes, sometimes their shoulders can push up, especially if the soil is a bit compacted or if we have heavy rain followed by sun. A gentle top-up of fine compost or a consistent 2-inch layer of straw mulch is perfect for preventing green shoulders and keeping the soil consistently moist, which is vital for sweet, tender carrots. I learned this the hard way after a particularly dry June saw some tough, green-topped carrots in my first year.
Beets: The Resilient Roots
Beets are generally more forgiving than carrots when it comes to sun exposure, as their 'shoulders' tend to stay below the soil line more readily. However, they absolutely benefit from consistent moisture.
- Initial Planting Depth: Plant beet seeds about 1 inch deep.
- Mulching: This is where mulch truly shines for beets. A good 2-3 inch layer of compost or straw helps maintain that crucial consistent moisture, which prevents them from getting woody or tough. It also keeps the soil temperature stable, which beets appreciate. I've found varieties like 'Boltardy' do really well with this approach, yielding lovely, tender roots.
- Hilling: Generally not necessary for beets, but if you notice any particularly large roots pushing up, a light covering of soil or mulch won't hurt.
Potatoes: The Masters of Hilling
Potatoes are undoubtedly the poster child for hilling. Their entire development relies on being kept in the dark.
- Initial Planting Depth: Plant your chitted seed potatoes a good 4-6 inches deep initially. This gives them a head start and a solid base.
- Strategic Hilling: This is the most important step. As I detailed earlier, begin hilling when plants are 6-8 inches tall, covering all but the top few inches. Repeat this process every 2-3 weeks as they grow, aiming for a final mound of 8-12 inches high. For my 'Charlotte' potatoes, I usually get two good hilling sessions in before they flower.
- Mulching: Once you've done your final hilling, a thick layer (4-6 inches) of straw mulch can provide extra protection, help with moisture retention, and suppress weeds. It’s like an insurance policy against any cheeky tubers trying to escape the soil. Our British summers, even here in the Midlands, can have unexpected hot spells, and this extra layer has saved many a potato harvest for me!
By tailoring these techniques to each crop and keeping a keen eye on our wonderfully variable British weather, you'll be well on your way to harvesting blemish-free, delicious root vegetables from your own UK garden. It’s all about working with nature, not against it, and a bit of strategic planning goes a long way!
Conclusion: The Path to Perfect Root Veggies in Your UK Garden
Well, there we have it, fellow gardeners! We've journeyed through the crucial steps to ensure your carrots, beets, and potatoes emerge from the soil looking – and tasting – absolutely perfect. From the moment that seed or chitted potato goes into the ground, we're thinking about protection.
Remember the holy trinity for preventing those dreaded green shoulders and sun-damaged tops:
- Mastering Initial Planting Depths: Giving your crops a strong, deep start is your first line of defence.
- Strategic Hilling: Especially for potatoes, this active process of mounding soil is vital to encourage tuber formation and keep developing roots in the dark.
- Mulch Magic: An insulating layer that not only blocks light but also conserves precious moisture and suppresses weeds, making your life easier and your plants happier, especially in our often-changeable British climate.
I've learned these lessons over five years of digging, planting, and sometimes failing in my 800 sq ft Midlands garden. There's immense satisfaction in pulling up a pristine 'Desiree' potato or a perfectly orange 'Autumn King 2' carrot, knowing you've given it the best possible start and protection. It reduces waste, enhances flavour, and frankly, just looks brilliant on the plate!
So, next season, don't just plant and forget. Get strategic with your planting depths, be vigilant with your hilling, and embrace the power of mulch. You'll be amazed at the difference it makes. Experiment a bit in your own UK garden – what works for me here in the Midlands might be slightly different for you up in Scotland or down in Cornwall, but the core principles remain.
I'd love to hear about your own experiences and tips for protecting your root crops. What varieties do you swear by for our UK conditions? Have you had any brilliant successes or tricky challenges with hilling or mulching? Share your wisdom in the comments below – we're all learning together on this wonderful gardening journey! Happy growing!
