Tackling Inner Dieback: Why Your Dense Evergreen Shrubs Need Strategic Thinning
Alright, fellow UK gardeners, let's talk about something I've grappled with quite a bit in my own Midlands patch – that frustrating moment when your seemingly lush, dense evergreen shrubs start looking a bit... well, sad and twiggy on the inside. You know the drill, don't you? From the outside, they look glorious, a vibrant green wall or a perfectly shaped specimen. But peer deeper, past those outer layers, and what do you find? Bare branches, crispy brown leaves, and a whole lot of dead wood. It’s what we call "inner dieback," and I've seen it firsthand in everything from my viburnums to the more formal hedging plants around my 800 sq ft backyard.
When I first started transforming my garden five years ago, fresh out of the IT world and absolutely buzzing with gardening enthusiasm, I thought "dense" meant "healthy." The thicker, the better, right? Boy, was I wrong. I spent a whole season admiring my thriving laurel hedge, only to discover a skeletal graveyard underneath the surface when I finally got brave enough to dive in. It felt like a betrayal! But that experience was a massive learning curve for me. I've since learned that for many of our beloved evergreens here in Britain, especially those growing vigorously in our typically damp and often overcast climate, sometimes less is actually more.
This isn't just about a bit of tidying up; it's about giving your shrubs a fighting chance to thrive from the inside out. I'm talking about strategically thinning them to allow light and air to penetrate those dense canopies. It sounds counterintuitive, I know, especially when our instinct is often to just snip off the visible brown bits. But trust me, after years of experimenting in my own garden, battling everything from fungal issues to general lacklustre growth, I’ve found that a bit of brave, thoughtful thinning can completely rejuvenate your evergreens. It’s a game-changer for promoting that lush, vibrant growth throughout the entire plant, not just on the outside.
The Hidden Problem: Causes of Bare Patches and Weak Growth in Evergreen Shrubs
So, what's really going on beneath that verdant exterior? Why do our seemingly robust evergreens develop these sad, bare patches and weak internal growth? From my observations here in the Midlands, it usually boils down to a few key culprits, all exacerbated by the very denseness we often mistakenly aim for.
The primary issue, in my experience, is a severe lack of light penetration. Imagine a thick, leafy roof – that's your dense shrub canopy. The leaves on the very outside are hogging all the sunlight, photosynthesising away happily. But deeper inside, where the light struggles to reach, those inner leaves simply can't do their job. They become unproductive, weak, and eventually, the shrub decides they're not worth the energy to maintain. In our often grey British climate, where direct sun can be a precious commodity, this problem is amplified. I've seen it acutely in my own Viburnum tinus ‘Eve Price’, where the lower, inner branches became completely defoliated over time because they were so shaded by the upper canopy.
Hand-in-hand with poor light comes inadequate airflow. A dense, un-thinned shrub becomes a stagnant, humid environment in its core. Here in the UK, with our propensity for damp weather and misty mornings, this creates a perfect breeding ground for fungal diseases. I learned this the hard way when a particularly dense Escallonia in a sheltered corner of my garden developed a nasty case of powdery mildew deep within its structure. The outer leaves looked fine, but inside, it was a mess. The lack of air circulation meant moisture lingered, and spores had a field day. This constant dampness and lack of fresh air also means that any new growth attempting to emerge inside is often weak, spindly, and susceptible to pests and diseases, rather than being robust and healthy.
Finally, we have the issue of nutrient and water competition. When a shrub is overly dense, every single leaf, every single stem, is vying for the same limited resources. While our British soil is generally quite good, even in my well-fed raised beds, an overcrowded plant will struggle to distribute nutrients evenly. The strongest, outermost growth gets the lion's share, leaving the interior to wither. It’s a cutthroat world in there! By understanding these hidden battles for light, air, and resources, we can start to see why simply letting our evergreens grow unchecked isn't always the best strategy for long-term health and vigour in a UK garden.
More Than Just Tidy: The Vital Benefits of Thinning for Shrub Health and Vigor
For years, I approached pruning as a task for tidiness, a way to keep things within bounds or to remove obviously dead bits. But since I dove headfirst into understanding plant physiology and started experimenting with strategic thinning in my 800 sq ft Midlands garden, I've realised it’s so much more than that. It's a powerful tool for promoting genuine health and vigour in our evergreens, especially here in the UK with our unique climate challenges.
Here’s why I've become such a proponent of thinning:
- Improved Light Penetration: This is perhaps the biggest win. By carefully removing select branches from the interior, you open up pathways for sunlight to reach those previously shaded inner leaves. This stimulates new, healthy growth deeper within the shrub, ensuring a lusher, more even appearance. I've seen my 'Compacta' Holly transform from a hollow shell to a beautifully dense shrub, right down to the stem, after just a couple of seasons of sensible thinning.
- Enhanced Air Circulation: Thinning out those congested interior branches dramatically improves airflow. This is absolutely critical in our often damp British climate. Better air circulation means leaves dry faster after rain or morning dew, significantly reducing the risk of fungal diseases like powdery mildew or rust, which I've battled too many times. My Portugal Laurel hedge, which used to get a bit 'sweaty' inside, now breathes freely, and I've noticed a marked decrease in leaf spot issues.
- Reduced Pest and Disease Pressure: Following on from better airflow, a less dense interior is less attractive to pests. Aphids and other sap-suckers love sheltered, humid environments where they can breed undisturbed. By opening up the shrub, you make it less hospitable for these critters and easier for beneficial insects to find and deal with them. Plus, if a disease does strike, it’s far less likely to spread rapidly through a well-ventilated plant.
- Stimulates Stronger, Healthier Growth: When you remove weaker, unproductive internal branches, the plant redirects its energy to the remaining, healthier growth. This isn't just about outward growth; it encourages the development of stronger, more resilient stems and leaves throughout the entire plant. You'll get a better balance of growth, and the shrub will be better equipped to handle our unpredictable British weather, from summer droughts to winter frosts.
- Maintains Natural Form and Longevity: Strategic thinning, when done correctly, helps maintain the shrub's natural shape and reduces the need for harsh, overall pruning. It prevents the shrub from becoming top-heavy or leggy, ensuring it remains attractive and robust for many years. It’s about working with the plant, not against it, for long-term success in our UK gardens.
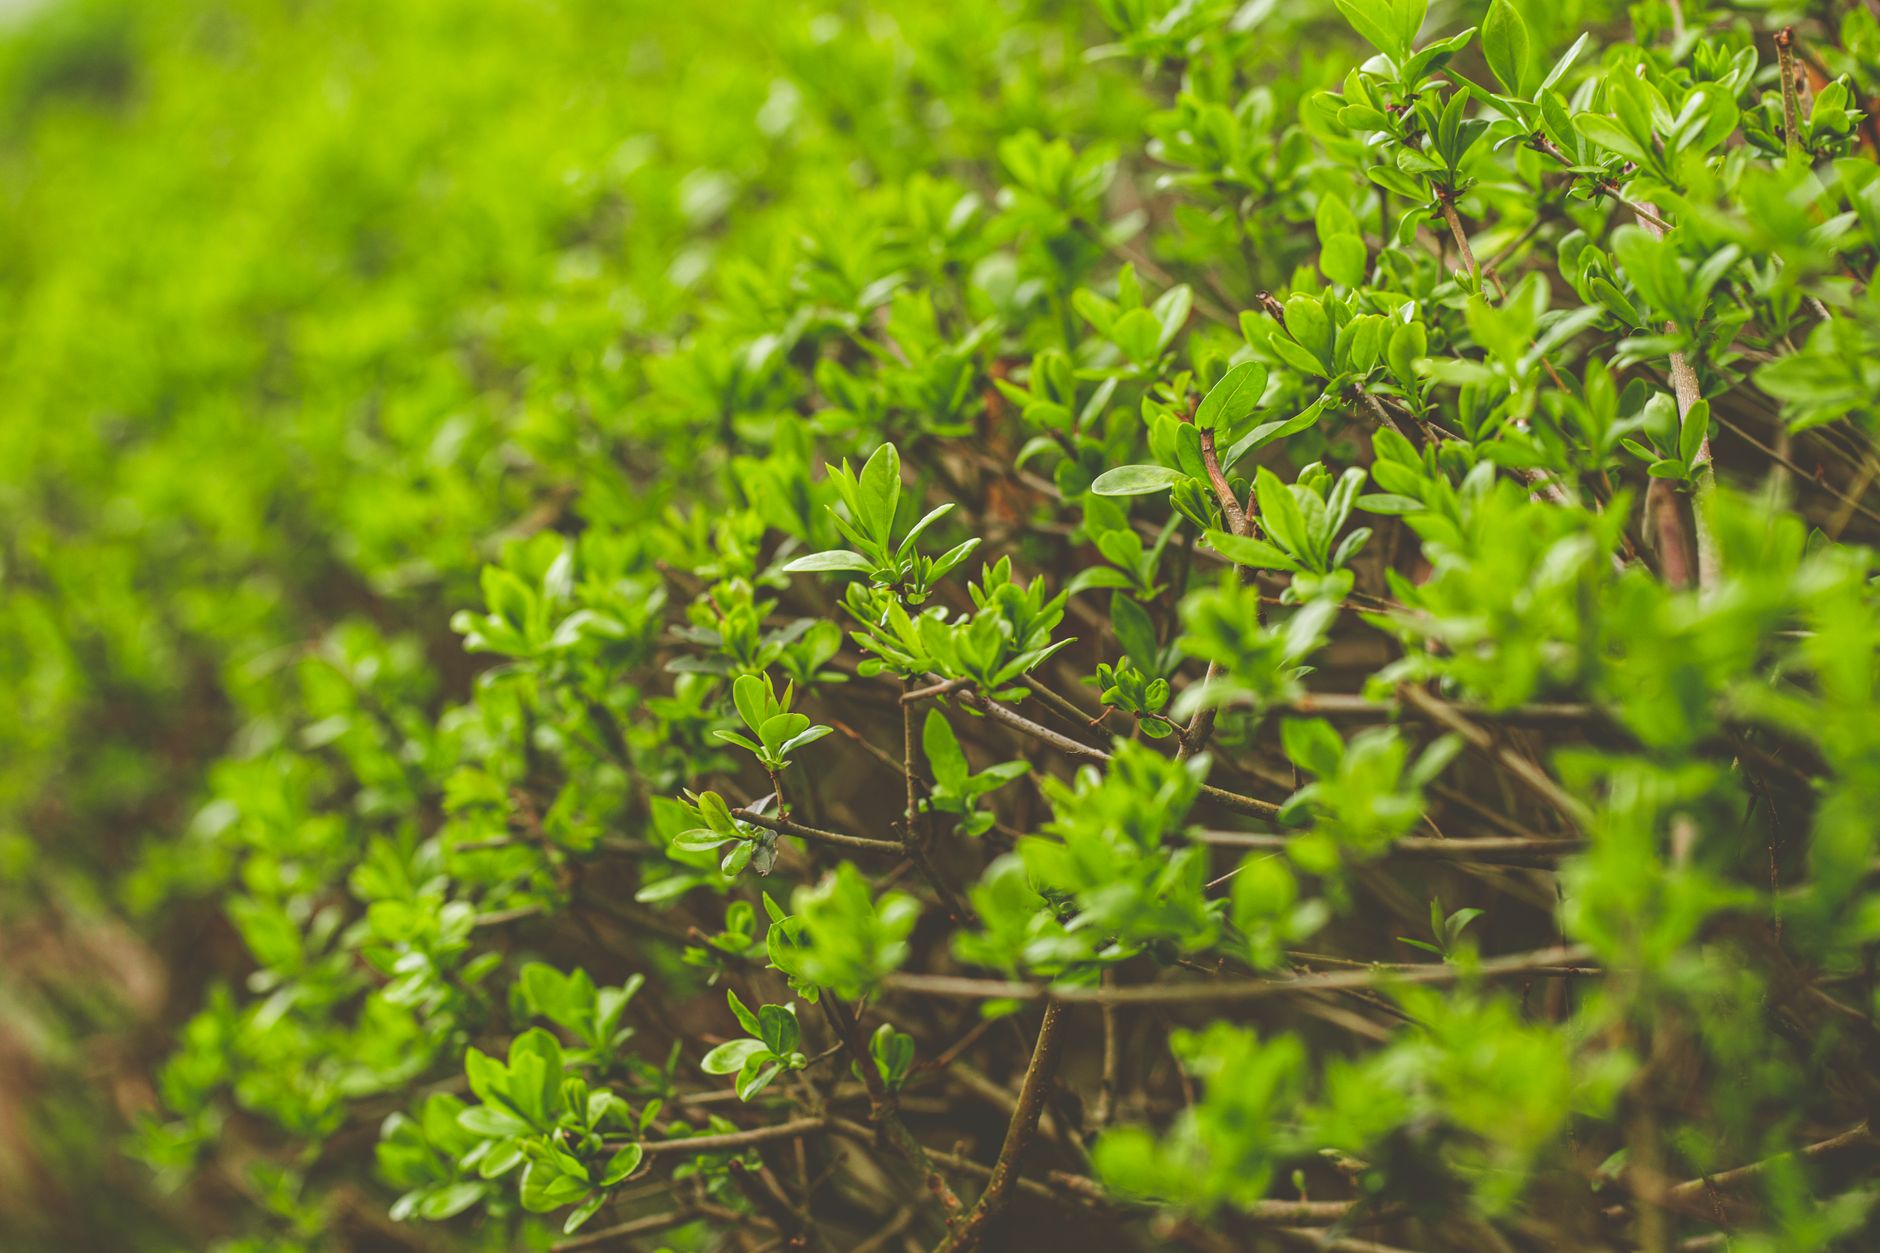
Know Your Shrubs: When and Which Evergreens Benefit Most from Thinning in the UK
Understanding why we thin is one thing, but knowing when and which evergreens in our UK gardens will truly benefit from this strategic approach is where the rubber meets the road. Not all evergreens are created equal, and our British weather patterns play a huge role in successful timing. I've learned this through a fair bit of trial and error in my own Midlands patch, and I'm happy to share what I've found works best.
Generally speaking, the best time for significant thinning of most evergreens in the UK is late winter or early spring (February to April), before the main flush of new growth begins. This allows the plant to recover and put energy into robust new shoots as the weather warms up. However, for some flowering evergreens, you might want to wait until after they've finished flowering to avoid sacrificing blooms. For example, my Rhododendrons (though not usually thinned for dieback like dense shrubs, it's a similar principle for encouraging light) get their deadheading and light shaping after their glorious display in late spring.
Which evergreens are prime candidates for strategic thinning?
The ones that tend to grow very densely and are prone to internal congestion and dieback. Here's a table of common UK garden evergreens and my take on their suitability for thinning:
| Shrub Type (Common UK Varieties) | Prone to Inner Dieback? | Best Thinning Time (UK) | Randy's Notes from My Garden |
| :---
| :---------------------- | :---------------------- | :---
Mastering the Cut: Step-by-Step Guide to Strategic Thinning for Optimal Light and Airflow
Right, now that we know why we're doing this and when, let's get down to the nitty-gritty: the actual pruning. This is where the rubber meets the road, or rather, where your secateurs meet the shrub. Don't be shy; your shrubs will thank you for it in the long run. I remember my first time tackling a dense Laurel in a previous garden – I was so nervous I barely took anything off! But over time, I've learned to trust my instincts and the process.
Here’s how I approach strategic thinning in my 800 sq ft Midlands garden to ensure those evergreens stay healthy and happy:
Your Pruning Toolkit: What You’ll Need
First things first, gather your tools. Sharp tools are non-negotiable for clean cuts that heal quickly.
- Bypass Secateurs: For smaller branches, up to about 1/2 inch thick. These make clean, scissor-like cuts.
- Loppers: For thicker branches, up to 1.5 inches. They give you extra leverage.
- Pruning Saw: For anything larger, though with strategic thinning, you shouldn't be making many huge cuts.
- Gloves: Essential for protecting your hands, especially with prickly evergreens.
- A Tarp or Sheet: Handy for collecting clippings and making cleanup easier.
My Step-by-Step Thinning Process:
Observe and Plan: Before making any cuts, stand back and really look at your shrub. Walk around it. Where is it densest? Where are the bare patches? Which branches are crossing, rubbing, or growing inwards towards the centre? My goal is always to visualise where the light needs to penetrate. For my
Photinia x fraseri 'Red Robin'hedge, I often find the lower sections get a bit sparse if I don't thin the top.Start from the Inside Out: This might sound counter-intuitive, but for thinning, it's often best to work your way in. Look for dead, diseased, or damaged branches first – these are always the priority. Then, identify any weak, spindly stems that aren't contributing much.
Identify Crossing and Rubbing Branches: These are big culprits for creating congested areas. If two branches are constantly rubbing, they can create wounds, making the plant susceptible to disease. Choose the stronger, better-positioned branch and remove the weaker one.
Target Inward-Growing Branches: Any branch heading straight for the centre of the shrub, blocking airflow and light from reaching the inner foliage, needs to go. My
Viburnum tinusoften gets these, and removing them makes a huge difference to its overall health.Focus on Congested Areas: Look for clusters of branches growing too close together. Selectively remove a few of these, choosing the least vigorous or worst-placed ones. The aim isn't to create huge gaps, but to space things out a bit, like opening a window in a stuffy room.
Make Your Cuts Clean and Precise: This is crucial. Always cut back to a main branch, a side shoot, or just above an outward-facing bud. Avoid leaving stubs, as these can become entry points for pests and diseases. When cutting a larger branch, use loppers or a saw for a clean cut without tearing the bark. I learned this the hard way after leaving a few ragged cuts on my
Skimmia japonicawhich then struggled to heal properly.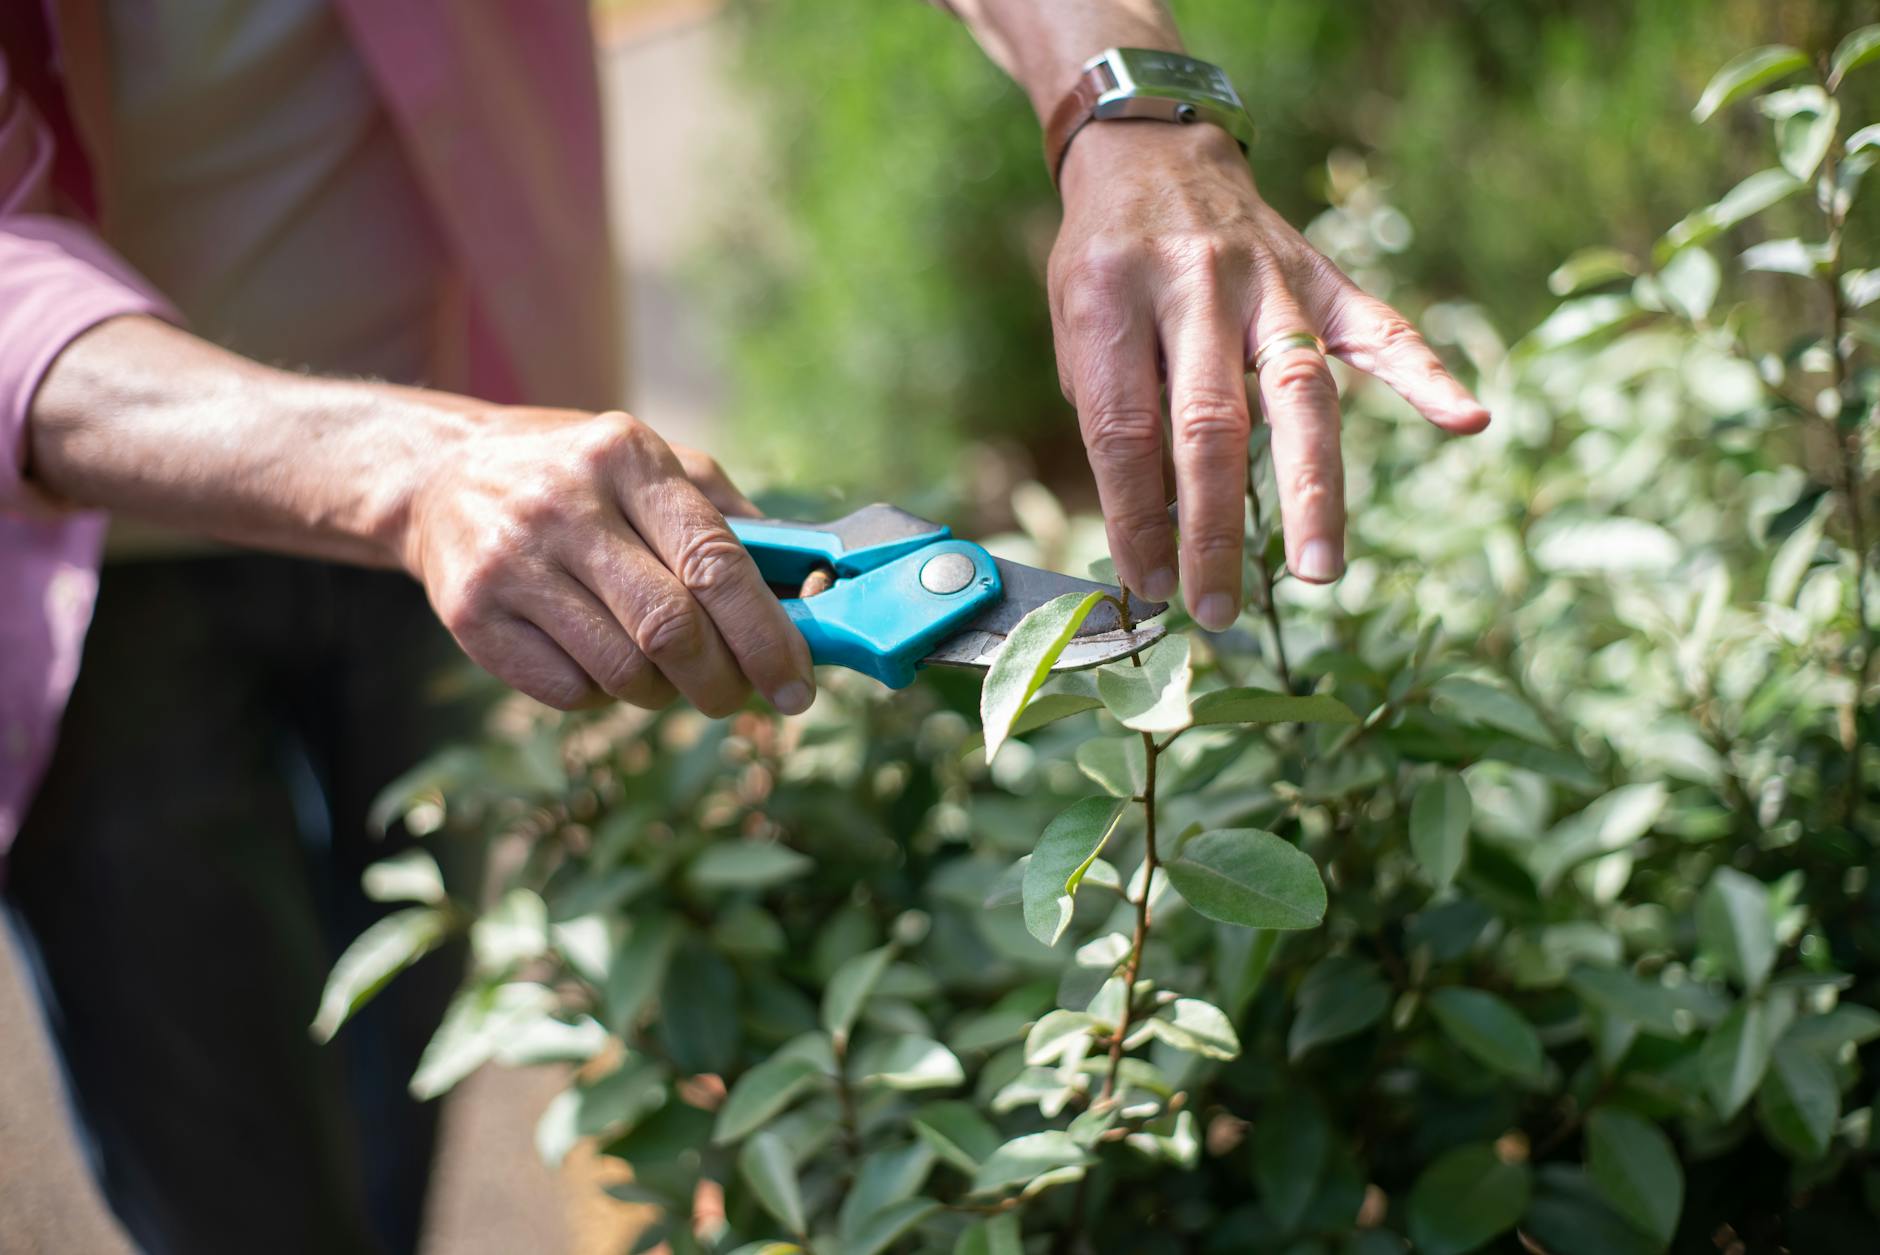
Step Back and Reassess: After every few cuts, step back and look at the shrub again. You want to achieve a balanced, natural shape, not a Swiss cheese look! It’s better to take a little off, step back, and then take more, than to overdo it. Remember, you can always remove more, but you can’t put it back!
Don't Overdo It: As a general rule, try not to remove more than 20-25% of the shrub's overall mass in one go, especially here in the UK where our weather can be so unpredictable. Removing too much can stress the plant. If a shrub is severely overgrown, it might be better to thin it gradually over two or three seasons.
By following these steps, you'll be well on your way to a healthier, more vibrant evergreen shrub, ready to thrive in our British climate.
Post-Thinning Care: Ensuring Rapid Recovery and Sustained Lush Growth
So, you've done the deed! You’ve strategically thinned your evergreens, and they're looking a bit lighter, a bit airier. Fantastic! But the job isn't quite finished. Just like a person recovering from surgery, your shrubs need a bit of TLC to bounce back quickly and put out that glorious, lush new growth.
I’ve made mistakes in the past, thinking the hard part was over and just leaving the shrub to its own devices. One year, after a particularly rigorous thinning of my Pyracantha (which had gotten quite dense), we had a sudden dry spell in late spring. I didn't water it enough, and it took much longer to recover than it should have, showing some yellowing leaves. I learned then that post-pruning care is just as vital as the pruning itself, especially with our changeable British weather.
Here’s my guide to ensuring your thinned evergreens recover beautifully and continue to flourish:
Immediate Aftercare: The First Few Weeks
- Water, Water, Water: This is probably the most critical step. Pruning is a stressor for plants, and adequate moisture helps them recover and produce new growth. Even if it's raining, check the soil moisture. I aim to keep the soil consistently moist, but never waterlogged. I use rainwater from my water butts whenever possible, as it's better for the plants.
- Mulch: A good 2-3 inch layer of organic mulch (like well-rotted compost, wood chips, or even homemade leaf mould) around the base of the shrub is a game-changer. It helps retain soil moisture, suppresses weeds that compete for nutrients, and slowly releases nutrients back into the soil. I always apply a fresh layer of my own compost around my thinned shrubs.
- Avoid Heavy Fertilisation (Initially): While you might be tempted to give your shrub a big boost, resist the urge to heavily fertilise immediately after thinning. The plant's energy is going into healing and root development. A light, balanced feed a few weeks after thinning, once you see signs of new growth, can be beneficial, but too much too soon can burn tender new shoots.
Long-Term Nurturing for Sustained Health
- Regular Watering During Dry Spells: Keep an eye on the weather. Even established evergreens can suffer during prolonged dry periods, especially after thinning. Here in the Midlands, we can go from torrential rain to weeks of dry weather in a heartbeat.
- Annual Feeding: Moving forward, a balanced, slow-release granular fertiliser applied in early spring will support robust growth throughout the season. I prefer organic options for my garden, often a good scattering of chicken manure pellets, followed by a watering-in.
- Pest and Disease Watch: A thinned shrub, while ultimately healthier, might be slightly more vulnerable in the immediate aftermath of pruning. Keep an eye out for any signs of pests or diseases, especially on new, tender growth. Early detection is key.
- Protection from Extremes: If you've thinned quite heavily and we get an unexpected heatwave (it happens, even in the UK!), the newly exposed inner foliage might be susceptible to scorching. While I've never had to do this myself, providing some temporary shade with an old bedsheet or shade cloth might be necessary for very sensitive shrubs. Conversely, if you've thinned late in the season and a sudden cold snap hits, new growth can be vulnerable. This is why timing your pruning is so important here in Britain.
To help you remember, here's a quick comparison of my post-thinning 'Do's and Don'ts' in my Midlands garden:
| Aspect | Do's (Randy's Midlands Approach) | Don'ts (Mistakes I've Learned From) |
|---|---|---|
| Initial Watering | Keep soil consistently moist for several weeks, especially after thinning. I use rainwater from my butts. | Let the soil dry out completely, stressing the plant, especially after a big cut. |
| Fertilisation | Apply a light, balanced feed a few weeks after new growth appears, or an annual spring feed. | Over-fertilise immediately after pruning, which can burn new, tender growth. |
| Mulching | Apply a good 2-3 inch layer of well-rotted compost or wood chips to retain moisture. | Leave soil bare, allowing weeds to compete and moisture to evaporate quickly. |
| Pest/Disease Check | Regularly inspect for signs of stress, pests, or disease on new growth. | Ignore signs of distress, assuming the plant will just "power through" without help. |
| Sun Protection | Consider temporary shade for heavily thinned, sun-sensitive shrubs during unexpected heatwaves. | Assume the plant is invincible; exposed inner growth can scorch in strong sun. |
| General Observation | Pay close attention to how the shrub responds and adjust care as needed. | Forget about the shrub post-pruning until next year; neglect can hinder recovery. |
A Healthier Garden: Long-Term Rewards of Proactive Evergreen Shrub Management
And there you have it! We've journeyed from understanding the hidden problems of inner dieback to confidently making those strategic cuts and providing crucial aftercare. What might seem like a daunting task at first, or just another chore, is actually one of the most rewarding practices in maintaining a truly vibrant and thriving UK garden.
For me, strategic thinning isn't just about preventing problems; it's about fostering life. I’ve seen my once-sparse Choisya ternata 'Sundance' burst into a fuller, brighter display after judicious thinning, and my Escallonia hedge become a beacon of healthy, glossy leaves, free from those dreaded bare patches. It’s this kind of transformation that fuels my passion for gardening, that sense of working with nature to create something beautiful and resilient.
The long-term rewards are undeniable:
- Lush, Vibrant Growth: By allowing light and air to penetrate, you're encouraging healthy foliage from the inside out, leading to a much fuller, more aesthetically pleasing shrub. No more scraggly, bare interiors!
- Enhanced Flowering and Fruiting: Many evergreens, like my
PyracanthaorViburnum tinus, flower and fruit better when light can reach all parts of the plant. That means more berries for the birds and more cheerful blooms for us. - Increased Disease and Pest Resistance: A well-ventilated shrub is a happy shrub. Good airflow dramatically reduces the risk of fungal diseases like powdery mildew, which I've battled on other plants in my humid greenhouse. Healthy, strong plants are also less susceptible to pest infestations.
- Improved Structural Integrity: Thinning helps maintain a strong framework, preventing branches from becoming weak, crossing, or breaking under the weight of heavy growth or, heaven forbid, a rare heavy snowfall here in the Midlands!
- A More Beautiful Garden: Ultimately, strategic thinning contributes to the overall beauty and health of your entire garden. Healthy shrubs provide a lush backdrop for your raised beds, a vibrant screen for privacy, or a stunning focal point.
I started this gardening journey five years ago, swapping spreadsheets for soil, and every season brings new lessons. My garden, though only 800 sq ft, is my living laboratory, and practices like strategic thinning are vital to making the most of every precious square inch. I've learned that patience, observation, and a willingness to get stuck in are your best tools.
So, don't shy away from those secateurs. Take a deep breath, reread these steps, and head out into your UK garden. Observe your evergreens, make those thoughtful cuts, and commit to the aftercare. You’re not just pruning; you’re investing in the long-term health and beauty of your plants, ensuring they thrive and bring you joy for years to come.
Happy thinning, fellow gardeners! I'd love to hear about your experiences – what evergreens have you thinned, and what results have you seen in your own British gardens?
