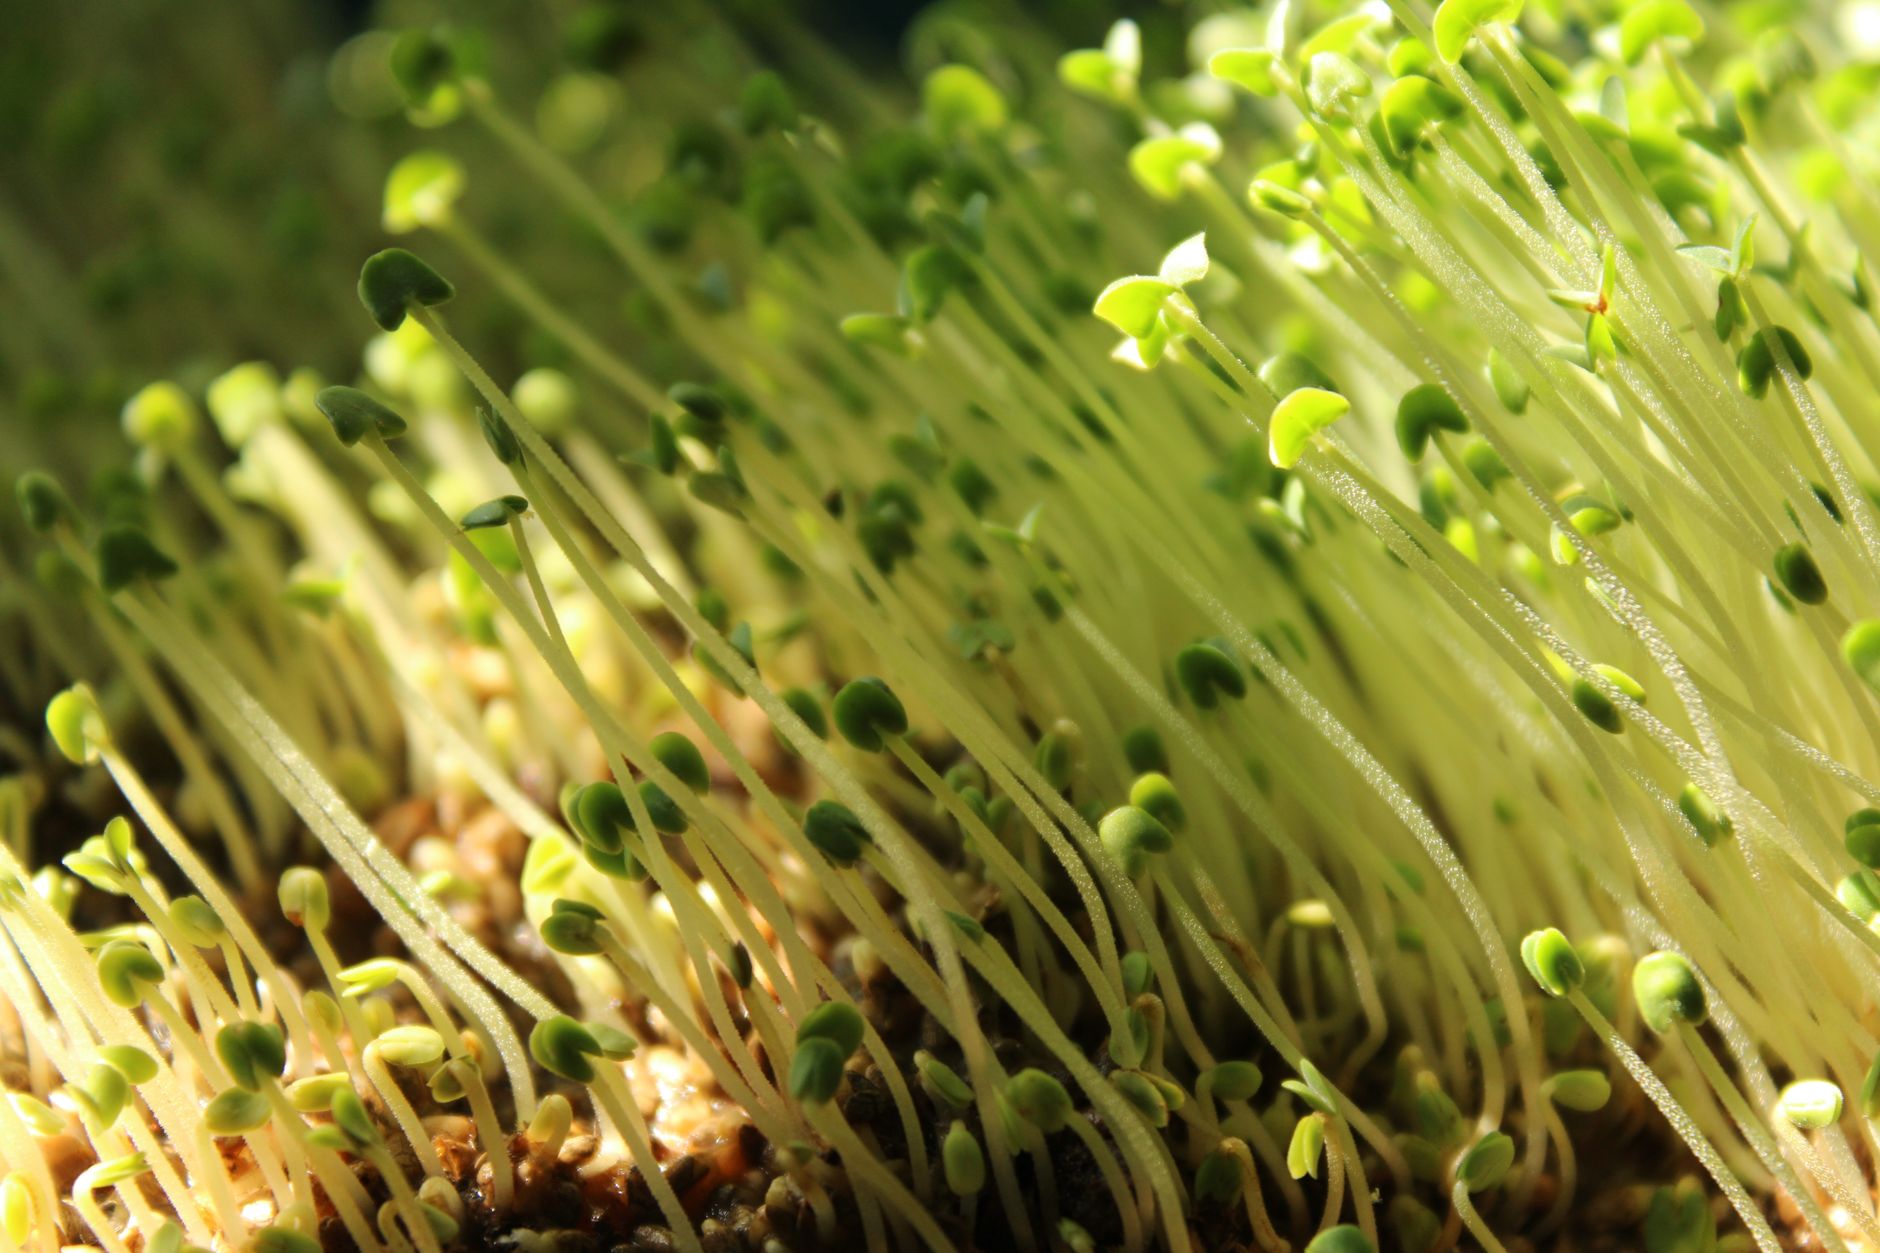
You know, there's nothing quite like the vibrant burst of flavour and nutrition you get from homegrown microgreens and sprouts. They're an absolute game-changer in my UK kitchen, especially during those long, grey Midlands winters when fresh produce can feel a bit… uninspired. I’ve been growing these little powerhouses in my 800 sq ft backyard – well, mostly indoors or in the greenhouse for the microgreens – for about five years now, and I’m still utterly obsessed.
But let’s be honest, growing these little gems here in the UK isn't always sunshine and rainbows. There's a hidden threat lurking that can turn your lush, green trays into a fuzzy, sad mess overnight: mold and mildew. I’ve been there, staring at a promising tray of broccoli sprouts, only to find it covered in a suspicious white fuzz, wondering what went wrong. It's soul-destroying, especially when you've put in the effort, and it’s a common frustration for us British home growers.
Early on in my gardening journey, fresh from the world of IT and eager to get my hands dirty, I made all the classic mistakes. I remember one particularly dreary Midlands spring, I lost batch after batch of my favourite radish microgreens to what I now know was rampant grey mold. It wasn't just a waste of seeds and effort; it felt like a personal defeat. But through those failures, and a good dose of stubborn experimentation, I've learned the critical steps to keep my microgreens and sprouts clean, healthy, and mold-free. This guide is built on five years of trial and error right here in my UK garden, adapting techniques to our often damp and unpredictable British climate. We're going to dive deep into airflow, humidity, and everything you need for safe, successful harvests.
Identifying the Enemy: Mold vs. Healthy Root Hairs on Sprouts
Oh, the panic! I've been there, peering anxiously at a tray of emerging sprouts, convinced I've got a mold infestation, only to realise it’s something perfectly normal. This is perhaps one of the most common early confusions for anyone growing sprouts or microgreens, and it’s particularly important to get right here in the UK where our ambient humidity can sometimes make things look a bit… fuzzy. You see, healthy sprouts, especially varieties like radish, broccoli, and even some brassicas, often develop tiny, delicate root hairs.
These root hairs are vital for the plant to absorb moisture and nutrients from its environment. Think of them like tiny, delicate blonde hairs, almost like a fine fuzz, that grow outwards from the main root of the sprout. They're usually uniform in appearance, radiating from the root, and when you mist them lightly with a spray bottle, they'll often disappear temporarily as they get wet, only to reappear as they dry. I nearly binned an entire tray of spring radish sprouts once, convinced it was an early onset of white mold, before a quick spritz of water and a moment of observation saved them!
Mold, on the other hand, is usually a bit more sinister looking. It tends to be thicker, more web-like, and often has a distinct colour – commonly grey, black, green, or even a dirty white. It forms in irregular patches, often around the base of the stems or on unsprouted seeds, and critically, it will not disappear when misted. In fact, if you get a good whiff, mold usually has a distinct musty or earthy smell, quite different from the fresh, clean scent of healthy sprouts. Here in the Midlands, with our often damp air, distinguishing between the two quickly can save you a whole crop.

The Foundation of Prevention: Sterilising Equipment and Choosing Quality Seeds
Before a single seed even touches the compost, I’m already thinking about keeping mould at bay. This is where the old IT adage "garbage in, garbage out" really applies to gardening. You can have the perfect setup, but if your starting materials are compromised, you're fighting an uphill battle. I’ve learned this the hard way through plenty of failures in my own UK garden.
Sterilising Your Equipment: Randy's Deep Clean Routine
Spores are everywhere, especially in a busy garden like mine with its raised beds and bustling greenhouse. They can lurk on trays, lids, tools, and even old growing medium containers. If you reuse equipment without proper sterilisation, you're essentially providing a ready-made home for mold to flourish.
My routine is pretty straightforward, but I never skip it now. First, any trays or containers get a good scrub with hot, soapy water to remove any physical debris or organic matter. This is crucial because mold feeds on those little bits. Then, for a proper sterilisation, I have a couple of go-to methods:
- Dilute Bleach Solution: For tough cases or new trays, I use a solution of 1 part household bleach to 9 parts water. I let the trays soak for about 15-20 minutes, then rinse them extremely thoroughly. You do not want bleach residue on your growing medium. This method is incredibly effective, especially for stubborn patches I've had in my greenhouse trays.
- Food-Grade Hydrogen Peroxide (3%): This is my preferred method for regular sanitisation, especially for my indoor microgreen setup. It's less harsh than bleach and breaks down into water and oxygen, making it safer for my organic growing practices. I'll spray down trays and lids with a 3% hydrogen peroxide solution after cleaning, let it sit for a few minutes, then give it a final rinse.
Early on, I got a bit lazy with cleaning my old plastic takeaway containers that I repurposed for microgreens. "It's just water and soil," I thought. Big mistake. Within days, fuzzy patches started appearing. That was a harsh lesson that now every piece of equipment, from my sowing trays to my blackout domes, gets a proper clean between uses.
Choosing Quality Seeds: Don't Skimp!
It’s not just about getting seeds to sprout; it’s about getting clean seeds that are robust enough to grow quickly and outcompete any latent mold spores. Low-quality seeds, especially those not specifically intended for sprouting or microgreens, can be a major source of trouble. Mold spores can literally hitchhike on the seed coat, just waiting for the right damp conditions to explode into life.
Here's what I look for when sourcing seeds for my microgreens and sprouts here in the UK:
- Reputable UK Suppliers: I stick to companies known for high-quality, high-germination seeds. I’ve had great success with several British seed companies that specialise in microgreens. They understand our climate and growing conditions.
- High Germination Rate: This is key. Seeds that germinate quickly and uniformly leave less bare, damp surface area for mold to colonise. A good supplier will usually list the germination rate.
- Organic/Untreated Seeds: I always opt for organic or untreated seeds. Conventional seeds can sometimes be treated with fungicides or pesticides, which I want to avoid on something I’m eating raw. Plus, untreated seeds reduce the chance of introducing unwanted chemicals into my growing system.
- "For Sprouting" or "Microgreen" Specific: Whenever possible, I look for seeds specifically labelled for sprouting or microgreen production. These are often tested for food safety and have been selected for their vigorous growth in these conditions.
I learned this the hard way trying to save a few quid on some bulk, generic seeds online one winter. The germination was patchy, and the trays were quickly overtaken by mold because the weaker, slower-germinating seeds just sat there, providing a perfect damp substrate for fungal growth. Never again! Investing in good quality seeds is genuinely an investment in a successful, mold-free harvest.
Here's a quick comparison of my preferred sterilisation methods:
| Method | Pros (Randy's POV) | Cons (Randy's POV) | Best For (Randy's Use) |
|---|---|---|---|
| Hot Soapy Water | Simple, readily available, good for general grime and organic matter | Doesn't kill all spores or bacteria, not truly sterilising | Initial clean for all trays, especially after a harvest |
| Dilute Bleach (1:9 solution) | Highly effective against a wide range of spores and bacteria | Needs thorough rinsing, harsh chemicals, can degrade plastic over time | Deep clean for trays with previous mold issues, new equipment |
| Hydrogen Peroxide (3% solution) | Food-safe, breaks down into water & oxygen, effective sanitiser | Slightly less potent than bleach for heavy infestations, can be pricier | Regular sanitisation, organic growing, blackout domes |
| Boiling Water (for small items) | Very effective, chemical-free, quick | Can warp plastic trays, burns risk, not practical for large trays | Sterilising glass jars for sprouts, small tools, ceramic dishes |
Mastering Airflow: Simple Ventilation Setups for UK Home Growers
If there's one thing I've hammered home in my UK gardening journey, it's the sheer power of good airflow. This is, without a doubt, the game-changer when it comes to preventing mold and mildew on microgreens and sprouts, especially in our often-humid British climate. Stagnant, still air is mold's best friend. It allows moisture to sit on the surface of your seeds and growing medium, creating the perfect damp, anaerobic environment for spores to germinate and thrive.
Here in the Midlands, we know a thing or two about damp, still air, both indoors and out. That's why I'm evangelical about ensuring my microgreens get a good, gentle breeze. It helps evaporate excess surface moisture, keeps the air circulating, and makes it much harder for mold to get a foothold.
Randy's DIY Airflow Setups
You don't need fancy, expensive equipment to achieve great airflow. My approach has always been about practical, effective solutions that work for a home grower like me.
The No-Tech Approach:
- Spacing is Key: Don't cram your trays together. Give them room to breathe. I always leave at least an inch or two between my microgreen trays on the shelving unit in my spare room or greenhouse bench.
- Prop Lids Strategically: During the blackout phase (when seeds are germinating under a weight or cover), I'll often prop the lid or cover slightly, just enough to allow a tiny bit of air exchange without letting in too much light.
- Open Windows (Carefully!): Even in the UK, a few minutes of strategically opening a window can make a huge difference, especially if you're growing indoors. Just be mindful of sudden temperature drops, particularly during our colder months. I often do this first thing in the morning while making my tea.
The Low-Tech (But Highly Effective) Approach:
- USB Clip-On Fans: These are my absolute favourite for indoor microgreen setups. They're cheap, run on very little power (often just a phone charger or power bank), and provide a wonderfully gentle, constant breeze. I’ve got a couple of these clipped to the edge of my shelving unit, aimed to circulate air above and around the trays, not directly onto them. You don't want to dry out your growing medium too quickly.
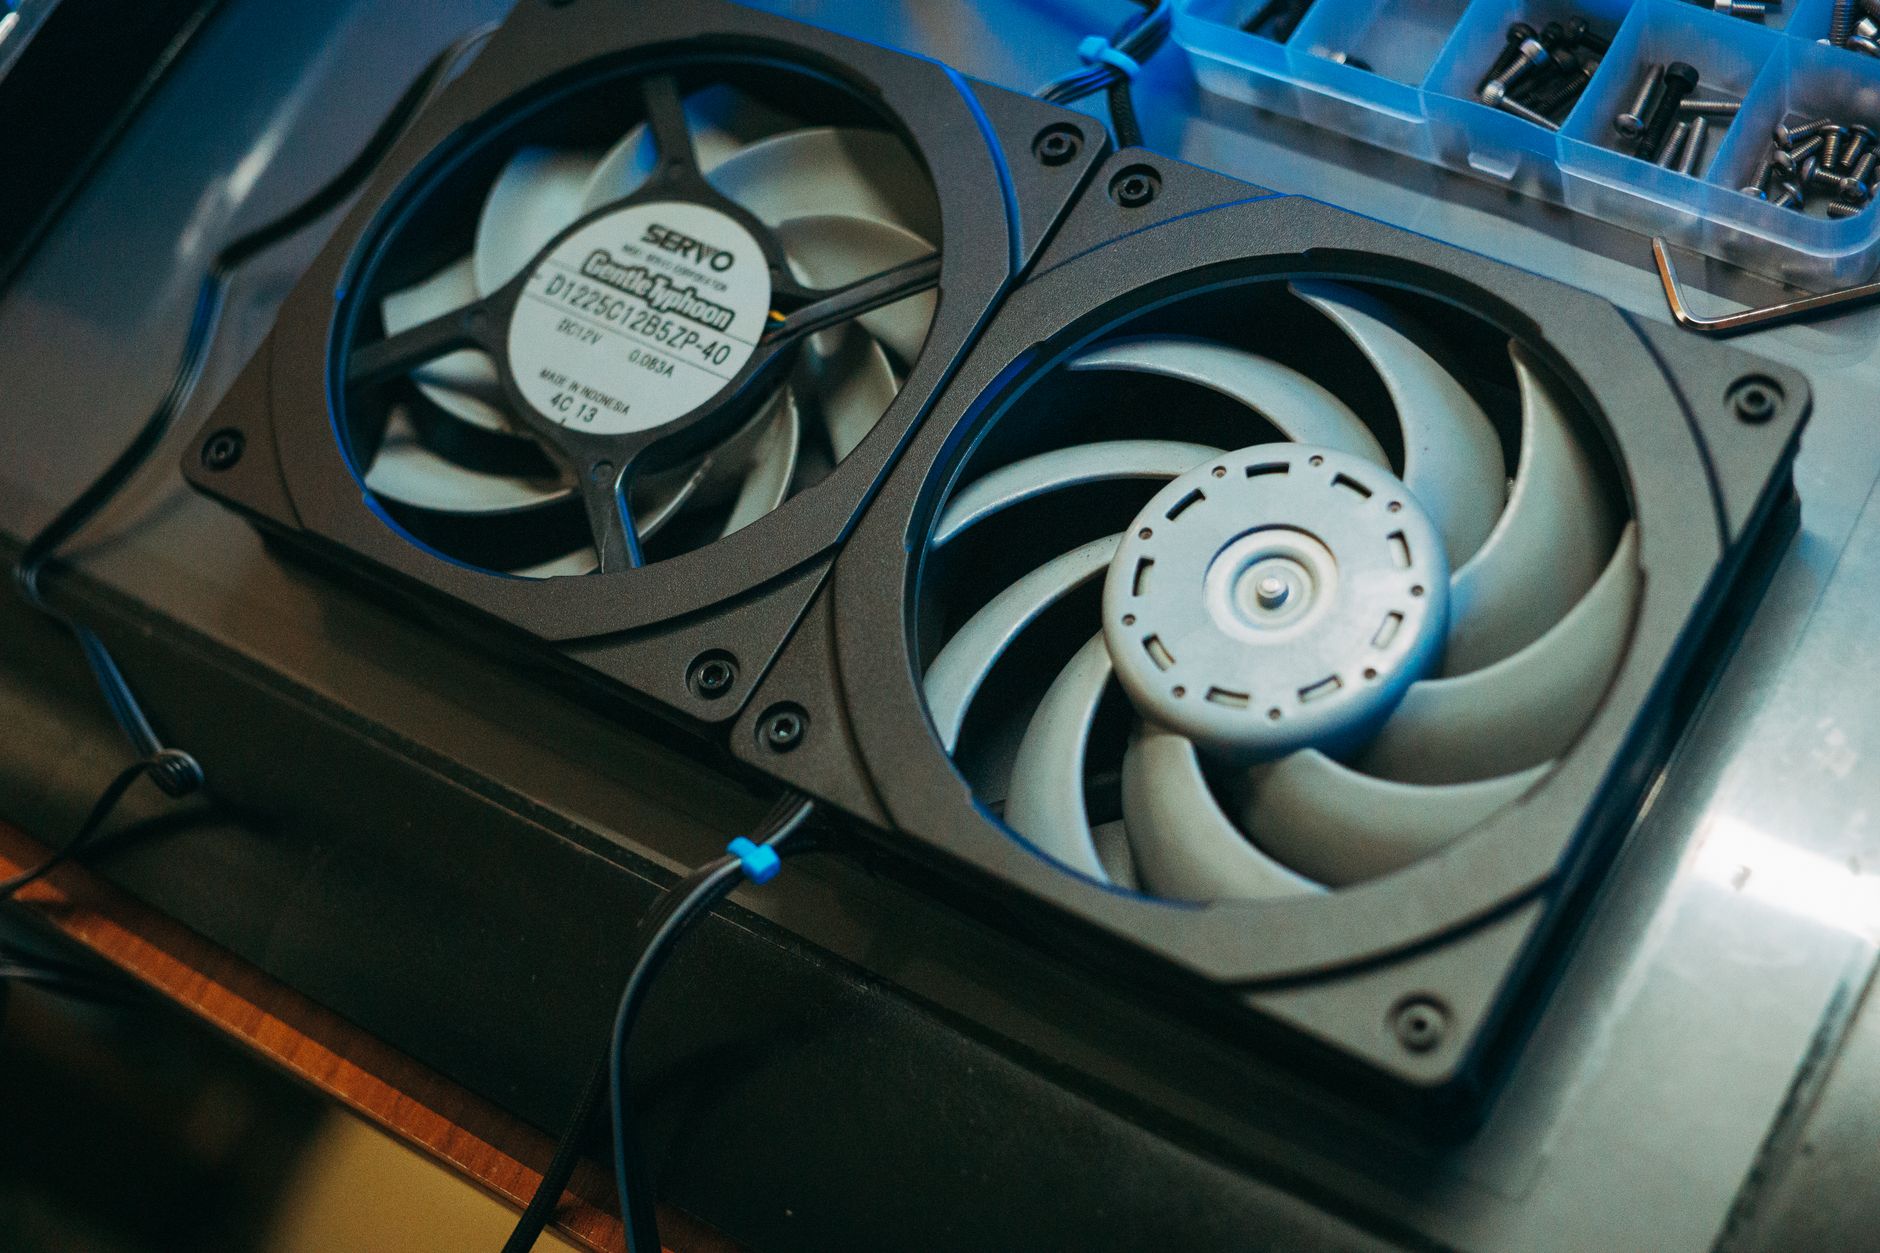
- Repurposed Computer Fans: If you're a bit handy (my IT background comes in useful here!), an old computer fan hooked up to a 12V power adapter makes for an excellent, quiet air circulator. I've built a small stand for one of these in my greenhouse that I can position near my microgreen trays or even my heirloom tomato seedlings when they're small.
I remember my first few batches of microgreens, tucked away in a corner of the kitchen, were a disaster zone for mold. The air was still, humid from cooking, and it was a perfect breeding ground. The 'aha!' moment came when I decided to try placing a small, old desk fan nearby, just oscillating gently. The difference was immediate and dramatic. My mold problems plummeted. Now, in my greenhouse, I've got a proper fan setup for my heirloom tomatoes, but for microgreens, I don't need anything that powerful. It's about mimicking a gentle breeze, not a hurricane. You want air movement, not a gale force wind that dries out your precious seedlings before they have a chance to grow.
5. Controlling Humidity: Optimal Watering Techniques and Environmental Management
Now, we've talked about getting that air moving, which is half the battle. But what about the other half? Humidity. Here in the UK, especially in my Midlands garden, we know a thing or two about dampness, don't we? It’s a constant battle, whether it's trying to keep blight off my heirloom tomatoes in the greenhouse or preventing powdery mildew on my courgettes outside. Microgreens are no different; they absolutely thrive in that Goldilocks zone – not too dry, not too wet.
I learned this the hard way when I first started. I was misting my trays from above, thinking I was giving them a lovely drink. What I was actually doing was creating a perfect little spa for mold spores on the tender leaves. One particularly gloomy, damp spring, I lost a whole tray of 'Red Russian' kale microgreens to fuzzy grey mold. It was heartbreaking, and a real wake-up call.
The key is to keep the growing medium moist without getting the foliage soaking wet. This means bottom-watering is your best friend.
My Go-To Watering Methods for Microgreens and Sprouts
Here's a quick rundown of what I've found works best in my setup, considering our often-damp British climate:
Bottom Watering for Microgreens
This is my absolute favourite method for microgreens grown in trays.
- Preparation: Fill a slightly larger tray or a clean washing-up bowl with about an inch or two of clean, room-temperature water.
- Soak: Gently place your microgreen tray (with drainage holes!) into the water. The growing medium will slowly wick up the moisture from below.
- Monitor: Keep an eye on the surface of your growing medium. Once it looks evenly dark and damp, usually after 10-30 minutes depending on the medium and tray size, remove the tray.
- Drain: Let any excess water drain off thoroughly before returning the tray to your growing shelf. You don't want them sitting in a puddle.
Rinsing & Draining for Sprouts
For jar sprouts, it's all about diligent rinsing. I usually rinse mine twice a day, sometimes three times if it's particularly warm and humid in the house.
- Rinse: Fill your sprouting jar with cool, clean tap water (UK tap water is usually fine). Swirl the sprouts gently.
- Drain Thoroughly: This is the most critical step! Invert the jar, usually resting it at an angle in a bowl or a dedicated sprouting rack, so all the water can drain out. I aim for at least 4-6 hours of good drainage between rinses. Any standing water is an invitation for trouble.
- Airflow Post-Rinse: After draining, I often give my sprout jars a little shake to loosen the sprouts and help air circulate around them before putting them back in their spot.
Environmental Management: Beyond the Watering Can
Watering is crucial, but it's part of a bigger picture. You need to manage the overall humidity in your growing space.
- Ventilation is Key (Again!): Good airflow, as we discussed earlier, helps to evaporate surface moisture from leaves and the growing medium, reducing the ambient humidity around your plants.
- Avoid Overcrowding: I know it's tempting to cram as many trays as possible into a space, especially when you're limited like I am in my kitchen. But giving each tray a bit of breathing room helps a lot. Overlapping leaves trap moisture.
- Strategic Placement: If you're growing in a warmer, naturally more humid room (like a kitchen during cooking), consider moving your trays to a cooler, drier spot if possible. In my house, I often start them in the airing cupboard for germination, but once they've sprouted, they go onto a shelf in the spare room with a small fan.
- Dehumidifier (Optional but Helpful): For those truly struggling with high humidity, especially in a dedicated grow space or a greenhouse like mine in spring, a small domestic dehumidifier can be a game-changer. I’ve occasionally run a small one in my greenhouse during particularly damp spells when I have delicate seedlings or my early-season microgreens going. It makes a noticeable difference.
Here's a quick comparison of watering approaches:
| Watering Method | Pros | Cons | Best For | My Randy Take (UK Context) - The humidity in my greenhouse can be a killer, especially for the early season tomatoes.
- For microgreens, it's about giving them a good start without drowning them.
- I've found that having a small fan running on a timer for a few hours a day can make a massive difference. It's not just about cooling; it's about preventing stagnant air and drying out the surface of the growing medium just enough.
- For sprouts, it's all about that thorough drain. I really can't stress that enough. If your sprouts are sitting in even a tiny puddle, mold loves it.
6. Safe Harvesting & Post-Harvest Care: Preventing Last-Minute Mildew
You've nurtured your microgreens and sprouts, watched them grow beautifully, and kept the dreaded mold at bay. Now comes the satisfying part: harvest! But don't let your guard down just yet. A sloppy harvest or improper post-harvest care can undo all your hard work and invite mildew in at the last minute.
The Perfect Time to Harvest
For microgreens, I typically harvest when they've developed their first true leaves, or when they're about 2-4 inches tall, depending on the variety. For example, my 'Sango' radish microgreens are usually ready in about 7-10 days, while my 'Red Russian' kale takes a little longer, maybe 10-14 days. The key is to harvest before they get leggy and before any signs of yellowing or stress appear, as stressed plants are more susceptible to fungal issues.
For sprouts, I harvest them once they've reached their desired size, usually within 3-7 days. Again, they should look plump and fresh, with no sliminess or off-smell.
My Harvesting Best Practices (UK Garden Edition)
- Clean Tools are Non-Negotiable: Just like with any gardening task, cleanliness is paramount. I use a sharp, clean pair of kitchen scissors or a sterile knife. I give them a quick wipe with rubbing alcohol before each harvest. This prevents transferring any dormant mold spores from previous harvests or other plants.
- Harvest When Dry: This is perhaps the most crucial tip for microgreens. Always harvest your microgreens when their leaves are completely dry. I usually aim for a morning harvest, a few hours after the first light, once any dew (if they're in the greenhouse) or residual moisture has evaporated. If you bottom-watered recently, give them plenty of time to dry off before cutting. Cutting wet leaves creates prime conditions for mold growth during storage. One year, I was rushing and cut some slightly damp pea shoots. They went limp and got a white film on them within a day in the fridge – lesson learned!
- Cut Above the Soil Line: For microgreens, cut about an inch above the soil line. This avoids getting any growing medium mixed in with your harvest and leaves the root ball intact, which can sometimes allow for a second, smaller harvest (though I usually prefer to re-sow for consistent quality).
- Gentle Handling: Handle your delicate harvest gently to avoid bruising. Bruised tissue can also be an entry point for mold.
Post-Harvest Care: Keeping Them Crisp and Clean
Once harvested, your goal is to keep them cool and dry.
- Drying Sprouts: For sprouts, after their final rinse, ensure they are exceptionally well-drained. I usually give them an extra hour or two in the draining position before storing. You can even gently pat them dry with a clean paper towel if they feel a bit too damp.
- Storage: I store my microgreens and sprouts in an airtight container lined with a dry paper towel. The paper towel absorbs any residual moisture. I replace the paper towel if it gets damp. Store them in the crisper drawer of your fridge.
- Shelf Life: While freshly harvested is always best, properly stored microgreens can last 5-7 days, and sprouts often 3-5 days. Always check for any signs of sliminess, discoloration, or off-smells before consuming. If in doubt, chuck it out! It’s not worth the risk.

7. Troubleshooting & Long-Term Prevention: A Recap for Clean Microgreen Cultivation
Right, so we've covered a fair bit, haven't we? From seed to harvest, the journey to mold-free microgreens and sprouts is about vigilance and good practice. But what if, despite your best efforts, you spot that dreaded fuzz?
Quick Troubleshooting When Mold Appears
First off, don't panic. It happens. Even to me, with my years of experience, a particularly humid week in the Midlands can sometimes catch me out.
- Isolate Immediately: If you spot mold on one tray, remove it from your growing area straight away. Mold spores are airborne, and you don't want them spreading to your healthy trays.
- Assess the Damage: If it's a small patch on a few plants, you might be able to carefully snip away the affected area and the surrounding plants with clean scissors, ensuring you get all of it. However, if the mold is widespread, or if you see it on the growing medium itself, it's usually best to discard the entire tray. It's a bummer, I know, but health comes first.
- Clean and Sanitize: Thoroughly clean any shelves, fans, or surfaces that were near the affected tray with a bleach solution or horticultural disinfectant.
My Long-Term Prevention Strategy (The Randy Thompson Way)
After years of trial and error in my 800 sq ft UK backyard, I've boiled down mold prevention to a few core principles that I religiously follow. Think of it as your microgreen gardening mantra:
- Start Clean, Stay Clean: Sterilise everything – trays, jars, tools. Buy quality, untreated seeds. This is your foundation.
- My experience: I once reused a tray I thought I'd cleaned, but obviously missed a spot. A few days later, a patch of grey mold appeared. Never again! Now, every tray gets a good scrub and a soak in a dilute bleach solution.
- Master Airflow: Good ventilation is your primary defence. Think about fans, open windows, and proper spacing between trays.
- My experience: In my greenhouse, I have an oscillating fan running on a timer for several hours a day, even when the vents are open. Inside, a small desk fan near my growing racks is a must. Our British weather can be so still and damp; you need to create that breeze.
- Control Humidity: Bottom-water microgreens, and rinse and thoroughly drain sprouts. Keep the ambient humidity in your growing space in check.
- My experience: I've found that early morning is the best time for me to bottom-water my microgreens. It gives them all day to absorb what they need and for the surface to dry out before the evening dampness sets in.
- Don't Overcrowd: Give your plants personal space. Air needs to circulate around them.
- My experience: It's tempting to sow thickly for a dense harvest, but I've learned that a slightly less dense sowing, allowing for better air circulation, yields healthier plants overall and significantly reduces mold risk.
- Harvest Smart: Cut dry, with clean tools, and store properly.
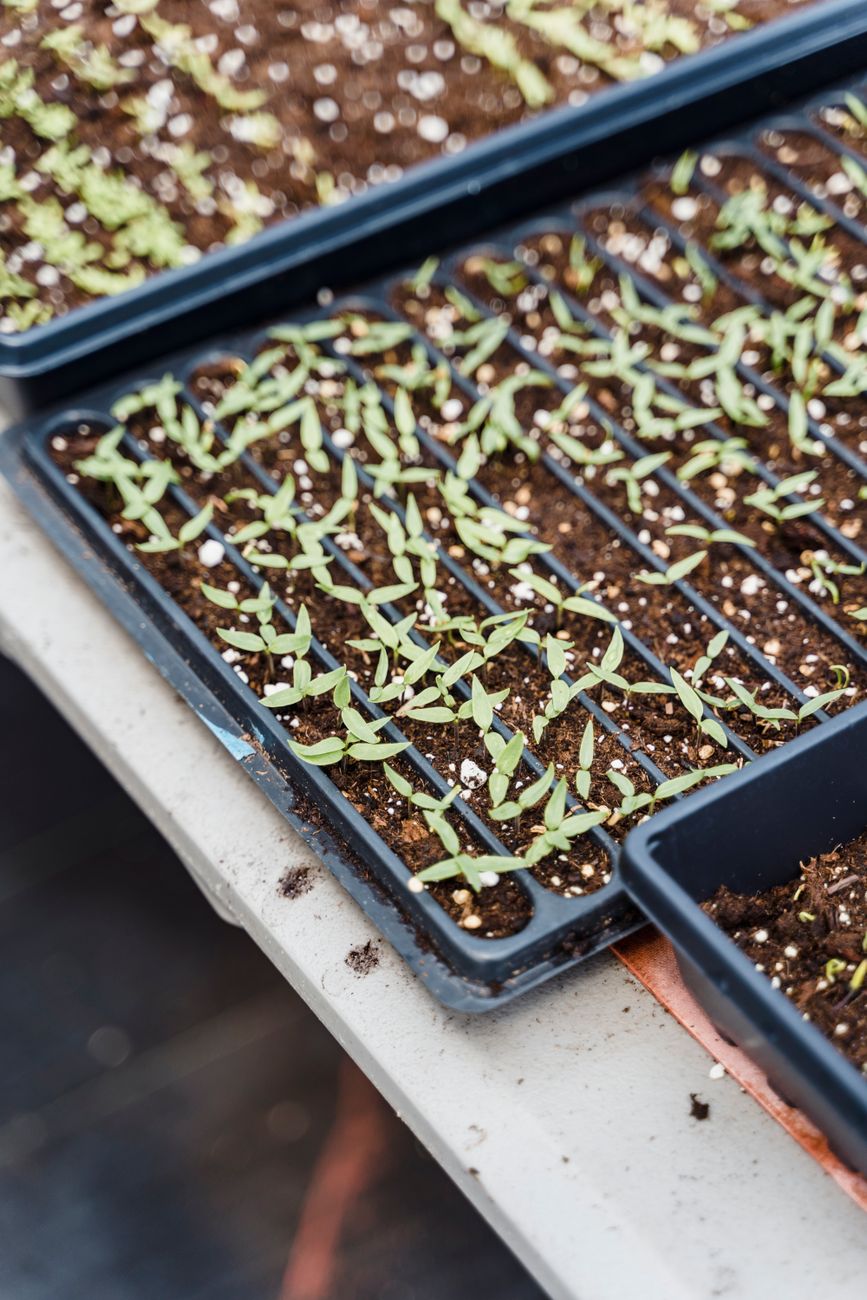
Growing microgreens and sprouts at home is one of the most rewarding parts of my gardening journey. It's instant gratification, packed with flavour and nutrients, and a brilliant way to get a green fix even in the depths of a grey UK winter. Don't let the fear of mold deter you! By following these steps, based on what I've learned through my own successes and, yes, a few failures in my Midlands garden, you'll be well on your way to a consistent supply of fresh, clean, homegrown goodness.
It's all about observing, learning, and adapting – just like with any aspect of gardening here in Britain. Get out there (or in there!) and grow some fantastic microgreens! Happy growing, my friends!
