
Introduction: Preparing 'Full Sun' Plants for Your Garden's Realities
There's nothing quite like the thrill of bringing home a new plant from the garden centre, is there? You spot that perfect perennial or a promising young shrub, read the label – "Full Sun" – and imagine it thriving in your carefully planned borders. I've been there countless times in my five years of intensive gardening here in the UK Midlands, eyes gleaming with future harvests and vibrant blooms for my 800 sq ft backyard. I've bought everything from hardy lavender to delicate delphiniums, all labelled for 'full sun'.
But then, sometimes, reality hits. Despite all the excitement, within days or even hours of planting, your new green friend starts looking... well, a bit sad. Leaves might scorch, turn pale, or simply wilt dramatically. It's a heart-sinker, and trust me, I've had my share of those moments, especially when I first started out, eager to fill every raised bed and corner of my garden. I quickly learned that "nursery full sun" and "my UK garden full sun" are often two completely different beasts.
What we're talking about here is plant sunburn and shock – and it's completely preventable with a bit of patience and understanding. This isn't just about keeping your plants alive; it's about helping them truly thrive from day one. I've spent seasons experimenting with different methods, sometimes learning the hard way (RIP to a particularly promising 'Black Knight' Scabiosa that I rushed into the sun!) and other times celebrating fantastic successes. So, grab a cuppa, and let me share what I’ve learned about properly acclimating those 'full sun' treasures to the wonderfully wild realities of your British garden.
Why Nursery 'Full Sun' Doesn't Always Mean Garden 'Full Sun'
This was one of my biggest lightbulb moments when I transitioned from an IT desk to digging in the dirt full-time. I used to assume 'full sun' was a universal term, meaning "shove it anywhere it gets direct light." Oh, Randy, you innocent fool! The truth is, the environment a plant grows up in at a nursery is often far more sheltered and controlled than even the most idyllic spot in your garden.
Think about it: most nurseries and garden centres grow their plants in poly-tunnels or glasshouses. While they might get plenty of light, it's often filtered, diffused, and consistent. They're protected from the harsh, unfiltered intensity of direct midday sun, the biting winds that sweep across our British Isles, and the sudden temperature fluctuations that our climate is so famous for. Plus, they're typically watered on a strict schedule, often multiple times a day, meaning their roots never really have to work hard to find moisture.
In contrast, your garden, especially here in the Midlands, is a gladiatorial arena for plants! They face direct, unfiltered UV rays that can be surprisingly strong even on a cloudy British day. Then there's the wind, which can desiccate leaves and physically batter tender stems. Our temperatures can swing wildly from a chilly spring morning to a surprisingly warm afternoon, only to drop sharply again by evening. And in our gardens, they have to cope with less frequent, but deeper, watering. Their roots need to become explorers, not just sit pretty in damp compost. I've seen 'Sungold' tomato seedlings, pampered in my greenhouse, turn a worrying shade of purple and droop dramatically when I've underestimated the shock of even a mild spring breeze outside.
Here’s a quick comparison of the two environments:
| Feature | Nursery/Garden Centre Environment | Your UK Garden Environment | Randy's Observation/Experience |
|---|---|---|---|
| Light | Often filtered (poly-tunnel plastic, greenhouse glass), diffused | Direct, unfiltered UV rays; intensity varies with cloud cover & season | "My greenhouse filters about 20% of the light. Out in the garden, those 'Black Krim' tomatoes are getting the full, unadulterated British sun. I once put a tray of 'Red Russian' kale seedlings straight out and they looked like they'd been left in a toaster!" |
| Wind | Minimal to none, sheltered | Constant, often strong, drying, physical stress | "Here in the Midlands, a good gust of wind can appear out of nowhere. I've seen it rip leaves, snap stems, and dry out compost pots in an hour. My 'Moneymaker' cucumber plants, fresh from the greenhouse, would just collapse without hardening off." |
| Temperature | Stable, often warmer, less fluctuation | Highly variable (day/night swings), unpredictable British weather | "We can have 20°C one day and 5°C the next in spring! I've lost young 'Sweet Pea' plants to sudden cold snaps because I thought they were tough enough. Now I check the Met Office forecast religiously for those dips, especially for my greenhouse tomatoes like 'Gardener's Delight'." |
| Humidity | Often higher, consistent moisture in air | Variable, often lower, especially with wind | "Inside my greenhouse, it's a humid jungle, perfect for tomatoes and peppers. Outside, a dry, windy day can suck the moisture right out of a plant's leaves. I've seen 'Dwarf French Bean' seedlings wilt within hours if they're not used to it." |
| Watering | Frequent, consistent, often automated | Less frequent, reliant on rain/manual, deeper watering | "Nursery plants are like pampered babies. In my raised beds, I water deeply every few days, encouraging roots to seek water. If a plant isn't used to that, its shallow nursery roots just can't cope. I learned this the hard way with some 'Rosemary' I bought – it went crispy within a week because I didn't adjust its watering expectations." |
| Pests/Diseases | Often managed, lower exposure initially | Full exposure to local pests and pathogens | "My garden has its own thriving ecosystem of slugs, snails, and various flying critters. Nursery plants haven't built up any resilience yet. Acclimation helps them build strength to fight off initial attacks, even if it's just a stronger cell wall to resist a hungry slug." |
The Hardening Off Process: A Step-by-Step Guide for UK Gardeners
This is the cornerstone of successful plant establishment, especially here in Britain where our weather keeps us on our toes. Hardening off isn't just a fancy term; it's a controlled exposure to the real world, slowly building up a plant's resilience. I’ve refined my approach over the years, and it's become a non-negotiable step for almost everything I bring home or raise from seed.
When I first started, I thought I could just pop plants out for a few hours and they’d be grand. Nope. That’s a recipe for crispy leaves and stunted growth. The key is gradual exposure. Think of it like taking someone who's lived indoors their whole life and gradually introducing them to the great outdoors – you wouldn't send them up Ben Nevis on day one, would you?
Here's my tried-and-tested method that works wonders in my Midlands garden:
- Preparation (Day 0): Before you even think about moving them, make sure your plants are well-watered. A thirsty plant is a stressed plant. I usually give mine a good soak the evening before I plan to start the process.
- Day 1-2: Sheltered Shade: Find a truly sheltered, shady spot. This could be under a large tree, on a north-facing patio, or even in the dappled shade of a shed or greenhouse wall. The aim is zero direct sunlight and minimal wind. I usually place my trays of young plants, like my 'Costoluto Fiorentino' tomato seedlings or 'French Breakfast' radish thinnings, here for a full day or two. This lets them get used to the ambient outdoor temperature and air movement without the shock of sun or wind.
- Day 3-4: Gentle Morning Sun, Still Sheltered: Move them to a spot that gets a couple of hours of gentle morning sun. This is typically an east-facing spot in my garden. Morning sun is less intense than afternoon sun and gives them a taste of direct light without overwhelming them. Make sure they're still protected from strong winds. I’ll bring them back to the full shade or even inside my unheated greenhouse for the rest of the day.
- Day 5-6: Increased Sun Exposure: Gradually increase the amount of direct sun they receive each day. I aim for 3-4 hours of morning sun, then gradually introduce some early afternoon sun. Keep an eye on the weather forecast here in the UK – if a particularly cold or windy day is predicted, dial back the exposure or bring them in. This is where I've made mistakes, pushing them too hard on a surprisingly blustery day.
- Day 7-10: Full Day Outdoors (Sheltered at Night): By now, your plants should be spending most of the day outdoors in their designated 'full sun' spot. However, I still bring them in at night, especially if there's any risk of frost or if the night temperatures are predicted to dip below 7-8°C. This is crucial for tender plants like my heirloom tomatoes.
- Day 11-14: Overnight Outdoors: Once the risk of frost has truly passed (usually mid-May here in the Midlands, but I always check the local forecast for 'my' specific area), and the plants look robust, they can stay out overnight. I keep a close watch for any signs of stress – wilting, yellowing, or browning leaves. If I see any, I pull back a step in the process.
This entire process usually takes me 10-14 days for most plants, sometimes longer if the British weather is being particularly difficult. Patience is key!
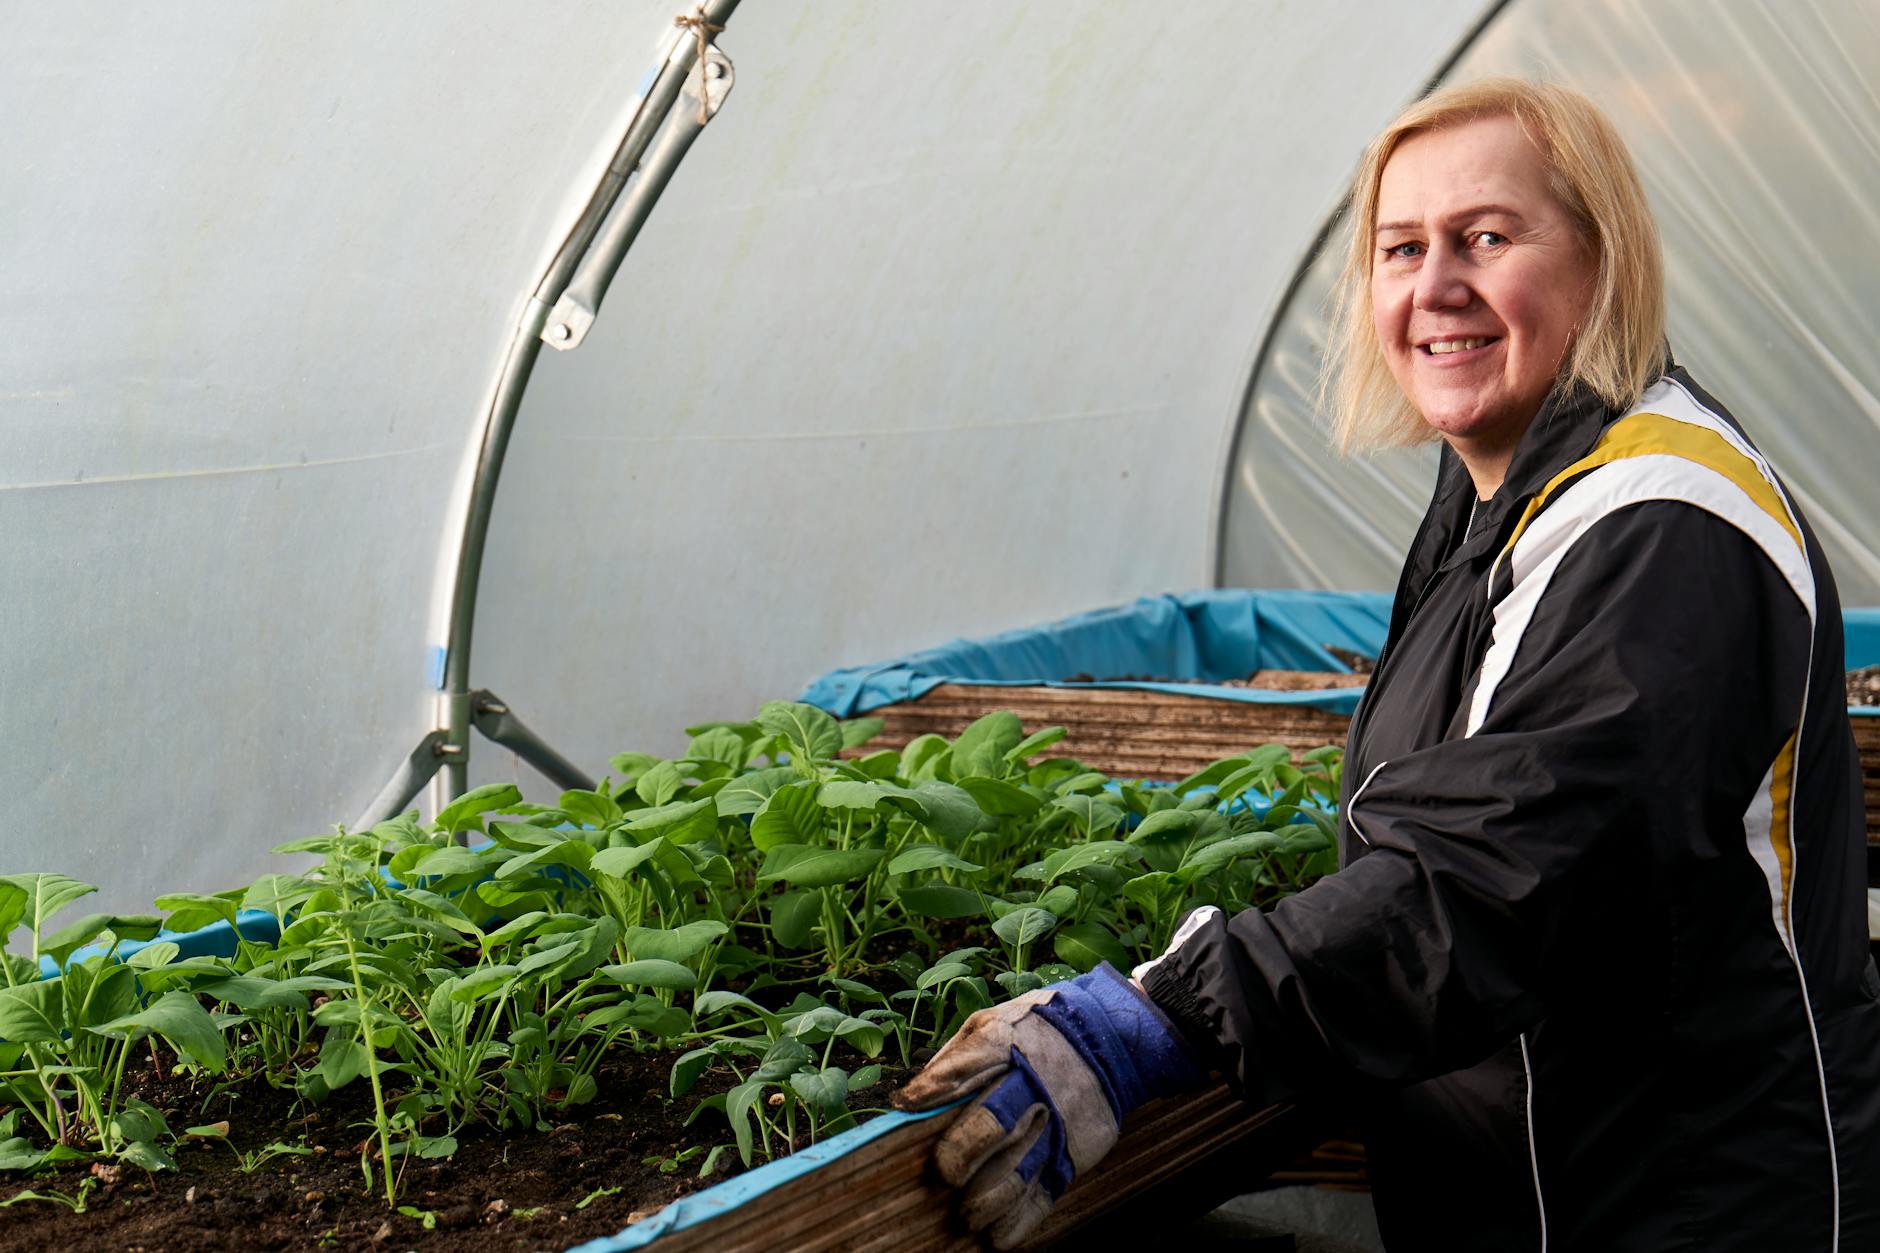
Here's a handy table I mentally follow for hardening off, especially for my heat-loving greenhouse dwellers or tender herbs:
| Day(s) | Location/Exposure | Key Action/Randy's Tip |
|---|---|---|
| Day 0 | N/A | Water thoroughly the evening before. "Don't even think about moving a thirsty plant. I learned that after a tray of 'Purple Sprouting Broccoli' looked like it had been through a shredder on day one." |
| 1-2 | Full shade, sheltered from wind (e.g., north-facing wall, under bench) | Introduce to outdoor temperatures and air. "This is the 'gentle wake-up' phase. No direct sun, just getting used to the ambient air. I use the side of my potting shed – perfect." |
| 3-4 | 2-3 hours morning sun, otherwise full shade/sheltered | First taste of direct sun. "Morning sun is less intense. Place them where they catch the early rays, then move back to shelter. I do this with my 'Marzano' tomato seedlings before they head to the greenhouse. What works here in Britain is never rushing this stage." |
| 5-6 | 4-5 hours morning/early afternoon sun, then sheltered | Increase sun exposure. "Gradually extend the time. Watch for wilting! If they look stressed, bring them in earlier. One mistake I made was pushing my 'Cayenne' pepper plants too hard here, and they just stalled for weeks." |
| 7-8 | Full day in the 'target' sunny spot, bring in at night | Practise for their final home. "Leave them out all day where they'll eventually be planted. Bring them indoors (greenhouse, shed, or frost-free porch) overnight, especially if nighttime temps are looking dodgy. Our British spring can be so unpredictable!" |
| 9-10 | Full day and night in the 'target' sunny spot | Overnight trial. "If no frost is forecast and night temps are stable (above 7-8°C for tender plants), leave them out overnight. Check them first thing in the morning for any distress. I always keep an eye on the Met Office for late frosts, particularly for my beloved 'Cherokee Purple' tomatoes." |
| 11-14 | Plant out! | Permanent planting. "Congratulations! Your plants are now hardened off and ready for their permanent home. Keep watering well after planting. I've found that this two-week process makes all the difference for robust growth in my 800 sq ft Midlands garden." |
Key Factors for Successful Acclimation: Light, Water, and Timing
While the step-by-step guide is crucial, understanding the why behind each action makes you a more intuitive gardener, capable of adapting to our famously unpredictable British weather. Over my years of growing everything from 'Patio Snacker' cucumbers to countless varieties of heirloom tomatoes, I've learned that it all boils down to managing three key factors: light, water, and timing.
Light: The Gentle Introduction
The biggest shock for nursery-grown plants is often the unfiltered intensity of the sun. Their leaves, grown under diffused light, lack the protective pigments and thicker cuticles needed to withstand direct UV radiation. Think of it like a pale tourist hitting a Mediterranean beach without sun cream – instant burn!
- Gradual Exposure is Paramount: As I mentioned in the hardening off guide, start with full shade and slowly increase direct sun exposure. I often start them in the dappled shade of my potting shed or under the north-facing wall of my house, moving them to an east-facing spot for a few hours, then eventually to their final, full-sun position.
- Morning vs. Afternoon Sun: Remember that morning sun (before 11 am) is generally less intense and cooler than afternoon sun (1 pm onwards). If you have a choice, introduce plants to morning sun first. My 'Sungold' tomato seedlings always get their first taste of the real world via the gentle east-facing aspect of my house.
- Observational Skills: Look at your plants. Are the leaves turning pale, yellowing, or developing brown, crispy patches? That's sunburn. If you see it, move them back to a shadier spot for a day or two and try again with less exposure. I've had to pull back my 'Romanesco' courgette plants a few times when I've misjudged the intensity of a spring day.
Water: Teaching Independence
Nursery plants are like well-fed toddlers – they've had constant access to moisture. Your garden, however, demands a bit more independence. During acclimation, you're not just preparing them for the sun; you're also training their root systems to cope with less frequent, but deeper, watering.
- Consistent Moisture, Not Soggy: While hardening off, keep the compost consistently moist but not waterlogged. Check the pots daily, especially on warmer or windier days, as small pots dry out incredibly quickly. I always stick my finger an inch or two into the compost to check before watering.
- Deep Watering: When you do water, water thoroughly until it drains from the bottom of the pot. This encourages roots to grow downwards, seeking out moisture, rather than staying shallow. This is crucial for their long-term success once planted in your raised beds.
- Wind and Water Loss: Our British winds, even light breezes, can dramatically increase water evaporation from both the leaves and the compost. Be extra vigilant with watering on windy days. I've been caught out many times here in the Midlands when a sudden gust has turned my carefully watered pots bone dry within hours.
Timing: The Great British Variable
Timing is everything, especially when dealing with the glorious unpredictability of British weather. There's no fixed date to start hardening off; it depends entirely on your local conditions and the specific plant.
- Know Your Frost Dates: This is non-negotiable. For tender plants like my greenhouse tomatoes, peppers, and basil, I never even think about leaving them out overnight until all risk of frost has passed in my specific area of the Midlands, which is usually mid-May. Even then, I keep an eye on the overnight forecast for any unexpected dips.
- Observe the Weather: Don't just follow a calendar; follow the weather. If a cold snap, heavy rain, or strong winds are forecast, adjust your hardening-off schedule accordingly. Bring plants back inside or into a more sheltered spot. I've become quite obsessive about checking multiple weather apps!
- Listen to Your Plants: They will tell you if they're struggling. Wilting, discolouration, or stunted growth are all signs they need a step back. A slower, more cautious approach almost always yields better results than rushing. I learned this the hard way with some 'Black Beauty' courgette seedlings; I thought they'd be fine after a week, but a sudden cold spell sent them into a complete sulk.
By paying close attention to these three factors – carefully managing light exposure, optimising your watering regime, and patiently adapting to our unique UK climate – you'll ensure your 'full sun' plants not only survive but truly flourish in your garden. It’s a bit more effort upfront, but the reward of healthy, vigorous plants is absolutely worth it.
Identifying and Recovering from Sunburn & Transplant Shock
Right, so you've done your best with the hardening off, you've tried to be patient, but sometimes, despite our best efforts here in the unpredictable UK climate, things don't go exactly to plan. I’ve certainly been there, staring glumly at a plant I’d babied for weeks, only for it to throw a tantrum when it hit the real world. Knowing what to look for and how to react can make all the difference between a temporary setback and a permanent loss.
Spotting the Signs: Sunburn vs. Transplant Shock
First off, let's distinguish between the two. Sunburn is usually quite distinct. You'll see discoloured patches on the leaves – often white, yellow, or even brown and crispy, especially on the top leaves that got the most direct hit. It looks a bit like the plant literally got scorched. I've had this happen to young basil seedlings I thought were tough enough, only to find them with crisp, white edges after just one unseasonably sunny spring day in my Midlands garden.

Transplant shock, on the other hand, is more of a general 'unhappiness'. The plant might wilt, even if the soil is moist. Its growth could stunt, leaves might droop or even drop off, and it just generally looks a bit sad and sorry for itself. It’s the plant equivalent of a teenager refusing to leave their bedroom after a big move. I've seen this particularly with larger, more established shrubs I've tried to move – the root disturbance just knocks them for six, even if the light conditions were fine.
My Recovery Playbook: Getting Them Back on Track
If you spot sunburn, the absolute first thing to do is get that plant into some immediate shade. If it’s in a pot, move it under a tree, a patio umbrella, or even into a cooler, shadier spot in your greenhouse for a few days. If it's already in the ground, I’ve used everything from old net curtains draped over stakes, to a strategically placed garden chair, or purpose-built shade cloth to give it a reprieve. Don't fertilise it; the plant is stressed, and extra nutrients will just overwhelm it. Focus on consistent, gentle watering to help it recover. The damaged leaves probably won't recover, but new, healthier growth should emerge once it’s happier.
For transplant shock, patience is your biggest ally. Resist the urge to overwater, which can lead to root rot. Instead, ensure the soil is consistently moist but not waterlogged. I often give a struggling plant a dose of liquid seaweed extract – it’s a brilliant tonic for stress, packed with micronutrients and growth hormones that really help roots establish. I've seen 'Cherokee Purple' tomato plants, which can be a bit dramatic even in my greenhouse, perk up significantly after a week or so of gentle care and a seaweed feed. Again, avoid any harsh fertilisers until the plant shows clear signs of recovery. Just give it time to settle its roots and adjust to its new home.
The key I’ve learned in my 5+ years of intensive UK gardening is that prevention through proper acclimation is always easier than cure. But when things do go wrong, a quick diagnosis and calm, gentle intervention can often save the day.
Post-Acclimation Care: Ensuring Long-Term Success in Your Garden
So, your plants have successfully navigated the tricky waters of acclimation and are now happily settled in their sunny spots. Excellent work! But the journey doesn't end there. To truly thrive and become the garden superstars you envision, these 'full sun' perennials and shrubs need ongoing, thoughtful care. Here in the UK, especially in the Midlands where our weather can be so wonderfully varied, consistent post-acclimation care is crucial.
Watering: The Lifeline for Established Plants
Even once established, 'full sun' plants need consistent watering, particularly during dry spells or their first season in the ground. My raised beds, for example, tend to dry out much faster than ground-level beds, so I'm always mindful of that. Deep, infrequent watering is generally better than shallow, frequent sprinkles – it encourages roots to grow deeper, making the plant more resilient to drought. I aim to give them a good soak once or twice a week if there’s no rain, checking the soil moisture about an inch or two down. Don't rely solely on British rain showers; sometimes they're just not enough!
Feeding: Fueling Growth Without Overdoing It
After the initial transplant, I usually hold off on feeding for about three to four weeks. The plant needs to focus its energy on root establishment, not pushing out a flush of new growth that a high-nitrogen feed would encourage. Once they're showing good signs of new growth, I'll introduce a balanced, slow-release organic feed. For my vegetables like 'Sungold' tomatoes in the greenhouse or my 'Purple Sprouting Broccoli' out in the raised beds, I switch to a more fruiting/flowering specific feed once they start setting fruit or buds. For perennials and shrubs, a general-purpose granular feed in spring often does the trick for the whole season, topped up with some homemade compost.
Mulching: My Secret Weapon Against British Weather
Mulching is absolutely non-negotiable in my garden, especially for plants in full sun. A good 2-3 inch layer of organic mulch – compost, straw, wood chips – around the base of your plants does wonders. It helps retain soil moisture, which is a lifesaver during our often-dry summers, especially with our clay soils here in the Midlands. It also suppresses weeds, saving me precious time, and helps regulate soil temperature, keeping roots cooler on scorching days and warmer on chilly nights. Plus, as it breaks down, it slowly adds nutrients back into the soil, feeding those hungry plants. I swear by a good compost mulch for my 'English Lavender' and perennial salvias – they just adore it.
Support & Ongoing Monitoring: Keeping an Eye Out
For taller perennials or flowering shrubs that might flop in a strong British breeze (or under the weight of their own blooms!), providing support early is key. I use simple bamboo canes for my taller delphiniums and sometimes even for my more vigorous 'Astraea' cosmos.
Finally, just keep observing your plants. They're living things, and they'll tell you what they need. Look out for signs of nutrient deficiencies, pest attacks, or disease. The quicker you spot an issue, the easier it is to remedy. My 800 sq ft garden is a constant experiment, and I've learned that regular walks around, cup of tea in hand, inspecting every leaf and stem, is the best form of post-acclimation care there is. It’s all part of the joy, isn’t it?
Conclusion: A Gentle Transition for Thriving, Sun-Loving Plants
Well, there we have it, fellow gardeners! We've navigated the sometimes-tricky path from nursery pot to thriving garden bed for those glorious 'full sun' plants. My 5+ years of intensive UK gardening, particularly here in the Midlands with our wonderfully varied (read: often unpredictable!) British weather, has really hammered home one crucial lesson: patience and observation are your most powerful tools.
We've explored why that 'full sun' label from the nursery isn't always what it seems, and how a gradual hardening-off process is absolutely essential. From understanding the nuances of light exposure and watering during acclimation, to knowing how to spot and recover from the dreaded sunburn or transplant shock, we've covered the crucial steps. And remember, the care doesn't stop once they're in the ground; consistent watering, thoughtful feeding, and the magic of mulch are all part of ensuring their long-term success in your garden.
I've made my share of mistakes along the way, believe me. I've scorched plants, left others to wilt, and rushed the process more times than I care to admit. But each time, I’ve learned, adapted, and refined my approach for our specific UK conditions. What works for me in my 800 sq ft backyard, from my heirloom tomatoes in the greenhouse to my hardy herbs in the raised beds, all boils down to respecting the plant's journey and giving it the gentlest possible start.
So, the next time you bring home a new 'full sun' perennial or shrub, take a deep breath. Don’t rush it. Give it the time and consideration it needs to adapt to your garden’s unique microclimate. You'll be rewarded with stronger, healthier plants that are truly ready to soak up every glorious ray of British sunshine (when it eventually decides to grace us with its presence!).
Happy gardening, and here’s to many years of thriving, sun-loving plants in your very own corner of the UK!
