Introduction: Safeguarding Young Trees and Shrubs from Girdling Damage
There's nothing quite like the satisfaction of planting a new tree or shrub in your garden, is there? I remember the thrill of putting in my first 'Discovery' apple tree (a fantastic choice for us here in the UK Midlands, by the way) and a couple of young ornamental cherry laurels to screen a fence. You nurture them, water them, watch them put out new leaves, dreaming of future harvests or vibrant blooms. But amidst all that care, there's a silent, often unseen threat lurking that can undo all your hard work: trunk girdling.
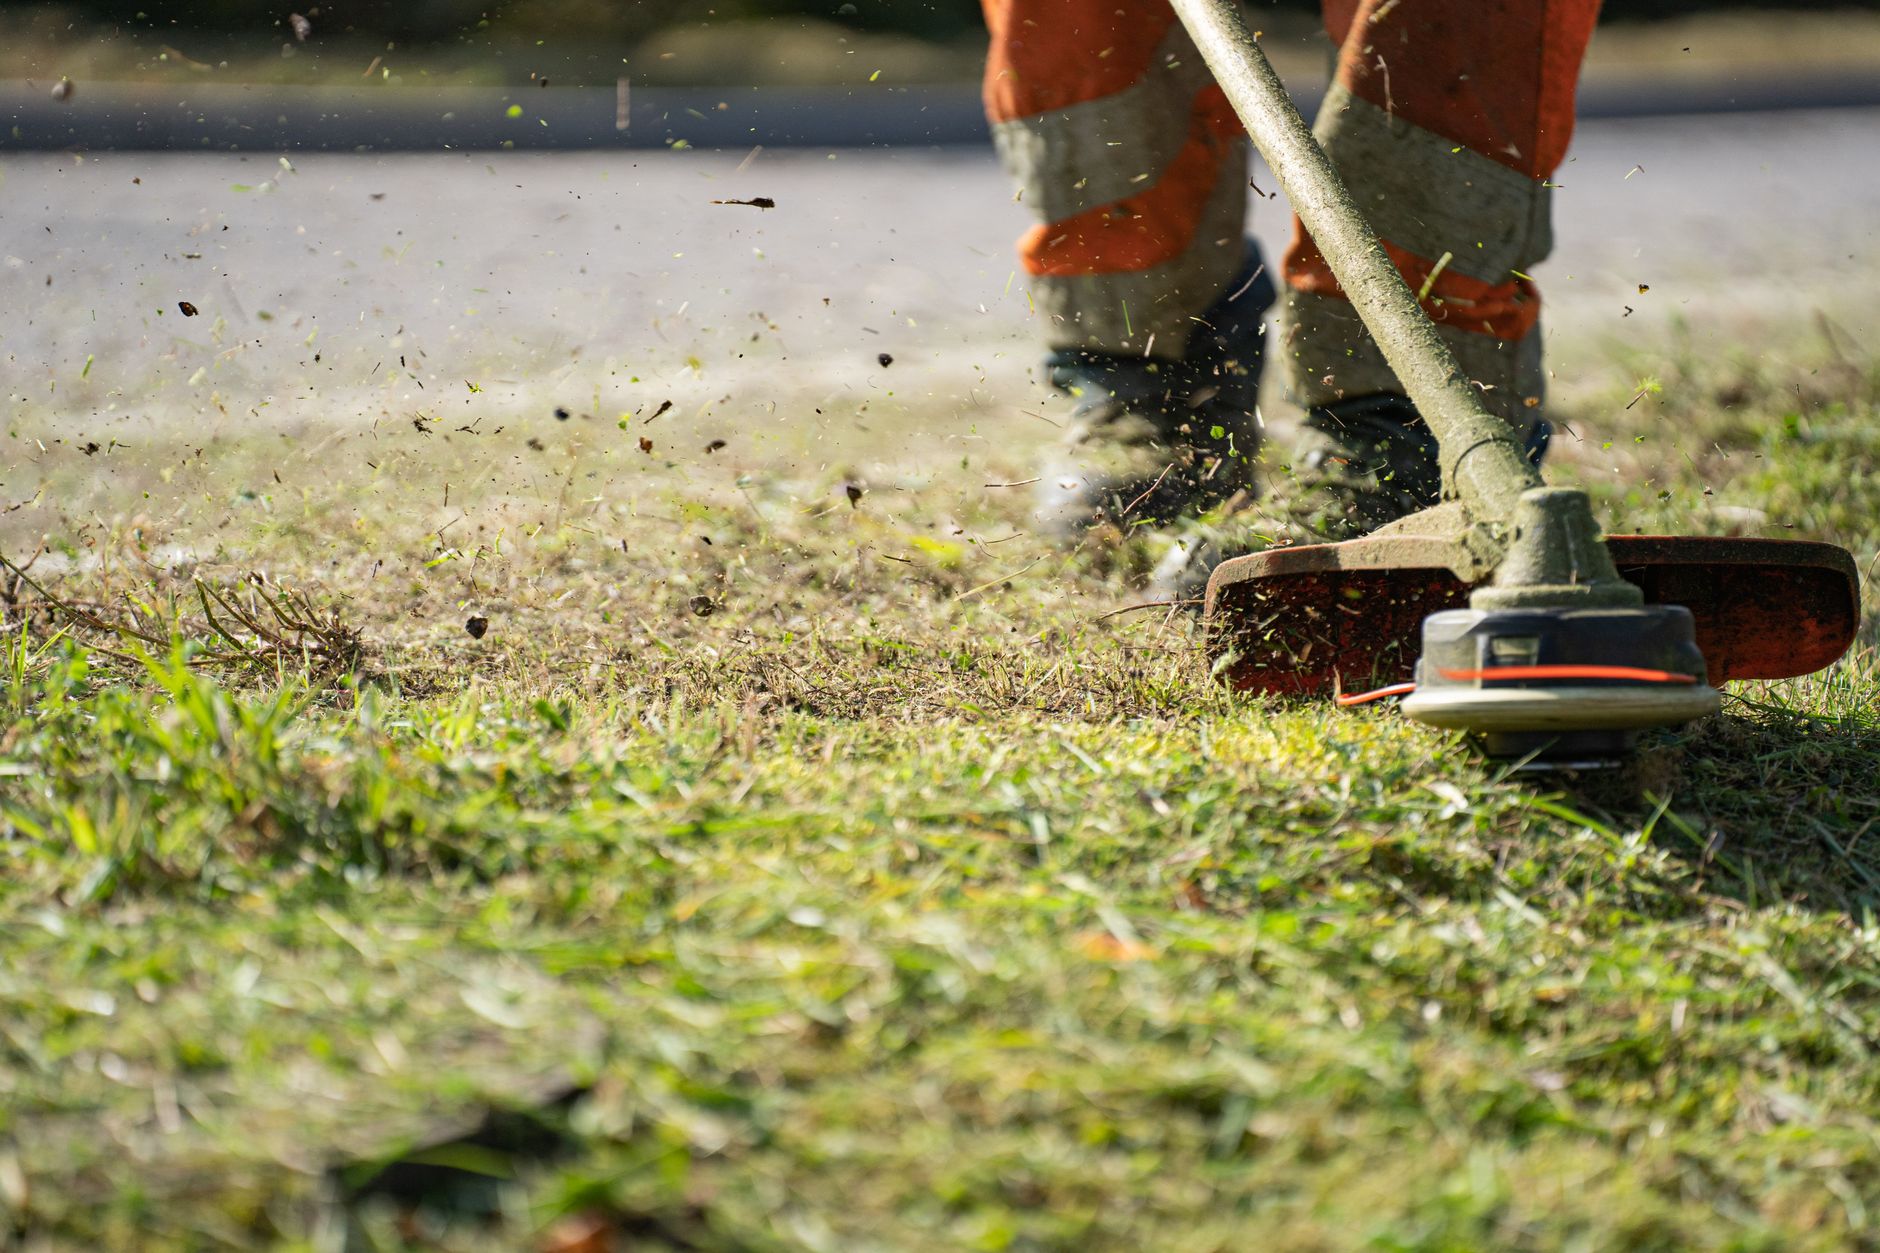
I've learned this the hard way over my five-plus years of intensive gardening, often through the very tools we use to keep our gardens tidy. That whirring string trimmer or the wheels of a lawnmower, while essential for keeping the grass neat, can be absolute assassins for young tree and shrub trunks. Here in my 800 sq ft backyard, packed with raised beds and my beloved greenhouse, every inch counts, and protecting these long-term investments is paramount. I've seen the damage, felt the frustration, and spent seasons perfecting simple, effective strategies to ensure my young plants don't fall victim to accidental nicks and scrapes. This guide isn't just theory; it's what I've tried, tested, and rely on in my own British garden to give those precious trunks the protection they deserve. Let's dig in and make sure your green investments thrive for years to come!
Understanding Trunk Girdling: Why Mowers and Trimmers Are a Silent Threat
So, what exactly is trunk girdling, and why is it such a big deal? Imagine your tree's trunk as its lifeline, a sophisticated network of pipes carrying water and nutrients up from the roots to the leaves, and sugars (the plant's food) down from the leaves to the roots. This critical transport system, called the phloem and xylem, sits just beneath the bark.
Girdling happens when something removes a complete ring of this bark and the underlying tissues around the circumference of the trunk. Typically, the culprits in our gardens are often our own tools: a quick swipe with a string trimmer that gets too close, or a lawnmower wheel nudging against a delicate trunk. In my early days, I almost made this mistake with a young elderflower bush I’d planted near the lawn edge – a close call that taught me a valuable lesson. The damage often looks minor at first, just a scrape, but it severs those vital "pipes." The tree might look fine for a while, perhaps even for a whole season, because water can still travel up through the inner xylem. However, the phloem, which transports sugars down to the roots, is destroyed. Without that food supply, the roots slowly starve and die, and eventually, the entire tree or shrub collapses. It's a slow, insidious death, and by the time you notice the plant declining, it's often too late.

I've seen it happen to neighbours' plants and heard countless stories at our local gardening club here in the Midlands. It's heartbreaking to lose a well-established plant to such a preventable injury. That's why being proactive is so crucial – a little effort now can save you a lot of heartache (and money!) down the line.
Establishing Protective Mulch Rings: Your First Line of Defence
When I'm planting a new tree or shrub in my UK garden, especially those that will be near a lawn, the very first thing I do after it's in the ground is establish a protective mulch ring. This isn't just about aesthetics; it's a multi-purpose barrier that acts as your primary defence against those rogue mowers and trimmers. It effectively creates a 'no-mow' zone around the trunk, keeping dangerous machinery well clear.
Beyond protection, a properly installed mulch ring offers a host of benefits that are particularly valuable in our often-unpredictable British climate. It helps suppress weeds (less competition for your young plant!), retains soil moisture during those dry summer spells we occasionally get, and insulates roots from temperature extremes – think frosty Midlands winters or scorching heatwaves. Plus, as organic mulches break down, they slowly enrich the soil, which is always a bonus for hungry young plants.
One mistake I made early on was creating what's affectionately known as a "mulch volcano" – piling it up against the trunk. This is a big no-no! It can trap moisture, encourage fungal diseases, and even invite pests. What works here in Britain, and what I always do, is create a donut shape: apply 5-10 cm (2-4 inches) of mulch in a ring, starting a few inches away from the trunk and extending out to the drip line (or at least 60-90 cm / 2-3 feet in diameter for young trees). This ensures good air circulation around the trunk.
I typically refresh my mulch rings every spring, topping them up to maintain that protective depth. In my garden, I've experimented with various types, and each has its pros and cons, especially considering our damp climate where slugs can be a nuisance under certain materials.
Comparing Mulch Types for UK Trees and Shrubs
| Mulch Type | Pros (Randy's UK Experience) | Cons (Randy's UK Experience) | Ideal Use (Randy's UK Garden) |
|---|---|---|---|
| Wood Chips | Excellent weed suppression, breaks down slowly, great value for money (often from local arborists). My go-to for most trees. | Can look a bit rustic for some formal areas. Might acidify soil slightly over a long time. | My fruit trees (apple, plum, pear) and larger ornamental shrubs. |
| Bark Mulch | Aesthetically pleasing, good moisture retention, readily available in UK garden centres. | More expensive than wood chips. Can blow away in windy Midlands weather if not coarse enough. | My more visible front garden shrubs or around my Acer palmatum for a tidier look. |
| Compost | Nutrient-rich, improves soil structure, great for feeding hungry plants. | Breaks down quickly, so needs frequent topping up. Can attract slugs in damp UK conditions. | Around younger, nutrient-demanding shrubs or roses, often topped with a coarser mulch. |
| Gravel/Stone | Permanent protection, low maintenance, good for drainage. | Doesn't add organic matter to soil. Can heat up soil, which isn't always ideal. | I generally avoid this for young trees; prefer organic mulches for soil health. |
| Leaf Mould | Fantastic for soil health, free if you collect leaves, excellent moisture retention. | Breaks down quickly. Can be messy if not fully decomposed. Slugs love it! | Under my berry bushes, often with a layer of wood chips on top to deter slugs. |
Remember, the goal is a clear buffer zone around the trunk. I've found that a well-maintained mulch ring is not only effective but also makes the whole area look tidier and more intentional. It's a win-win for protecting your plants and enhancing your garden's aesthetic.

Choosing and Installing Physical Barriers: Tree Guards for Added Security
While a good mulch ring is your first line of defence, sometimes you need an extra layer of protection, especially for very young, vulnerable trees or in areas where string trimmers are used frequently and aggressively. This is where physical tree guards come in. I’ve used them for my young fruit trees, particularly when they were first planted, and for some of my more delicate ornamental shrubs. They offer a direct physical shield against accidental damage from machinery, but also from rodents and even rabbits, which can be a problem in some rural UK areas (though less so in my suburban Midlands patch, thankfully).
The key with any tree guard is to ensure it doesn't do more harm than good. It needs to protect the trunk without constricting growth, rubbing the bark, or trapping excessive moisture and heat, which can be an issue in our humid British summers. I've seen guards left on too long that have actually started to girdle the tree themselves – an ironic and frustrating outcome! Regularly checking the guards, especially as the tree grows or after strong winds, is non-negotiable.
I've tried a few different types over the years. My main aim is always to prevent direct impact, allow for good air circulation, and ensure the guard isn't going to become a trap for pests or moisture.
Comparing Tree Guard Types for UK Gardeners
| Guard Type | Pros (Randy's UK Experience) | Cons (Randy's UK Experience) | Ideal Use (Randy's UK Garden) |
|---|---|---|---|
| Plastic Spiral Guards | Inexpensive, easy to install, good for small-diameter trunks, provides some frost protection. | Can rub if not fitted loosely enough, traps moisture/pests if not checked, doesn't allow air circulation. | Very young, whip-like fruit trees (e.g., my 'Conference' pear) for the first year or two. |
| Mesh/Netting Guards | Excellent air circulation, adaptable to various trunk sizes, good protection from rodents/rabbits. | Can be a bit flimsy, might need staking, can be harder to install neatly. | Larger young trees or shrubs where good airflow is critical. My young 'Victoria' plum tree. |
| Ventilated Rigid Plastic Tubes | Robust protection, good airflow due to perforations, lasts longer than spirals. | More expensive, can look less natural, needs to be wider than the trunk for growth. | For valuable specimen trees or in high-traffic areas where impact is likely. |
| DIY Wire Mesh Cylinders | Highly customisable, very sturdy, excellent airflow, can be made from recycled materials. | Requires tools and effort to make, can look industrial if not done well. | When I need a specific size or shape, or for larger shrubs. (e.g., protecting my 'Ribes nigrum' from curious kids!) |
When installing, always make sure there's enough room for the trunk to grow. I usually aim for a guard that's several inches wider than the trunk's current diameter. For spirals, I make sure they're loose enough to spin freely. For mesh or rigid tubes, I secure them with a stake pushed outside the mulch ring, making sure the guard itself isn't touching the trunk. The guard should extend high enough to protect against mower decks and trimmer lines, typically 30-60 cm (1-2 feet) from the ground, but also allow lower branches to emerge freely.
Regular inspection is vital. I always check my guards a few times a season, especially after a growth spurt or a period of strong winds, to ensure they haven't shifted, aren't rubbing, and aren't harbouring any unwanted guests. With the right mulch ring and a carefully chosen guard, your young trees and shrubs will have a much better chance of growing into the magnificent specimens you envisioned for your UK garden.
Implementing Permanent Edging Solutions for Long-Term Protection
Right, so we've got our mulch rings down and some sturdy tree guards in place – brilliant! But if you're like me, constantly battling the urge to get that perfect lawn edge or just want an extra layer of peace of mind, then permanent edging is the next logical step. I've found that a well-defined border not only looks fantastic in my 800 sq ft Midlands garden, but it also creates an undeniable physical barrier that screams, "Stay away!" to my lawnmower and string trimmer.
When I first started out, I tried some of those flimsy plastic strips you just push into the ground. What a mistake that was! After one British winter with our notorious frosts and thaws, they were cracked, lifted, and pretty much useless. I learned quickly that if you're going for "permanent," you really need to go for it. It's an investment in time and often a bit of cash, but the long-term benefits for your trees and shrubs, and frankly, your back, are undeniable. I now have proper edging around most of my fruit trees and larger shrubs, and it's made a huge difference to how I approach lawn maintenance.
Here's a quick rundown of some of the best permanent edging options I’ve explored and used in my UK garden:
| Material Type | Pros (UK Context) | Cons (UK Context) | Randy's Personal Experience |
|---|---|---|---|
| Brick/Stone | Incredibly durable, classic aesthetic, excellent physical barrier, withstands UK weather. | Labour-intensive to install, can be expensive for good quality, requires a solid foundation. | I've used reclaimed bricks around my greenhouse and a couple of my smaller apple trees (like the 'Discovery' I planted three years ago). It looks fantastic, handles our damp Midlands climate brilliantly, but it was a proper weekend project to get it level. Worth it for the traditional look! |
| Metal (Steel/Aluminium) | Sleek, modern, virtually invisible if installed correctly, very strong, minimal maintenance. | Can be pricey, requires precise installation, edges can be sharp if not careful. | I’ve got some thin, galvanised steel edging around my herb patch and a young ornamental cherry ('Prunus Kanzan'). It gives a really crisp line and doesn’t impede root growth, plus it’s tough enough for our British weather. Just be careful handling the edges during installation! |
| Recycled Plastic/Rubber | Environmentally friendly, flexible for curves, relatively easy to install, won't rot. | Can sometimes lift over time with frost heave, cheaper versions can fade or crack in strong sun. | I used some heavy-duty recycled plastic edging for a curved border around a group of rhododendrons. It’s been surprisingly robust, though I did make sure to dig a decent trench and backfill properly. Avoid the really cheap stuff – it won't last a season here in the UK. |
| Treated Timber | Natural, rustic look, relatively affordable, easy to work with. | Requires regular treatment against rot, can still degrade over many years in damp UK conditions. | I initially used some pressure-treated timber around my raspberry canes. It looked great to start with, but even with treatment, I found it started to show signs of rot after about four years with our constant rain. I've since replaced it with brick. Good for a temporary fix or if you don't mind maintenance. |
When installing any of these, the key is preparation. Dig a neat trench, ensure it’s level, and backfill properly. For bricks or stones, a solid sand or concrete base will prevent shifting. For metal and plastic, burying a good portion of the edging (at least 2-3 inches) will keep it stable. I’ve learned that a bit of extra effort at the installation stage saves a world of pain down the line, especially when dealing with our unpredictable British weather cycles that love to test any weakness in your garden infrastructure!

Best Practices: Mowing and Trimming Safely Around Your Valued Plants
Okay, so you've put in the hard graft with mulch, guards, and maybe even some swanky new edging. Fantastic! But all that effort can be undone in a split second by a moment of carelessness with the mower or trimmer. Trust me, I've had my heart in my mouth more times than I care to admit, especially in my early days when I was still finding my feet with garden machinery. One particularly close shave involved a newly planted 'Conference' pear tree and a moment of distraction – luckily, the tree guard saved its bacon!
What I've learned from my five years of intensive UK gardening is that a little bit of mindfulness goes a long, long way. Here are my tried-and-tested best practices for keeping your precious plants safe when you're tidying up the lawn:
Plan Your Attack
Before you even pull the starter cord on the mower, take a quick walk around your garden. Identify all your young trees and shrubs. Check that their mulch rings are intact, guards are secure, and any edging is doing its job. This quick mental check-in helps me focus and reminds me where the danger zones are. Especially here in the Midlands, with our often damp grass, it's easy to lose traction or slip, so knowing your obstacles is vital.
Mow with Caution
- Keep Your Distance: This is the golden rule. Never try to get your mower blades right up to the trunk. The mulch ring and edging are there to create a buffer. I always aim to keep at least a 6-inch gap between my mower deck and the outer edge of any protection.
- Mow Away, Not Towards: When approaching a tree or shrub, always mow in a direction that pulls the mower away from the plant, rather than pushing it towards it. This reduces the risk of accidentally swerving into the trunk.
- Adjust Mower Height: For areas very close to your protected zones, consider raising your mower deck slightly. A higher cut blade is less likely to accidentally snag on a tree guard or low-hanging branch.
Master the Trimmer
The string trimmer (or strimmer, as we often call it here in the UK!) is probably the most dangerous tool for girdling damage. Its spinning nylon line is incredibly effective at stripping bark.
- Go Manual Where Possible: For very delicate young plants, or in tight spots, I honestly advocate for putting down the strimmer and picking up some hand shears. It's slower, yes, but it offers absolute precision and zero risk of trunk damage. I often do this around my greenhouse, where my prized 'Sungold' tomato plants are often close to the lawn edge.
- Use a Shield or Guard: Many strimmers come with a small plastic guard to prevent debris kickback. Ensure this is always in place. Even better, some models have specific edging wheels or guards designed to keep the line away from vertical surfaces.
- Trim Away from the Trunk: Just like with the mower, always direct the cutting line away from the tree or shrub.
- Gentle Touch: Don't go at it like you're clearing a jungle. Use a light touch, letting just the tip of the line do the work. Keep the trimmer head parallel to the ground, not angled towards the trunk.
- Lower RPMs: If your strimmer has variable speed, use a lower setting around delicate plants. Less power means less potential for damage.
The Randy Thompson Rule: Don't Rush It!
Honestly, the biggest cause of accidents in my garden has been trying to get the job done too quickly. Whether it’s rushing to get the lawn cut before the inevitable British rain starts or just wanting to finish up for a cup of tea, haste leads to mistakes. Take your time, be methodical, and treat each plant like the valuable investment it is. After all, a healthy, thriving tree is a long-term joy, something I've truly come to appreciate in my own gardening journey here in the Midlands.

Conclusion: Cultivating a Girdle-Free Garden for Thriving Trees and Shrubs
Well, there you have it, fellow gardeners! We've covered a lot of ground today, from understanding the silent threat of girdling to implementing a comprehensive defence strategy for your precious trees and shrubs. As someone who poured five years of passion and countless hours into transforming my 800 sq ft backyard into the vibrant space it is today, I can tell you firsthand that protecting your plants is not just a chore – it's an investment in the future beauty and bounty of your garden.
I’ve made my share of mistakes along the way, learning the hard way about flimsy edging in our British winters and the perils of a rushed strimming job. But those lessons have only deepened my appreciation for proactive care. The joy of seeing a young 'Victoria' plum tree that I planted two years ago now laden with fruit, or the sturdy trunk of my 'Discovery' apple tree that’s never known the harsh bite of a strimmer, makes every bit of effort worthwhile.
Remember, the core message is simple: Protect the trunk, protect the tree.
We've explored the three pillars of defence:
- Establishing Protective Mulch Rings: Your natural, nutrient-rich shield that also keeps weeds at bay.
- Choosing and Installing Physical Barriers: Tree guards that stand vigilant against direct impact.
- Implementing Permanent Edging Solutions: The long-term, defined boundary that simplifies maintenance.
And, of course, underpinning all of this is Best Practices for Mowing and Trimming Safely. A mindful approach with your garden machinery is the final, crucial piece of the puzzle. It’s about cultivating good habits and respecting the plants you've nurtured.
Gardening here in the UK, with our often-unpredictable climate, is a constant learning curve. But by taking these preventative steps, you’re giving your young trees and shrubs the very best start, allowing them to grow strong, healthy, and girdle-free for years to come. Imagine the shade they'll provide, the fruit they'll bear, and the beauty they'll add to your little patch of Britain.
So, go on, take a look at your garden. Identify those vulnerable young plants. Grab some mulch, fit a guard, or plan that permanent edging. Your future self, and your thriving trees, will absolutely thank you for it. Happy gardening, and may your trunks always be healthy!
