Reviving Your Mophead: A Multi-Year Pruning Guide for Abundant UK Blooms
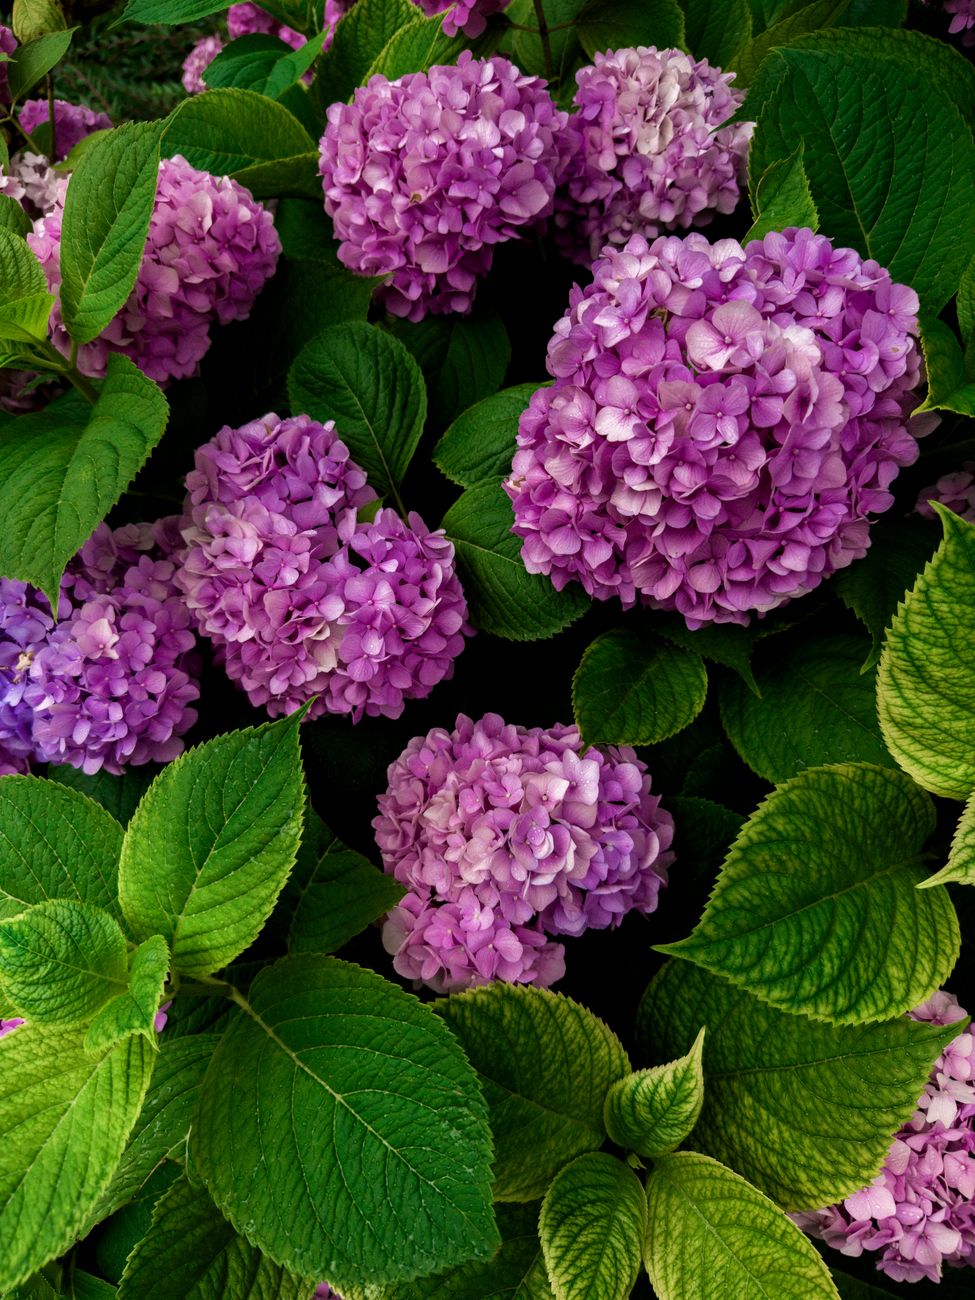
There’s nothing quite like the sight of a glorious mophead hydrangea, absolutely smothered in those big, blousy blooms, is there? Here in my 800 sq ft Midlands garden, they’re a real showstopper. But let’s be honest, sometimes these beauties can get a bit... unruly. We’ve all seen them: the massive, woody monsters lurking in a forgotten corner, perhaps inherited with a new house, or maybe just a plant that’s been left to its own devices for a few too many years. They grow huge, they get leggy, and worst of all, they stop flowering. It’s a sad sight, and for a passionate gardener like me, it’s a challenge I just can’t resist.
When I first started gardening five years ago, after swapping my IT screen for secateurs, I inherited a colossal 'Madame Emile Mouillère' in my garden, which was more woody thicket than flowering shrub. It was completely overgrown, probably hadn't bloomed properly in a decade, and frankly, it looked like it was giving up the ghost. My initial thought was to just hack it back hard, but then I panicked – what if I lost all its potential for flowers for a year or two? That's when I started researching and experimenting, trying to find a way to bring it back to life without sacrificing a whole season of those iconic British summer blooms.
What I've learned, through plenty of trial and error (and a few mistakes with our notoriously fickle British weather!), is that rejuvenating an overgrown, non-blooming mophead hydrangea doesn't have to mean a year of flowerless disappointment. Instead, it’s about a strategic, multi-year pruning plan. This isn't a quick fix, but it's a reliable route to abundant flowers, year after year, even here in the UK where late frosts can be a real pain. I'm going to share exactly what I did in my own UK garden, the lessons I learned, and how you can apply this tried-and-tested method to get your own mophead back to its blooming best. Get ready to transform that woody beast into a floral marvel!
Diagnosing the Problem: Why Isn't Your Mophead Hydrangea Blooming?
Before we even think about picking up a pair of secateurs, we need to play detective. Why isn’t your mophead hydrangea blooming? It’s a question I’ve asked myself many times, usually while staring intently at a stubbornly green bush, muttering about wasted space. Back when I was a novice, I once blamed a lack of flowers on the soil pH, only to realise much later that I'd pruned off all the flower buds the previous autumn because I didn't understand how mopheads bloom! Trust me, it’s a common mistake here in the UK.
Mophead hydrangeas (which are Hydrangea macrophylla for the botanically curious among us) primarily bloom on old wood. This means the flower buds for the coming summer are formed on the stems that grew the previous year. If those stems, and their precious buds, are damaged or removed, you simply won't get flowers. It sounds obvious now, but it’s a crucial piece of information, especially with our unpredictable British climate. Late spring frosts in April or May, after the buds have started to swell, can be devastating.
Beyond incorrect pruning, there are several other culprits I’ve encountered in my Midlands garden. Sometimes it’s too much shade; other times, oddly enough, too much sun in a particularly scorching summer can stress them out. Soil nutrient deficiencies, lack of water during critical bud development, or even just an old, tired plant can all contribute. In my 800 sq ft garden, I’ve found that understanding why a plant isn't performing is half the battle. Here’s a quick rundown of common issues I've seen:
| Problem | Symptoms | Randy's Observation (UK Specific)
Year 1: Initial Rejuvenation Cuts for Overgrown Mophead Hydrangeas
Right, let's get our hands dirty and tackle that beast of a hydrangea. When I first moved into my place here in the Midlands, I had a neglected mophead 'Blue Wave' (or 'Marlesii' as it’s sometimes known) that hadn't seen a pair of secateurs in years. It was a tangled mess of thin, woody stems, barely a flower to be seen. This is where the bold first step comes in.
For a truly overgrown, non-blooming mophead, Year 1 is all about radical rejuvenation. The goal isn't to get loads of flowers this year – that's often unrealistic and you'll just be disappointed. Instead, we're aiming to create a strong, healthy framework that will support abundant blooms in the future. I usually tackle this in late winter, typically February or early March, just before new growth really kicks off but after the worst of the British frosts have hopefully passed. It gives the plant time to recover before the active growing season.
My strategy involves some pretty severe cuts. I start by removing all the dead, diseased, or damaged wood right back to the base. You'll know it's dead if it snaps easily and looks brittle inside. Then, I target the oldest, thickest, and least productive stems. These are usually greyish, gnarled, and have very few leafy shoots. I cut them right down to about 15-30cm (6-12 inches) from the ground, or even lower if they're particularly woody and unproductive. I aim to remove about a third of the total stems in this first year, focusing on those old, weak ones. This sounds drastic, I know, but it forces the plant to put energy into producing strong, new shoots from the base. It’s a bit like giving it a fresh start. You might not see many flowers from these cut stems this year, but the new growth is vital.
Here’s a look at how this rejuvenation pruning differs from standard annual maintenance:
| Feature | Year 1 Rejuvenation Pruning (Overgrown Mophead) | Standard Annual Maintenance Pruning (Established Mophead) |
|---|---|---|
| Timing | Late Winter (Feb-March in UK) | Early Spring (after last frost) or Late Summer (after flowering) |
| Goal | Stimulate new basal growth, restructure plant, improve vigour | Shape, deadhead, maintain health, encourage current year's blooms |
| Extent of Cuts | Severe – up to 1/3 of old, thick stems removed to near ground | Lighter – deadheading, removal of weak/crossing stems, shaping |
| Bloom Expectation | Reduced or no blooms in Year 1 from cut stems | Consistent blooms from previous year's wood |
| Focus | Long-term health and future bloom potential | Immediate aesthetic and current season's flowering |
Years 2 & 3: Shaping, Thinning, and Encouraging New Flower Buds
After that initial haircut in Year 1, Year 2 and 3 are all about refining the plant, encouraging new, strong stems, and setting it up for prolific flowering. The beauty of this multi-year approach is that you're not sacrificing all your blooms in a single season.
In Year 2, I'll revisit the plant in late winter, much like before. By now, you should have noticed a flush of vigorous new shoots coming up from the base where you made those rejuvenation cuts. These are your future flowering powerhouses! My focus now shifts to removing any remaining weak or crossing stems, and thinning out some of the older, less productive stems that you might have left in Year 1. I'll typically remove another quarter to a third of the oldest stems, again cutting them low to the ground. This gradually replaces the old wood with young, vigorous growth over time. I’m also looking to open up the centre of the plant for better air circulation, which is crucial here in our often damp UK climate to prevent fungal issues.
You might also have some stems that flowered well last year – these would be the ones you didn't cut back hard in Year 1. I usually deadhead these down to a strong pair of buds, or if the stem looks weak, I'll remove it entirely to encourage new growth from the base. I made the mistake once of being too timid in Year 2, leaving too many old stems, and the plant still looked a bit leggy. It taught me that consistency with the multi-year plan is key.
Year 3 follows a similar pattern to Year 2. By now, your hydrangea should be much more open, with a good mix of one, two, and three-year-old stems, all looking much healthier. Continue to remove the oldest, woodiest stems (another quarter to a third), any weak or spindly growth, and deadhead spent flowers. The goal is to maintain an open structure, ensure good light penetration, and continuously encourage that strong, new growth from the base that will give you those fantastic mophead blooms. You should start seeing a significant increase in flower production by Year 2, and by Year 3, it should be truly magnificent.
Ongoing Care and Avoiding Common Pruning Mistakes in the UK
Once your mophead hydrangea is rejuvenated and flowering beautifully, ongoing care is much simpler. It becomes a routine of light annual pruning to maintain its shape, health, and consistent flowering. I still do this in late winter/early spring here in the Midlands, before those new buds really start to swell.
My annual routine involves:
- Deadheading: Removing spent flower heads. I usually leave them on over winter as they offer a bit of protection to the buds below and look quite nice with a dusting of frost, but I snip them off in early spring just above a strong pair of buds.
- Removing dead, damaged, or diseased wood: This is a non-negotiable. Any stems that look sickly or broken should come out immediately, regardless of the time of year.
- Thinning: Removing a few of the oldest, woodiest stems right back to the base each year (no more than 1 in 4). This ensures continuous rejuvenation and prevents the plant from getting overcrowded and woody again.
- Shaping: Cutting back any overly long or crossing stems to maintain a nice, compact shape.
One of the biggest lessons I’ve learned in my five years of gardening is that timing is everything, especially with our notoriously unpredictable British weather. Pruning too early can expose new growth to late frosts, which can decimate your flower buds. Pruning too late can remove buds that were already set to flower. It’s a fine balance!
Here are some common pruning mistakes I've either made myself or seen others make in their UK gardens, and what I now recommend:
| Common Pruning Mistake (UK Context) | Randy's Recommended Practice (UK) |
|---|---|
| Pruning at the wrong time (e.g., autumn/early winter) | Prune in late winter/early spring (Feb-March) after severe frosts. |
| Removing all old wood in one go (Year 1) | Remove max 1/3 of oldest stems in Year 1 for rejuvenation. |
| Not removing dead/diseased wood regularly | Always remove dead/diseased stems promptly, year-round. |
| Cutting indiscriminately without observation | Observe stem age, health, and bud presence before cutting. |
| Using blunt or dirty tools | Always use sharp, clean secateurs to prevent damage and disease. |
| Not considering UK late frosts | Wait until the risk of hard frost has largely passed before major cuts. |
| Over-fertilising after severe pruning | Use a balanced slow-release fertiliser; avoid high nitrogen after severe cuts. |
That last point about fertiliser is crucial. After heavy pruning, the plant is focused on vegetative growth. Too much nitrogen will give you lush leaves but fewer flowers. I usually give mine a good mulch of my homemade compost in spring and a sprinkle of a balanced feed designed for shrubs.
Conclusion
Reviving an overgrown, non-blooming mophead hydrangea might seem like a daunting task, especially when you’re worried about losing a season of flowers. But as I've learned in my own 800 sq ft Midlands garden, with a strategic multi-year approach, patience, and a bit of nerve, it’s entirely achievable. My 'Blue Wave' hydrangea, once a sad, woody specimen, now provides a magnificent display of vibrant blue blooms every summer, even after some of our notoriously wet British Junes.
Remember, the key isn't a single magic bullet, but a phased approach: a bold rejuvenation in Year 1, followed by careful shaping and thinning in Years 2 and 3, and then consistent, thoughtful maintenance. You're not just hacking at a plant; you're understanding its growth habits and guiding it back to health and vitality. It’s a process that truly rewards your efforts with a burst of colour that can be the highlight of your summer garden.
Don't be afraid to make those initial cuts – I promise you, the plant is tougher than you think! It’s one of the most satisfying transformations you can witness in your garden. Have you tried rejuvenating an old hydrangea? I'd love to hear about your experiences and any tips you've picked up in your own UK gardens. Let's keep those mopheads blooming!
