Why Overgrown Plants Threaten Your UK Garden Fences: An Introduction
Alright, fellow green thumbs, let's talk fences. Now, I love a vigorous climber as much as the next gardener – there's nothing quite like a rambling rose, a cheerful clematis, or even a tenacious ivy bringing life and colour to a boundary. Here in my 800 sq ft Midlands garden, packed with raised beds and my beloved greenhouse, I've got a fair few fences, and believe me, I've learned the hard way that a plant's enthusiasm can quickly turn into a structural nightmare.
When I first started gardening five years ago, fresh from my IT days and utterly obsessed with turning my patch into a productive haven, I admittedly let a few things get out of hand. My beautiful 'Westerland' climbing rose, which I adore for its vibrant orange blooms, became a tangled beast, its thick woody stems pushing against a fence panel. And don't even get me started on the self-seeded ivy that crept over from a neighbour's plot – it looked charming initially, a lush green curtain, but it quickly started to feel less like a feature and more like a hostile takeover.
The truth is, while plants are incredible, they can be surprisingly destructive to our garden fences. It's not just the sheer weight of an overgrown plant, though that's a significant factor, especially after a good British downpour. The real insidious damage comes from moisture retention. Those dense layers of foliage and stems trap dampness against the wood, creating the perfect breeding ground for rot and mould. Plus, the constant pressure of growing stems and roots can literally push panels apart, crack posts, and even pry fixings loose. I've seen it firsthand in my own garden, particularly with a fence panel at the back that faces the prevailing winds – the added strain from an overgrown vine during a blustery UK winter nearly took the whole thing down.
This isn't about waging war on your beautiful plants; it's about respectful coexistence and protecting your investment. Replacing a fence panel here in the UK isn't cheap, and neither is replacing a mature, cherished plant you've spent years nurturing. In this guide, I'm going to walk you through exactly what I do in my garden to safely detach those enthusiastic growers, give them a much-needed haircut, and set them up for a healthier future that doesn't involve demolishing your boundary. We'll cover everything from spotting the early warning signs to hands-on detachment and strategic pruning, all with a focus on what works here in our sometimes-fickle British climate. So, grab a cuppa, and let's get our fences and plants back in harmony!
Your Toolkit & Initial Assessment: Spotting the Signs of Fence Damage
Before you dive in with secateurs blazing, a bit of careful observation and the right gear can save you a lot of hassle – and potential damage. I learned this the hard way when I tackled that runaway ivy. I just grabbed my hand pruners and started hacking, only to realise I needed something much more robust for the thicker stems, and I hadn't even properly looked at the fence structure itself. A classic beginner's mistake, and one I certainly won't be repeating.
Essential Toolkit for the UK Gardener
Here’s what I always have on hand when I’m about to do battle with an overgrown climber or shrub near my fences. I've found these tools to be invaluable for dealing with the varied growth you get in a British garden, from delicate tendrils to surprisingly thick woody stems.
- Bypass Secateurs: Your everyday workhorse. I swear by a good sharp pair for smaller stems and detailed work. Mine are always by my side.
- Loppers: For anything thicker than your thumb. Essential for woody stems that secateurs just can’t handle. I’ve got a pair with telescopic handles which are brilliant for reaching awkward spots without a ladder.
- Pruning Saw: For really thick, established woody stems – think older climbing roses, wisteria, or mature ivy. Don't try to force loppers or secateurs; you'll just dull them or strain yourself.
- Sturdy Gardening Gloves: Non-negotiable! Especially when dealing with roses, thorny shrubs, or anything that might give you splinters. I prefer leather ones for good protection.
- Safety Glasses: A must. Twigs can snap back, and you don't want anything flying into your eyes, especially if you're working overhead.
- Wire Cutters: Handy for old ties, trellising, or even just cutting through any stray wires that might be entangled.
- Strong Twine or Garden Ties: For temporarily securing detached plants or for future training.
- Sturdy Step Ladder: Crucial for safe access to higher sections of the fence and plant. Always ensure it's on stable, level ground – our British lawns can be notoriously uneven!
- Wheelbarrow or Tarp: For collecting all the pruned material. Trust me, it piles up quickly!
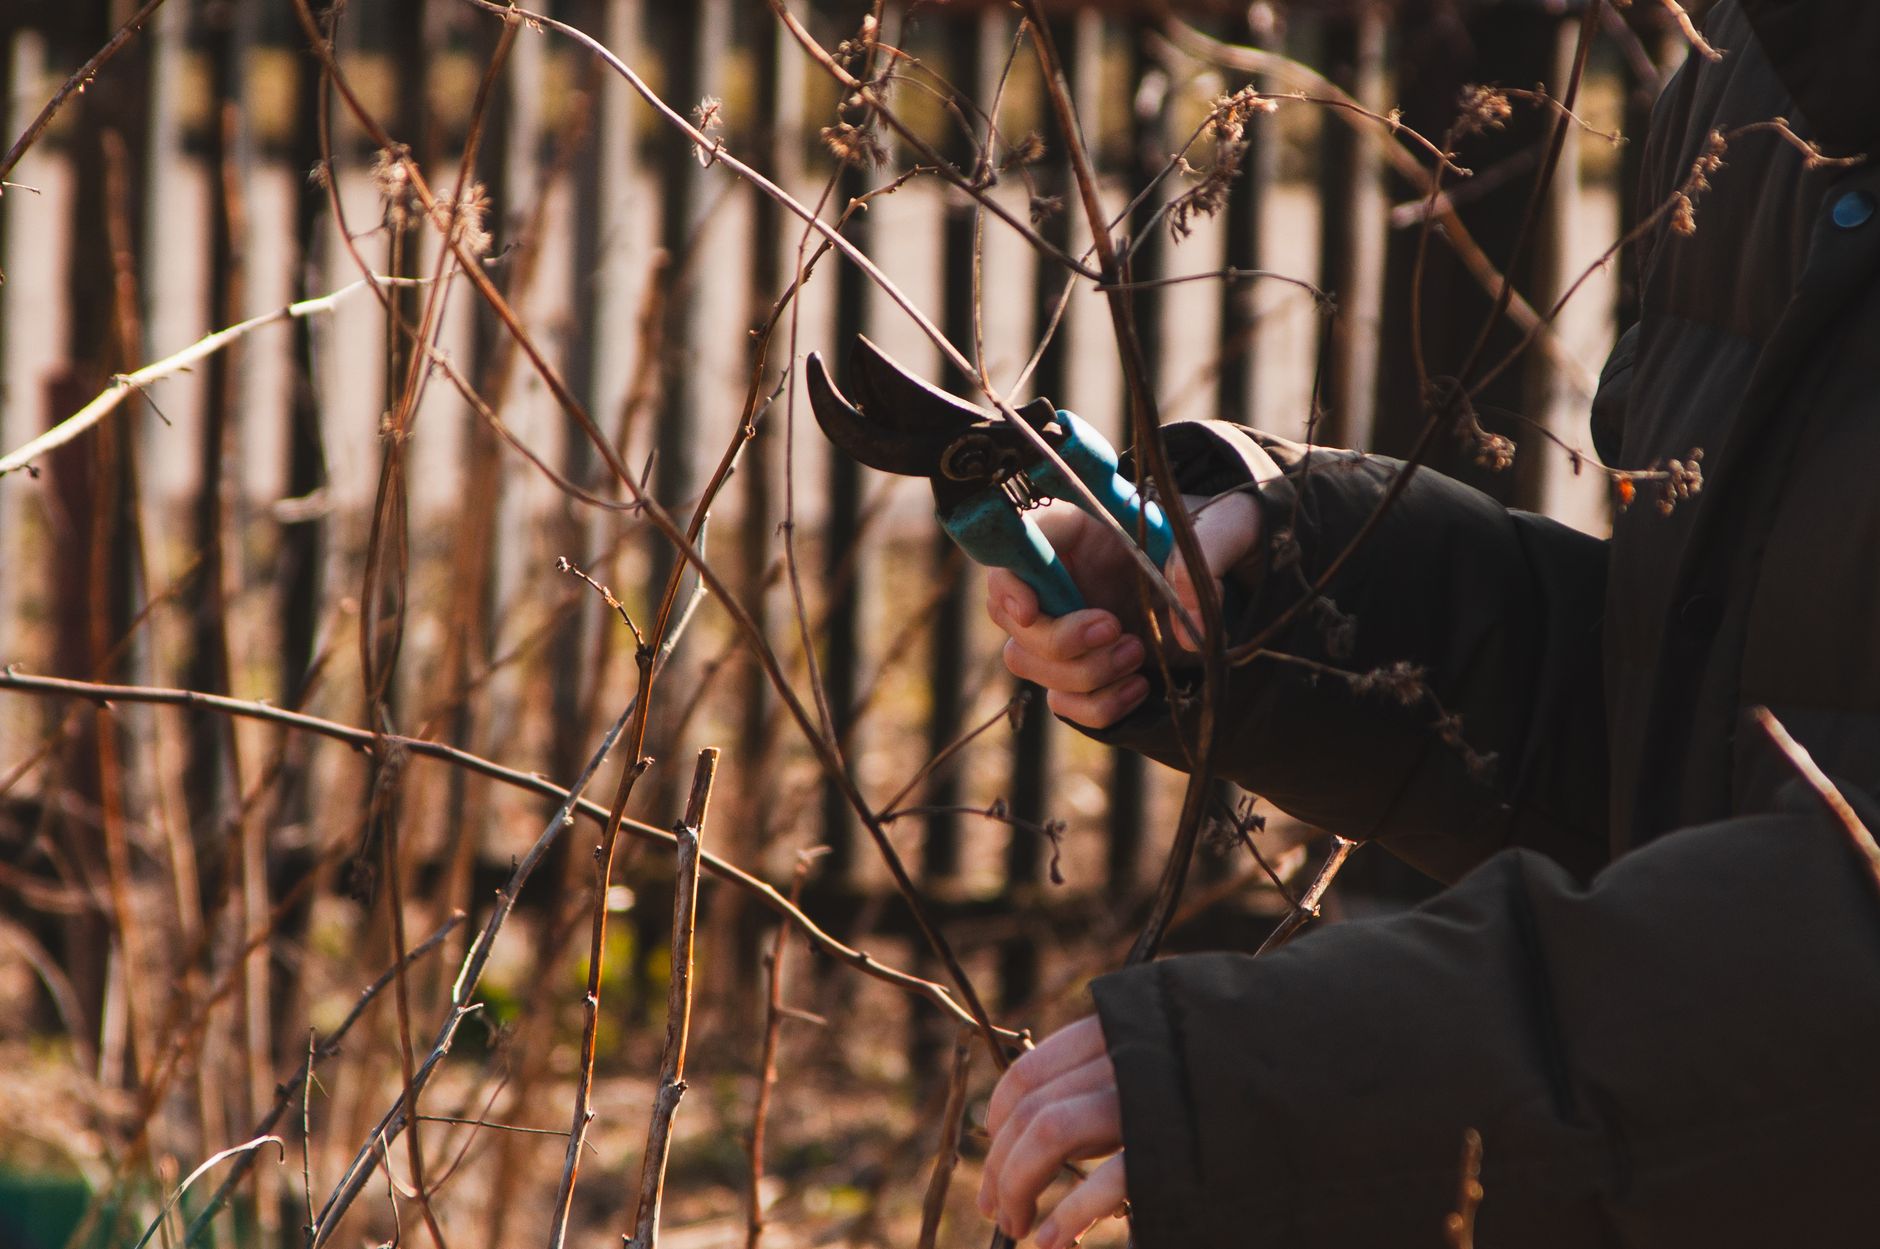
Spotting the Signs of Fence Damage: A Detailed Assessment
Now, before you make a single cut, take a good, hard look at both your plant and your fence. This is where you put on your detective hat. I like to walk the full length of the affected fence from both sides if possible, looking for anything out of the ordinary. What might seem like a minor issue can quickly escalate, especially with our damp UK climate accelerating rot.
Here’s a breakdown of what I look for, distinguishing between early warnings and more serious problems:
| Sign of Damage | Minor Concern (Act Now!) | Major Concern (Urgent Action Needed!) |
|---|---|---|
| Fence Lean/Sag | Slight tilt in a panel, barely noticeable, especially after heavy rain. | Distinct lean or sag of an entire panel or post, clearly visible from a distance. |
| Cracked/Split Wood | Fine hairline cracks in fence panels or posts, often where a stem presses tightly. | Deep, wide cracks or splits, particularly around nails, screws, or post bases. |
| Loose Fastenings | Nails or screws slightly protruding, a panel feels a little wobbly when pushed gently. | Nails or screws fully pulled out, panels detaching from posts, rattling in the wind. |
| Rot/Mould Growth | Green algae, black mould patches on the fence wood directly beneath dense foliage. | Soft, spongy wood, white fungal growth (e.g., bracket fungi), crumbling wood on posts or panels. |
| Plant Indentation | Visible grooves or depressions in the wood where stems have grown tightly against it. | Deep, wide gouges or channels where woody stems have actively compressed and worn away the wood. |
| Obscured View | Dense foliage completely covering the fence, making it hard to see the wood at all. | Impossible to see the fence structure without pulling away significant plant material, indicating hidden damage. |
| Post Movement | Post feels slightly loose when wiggled, minimal ground disturbance. | Post visibly rocking, significant gap around its base, ground disturbed or heaved. |
From my own experience, ignoring those "minor" signs is a fast track to "major" problems. I had a beautiful old honeysuckle, 'Lonicera periclymenum 'Graham Thomas'', which I loved for its scent. I let it get a bit too enthusiastic in a shady corner. I noticed some slight mould on the fence behind it, but thought nothing of it. Fast forward a year, and that panel was completely rotted through at the bottom from the constant damp, crumbling away when I touched it. Lesson learned: act early!
Step-by-Step Detachment: Gently Freeing Vines & Shrubs from Fence Panels
Right, you’ve got your tools, you've assessed the damage, and now it's time for the main event: safely separating your beloved plants from your beleaguered fence. This isn't a race; it's a careful, methodical process. Remember, the goal is to save both the plant and the fence. I've been a bit too aggressive in the past, pulling too hard and snapping healthy stems – a mistake I regretted, especially with a vigorous but brittle Clematis montana 'Rubens'. Here’s how I approach it now in my UK garden, taking my time to minimise stress on both sides.
Safety First, Always!
Before you even think about making a cut, put on those gloves and safety glasses. If you're using a ladder, ensure it's stable and on level ground. If your fence is particularly wobbly or damaged, consider having a helper to steady it or the ladder. Our unpredictable British weather can mean slippery surfaces, so always be mindful.
Initial Visualisation & Anchor Point Identification
Take a moment to visualise how the plant is attached. Are there tendrils wrapped tightly? Adventitious roots (like ivy) clinging to the wood? Or simply thick, woody stems pushing against the panel? Identify the main points where the plant is making firm contact with the fence. This helps you plan your cuts and pulls.
Start from the Top and Sides, Working Inwards
I always begin at the least dense areas, usually the top or the sides of the plant where it meets the fence. This gives you better access and prevents large sections from collapsing unexpectedly. Using your secateurs, snip off individual tendrils, small side shoots, or any obvious attachments that aren't critical to the main plant structure. Think of it as peeling back layers.
Address Specific Attachment Types
- Tendrils (e.g., Clematis, Sweet Pea, Vine): These are usually quite easy to snip with secateurs. Cut them as close to the fence as possible without damaging the fence itself.
- Twining Stems (e.g., Honeysuckle, Wisteria): For stems that have wrapped around a fence post or another part of the plant, carefully unwrap them. If they're too tight or woody, you might need to make a strategic cut to free them, always trying to preserve the main stem. With my Wisteria, 'Sinensis Prolific', I've found it's best to prune back the twining growth hard in summer to prevent it from strangling itself or the fence.
- Adventitious Roots (e.g., Ivy, Climbing Hydrangea): These are trickier. Ivy roots can be incredibly stubborn and literally bond to the wood. Your best bet is to cut the main stems of the ivy several feet above ground level, allowing the top growth to die back. Once it's dead, the roots will lose their grip and become much easier to scrape off with a stiff brush or scraper without damaging the fence. Trying to pull live ivy roots off can rip chunks out of your fence panels. I learned this the hard way with a particularly aggressive patch of ivy that had completely encased a timber post!
- Thick, Woody Stems (e.g., Old Roses, Wisteria, Pyracantha): These are the biggest culprits for structural damage. Use your loppers or pruning saw for these. Cut any stems that are actively pushing against the fence or are growing through gaps in the panel. Aim to cut them cleanly, leaving no snags.
Gentle Pulling vs. Strategic Cutting
This is a critical distinction. For smaller, more flexible growth, you can often gently pull a section away from the fence once its attachments are severed. However, never force it. If there's resistance, stop and look for another attachment point or consider a cut. For larger, more established stems, especially woody ones, it's almost always better to make a strategic cut with loppers or a pruning saw rather than trying to rip them free. Pulling too hard can damage the plant, the fence, or even yourself.
Dealing with Large, Entwined Sections
If you have a massive, dense section of growth, don't try to detach it all at once. Work in smaller, manageable portions. Cut away the outermost layers first, creating access to the inner attachments. I often use strong twine to temporarily tie back a detached section to a nearby stake or another part of the fence (further away) to give me space to work on the next area.
Post-Detachment Support
Once you've freed a significant portion of the plant, it might be floppier than you expect. This is where your garden ties or twine come in. Have some temporary supports ready – perhaps a sturdy stake pushed into the ground nearby, or a temporary wire stretched between two more stable points. Secure the newly detached plant loosely to prevent it from falling back onto the fence or collapsing under its own weight. This gives you time to assess its new shape and plan your pruning.
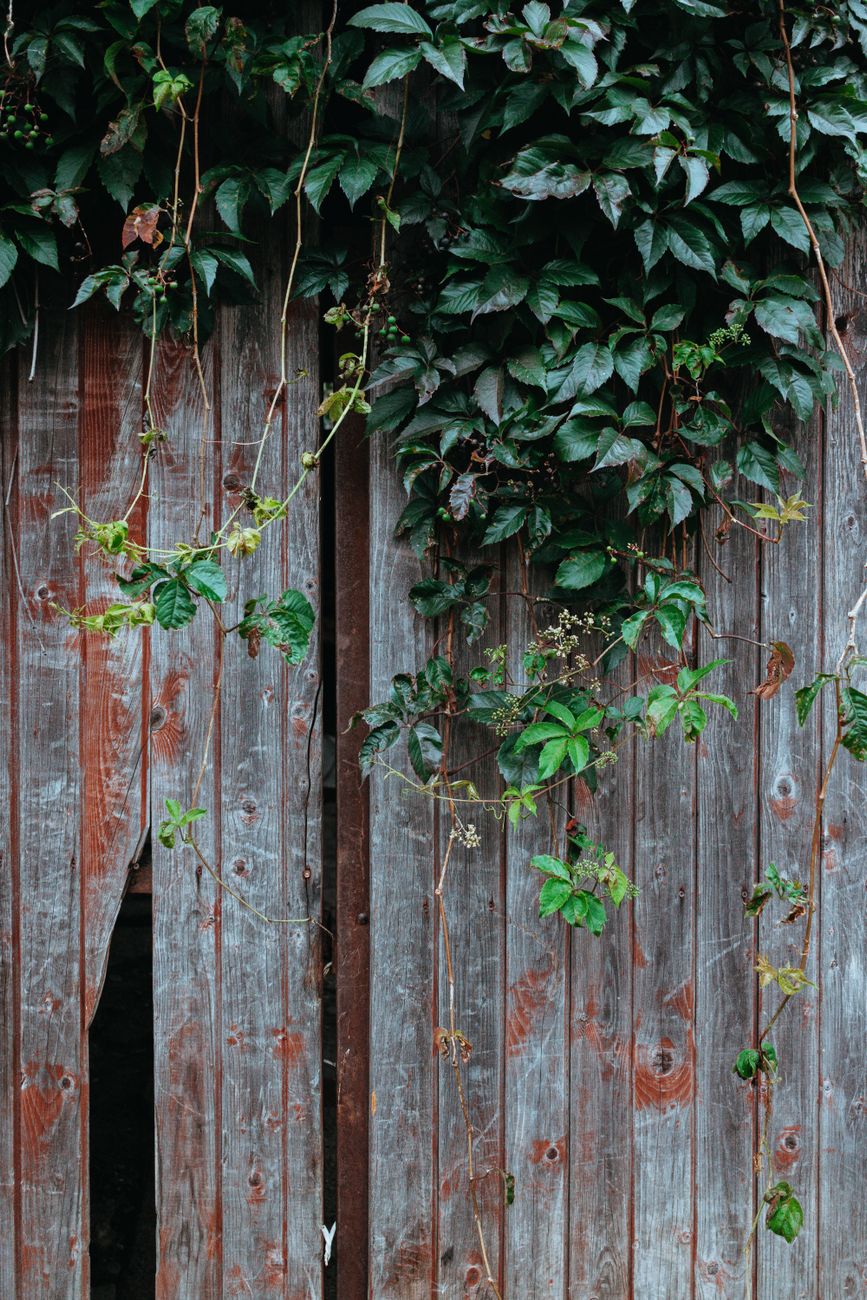
Remember, patience is a virtue here. Rushing this step can lead to more work in the long run, either by damaging your plant or your fence. Take breaks, reassess, and work steadily. You'll be amazed at how much clearer your fence looks, and your plant will thank you for the newfound freedom!
Post-Detachment Pruning: Restoring Plant Health & Preventing Future Encroachment
Right, so you've successfully untangled your plant from your fence – well done! Now, you're looking at what might be a bit of a shaggy mess, or perhaps a rather relieved-looking plant that suddenly has a lot more breathing room. This next step, post-detachment pruning, is absolutely crucial. It's not just about tidying up; it's about restoring the plant's health, encouraging better growth, and, most importantly, preventing it from immediately re-encroaching on your fence.
In my early days, I made the mistake of either being too timid (leaving too much growth that quickly re-attached) or too brutal (hacking back so hard the plant sulked for a year). I learned that understanding the specific needs of the plant, and considering our British climate, makes all the difference. For example, pruning a Clematis montana too hard at the wrong time means sacrificing those glorious spring blooms, which is a real shame!
Why Pruning is Essential After Detachment
Pruning isn't just cosmetic; it's horticultural therapy for your plant and preventative maintenance for your fence.
- Plant Health: Removing dead, diseased, or damaged (DDD) wood improves air circulation, reduces the risk of fungal infections (which thrive in our damp UK weather), and directs the plant's energy to healthy growth.
- Shape & Structure: This is your chance to reshape the plant, encouraging it to grow in a more manageable way, perhaps onto a dedicated trellis or wires away from the fence itself.
- Flowering/Fruiting: Proper pruning can significantly improve a plant's flowering or fruiting performance. For example, with many climbing roses, pruning encourages more blooms.
- Preventing Re-encroachment: This is key! By selectively cutting back growth that was previously against the fence, you create a buffer zone and guide future growth away from the boundary.
General Pruning Principles for UK Conditions
No matter the plant, these principles usually apply:
- Remove DDD Wood First: Always start by cutting out any dead, diseased, or damaged branches. Make clean cuts back to healthy wood. This is particularly important in the UK where damp conditions can quickly lead to fungal issues.
- Improve Air Circulation: Thin out congested areas. Remove crossing branches or those growing inwards. Good airflow reduces the risk of pests and diseases, which is a common battle in our climate.
- Prune to Direct Growth: Identify where you want the plant to grow. Cut back any stems that are currently aiming directly for the fence. Prune just above an outward-facing bud or side shoot to encourage growth away from the fence.
- Know Your Plant: This is the big one. Different plants have different pruning needs and timings. Pruning a spring-flowering clematis in late winter, for example, will remove all its flower buds for the year!
Pruning Strategies for Common UK Climbers: Preventing Future Fence Huggers
Here’s a quick guide to how I approach pruning some common fence-loving plants after detachment, keeping future encroachment in mind:
| Plant Type | Ideal UK Pruning Time | Post-Detachment Pruning Strategy (for Fence Prevention) |
|---|
| Wisteria | Summer (July-August) for flowering spurs; Winter (Jan-Feb) for structural |
|---|
Choosing Fence-Friendly Plants: Smart Alternatives for UK Garden Boundaries
Right, so we've freed our fences and given our existing plants a good tidy-up. But what if you're looking to add new plants, or replace those aggressive ones that caused all the trouble in the first place? This is where strategic plant choice really shines, especially here in our often-damp UK climate. I’ve learned this the hard way, trust me. When I first started out, I planted a gorgeous Lonicera japonica 'Halliana' honeysuckle near a fence, thinking it would be a lovely, fragrant climber. And it was! For about six months. Then it became an absolute beast, wrapping itself around everything, including the fence posts, and demanding constant attention. A beautiful mistake, but a mistake nonetheless.
In my 800 sq ft Midlands garden, every inch counts, so I'm always looking for plants that work with my boundaries, not against them. The key is to pick species that either don't cling directly, have a more manageable growth habit, or are naturally less vigorous. What works here in Britain is often about resilience to our unpredictable weather and a growth rate that doesn't get out of control during a good growing season.
Here’s a look at some of my go-to fence-friendly alternatives, along with a handy comparison:
| Plant Type / Variety | Key Characteristics for UK Gardens |
|---|---|
| to these lovely, with a bit of a trim, not a hard prune, you can direct growth and prevent any strangisation. It’s definitely a more hands-on approach than a self-clinger, but it’s worth it for the beautiful blooms and the scent. |
Shrubs You Can Train:
- Pyracantha: This is a brilliant shrub for a boundary. It’s evergreen, has wicked thorns for security (which is a bonus for some here in the UK!), pretty white flowers in spring, and then a fantastic display of red, orange, or yellow berries through autumn and winter. I've got a 'Teton' variety growing against a particularly exposed fence panel, and it's doing a grand job of providing year-round interest and a bit of a windbreak. You can easily espalier or fan train it against a fence with ties.
- Flowering Currant (Ribes sanguineum): A cheerful, early-flowering shrub that brings vibrant pink-red flowers in spring, often before other plants have woken up. It’s relatively fast-growing but responds really well to pruning and can be kept compact. I’ve got a 'King Edward VII' that I prune hard after flowering to keep it bushy and provide a lovely backdrop without getting too unwieldy.
Self-Supporting Perennials/Small Shrubs:
- Lavender (Lavandula angustifolia): Classic British garden plant! Doesn't damage fences, smells divine, attracts bees, and looks fantastic. I line a path near one of my fences with 'Hidcote' and 'Munstead' varieties. Just remember to give them a good prune after flowering to keep them from getting leggy.
- Rosemary (Rosmarinus officinalis): Another fantastic evergreen herb that can be grown as a small, bushy shrub. It won't hurt your fence and provides delicious sprigs for cooking. I have a sprawling rosemary bush near my greenhouse entrance, and it's never bothered the fence behind it.
Comparison Table: Fence-Friendly UK Plant Alternatives
| Plant Name (Common/Cultivar) | Growth Habit & Fence Interaction |
|---|---|
| :--- | :--- |
