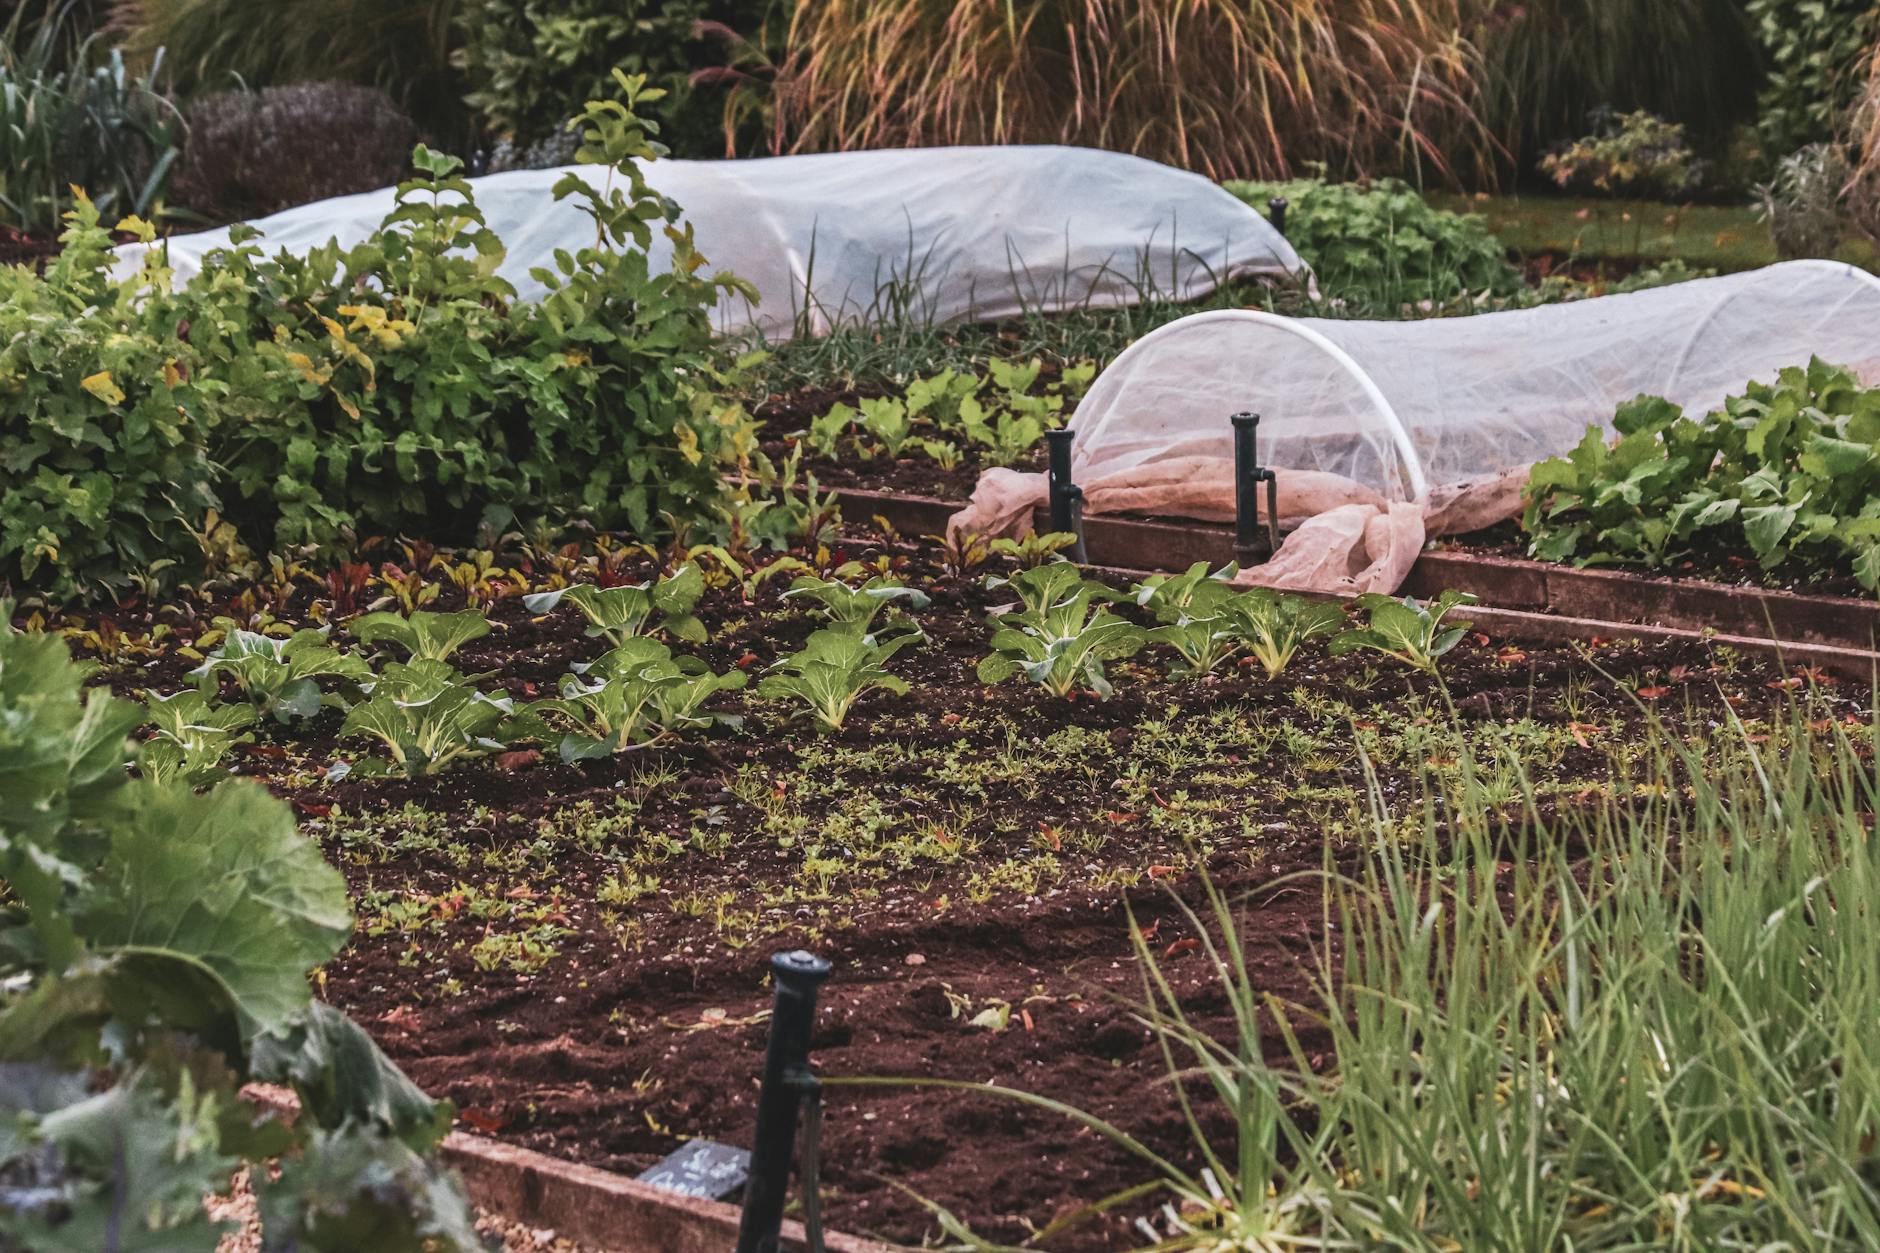
Reviving Tired Edges – Why Your Garden's Perimeter Needs Help
If you're anything like me, you've probably poured your heart and soul into your raised beds, lovingly tending to your greenhouse tomatoes, and carefully nurturing your herbs. But have you ever taken a good, hard look at the very edges of those beds, or the paths bordering them? You know, those spots where you always seem to step, or where the wheelbarrow inevitably bumps? In my 800 sq ft Midlands garden, these perimeters were, for a long time, the forgotten heroes – or rather, the unsung strugglers. I’m Randy, a 32-year-old former IT bloke who found his true calling in the dirt, and I've learned the hard way that these foot-traffic zones are often the most abused and overlooked parts of our growing spaces here in the UK.
For years, I'd scratch my head, wondering why the 'Ailsa Craig' onions on the outer edge of my raised bed never quite matched the vigour of their neighbours, or why my beloved 'Cosmic Purple' carrots near the path seemed stubbornly stunted. It wasn't until I truly started digging deeper into soil science – a rabbit hole I happily fell down after swapping spreadsheets for spades – that I realised the problem wasn't always pests or nutrient deficiencies. More often than not, it was soil compaction, a silent killer of healthy plant growth in those high-traffic areas. Here in Britain, with our often damp climate, those footfalls can compress the soil far more effectively than you might think, squeezing out the vital air and water pathways. This article is all about how I've learned to gently decompact, rebuild, and protect these struggling perimeters, bringing them back to life and ensuring every inch of my UK garden is thriving.
Diagnosing the Problem: Spotting Soil Compaction in Your UK Garden
So, how do you know if compaction is the culprit in your own UK garden? Trust me, the signs are often there if you know what to look for, and I’ve certainly missed them more times than I care to admit. The most obvious indicator I’ve learned to spot, particularly here in the Midlands with our regular rainfall, is water pooling or slow drainage. After a decent British shower, if you see puddles lingering on paths or around the edges of your beds long after the rest of the soil has absorbed the moisture, that’s a huge red flag. Compacted soil simply can’t absorb water efficiently, leading to surface runoff and less moisture reaching plant roots.
Beyond drainage, take a close look at your plants themselves. Are they looking a bit sad and stunted, even if the plants further into the bed are thriving? Are leaves yellowing or browning despite adequate feeding and watering? This was a common sight with my 'Sungold' tomatoes in the greenhouse, especially those closest to the main walkway. They often showed signs of nutrient deficiency, but no amount of tomato feed seemed to help. That’s because compacted soil restricts root growth, making it incredibly difficult for plants to spread out and access the nutrients and water they need. The roots literally can't push through the dense soil, leading to stressed, underperforming plants. You might also notice a hard, crusty surface on the soil, making it tough to push a trowel in, or poor weed growth – even weeds struggle in really compacted areas!
Gentle Decompaction: Tools and Techniques for Loosening UK Soil
When it comes to loosening compacted soil, my approach has always been about working with nature, not against it. Forget the rototiller for these delicate perimeter zones; those machines can destroy soil structure and the precious microbial life that thrives within it. What we’re aiming for is gentle aeration, creating pathways for air, water, and roots without completely turning over the soil layers. This is where a couple of trusty hand tools really come into their own in a UK garden.
My absolute favourite tool for this job, and one I recommend to every serious UK gardener, is the broadfork. It's a bit of an investment, but worth every penny. With its long tines and wide handle, you can stand on the crossbar, push the tines deep into the soil, and then rock it back and forth to lift and gently loosen the ground without inverting the soil layers. I use mine religiously around the edges of my raised beds and even in my greenhouse beds before planting my heirloom tomatoes. It respects the soil's natural structure, allowing beneficial fungi and bacteria to continue their vital work. For smaller, tighter spots, or if a broadfork isn't within budget, a standard garden fork can also do the trick, though it requires a bit more effort. Just push it in, wiggle it, and repeat, trying not to bring too much subsoil to the surface.
Here’s a quick comparison of these two workhorses for loosening that stubborn UK soil:
| Feature | Broadfork | Garden Fork |
|---|---|---|
| Effort | Low-moderate (uses body weight) | Moderate-high (more manual leverage) |
| Soil Disturbance | Very low (lifts and loosens, doesn't invert) | Low-moderate (can invert if not careful) |
| Depth | Excellent (10-14 inches typical) | Good (8-10 inches typical) |
| Speed | Faster for larger areas | Slower, better for smaller, targeted spots |
| Best Use (UK) | Open areas, established beds, pre-planting | Tight corners, weeding, light aeration |
| Price Range (UK) | £70-£150+ (investment piece) | £20-£60 (widely available, various qualities) |
| My Experience | Essential for my 800 sq ft garden; less back strain, brilliant results on dense Midlands clay. | Handy for inter-row loosening or around individual plants, but harder work for larger areas of compaction. |
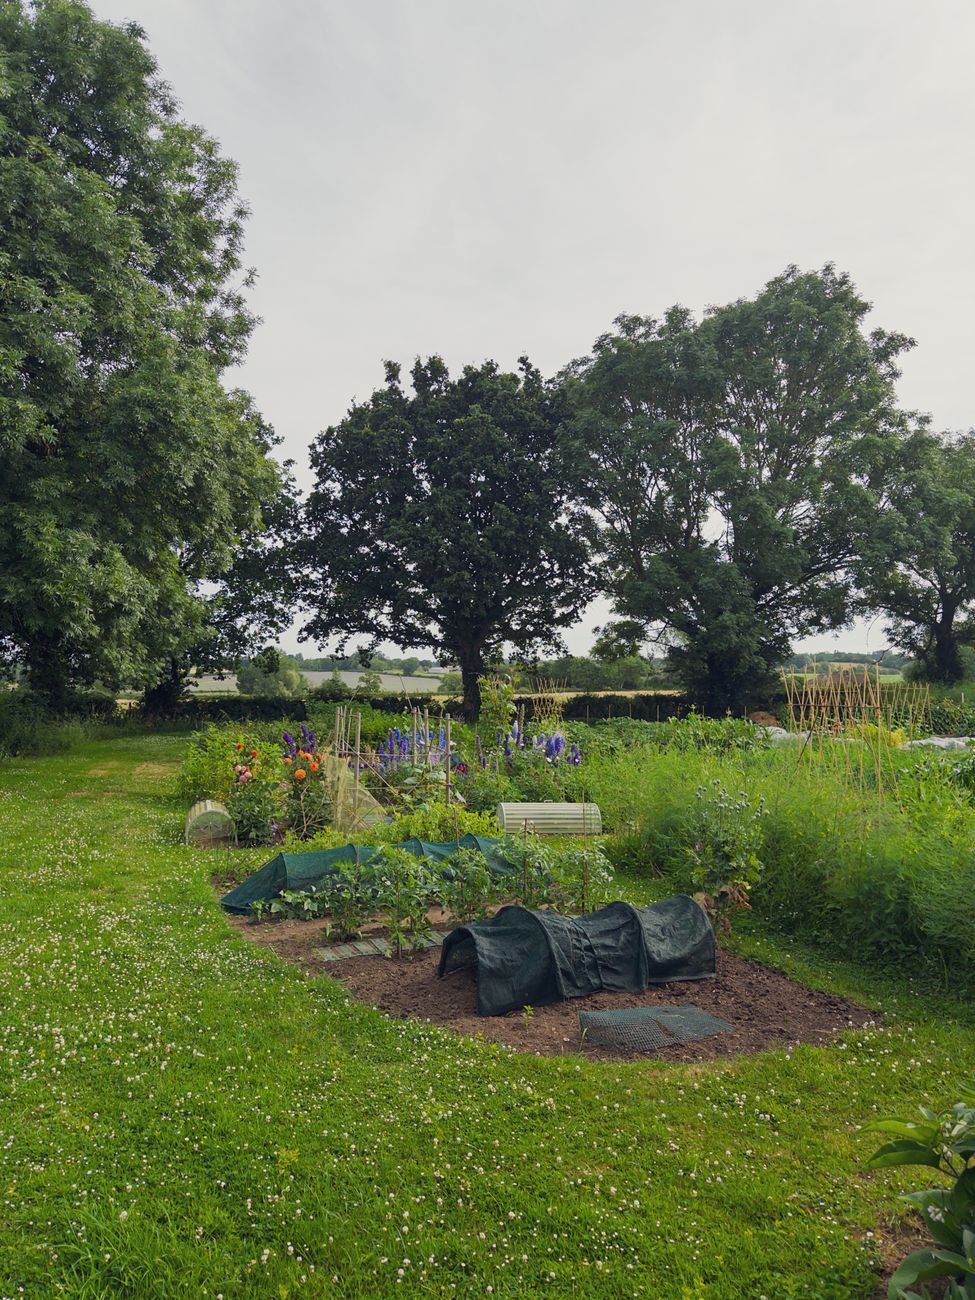
Remember, the goal isn't to create a perfectly fluffy seedbed (we'll get to that with amendments), but to break up the hardpan and allow air and water to penetrate. I usually go over the affected areas in my garden in late autumn or early spring when the soil isn't waterlogged but still has some moisture – trying to broadfork bone-dry, hard-baked British clay is a recipe for a very sore back and little progress!
Rebuilding Soil Structure: Organic Amendments for Long-Term Health
Once you've gently decompacted those tired perimeter zones, the real magic begins: rebuilding the soil's structure for long-term health. This isn't a one-off fix; it's about creating a living, breathing ecosystem that can resist future compaction and nourish your plants for seasons to come. And the best way to do that, in my experience here in the UK, is by generously adding organic matter. It’s the lifeblood of healthy soil, especially for our often heavy British clay or quickly draining sandy soils.
After decompaction, I apply a thick layer – we're talking 2-4 inches – of various organic amendments to the surface. The soil microbes and worms will then gradually incorporate this goodness down into the loosened soil, improving its texture, water retention, and nutrient availability. I've found that a mix of different types works best for creating a diverse and resilient soil structure. Here are my go-to amendments for my UK garden:
| Organic Amendment | Key Benefits for UK Soil | Application Tips & My Experience (Midlands) |
|---|---|---|
| Well-Rotted Compost | Improves drainage in clay, boosts water retention in sand, provides balanced nutrients, feeds soil microbes. | My absolute favourite. I make my own from kitchen scraps and garden waste. If buying, look for peat-free, good quality council compost or mushroom compost. Apply a generous 2-3 inch layer; I do this every autumn and spring. |
| Leaf Mould | Excellent for improving soil structure, water retention, and encouraging beneficial fungi. | Free! I collect fallen leaves from my own garden and neighbours (maple, oak, sycamore are great). Pile them up and leave for 1-2 years. Adds slow-release nutrients and amazing sponge-like texture. |
| Composted Bark / Wood Chip | Long-lasting organic matter, improves drainage, suppresses weeds, provides a slow feed for soil fungi. | Great for those really heavy clay areas that need a long-term structure boost. I use coarser chips as a mulch on top, letting them break down slowly, or incorporate finer, well-composted bark. |
| Green Manures | Adds nitrogen, suppresses weeds, improves soil structure, prevents erosion. | A fantastic option for areas you can leave fallow for a season. After decompaction, sow a UK-hardy mix (e.g., 'Crimson Clover' or 'Winter Vetch' in autumn). Dig in before flowering to return nutrients to the soil. I use this in rotation with my larger beds. |
What I've learned from five years of intensive gardening in my Midlands plot is that consistency is key. Adding organic matter isn't a one-time event, especially in those foot-traffic areas. By continually replenishing the soil with these amendments, you're not just feeding your plants; you're cultivating a vibrant, resilient soil food web that can withstand the pressures of a busy UK garden. It’s an investment in the long-term health and productivity of your entire growing space.
Protective Barriers: Choosing and Installing Effective Edging Solutions
So, you’ve gently loosened that compacted soil and lovingly fed it with organic goodness. That’s a huge step, but if we don't put something in place to say, "Hey, don't walk here!" then all that hard work can literally be trodden underfoot again. For me, a good, robust barrier is like putting up a little fence around your restored zone, safeguarding its future.
I’ve experimented with a few types of edging around my 800 sq ft plot here in the Midlands. My raised beds are mostly timber, sturdy and practical, but for those ground-level perimeters that see occasional traffic, I've had to get a bit more creative.
What I've Found Works Best in My UK Garden:
Timber Edging (Sleepers & Log Rolls): These are a classic for a reason. Treated timber sleepers are incredibly durable and create a strong visual boundary. I’ve used off-cuts from larger sleepers to define paths around my greenhouse, sinking them about two-thirds into the ground. They're excellent for straight runs and provide a solid edge that’s hard to ignore. For curves, log rolls can be effective, though I've found their longevity can vary depending on the quality of the timber and how well they're treated. Make sure to choose FSC-certified timber if you can – good for the planet and often better quality.
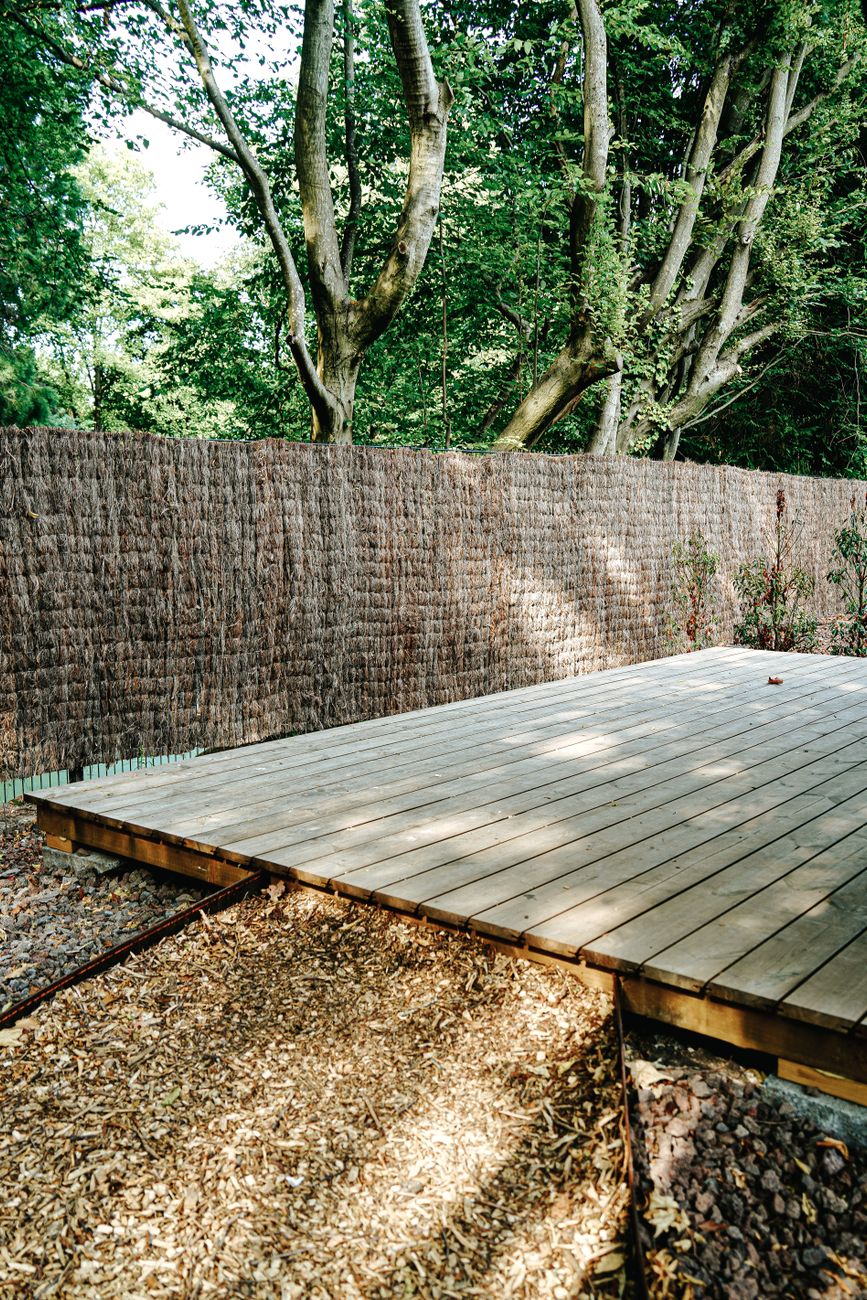
Stone or Brick Edging: This is probably the most permanent solution, and it looks fantastic. I don't have extensive stone edging myself (my back garden budget usually goes on more heirloom tomato seeds!), but I helped a neighbour install some reclaimed bricks around her herb garden. They create a beautiful, traditional British garden aesthetic. The key is to lay them on a shallow bed of sand or mortar for stability, especially if you’re using them as a stepping surface. They're brilliant for stopping accidental footfall dead in its tracks.
Woven Hazel or Willow: For a more rustic, cottage garden feel, woven hazel or willow hurdles are absolutely stunning. I actually tried making a small section myself one winter, just to see if I could, and while it was a bit fiddly, the result was charming. They're fantastic for curved beds and blend beautifully with naturalistic planting. The downside is they aren't as long-lasting as timber or stone, especially in our damp UK climate, usually needing replacement every 3-5 years depending on the wood and exposure. But for a temporary or aesthetic solution, they're brilliant.
My Installation Tips:
No matter what you choose, proper installation is key. Dig a shallow trench, making sure the base is level. For timber or stone, I always try to sink at least half to two-thirds of the material below ground level. This provides stability and prevents them from shifting over time, especially after a good British downpour. Backfill with soil and tamp it down firmly. I've learned the hard way that a wobbly edge isn't much of a deterrent!
Planting for Resilience: Hardy Choices for High-Traffic Garden Perimeters
Once your soil is rebuilt and your protective barrier is in place, it’s time to think about what to plant. This isn’t about just filling a space; it’s about choosing plants that can thrive in these edge zones, perhaps even taking a bit of a knock, and further supporting your soil health. My IT brain loves optimising things, and gardening is just another system to optimise, isn't it?
I focus on plants that are naturally tough, have good root systems to help maintain soil structure, and ideally, offer something back to the garden (either through beauty, fragrance, or edibility).
My Go-To Hardy Plants for UK Garden Edges:
- Creeping Thyme (Thymus serpyllum): This is a superstar. I’ve got patches of it growing right between the stepping stones leading to my greenhouse. It's incredibly low-growing, forms a dense mat, smells wonderful when brushed against, and can tolerate a surprising amount of light foot traffic once established. It's fantastic for areas where you might occasionally step, rather than regularly walk. Plus, it’s a brilliant pollinator plant.
- Chives (Allium schoenoprasum): Such an easy-going herb! Chives form dense clumps with shallow, fibrous root systems that help bind the topsoil. They rebound quickly if accidentally trodden on, and their purple flowers in late spring are beautiful and edible. I have a row of chives along the edge of one of my raised beds, and they’ve survived everything our unpredictable British weather has thrown at them.
- Oregano (Origanum vulgare): Similar to thyme, oregano is a fantastic ground cover herb that spreads reliably. It’s tough, drought-tolerant once established (useful for our drier summers here in the Midlands), and its roots help hold soil. Perfect for a sunny, well-drained edge.
- Hardy Geraniums (e.g., Geranium 'Rozanne', Geranium sanguineum): If you're looking for something a bit more ornamental, these are brilliant. They form dense, weed-suppressing mounds, have extensive root systems, and flower for ages. Geranium 'Rozanne' in particular is famed for its long flowering season and general resilience. I've got some Geranium phaeum (mourning widow) in a shadier spot near my compost bins that just gets on with it, no fuss.
- Land Cress (Barbarea verna): This is a fantastic, peppery green that I often sow along the edges of my vegetable beds. It's incredibly hardy, even overwintering in milder UK winters, and forms a good ground cover. If it gets a bit squashed, it usually bounces back quickly, and you can harvest the leaves regularly. It also has a good root system, which helps with soil aeration.
When planting, ensure you give these plants enough space to grow into their resilient forms. I usually plant them a little closer than recommended for open beds, to encourage them to knit together quickly and form a dense protective mat.
Maintaining Your Restored Zone: Ongoing Care and Prevention Tips
Restoring a foot-traffic zone isn't a "set it and forget it" task – especially not in a busy UK garden like mine! It's an ongoing relationship with your soil and plants. Think of it as preventative maintenance, just like keeping my old server systems running smoothly (though far more rewarding!).
Here’s my routine for keeping those perimeter zones happy and healthy:
- Regular Mulching is Your Best Friend: I can't stress this enough. A good, thick layer (2-3 inches) of organic mulch – be it homemade compost, well-rotted manure, or wood chip – does wonders. It protects the soil surface from compaction by rain, suppresses weeds, retains moisture during dry spells, and slowly breaks down to feed the soil microbes. I usually top up my mulch in early spring and again in late autumn, after our summer harvests.
- Monitor for Re-Compaction: Keep an eye on the soil. If you notice it starting to look hard or water isn't penetrating easily, it might be time for a gentle re-assessment. I use a hand trowel to check the soil structure periodically – if it feels dense and resists the trowel, I know I need to intervene. Often, a gentle aeration with a fork and a fresh layer of compost is all it takes.
- Reinforce Barriers as Needed: My timber edging sometimes shifts a bit after a particularly wet winter or if I've been a bit heavy-handed with the wheelbarrow. I make sure to check them annually and re-level or re-secure as necessary. It's a small job that prevents bigger problems down the line.
- Designated Paths and Stepping Stones: This is perhaps the most crucial prevention tip. If there’s an area that absolutely has to be walked on, create a clear, dedicated path. I've used old patio slabs and even just large, flat stones to create stepping stones in high-traffic areas. This guides foot traffic away from your precious soil and plants. One mistake I made early on was planting right up to an unofficial path, only to have the plants repeatedly trampled. Now, I plan my foot routes before I plant a single seed.
- Listen to Your Plants: Plants are excellent indicators of soil health. If they look stressed, stunted, or aren't thriving despite adequate water and light, it might be a sign that the soil is struggling. Conversely, healthy, vigorous growth is a good sign you're doing things right!
- Avoid Working on Wet Soil: This is a golden rule in UK gardening. After heavy rain, especially during our often-soggy autumns and winters, resist the urge to walk or work on your restored zones. Working on wet soil compresses it far more easily, undoing all your hard decompaction work. Wait until it's had a chance to dry out a bit.
Conclusion: Bringing Life Back to the Edges of Your Garden
Restoring those struggling, compacted edges of your garden beds might seem like a niche problem, but trust me, it’s one I’ve seen time and time again in my own 800 sq ft here in the Midlands, and in plenty of other UK gardens. It's more than just aesthetics; it's about the fundamental health of your soil and the resilience of your plants.
We've covered a fair bit today, from diagnosing the tell-tale signs of compaction to the satisfaction of gently loosening that stubborn soil. We've delved into the transformative power of rebuilding soil structure with organic amendments, turning lifeless dirt into vibrant, living earth. Then, we looked at effective protective barriers, from sturdy timber to charming woven hazel, ensuring your hard work isn't undone by an errant foot. And finally, we explored resilient planting choices and the crucial steps for ongoing care and prevention.
I've learned so much over my five-plus years of intensive gardening here in Britain, often through trial and error, sometimes battling our famously unpredictable weather. What I can tell you for sure is that taking the time to nurture these neglected perimeters is incredibly rewarding. You'll see your plants thrive, your soil breathe, and your entire garden will feel more vibrant and alive.
So, next time you're out with your cuppa, surveying your patch, take a closer look at those edges. Are they crying out for a bit of Randy-style TLC? I encourage you to grab a fork, get your hands dirty, and embark on this journey of restoration. You might just find, like I did, that bringing life back to the edges revitalises your entire gardening experience. Happy gardening, everyone!
