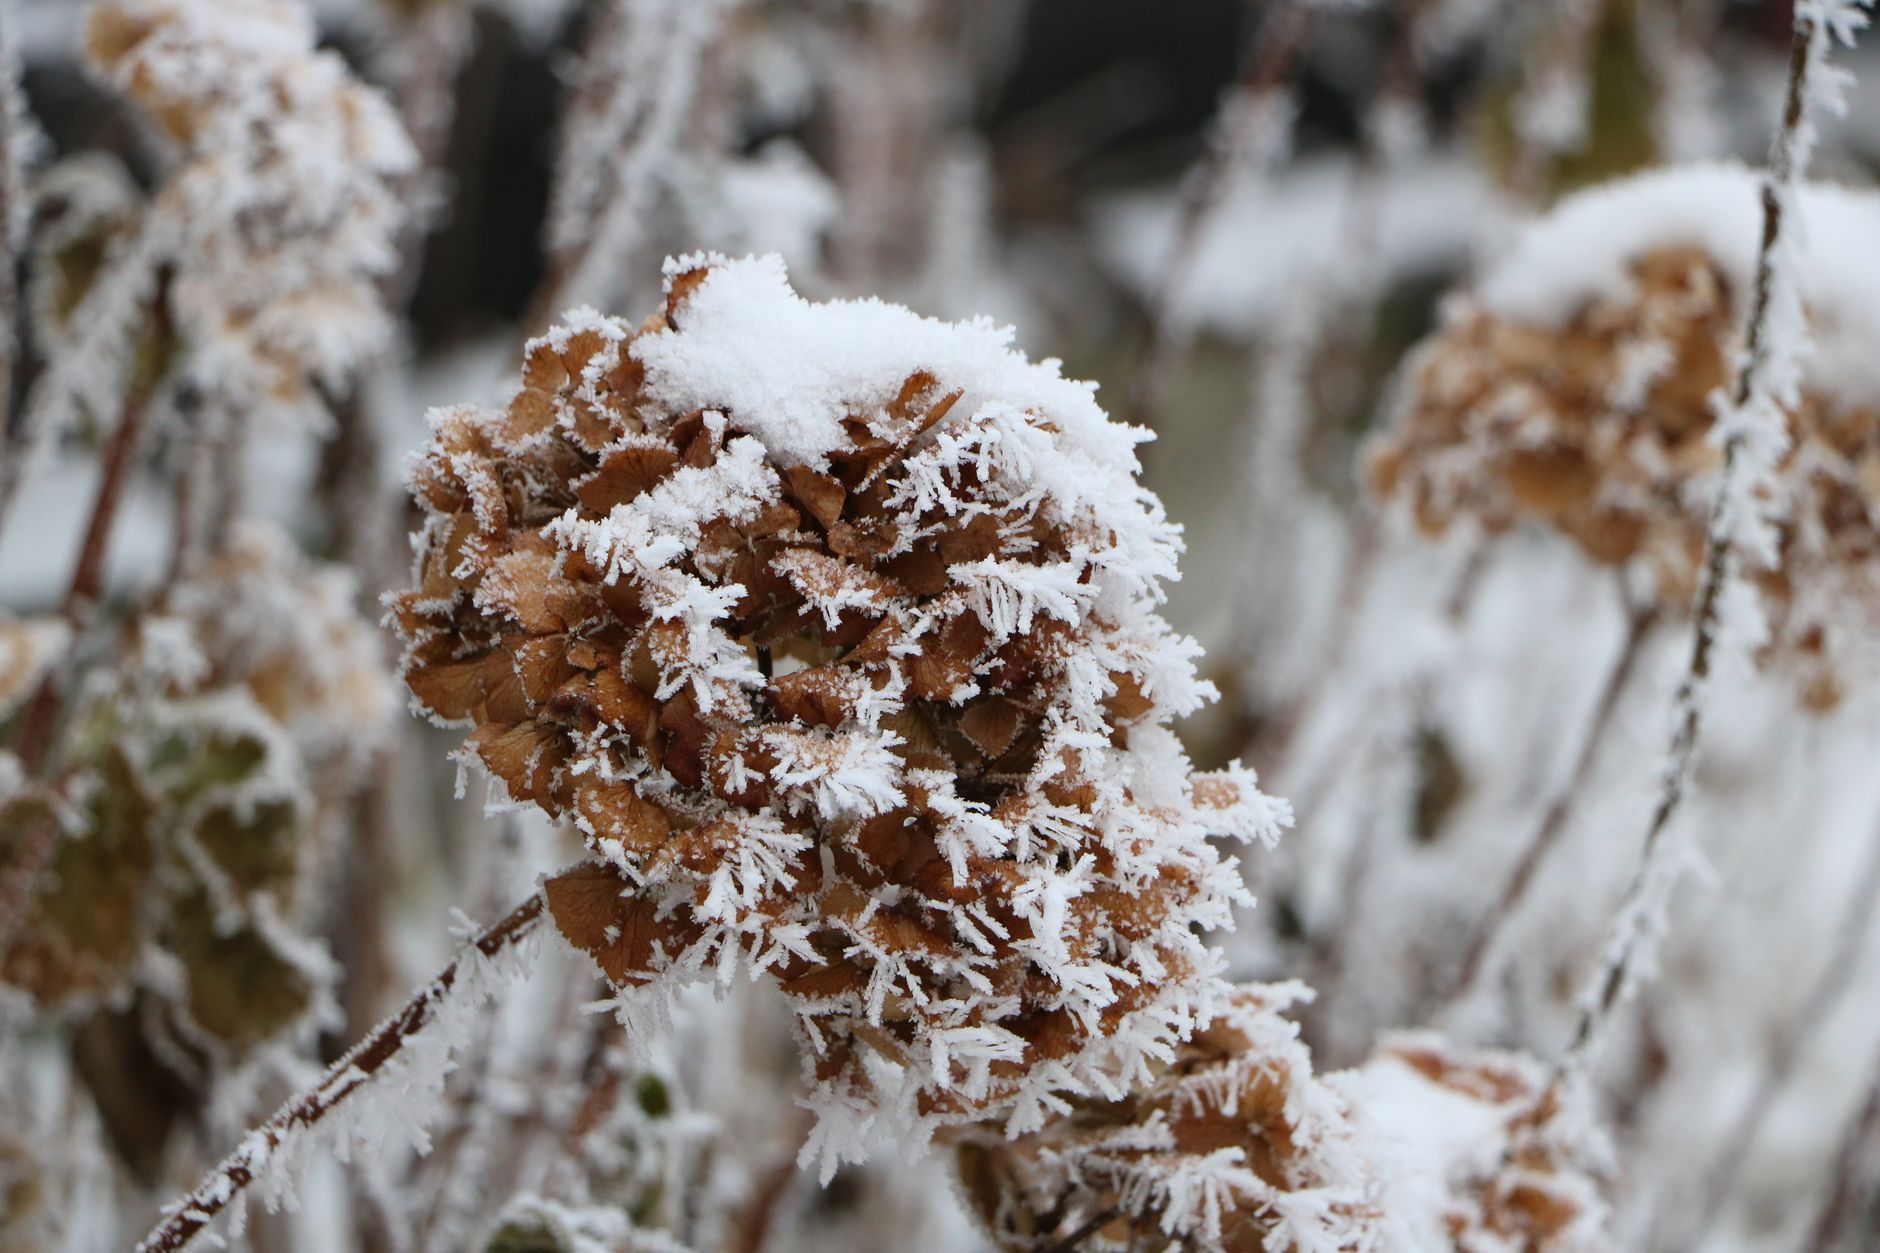
Oh, the sheer joy of spring in my UK garden! Those first vibrant shoots emerging, the promise of lush leaves and abundant blooms – it's a feeling every British gardener knows and cherishes. But then, bam! A late spring frost swoops in, and suddenly, that glorious potential looks like a soggy, disheartening mess. If you've woken up to see your beloved hydrangeas with droopy, blackened leaves or your hostas looking like wilted spinach, you're not alone. I’ve been there, more times than I care to admit, here in my 800 sq ft Midlands oasis.
I’m Randy Thompson, a 32-year-old former IT worker who traded debugging code for digging compost, and I've spent the last five years obsessively learning what works (and what definitely doesn't!) in our wonderfully unpredictable UK climate. My raised beds are packed, my greenhouse is bursting with heirloom tomatoes, and every corner of my backyard is an experiment in progress. This particular challenge – recovering from a late spring frost – is one I've faced with a heavy heart but also with determination.
It's crushing to see that tender new growth, which you've nurtured through the cold months, suddenly succumb to a surprise cold snap. But don't despair! I’ve learned through trial and error, and a fair few mistakes, that all is not lost. In this guide, I'm going to walk you through exactly how I tackle frost damage on my hydrangeas and hostas, sharing the practical steps and personal insights I've gathered from my own UK gardening adventures. My goal for you, just like for my own plants, is to get them back on track for a full, glorious display all season long. Let's get them thriving again!
Late Spring Frost: Understanding the Setback for Hydrangeas and Hostas in UK Gardens
There’s nothing quite like the rollercoaster of a British spring, is there? One minute you’re basking in glorious sunshine, planning your summer displays, and the next you’re scrambling to cover tender plants as the mercury plummets. I remember one particularly brutal May bank holiday here in the Midlands a couple of years back. I’d just put out some of my more advanced tomato seedlings (a mistake, I know, but I get so impatient!), and a sudden overnight dip to -2°C wiped them out. But it wasn't just the annuals; my established hydrangeas and hostas, which had just burst into their vibrant new growth, took a real hammering.
The problem with late spring frosts, especially for plants like hydrangeas and hostas, is timing. They’ve already broken dormancy, their sap is actively flowing, and they’re producing soft, lush, tender new growth. This growth is packed with water and lacks the hardened cell structure that older, more mature leaves possess. When temperatures drop below freezing, the water inside those delicate cells expands and forms ice crystals. This literally ruptures the cell walls, causing irreversible damage. It’s like a tiny, internal explosion happening across all that beautiful new foliage.
Here in the UK, our climate is notoriously fickle. We can have warm spells in April that trick plants into thinking winter is over, only for a cold air mass to sweep in from the North Sea or Siberia in May. My own garden, being slightly exposed on a gentle slope, seems to catch these late frosts more keenly than some sheltered spots. For hydrangeas, those developing flower buds are incredibly vulnerable. For hostas, it's those unfurling leaves that are so exquisitely tender. It's a frustrating setback, no doubt, but understanding why it happens helps us to better respond. The good news is, these plants are remarkably resilient, and with a bit of Randy's TLC, they’ll often bounce back.
Spotting the Signs: How to Identify Frost Damage on Hydrangea Buds and Hosta Leaves
After a frosty night, my first instinct is always to rush outside and assess the damage. But I've learned, often the hard way, that it's best to wait a day or two. Frost damage can take a little time to fully reveal itself, and you don't want to make hasty decisions. What looks like a bit of a wilt might develop into full-blown necrosis.
Before a frost, healthy new growth on both hydrangeas and hostas is usually vibrant green, turgid, and full of life. Hydrangea leaves will be unfurling cleanly, and their flower buds will be plump and firm, showing hints of their eventual colour. Hosta leaves will be tightly rolled, pushing up from the ground, or freshly unfurled, showcasing their characteristic textures and hues.
Once frost has struck, the signs are usually quite stark. For my hydrangeas, I typically see the tips of new shoots turning black or dark brown, almost as if they’ve been burnt. The young, tender leaves will often appear waterlogged, limp, and then quickly shrivel and blacken. The most heartbreaking sight is often the developing flower buds themselves, which can turn mushy, brown, or even completely black, collapsing at the slightest touch. I remember one year, my 'Endless Summer' hydrangea had a promising flush of blue buds, only for a late May frost to turn them all to sad, black blobs. Heartbreaking!
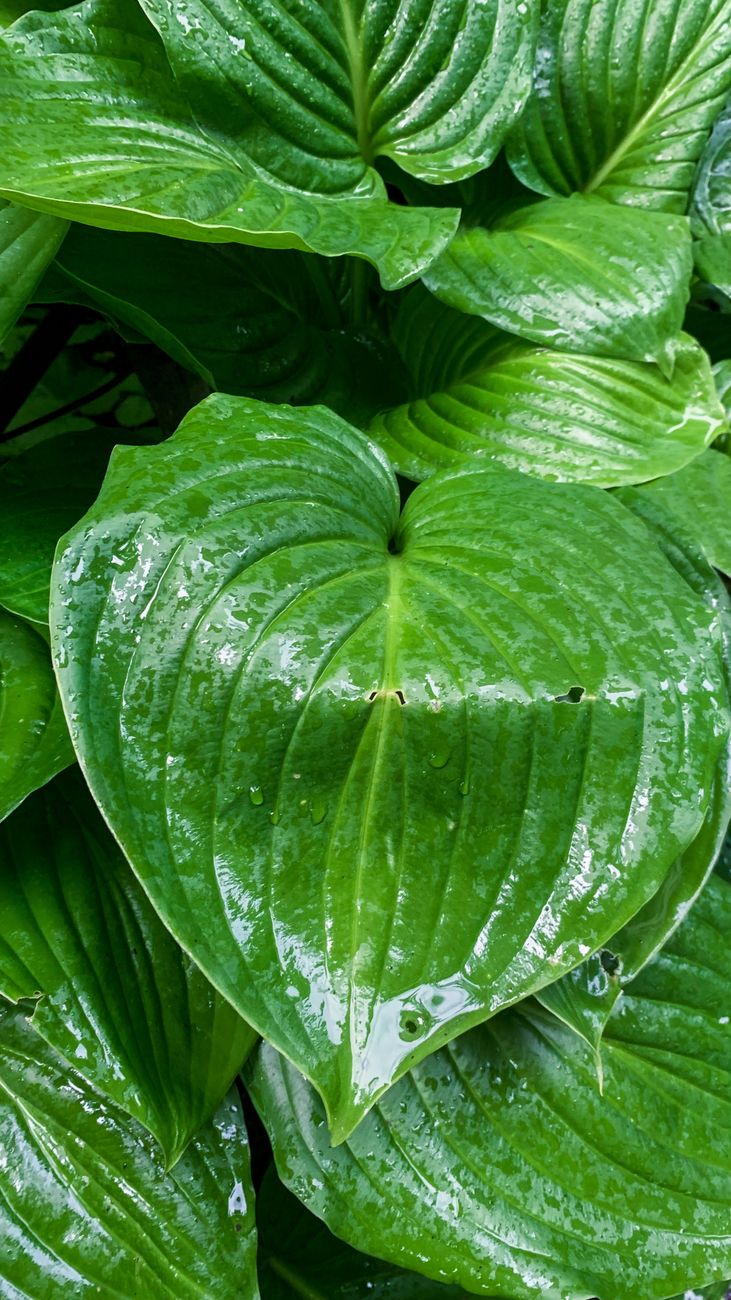
Hostas, in my experience, show damage a little differently but equally dramatically. Their newly unfurled leaves often become translucent, almost see-through, as if the life has been sucked out of them. The edges might turn brown, and the whole leaf can become soft and mushy, collapsing under its own weight or drooping dramatically. Sometimes, the stems supporting the leaves will also feel soft and weak. It’s a very distinct, sad-looking sight.
Here's a quick comparison to help you identify the damage in your own UK garden:
| Feature | Healthy New Growth (Pre-Frost) | Frost-Damaged Growth (Post-Frost) |
|---|---|---|
| Hydrangea Leaves | Vibrant green, firm, turgid, unfurling cleanly. | Darkened tips, waterlogged appearance, shrivelled, black/brown. |
| Hydrangea Buds | Plump, firm, showing early colour, intact. | Mushy, black/brown, collapsed, often detached easily. |
| Hosta Leaves | Tightly rolled, vibrant, firm, opaque, characteristic colour. | Translucent, soft, mushy, brown/black edges, drooping, collapsing. |
| Hosta Stems | Firm, upright, supportive. | Soft, weak, often unable to support the damaged leaf. |
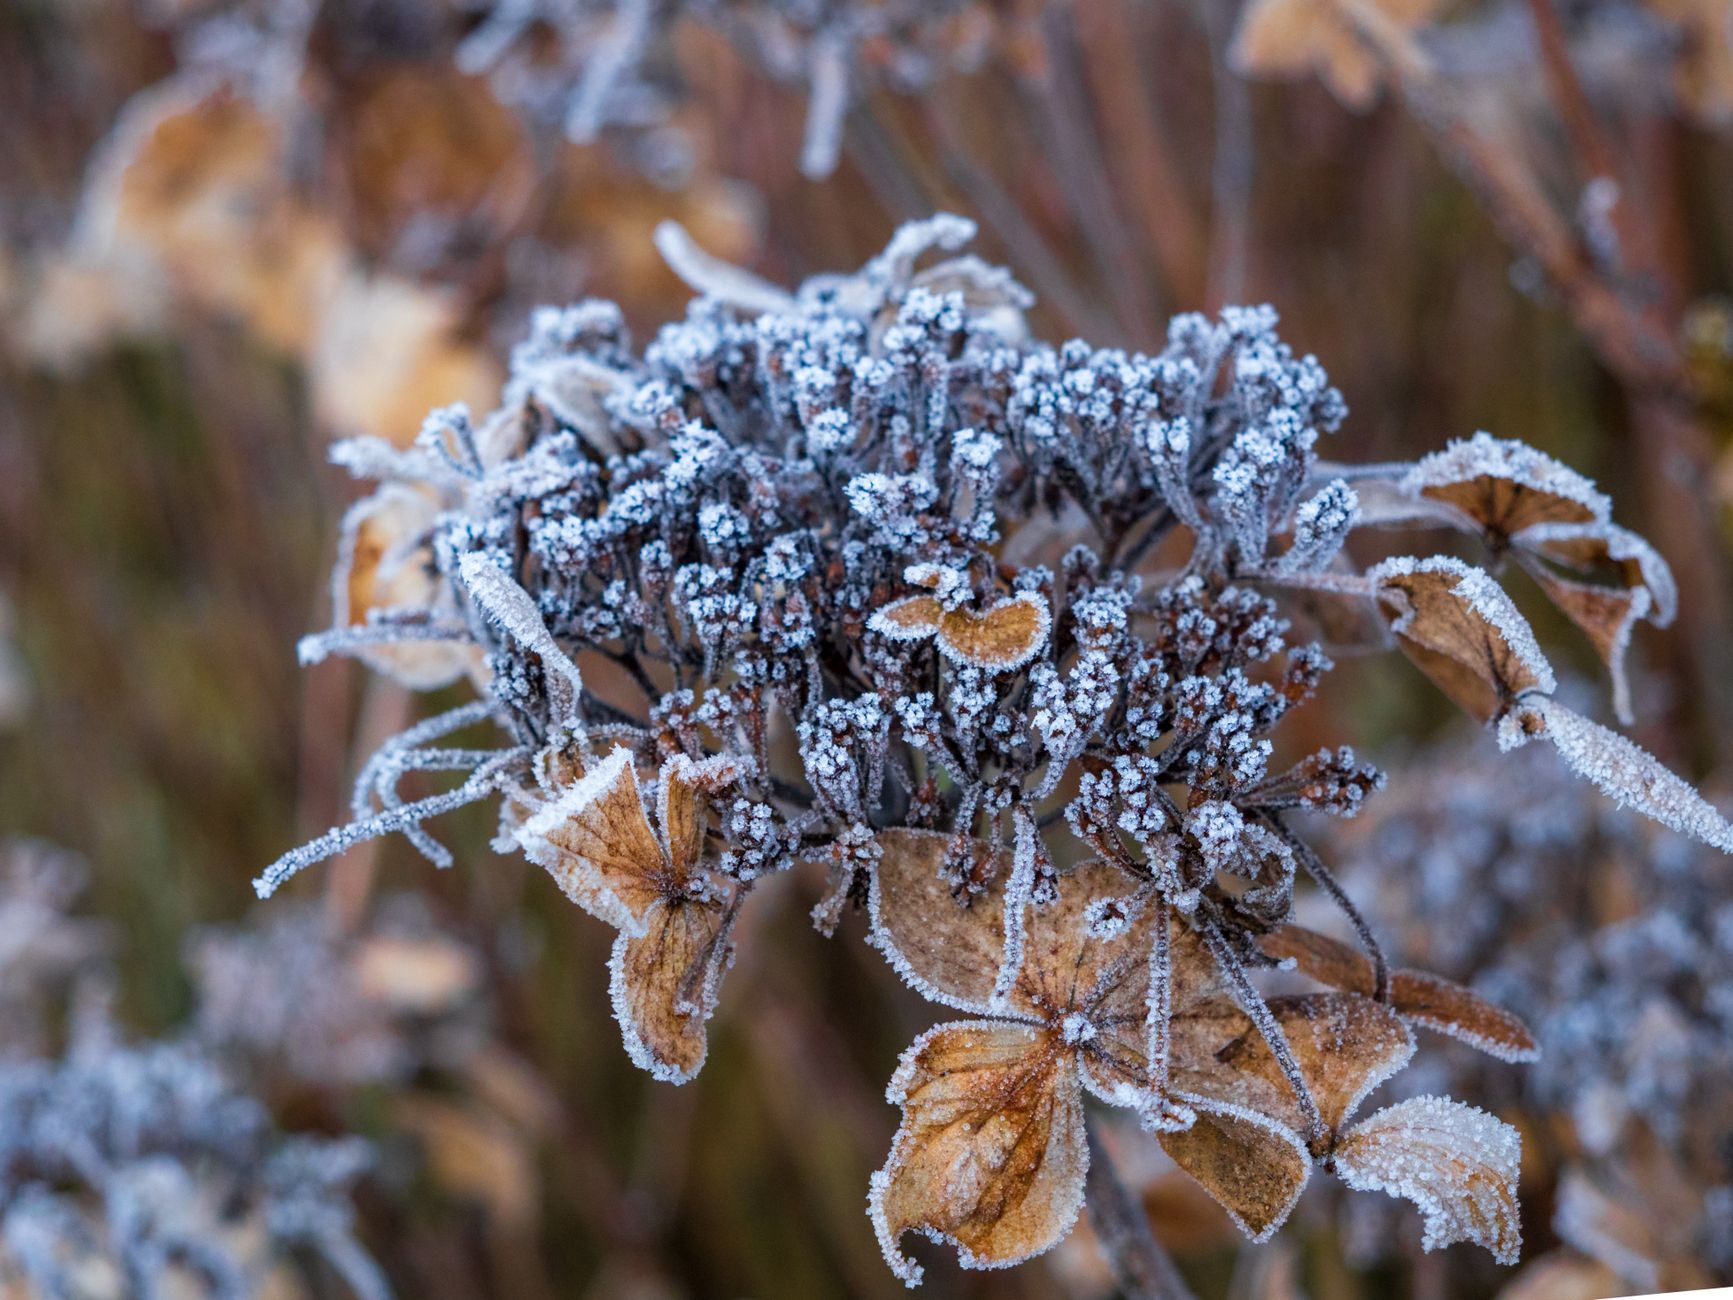
Immediate First Aid: Protecting and Supporting Your Plants Post-Frost
Now, this is where my IT background comes in handy – thinking logically and not panicking! My first mistake when I started gardening here in the UK was to immediately rush out with my secateurs after a frost. I thought I was being helpful, tidying up the mess. Big mistake! What I've learned through several seasons of trial and error is that immediate pruning can actually do more harm than good.
The most crucial piece of advice I can give you for post-frost care is patience. Your plants need time to delineate the damaged tissue from the healthy tissue. The plant will naturally wall off the areas that are completely dead. If you prune too soon, you might be cutting into tissue that is still viable and could recover, or you might confuse the plant's natural healing process. I've found it's best to wait at least a few days, sometimes even a week, before picking up the pruning shears. Let the plant show you exactly where the damage ends.
While you're waiting, focus on providing general support. Ensure your plants are adequately watered. A plant that is stressed by frost will benefit from consistent moisture, but don't overdo it. Water deeply at the base, allowing the soil to dry out slightly between waterings. This helps the plant recover and push out new growth without being waterlogged.
Another key "don't" from my experience: don't fertilize immediately. Your plants have just experienced a shock, and adding a strong dose of nutrients can actually stress them further. It's like asking someone who's just run a marathon to immediately run another one! Wait until you've pruned away the damaged growth and you start to see signs of healthy new growth emerging before considering a light, balanced feed.
If the forecast predicts another frost (oh, the joys of British weather forecasting!), then by all means, provide temporary protection. I always keep a roll of horticultural fleece handy in my shed. For hydrangeas, you can drape it directly over the plant, securing it at the base with pegs or bricks. For hostas, an upturned bucket or a cloche can work wonders. I remember one chilly April evening, after seeing the forecast drop to zero, I ended up covering my favourite 'Sum and Substance' hosta with a laundry basket and my 'Limelight' hydrangea with an old duvet. It might have looked ridiculous to the neighbours, but it worked! These measures are about prevention, not cure, but they're vital if you're facing a double whammy.
Finally, if the sun comes out blazing after a frosty night, consider providing a little temporary shade for your struggling plants. The sudden warmth can exacerbate damage on delicate, compromised tissue. A garden parasol or a temporary shade cloth can help reduce stress while your plants recover. It's all about giving them a gentle environment to recover in.
Precision Pruning: A Step-by-Step Guide to Removing Damaged Growth from Hydrangeas and Hostas
Alright, you've waited patiently, you've provided some TLC, and now, typically after about 3-7 days, the extent of the frost damage should be crystal clear. This is the moment for precision pruning. Before you start, always make sure your secateurs or snips are clean and sharp. I give mine a quick wipe down with rubbing alcohol between plants to prevent any disease spread – it's a habit I picked up early on and it's served me well.
Pruning Frost-Damaged Hydrangeas
For hydrangeas, the goal is to remove all the dead, blackened, and mushy material back to healthy tissue.
- Identify the Deadwood: Look for stems where the leaves have shrivelled and turned black, and where the tips of the branches are clearly dead. If you gently scrape the bark with your fingernail and it's brown underneath, it's likely dead.
- Locate Healthy Tissue: Follow the damaged stem downwards until you find a healthy, green section. Look for a healthy, plump bud or a set of healthy leaves emerging from a node.
- Make the Cut: Cut just above that healthy bud or leaf node. Make a clean, angled cut about ¼ inch (around 5-7mm) above the node. This encourages new growth from that point.
- Repeat as Necessary: Work your way around the plant, removing all visibly damaged parts. Don't be afraid to be decisive. While it might look bare for a bit, it’s better to remove the dead stuff so the plant can focus its energy on new, healthy growth.
I remember one year, I was too timid with my 'Annabelle' hydrangea after a late frost. I didn't cut back enough of the blackened stems, and the plant put out weak, straggly growth from just below the dead parts. It never really recovered that season. The next year, I was much bolder, cutting back hard to healthy wood, and it rewarded me with a fantastic display.
Pruning Frost-Damaged Hostas
Hostas are remarkably resilient, and pruning them is generally more straightforward.
- Identify Damaged Leaves: Look for any leaves that are translucent, mushy, collapsed, or have significant brown/black edges.
- Trace to the Base: Follow the stem of the damaged leaf right down to the crown of the plant, where it emerges from the ground.
- Make a Clean Cut: Using sharp snips, cut the entire damaged leaf stem as close to the crown as possible. You can sometimes gently pull them if they're very mushy, but a clean cut is usually best to avoid tearing healthy tissue.
- Remove All Affected Foliage: Continue until all the damaged leaves are removed. Your hosta might look a bit sparse, but trust me, it will put out new, fresh leaves from the crown. Hostas are incredibly forgiving, and I've seen them completely defoliated by slugs or frost, only to bounce back with a new flush of beautiful foliage a few weeks later.
Here's a comparison for precision pruning:
| Aspect | Hydrangea Pruning | Hosta Pruning |
|---|---|---|
| Tools | Sharp secateurs | Sharp snips or secateurs |
| Target Area | Blackened stem tips, shrivelled leaves, mushy buds. | Translucent, mushy, collapsed leaves. |
| Cut Point | Just above a healthy, outward-facing bud or leaf node. | As close to the crown/ground as possible for the entire leaf stem. |
| Resulting Growth | New shoots from dormant buds below the cut. | New leaves pushing up from the crown. |
| Key Principle | Remove deadwood to encourage new branching and flowering. | Remove damaged leaves to allow new, healthy leaves to emerge. |

Nourishing for Revival: Essential Nutrients and Watering for Strong New Shoots
Once you've done the crucial pruning, your plants have been through a bit of a shock, haven't they? They've put a lot of energy into that initial flush of growth, only for it to be zapped by the cold. Now, the goal is to support them in producing strong, healthy new shoots. For me, here in my 800 sq ft Midlands garden, this stage is all about gentle encouragement, not overwhelming them.
First up, feeding. My approach is less about blasting them with chemicals and more about providing a balanced diet. I've found that a good quality liquid seaweed feed is an absolute lifesaver at this point. I use Maxicrop Original Seaweed Extract – it's readily available here in the UK and works wonders. I mix it according to the instructions, usually a capful per gallon of water, and apply it every couple of weeks. It's not a strong fertiliser, but it's packed with trace elements and plant hormones that really boost root health and overall resilience, which is exactly what a stressed plant needs. I saw a huge difference in how quickly my Hydrangea 'Forever Pink' bounced back after a late May frost a couple of years ago when I regularly fed it with seaweed.
I also like to give them a gentle, balanced granular feed, something like a general-purpose NPK 7-7-7 or 5-5-5, scratched into the soil around the base. I'll do this once, maybe a week or two after the initial pruning, to provide a steady supply of nutrients for that new growth. One mistake I made when I first started out was thinking "more is better" after frost damage. I once overfed a Hosta 'Halcyon' with a high-nitrogen feed, hoping it would spring back faster. All it did was produce weak, leggy growth that was even more susceptible to slugs. Lesson learned: steady and balanced wins the race!

Then there's watering. This is absolutely critical, especially as the weather (hopefully!) warms up here in Britain. New shoots need consistent moisture to develop properly. I check the soil around my hydrangeas and hostas daily, sticking my finger about an inch or two deep. If it feels dry, they get a good drink. For my raised beds, which can dry out faster, I'm particularly vigilant. The key isn't constant saturation – we don't want waterlogged roots – but consistent moisture. My greenhouse heirloom tomatoes taught me a lot about consistent watering; it's the sudden shifts that stress plants, and these frost-damaged ones have already had enough stress!
Ongoing Care and Monitoring: Preventing Secondary Issues and Encouraging a Full Display
With new growth emerging, your plants aren't out of the woods entirely. This phase is all about vigilance and encouraging them towards a full, glorious display, despite their earlier setback. In my UK garden, I've learned that a keen eye is your best tool for preventing small issues from becoming big problems.
Firstly, pest patrol. Those tender new shoots are irresistible to slugs and snails, especially on hostas. After a frost, the plants are already weakened, so they're even more vulnerable. I'm out in my garden every evening, especially after rain, with my head torch on, doing a slug hunt. I've found that a combination of organic slug pellets (Ferric Phosphate-based ones, safe for wildlife) scattered sparingly and regularly checking under leaves for hidden critters works best. For my hydrangeas, I'm also watching for aphids on the new growth. A quick spray with a solution of washing-up liquid and water usually sorts them out if caught early.
Secondly, disease watch. Stressed plants can be more susceptible to fungal diseases. For hydrangeas, powdery mildew can be an issue, especially if the weather turns humid. Good air circulation is key, so if I notice any leaves overlapping too much, I'll gently thin them out. For hostas, generally, they're pretty robust, but keeping an eye out for any unusual spots or discolouration is always a good idea.
Thirdly, shaping and encouragement. As your hydrangeas put on new growth, keep an eye on their overall shape. If some branches are growing inwards or crisscrossing, a light prune can improve air circulation and direct energy to outward-facing buds. For hostas, it’s more about letting them do their thing, but removing any remaining tattered or struggling leaves that didn't get pruned earlier helps the plant focus its energy. Last year, after a late April frost had ravaged my 'Annabelle' hydrangea, I was so worried it wouldn't flower. But with consistent care, regular feeding, and removing any weak secondary shoots, it ended up producing a stunning, albeit slightly later, display of blooms. It just took a bit of patience and faith!
Long-Term Resilience: Protecting Your Hydrangeas and Hostas from Future Late Freezes
While we can't control the notoriously unpredictable British weather, we can certainly take steps to minimise the impact of future late spring freezes on our beloved hydrangeas and hostas. This is where my obsession with experimenting and learning really comes into play, finding what truly works here in the UK Midlands.
One of the most important factors is site selection. I always tell people, look at where you're planting. A sheltered spot, perhaps near a wall or under the canopy of a deciduous tree, can offer surprising protection. I learned this the hard way when I planted a beautiful Hydrangea macrophylla 'Nikko Blue' in an open, exposed part of my garden. Every late frost seemed to hit it hard, while its cousin, nestled closer to the house, barely blinked. It's about avoiding frost pockets where cold air settles.
Then there's variety choice. Some hydrangeas and hostas are simply hardier than others. For hydrangeas, look for varieties that bloom on new wood (like 'Annabelle' or panicle hydrangeas like 'Limelight') as they are much more forgiving of late frosts. Even if the initial growth is damaged, they'll still produce flowers later in the season. For hostas, generally, the thicker-leaved, more robust varieties tend to shrug off a light frost better.
Winter mulching is another trick I've found effective. While it's primarily for winter protection, a good, thick layer of organic mulch (like bark chips or well-rotted compost) around the base of your plants helps to insulate the soil. This can slightly delay spring growth, which is often a good thing as it means the delicate new shoots emerge a little later, potentially missing the worst of those late frosts. I usually apply a generous 3-4 inch layer around my hydrangeas in late autumn.
Finally, physical protection is your best friend when a late frost warning hits. This is where my IT background comes in handy – planning and quick deployment! I keep a roll of horticultural fleece handy by my shed, especially in March and April. When the forecast predicts a dip below freezing, I'm out there covering my vulnerable plants. For smaller hostas, an upturned bucket or cloche works a treat. For larger hydrangeas, I drape fleece over them, securing it with pegs or bricks so it doesn't blow away. Just remember to remove it once the danger has passed so the plants can breathe and get sunlight.
Here's a comparison of common protection methods I've used in my UK garden:
| Protection Method | Pros (in UK context) | Cons (in UK context) | Best For (My Experience) |
|---|---|---|---|
| Horticultural Fleece | Lightweight, breathable, good insulation, reusable. | Can be blown off by wind, needs securing. | Larger hydrangeas, raised beds. |
| Upturned Buckets/Pots | Simple, readily available, excellent for small plants. | Limited size, can look unsightly, needs daily removal. | Individual hostas, very small hydrangeas. |
| Cloches | Good protection, allows light, some ventilation options. | Can be expensive, limited size, often glass/fragile. | Precious or smaller hostas, early emerging plants. |
| Thick Mulch | Insulates soil, delays emergence, improves soil health. | Won't protect existing foliage from air frost, aesthetic. | Long-term soil protection, delaying very early growth. |
| Moving Potted Plants | 100% effective if moved indoors/shelter. | Only for potted plants, can be heavy. | Container-grown hydrangeas or hostas, my greenhouse tomatoes! |
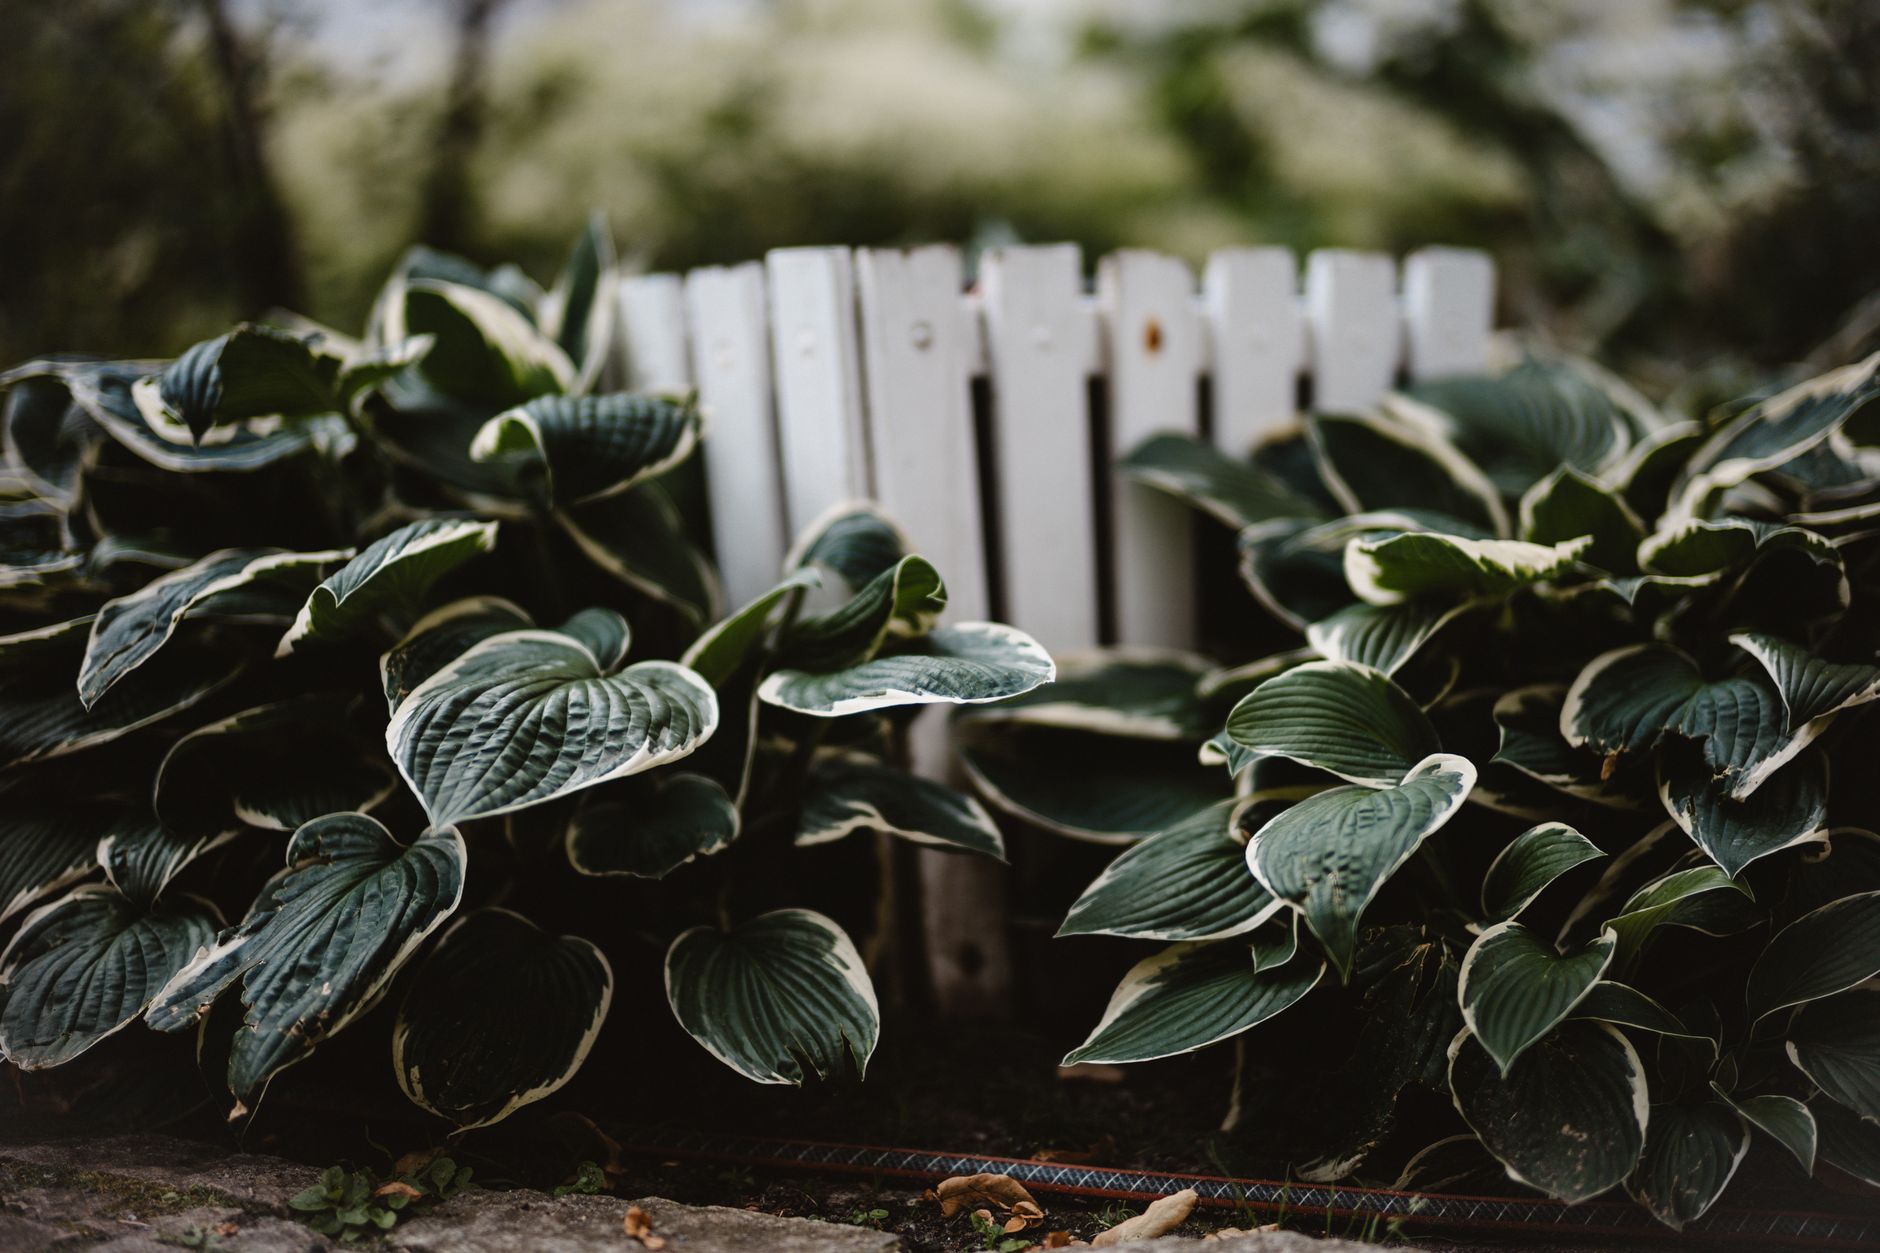
Conclusion: Don't Give Up on Your Frost-Kissed Plants!
Well, there we have it, fellow gardeners! Dealing with late spring frosts here in the UK can be utterly disheartening, can't it? I've stood in my Midlands garden more times than I care to admit, looking at blackened leaves and shrivelled buds, feeling that familiar pang of disappointment. But what I've learned over my five-plus years of intensive gardening is that our plants are incredibly resilient, and with a bit of knowledgeable care, they will bounce back.
The key takeaways? Don't panic! Take the time to accurately assess the damage, then prune with precision to remove only the truly dead parts. Follow that up with gentle nourishment and consistent watering to support the new growth. Keep a vigilant eye on them for pests and diseases, and finally, start thinking about long-term strategies to protect them from the next frosty surprise our British weather throws our way.
It's a journey, isn't it? From identifying the first signs of damage to seeing those vibrant new leaves unfurl, and eventually, hopefully, those glorious blooms appear. It’s a testament to the power of nature and our role as patient custodians. I’ve found that even if my hydrangeas bloom a little later than usual after a frost, the sheer joy of seeing them overcome adversity makes the display even more special.
So, don't give up on your frost-damaged hydrangeas and hostas. Give them the love and attention they need, and I promise you, they’ll reward you with beauty and a full season's display. We're all in this unpredictable UK gardening adventure together, learning and growing – sometimes literally – with every challenge. What's your experience with late frosts? I'd love to hear your stories and tips in the comments below! Happy gardening!
