Don't Despair! Turning a Failed Seed Starting Tray into a Second Chance Success
Right, let's be honest, we've all been there, haven't we? You lovingly sow those tiny seeds, envisioning rows of vibrant 'Moneymaker' tomatoes or a bounty of 'Hungarian Hot Wax' chillies filling your UK garden. You check them daily, hover over the tray like a hawk, and then... nothing. Or worse, a few straggly, pale seedlings that quickly keel over. It's soul-crushing, especially when you're trying to get a head start on those precious warm-season veggies here in the Midlands.
I know that feeling all too well. My first couple of years, when I was just transitioning from the world of IT to the wonderful, messy reality of my 800 sq ft backyard, I had more failed trays than I care to admit. I remember one particularly dismal spring trying to get my 'San Marzano' tomatoes going – a complete wash-out. I nearly threw in the trowel, convinced I just wasn't cut out for it. But here's the thing I've learned in my five-plus years of intensive gardening: failure isn't the end; it's just the first draft. And with our often-unpredictable British weather, it’s practically a rite of passage!
This time of year, as we push towards warmer weather (fingers crossed!), getting our warm-season darlings like tomatoes, peppers, chillies, and aubergines off to a strong start is crucial. If your first attempt at seed starting has gone pear-shaped, don't despair! This isn't a funeral for your gardening dreams; it's an opportunity to learn, adjust, and come back stronger. In this article, I'm going to walk you through how I approach salvaging a failed seed starting tray. We'll diagnose what went wrong, get your growing medium ready for round two, and talk about strategic re-sowing for that successful second attempt. Trust me, I've made all the mistakes so you don't have to – well, hopefully, some of them anyway!
Diagnosing What Went Wrong: Common Causes of Seed Starting Failure
Alright, before we even think about touching new seeds or compost, we need to play detective. This is where my old IT troubleshooting skills really come into their own – you can't fix a bug if you don't understand the root cause, right? In my UK garden, especially when starting seeds in the greenhouse or on windowsills, I've encountered almost every problem imaginable. From the 'Cherokee Purple' tomatoes that refused to sprout to the 'Sweet Banana' peppers that got leggy before they even had a chance, I’ve seen it all.
The key is to observe and think back to your process. Did you water too much, or not enough? Was the spot too cold, or perhaps too warm? Did you use old seeds you found at the back of the shed from three seasons ago? These are all common pitfalls, and honestly, I've been guilty of every single one. One year, I was so excited to get my 'Marmande' tomatoes going early that I put them on a windowsill that looked sunny, but it was actually a very draughty spot in our old house. Result? Patchy germination and stunted growth. Live and learn!
Here’s a table summarising the most common issues I've encountered and how to identify them, along with what I've found works best here in Britain for a successful second try.
| Problem | Randy's Observation/Experience in UK Garden | Potential Cause (Why it happens) | Solution for Second Attempt |
|---|---|---|---|
| No Germination | "My 'Sungold' seeds didn't pop at all, or only a couple did." | Old/non-viable seeds, too cold, too dry/wet, buried too deep/shallow. | Use fresh, reputable seeds. Ensure consistent warmth (heat mat often needed here in the Midlands). Maintain even moisture. Check recommended sowing depth on packet. |
| Leggy Seedlings | "My 'Moneymaker' tomatoes stretched for the sky, pale and spindly." | Insufficient light (too far from window/light), too much warmth without adequate light. | Provide strong, direct light immediately upon germination (grow lights close above, south-facing window). Slightly cooler temperatures once germinated. |
| Damping-Off Disease | "Suddenly, tiny seedlings toppled over, looking pinched at the soil line." | Overwatering, poor air circulation, unsterilised compost, high humidity. | Use fresh, sterile seed compost. Ensure good airflow (small fan helps). Bottom water to keep surface dry. Avoid overcrowding. |
| Slow/Stunted Growth | "My 'California Wonder' peppers just sat there, barely growing." | Too cold, nutrient deficiency (after true leaves), compacted soil, poor light. | Ensure consistent warmth. Start dilute liquid feed once true leaves appear. Use light, airy compost. Provide adequate light. |
| Mould/Fungus on Surface | "Green or white fuzz on the compost surface, especially on damp mornings." | Overwatering, poor air circulation, too humid, non-sterile compost. | Reduce watering frequency, improve ventilation (remove covers sooner). Ensure good drainage. |
| Pest Infestation | "Tiny flies buzzing around the seedlings, or aphids on new growth." | Fungus gnats (from damp compost), aphids attracted to tender growth. | Use sterile compost. Ensure good air circulation to dry surface. Use yellow sticky traps. Inspect regularly and act fast (e.g., neem oil spray). |
| Uneven Germination | "Some 'Ailsa Craig' tomatoes sprouted, others didn't, all in the same tray." | Inconsistent moisture, temperature fluctuations, varying seed quality/depth. | Ensure even watering and consistent temperature across the tray. Sow seeds at uniform depth. |
Understanding these issues is your first step to a better second attempt. Don't beat yourself up; our British climate, with its sudden temperature drops and often grey skies, makes seed starting a genuine challenge at times!
Revitalising Your Growing Medium: To Reuse or Refresh for Optimal Germination
So, you've diagnosed the problem. Now, what about that compost? This is a question I get asked a lot by fellow gardeners here in the UK: "Can I just reuse the compost from my failed tray, Randy?" My answer is always, "It depends, but generally, I'd err on the side of caution."
For a second attempt, especially with precious warm-season seeds, you want every advantage you can get. If your first failure was due to damping-off, mould, or pests, then absolutely do not reuse that compost directly. It's likely harbouring pathogens or pest eggs that will simply lead to another disaster. In such cases, I always recommend emptying the old compost into your general garden beds or compost heap – don't waste it entirely! – and starting fresh with a brand new bag of good quality seed starting compost.
However, if your failure was purely down to old seeds, incorrect watering, or temperature issues, and the compost looks clean, smells fresh, and isn't compacted or full of mould, you might be able to revitalise it. I've done this a few times, mainly when I've run out of fresh compost or if it's a smaller tray. The key is thorough preparation.
Here's how I approach it if I'm attempting to reuse:
- Sift and Inspect: Empty the compost out and run it through a fine sieve to remove any old root matter, debris, or unsprouted seeds. This also helps to aerate it.
- Sterilise (Optional but Recommended): If you're concerned about pathogens (which you should be!), you can sterilise the compost. The easiest way for a small batch is to spread it on a baking tray and bake it in the oven at about 90-100°C (200-210°F) for 30 minutes. Be warned, it will smell a bit! Let it cool completely.
- Enrich and Aerate: Seed compost can lose some of its structure and nutrients. I like to mix in about 10-20% fresh, good-quality multipurpose compost or a little vermiculite. This helps with drainage and aeration, which is absolutely vital for tiny roots. You might also add a tiny pinch of a balanced organic granular feed, but be very careful not to overdo it – young seedlings are sensitive!
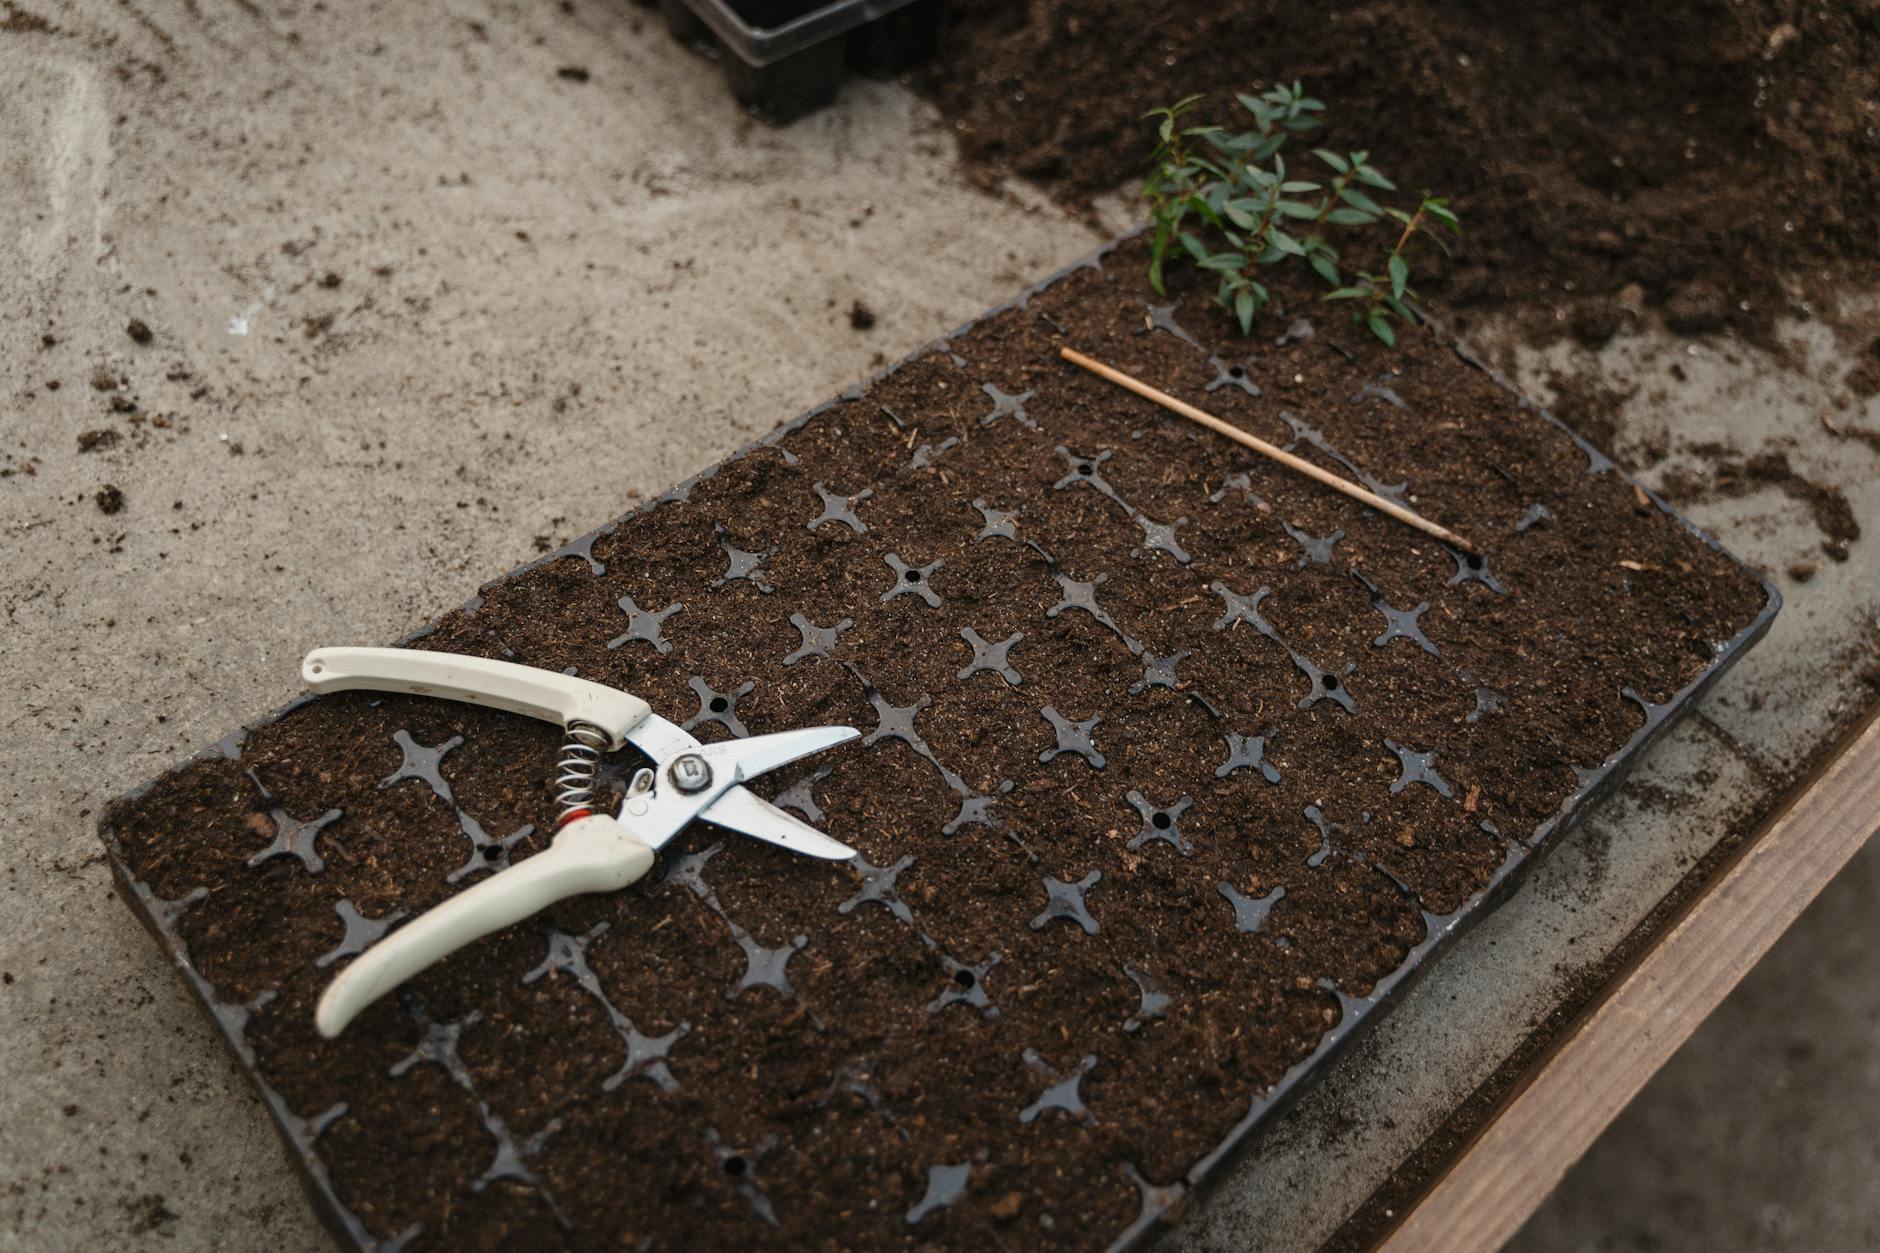
Honestly, for the best chance of success with those valuable warm-season seeds, my strong recommendation, based on years of trial and error in my Midlands garden, is to always use a fresh, high-quality seed starting compost. Look for a peat-free option specifically designed for seed sowing; they are usually finer in texture and have a lower nutrient content, which is perfect for germination. I've found that a good quality seed compost provides the ideal balance of drainage, moisture retention, and aeration that tiny seeds need to thrive in our often-fickle British spring. It's an investment that truly pays off.
Strategic Re-Sowing: Choosing Fresh Seeds and Improved Techniques for Success
Okay, you've diagnosed the problem, and your growing medium is ready. Now for the exciting part: the second chance! This isn't just about throwing seeds in the tray again; it's about being strategic, learning from your previous attempt, and implementing improved techniques.
First things first: fresh seeds. If your previous failure involved poor germination, and you used seeds from an old packet, ditch them. Seriously. Seed viability decreases over time, and trying to save a few quid on old seeds will cost you more in frustration and lost growing time. Invest in a new packet, ideally from a reputable UK supplier known for good germination rates. For my heirloom tomatoes in the greenhouse, like my beloved 'Black Krim' or 'Brandywine', I'm particularly fussy about fresh seed every year.
Now, let's talk about improved techniques. This is where those lessons learned really come into play:
- Read the Packet (Again!): Even if you've grown 'Gardener's Delight' tomatoes a hundred times, quickly re-read the sowing instructions. Pay attention to sowing depth and specific temperature requirements. Our British spring can be erratic, so don't assume conditions are ideal without checking.
- Sow Sparingly: Resist the urge to sow too many seeds in one cell. Overcrowding leads to competition for light, water, and nutrients, and also increases the risk of damping-off. I usually sow 2-3 seeds per cell for most warm-season veg like peppers and chillies, knowing I'll thin to the strongest one. For tomatoes, often just one or two is enough.
- Consistent Warmth (Crucial for UK): This is absolutely vital for warm-season veggies like chillies and aubergines here in the UK, where our ambient temperatures can still be quite cool in spring. If you don't have one, consider a heated propagation mat. I use one for all my greenhouse tomatoes and peppers, especially early in the season, and it makes a world of difference. Aim for the recommended temperature on the seed packet – often around 20-25°C (68-77°F).
- Bottom Watering is Your Friend: To prevent damping-off and encourage strong root growth, I almost exclusively bottom water my seedlings once they've germinated. Fill a tray with an inch or so of water and let the cells soak it up from below. Remove them once the surface of the compost darkens. This keeps the surface dry, deterring mould and pests.
- Gentle Firming: After sowing, gently firm the compost over the seeds. This ensures good seed-to-soil contact, which is essential for germination. Don't compact it heavily though, just a light press.
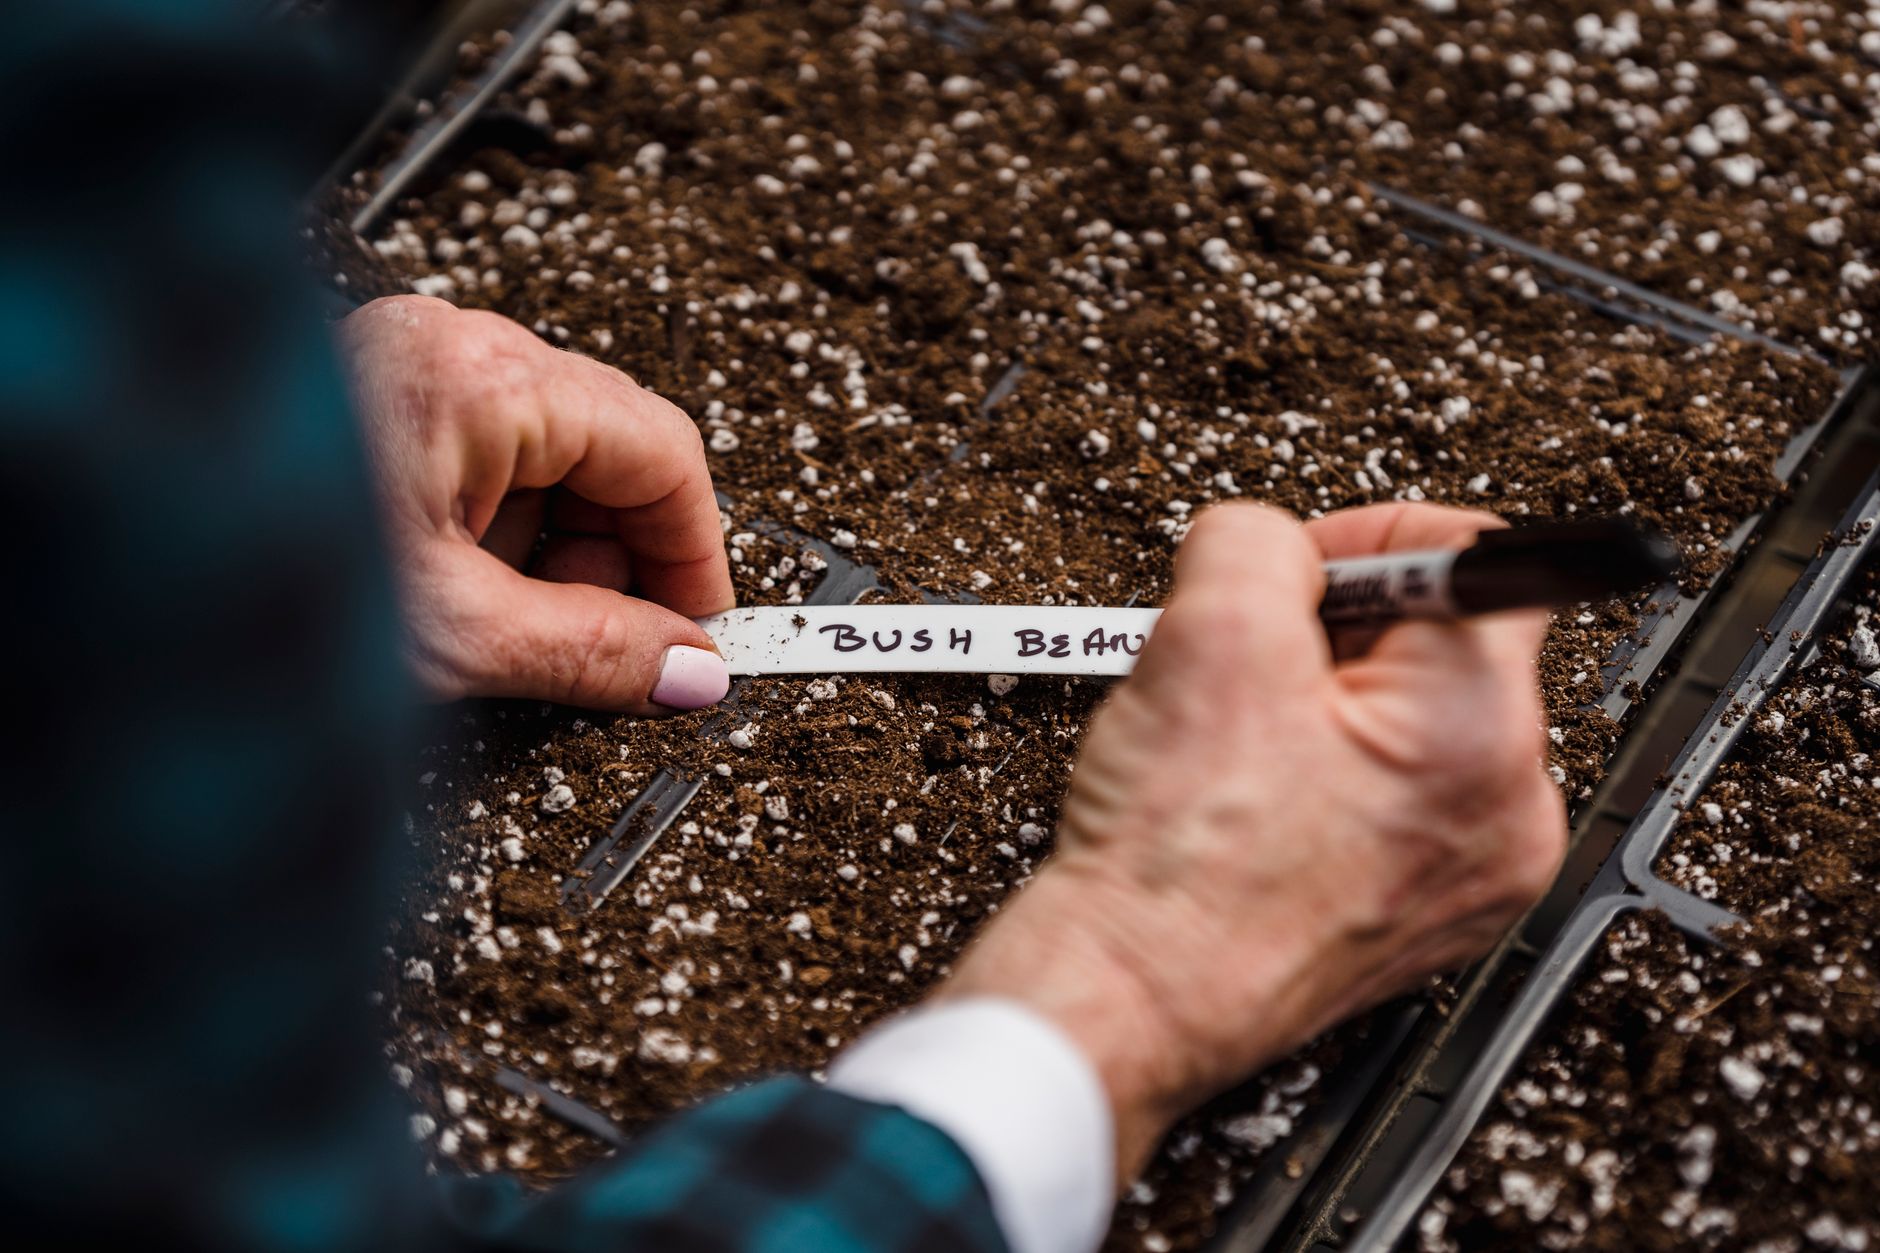
- Label Everything (Seriously!): I've learned this the hard way more times than I care to admit. You think you'll remember what's what, but once those little green shoots emerge, they all look the same! Use waterproof labels and a permanent marker. My greenhouse is full of them.
- Consistent Light, Airflow, and Monitoring: Once those precious seedlings emerge, get them under strong light immediately to prevent legginess. A dedicated grow light is ideal, positioned just a few inches above the seedlings. Ensure good air circulation (a small fan on a low setting for a few hours a day helps tremendously) and monitor moisture levels daily. Don't let them dry out, but don't drown them either.
Re-sowing might feel like a setback, but it's an opportunity to apply everything you've learned. I've often found that my second batches of 'Chocolate Habanero' chillies or 'Roma' tomatoes have been far more successful than the first, simply because I took the time to analyse and adjust. Here in my Midlands garden, facing down our sometimes-challenging British climate, that adaptability is what truly makes a successful gardener. You've got this!
Optimising Environmental Conditions: Light, Temperature & Humidity for Your Second Attempt
Right, with your fresh seeds in revitalised soil, it’s time to dial in the environment. This is where I've seen a lot of initial failures happen in my own UK garden, especially when we're trying to push warm-season veggies in a sometimes reluctant British spring. Getting the light, temperature, and humidity spot-on can make all the difference between leggy, weak seedlings and strong, bushy ones.
Light: The Fuel for Growth
This is probably the biggest challenge for us UK gardeners starting seeds indoors. Our natural light levels, even in late spring, can be surprisingly low, especially if you're relying on a north-facing windowsill. I learned this the hard way trying to start 'Cherokee Purple' tomatoes on my kitchen windowsill years ago – they stretched for the light like desperate toddlers reaching for a biscuit!
For your second attempt, I strongly recommend a dedicated grow light. Even a cheap LED grow light can make a world of difference. I've got a couple of full-spectrum LED panels in my spare room for early starts, and another smaller one in the greenhouse for when the weather is particularly grey. Aim for 14-16 hours of light a day, positioned just a few inches above the seedlings. If they start to stretch, lower the light a bit. What works here in Britain is consistent, strong light, not just whatever weak rays peek through the clouds.
Temperature: The Warm Hug Your Seeds Need
Warm-season veggies, as the name suggests, love warmth. Most of them germinate best at soil temperatures between 20-28°C (68-82°F). Once they've sprouted, they still prefer warmth, but slightly cooler (around 18-24°C / 64-75°F) is often better to prevent them from becoming too leggy and to encourage stronger root development.
In my Midlands garden, I use a heat mat for germination, which is a real game-changer. It warms the soil directly without heating the whole room, making it super efficient. Once the seeds have popped up, I move them off the heat mat, usually to a warmer spot in the spare room or into the greenhouse if it’s consistently mild enough (which, let's be honest, is a gamble in early spring here!). Watch out for sudden temperature drops overnight, which can really stress young plants.
Humidity: Keeping Things Moist, Not Soggy
High humidity is great for germination. It keeps the seed coat soft and helps the tiny root emerge without drying out. A clear plastic dome over your seed tray or even a sheet of cling film does the job perfectly. However, once those seedlings emerge, you need to reduce the humidity to prevent 'damping off', a nasty fungal disease that can wipe out a whole tray overnight.
I usually remove the dome as soon as I see the first tiny green shoots. Then, I ensure there's good air circulation – a small fan gently wafting air over the seedlings for a few hours a day can work wonders. What's crucial is finding that balance: keeping the soil moist but not waterlogged, and the air moving without drying out the plants too quickly.
Here’s a quick comparison of what you might have faced before versus what to aim for now:
| Environmental Factor | Common First Attempt Issue (UK) | Strategic Second Attempt Improvement |
|---|---|---|
| Light | Low light (north window), leggy plants | Full-spectrum LED grow light (14-16 hrs), 2-4 inches above seedlings |
| Temperature | Too cold/fluctuating temps, slow/no germination | Heat mat for germination (20-28°C), then consistent 18-24°C after sprouting |
| Humidity | Too low (dry air) or too high for too long (damping off) | Dome for germination, remove immediately after sprouting, ensure good air circulation |
Adjusting Your UK Warm-Season Veggie Schedule: Later Varieties & Protecting Young Plants
So, you've had a setback, and that means your planting schedule for those warm-season beauties is going to shift. Don't panic! This is where adapting to our unpredictable British climate really comes into play. I've had to re-sow cucumbers and courgettes more times than I care to admit after an unexpected late frost or a particularly cold snap in May. It just means being a bit smarter about variety choice and how you protect your plants.
Later Varieties for a Still-Abundant Harvest
The good news is that many warm-season veggies have varieties that mature faster. You might not get a massive harvest of those giant 'Beefsteak' tomatoes if you’re starting them in late April or early May for outdoors, but you can absolutely get a fantastic crop of smaller, quicker-maturing types.
For tomatoes, think 'Sungold', 'Gardeners Delight', or 'Siberia' for outdoor growing – they're much more forgiving of our slightly shorter growing season. If you're lucky enough to have a greenhouse like mine, you've got a bit more leeway, but even then, I'd lean towards reliable, early-fruiting greenhouse varieties like 'Shirley' or 'Moneymaker' if I was doing a late start.
Cucumbers and courgettes are fairly quick growers anyway, so a late start isn't usually a huge issue, just aim for reliable, well-tested UK varieties like 'Marketmore' cucumber or 'Black Beauty' courgette. Sweet peppers can be a bit trickier, but smaller, blockier types like 'California Wonder' can still perform well.
Protecting Your Precious Young Plants
This is absolutely CRUCIAL for a successful second attempt, especially if you're pushing the boundaries of the UK growing season. Our spring weather can be wildly inconsistent – one day it's glorious sunshine, the next it's a biting wind and hail!
My strategy in the Midlands is always to err on the side of caution. Even if you're transplanting later, those young plants will still benefit from some protection when they first go out. I use cloches for my outdoor tomatoes and courgettes for at least the first few weeks, and have fleece on standby for any unexpected cold nights, right up until late May, sometimes even early June. For seedlings transitioning from indoors to the greenhouse, I'll often keep them under a layer of fleece overnight if the forecast is chilly.

Here's how your schedule might look compared to an ideal early start:
| Aspect | Original Ideal Schedule (Early Start) | Adjusted Second Attempt Schedule (Later Start) |
|---|---|---|
| Tomato Sowing | Late March - Early April | Late April - Mid-May |
| Cucumber/Courgette Sowing | Mid-April - Early May | Early - Mid-May |
| Pepper Sowing | Early March (indoors/heated) | Late March - Early April (indoors/heated, focus on smaller varieties) |
| Variety Choice | Wide range, including longer-season heirloom tomatoes | Quicker-maturing, resilient UK-adapted varieties |
| Outdoor Planting | Late May - Early June (after last frost risk) | Early - Mid-June (ensure consistent warmth, may need extra protection) |
| Protection Needs | Hardening off, occasional fleece for early outdoor planting | More intensive hardening off, consistent use of cloches/fleece outdoors |
Ongoing Care and Troubleshooting for Resown Seedlings: What to Watch For
You've got a fresh start, strong seedlings emerging, and a revised plan. Now, it's about consistent, attentive care to get them to transplant size. This stage is less about grand gestures and more about daily diligence.
Watering: The Goldilocks Zone
This is where many new gardeners, and even I in my early days, made mistakes. Overwatering is probably the number one killer of young seedlings. It starves the roots of oxygen and encourages fungal diseases like damping off. Underwatering, on the other hand, stresses them, causing wilting and stunted growth.
The key is to let the top layer of soil dry out slightly before watering again. I always lift my seed trays – a light tray means it's time to water. I prefer to water from the bottom, by placing the tray in a larger tray filled with an inch or so of water, letting the compost wick it up. This encourages roots to grow downwards and keeps the foliage dry, which also helps prevent disease. Once the top feels moist, remove the tray from the water.
Feeding: A Little Boost
Seed starting compost usually has enough nutrients for the first few weeks. However, once your seedlings have developed their first set of true leaves (the second set of leaves that look like miniature versions of the adult plant), they'll start to need a little extra food.
I use a dilute liquid feed, typically a general-purpose organic one, at half strength, about once a week. Seaweed extract is a fantastic gentle option that I've found really helps with overall plant vigour here in my UK garden. Remember, it's better to underfeed slightly than to overfeed, which can burn delicate roots.
Thinning: Survival of the Fittest
If you've sown multiple seeds per cell or pot, you'll likely have more than one seedling emerge. This is where thinning comes in. It feels harsh, but it's essential. Each seedling needs space, light, and nutrients to grow strong.
I usually wait until the seedlings have their first true leaves, then I select the strongest, healthiest-looking one and gently snip off the others at soil level with a small pair of scissors. Don't pull them out, as you can disturb the roots of the chosen seedling. This is a critical step I never skip, even with my precious heirloom tomatoes.
Pests and Diseases: Early Detection is Key
Even indoors, seedlings can attract pests. Fungus gnats are common – those tiny black flies buzzing around. They're mostly harmless to plants, but their larvae can feed on delicate roots. Good air circulation and avoiding overwatering are your best defence. If they become a problem, yellow sticky traps work well, and I've found a dilute neem oil spray can help too, though I always test it on a leaf first.
Damping off, as mentioned, is the most feared disease. It causes seedlings to rot at the soil line and topple over. Prevention is key: sterile compost, good air circulation, and proper watering. If you spot it, remove affected seedlings immediately to prevent it from spreading.
Hardening Off: The Big Transition
Before your seedlings can brave the British outdoors, they need to 'harden off'. This is a gradual process of acclimatising them to harsher conditions – direct sun, wind, and cooler temperatures. Skipping this step is a common mistake I made when I first started, resulting in sad, sunburnt, or wind-whipped plants.
Start by placing them outdoors in a sheltered, shady spot for an hour or two on a mild day, increasing the time and exposure to sun and wind over 7-10 days. Bring them in overnight if temperatures are forecast to drop below 10°C (50°F). After a week or so, they'll be much tougher and ready for their final planting spot, whether that's in your raised beds, patio pots, or the greenhouse.
Conclusion: Embrace the Journey, Enjoy the Harvest!
So there you have it – a comprehensive guide to turning a seed-starting setback into a triumphant second attempt. We've covered diagnosing what went wrong, giving your soil a new lease of life, strategically re-sowing with fresh seeds, optimising those crucial environmental conditions, and adapting your schedule for a successful UK warm-season harvest.
Remember, gardening is a journey of continuous learning, and even after five years of intensive growing in my 800 sq ft Midlands garden, I still have my share of failures. The unpredictable British weather alone guarantees that! But it's these challenges that make the successes so much sweeter. Don't let a failed tray of seedlings deter you. Instead, use it as an opportunity to learn, refine your techniques, and come back stronger.
By taking these strategic steps, you're not just re-sowing seeds; you're cultivating resilience, patience, and a deeper understanding of your plants and our unique UK climate. The joy of harvesting your own home-grown tomatoes, peppers, or courgettes, knowing you overcame an initial hurdle, is truly unparalleled.
I'd love to hear about your experiences! Have you had to salvage a failed seed tray? What were your key takeaways or clever tricks you used in your UK garden? Share your stories in the comments below, and let's keep growing together. Happy gardening!
