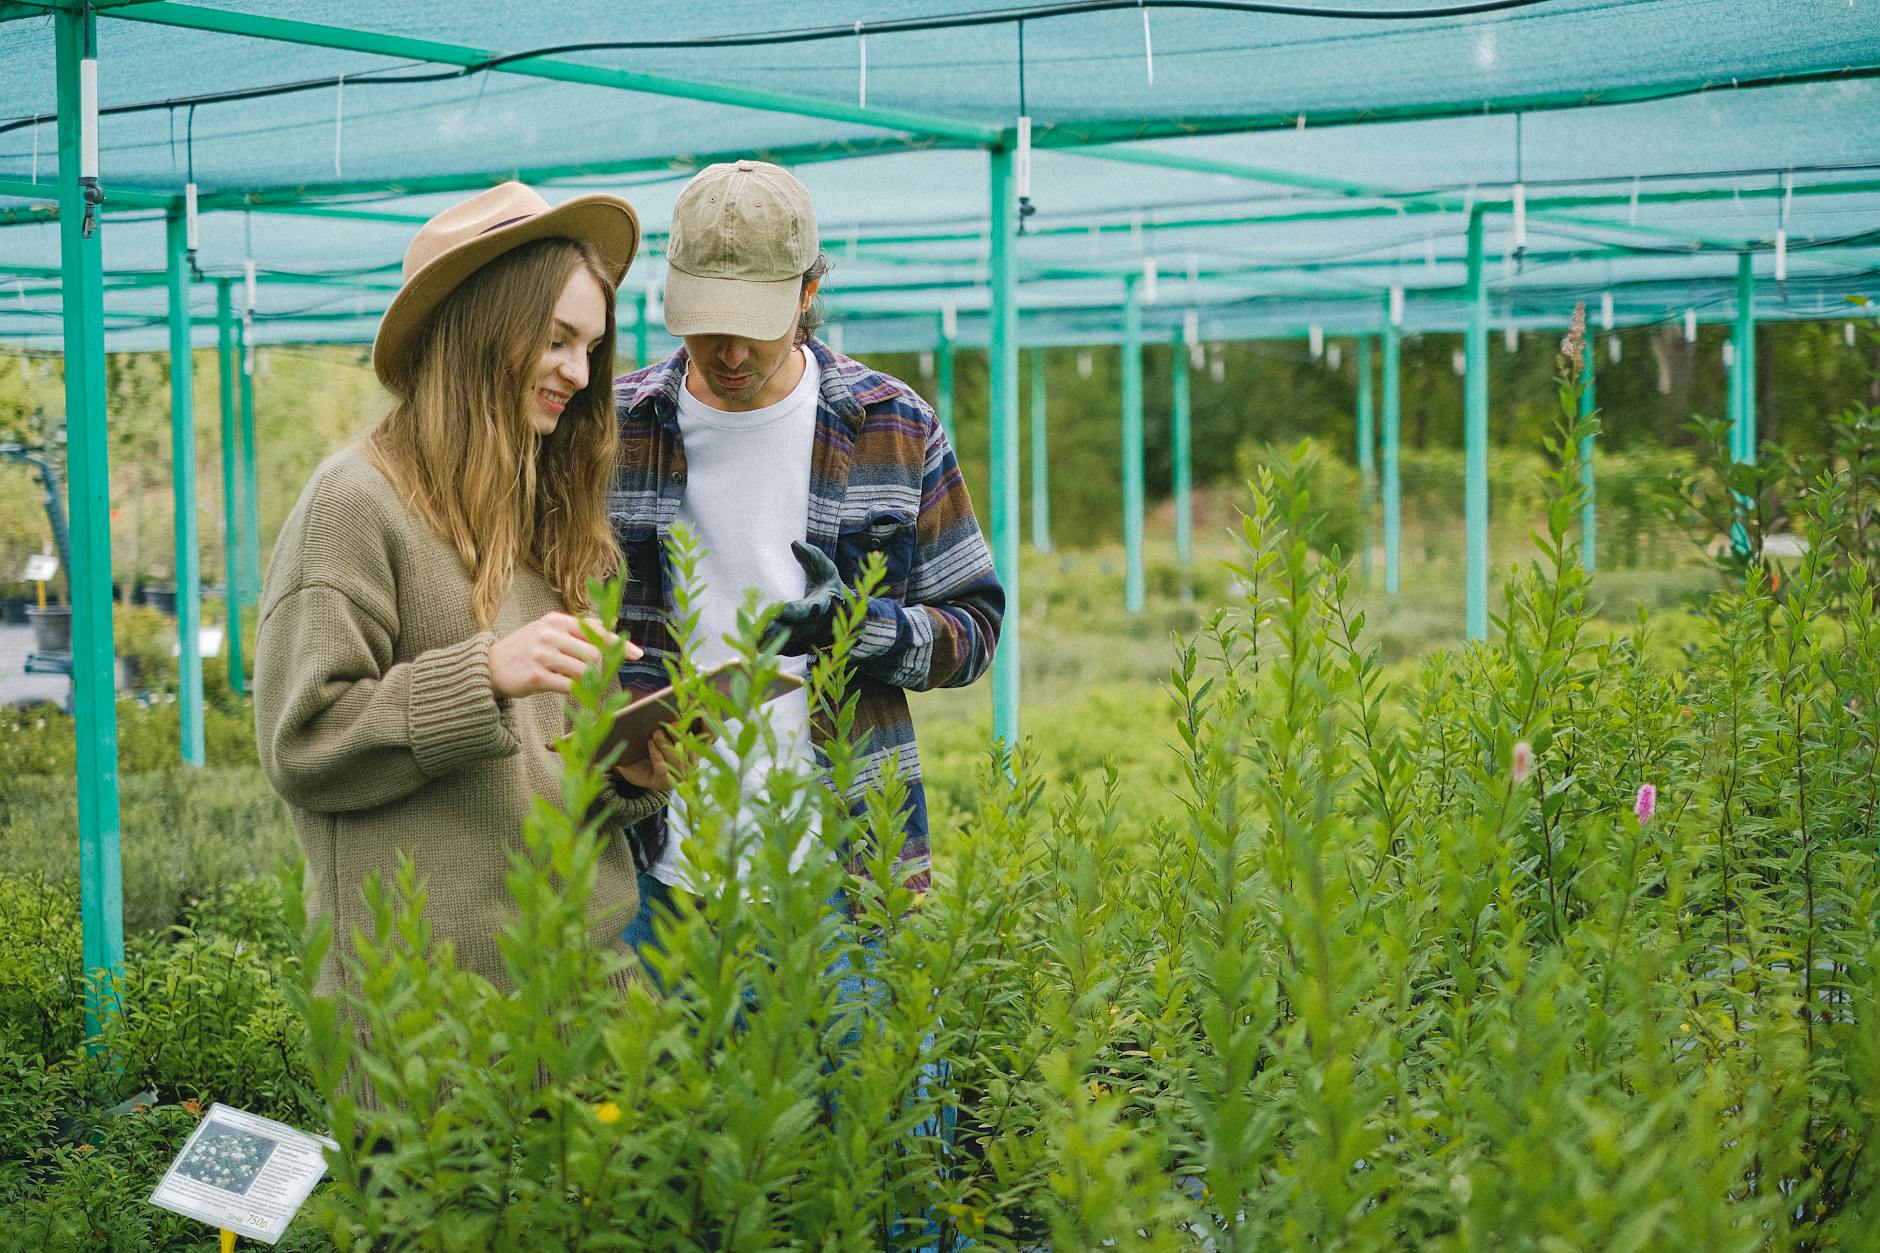
The Thrill of the Bargain & The Joy of Revival
There's a particular kind of buzz I get, a little flutter in my chest, when I walk into a garden centre and spot that section. You know the one, right? The "reduced to clear" aisle, where plants look a bit forlorn, a touch droopy, perhaps a leaf or two yellowing. To some, it's the plant graveyard; to me, Randy Thompson, a 32-year-old former IT drone who found his true calling among the soil and leaves of my 800 sq ft Midlands garden, it's a treasure hunt.
Five years ago, when I first swapped my keyboard for a spade and started really getting stuck into gardening here in the UK, I quickly realised a few things. Firstly, growing your own heirloom tomatoes in a British greenhouse is an absolute joy – 'Cherokee Purple' is my current obsession. Secondly, our unpredictable British weather can be a real challenge. And thirdly, saving a struggling plant from the bargain bin isn't just about saving a few quid (though my wallet certainly appreciates it!). It's about the satisfaction, the challenge, and the sheer joy of nurturing something back to vibrant health.
I’ve lost count of the number of times I've brought home a sad-looking specimen, often a herb that's been left to dry out, or a half-price pepper plant that's seen better days, and watched it flourish in my raised beds or greenhouse. It's an incredibly rewarding experience, transforming something that looked destined for the compost heap into a productive member of my little green family. It teaches you so much about resilience, about what plants truly need, and how to spot a fighter.
This article isn't just about getting cheap plants; it's about developing an eye for a survivor, understanding the critical care they need in those first few hours, and giving them the best chance to thrive in your own UK garden. Because let's be honest, we've all been tempted, and we've all probably made a few mistakes along the way. I certainly have! But with a bit of knowledge and a lot of passion, you can turn those discounted finds into gardening triumphs.
Spotting a Survivor: How to Evaluate Discounted Plants at the Nursery
Alright, let's get down to business. You're at the garden centre, cup of tea in hand (because it's a British garden centre, after all), and you're heading straight for the discount section. This isn't just a grab-and-go mission; it's an evaluation. Think of it like I used to debug code – systematic, looking for the underlying issues, not just the surface error. Over my five years of intensive gardening here in the Midlands, I’ve developed a pretty reliable checklist for assessing whether a plant is a genuine bargain or a one-way ticket to the compost bin.
The biggest mistake I made early on was being swayed by the price alone. I once bought a tray of 'Sungold' tomato seedlings that were half price, thinking I was getting a steal. Turns out, they were riddled with whitefly, and despite my best efforts, the infestation spread to other plants in my greenhouse. A hard lesson learned, but one that taught me the importance of a thorough inspection.
Here’s what I look for, focusing on the hidden clues that tell you if a plant has a fighting chance in your UK garden:
The "Randy's Rescue" Checklist:
- Leaves: Yes, they might be yellowing or a bit droopy – that's often why they're discounted. But look closer. Are there signs of active pests (aphids, spider mites, whitefly – all common here in the UK)? Are the leaves crispy brown around the edges, indicating severe desiccation, or are they mushy, suggesting root rot? A few yellow lower leaves are often just a sign of stress from inconsistent watering or being pot-bound, which is usually fixable. New, healthy growth emerging from the centre is a fantastic sign!
- Stems: Are they firm and intact, or are they snapped, squishy, or covered in mould? A snapped stem might mean the plant has lost a lot of its photosynthetic capacity, and squishy stems are a huge red flag for root rot.
- Potting Mix: This tells you a lot about its recent care. Is it bone dry and pulling away from the sides of the pot? Or is it waterlogged, smelling a bit stagnant, and maybe even showing signs of fungus gnats? Either extreme is bad, but bone-dry is often easier to fix than waterlogged, especially in our damp UK climate where fungal issues can quickly take hold.
- Roots (The Holy Grail): If you can, gently lift the plant a little out of its pot. This is the most crucial part of the inspection. Are the roots white, firm, and filling the pot (even if they're circling a bit)? That's generally a good sign. Are they brown, mushy, or completely absent? That's a deal-breaker. A plant with healthy roots, even if the top looks rough, has a much better chance of recovery.
- Overall Form: Is the plant ridiculously leggy and stretched, indicating it's been desperate for light? Or is it just a bit misshapen from being knocked about? Leggy plants can sometimes be pruned back, but if the whole structure is weak, it might not be worth the effort.
To make it easier, here's a comparison table I use in my head when I'm assessing those bargain plants:
| Feature | Good Sign (Worth Rescuing) | Bad Sign (Leave It Behind) | Randy's Reasoning for UK Gardeners |
|---|---|---|---|
| Leaves | Some yellowing/wilting (especially lower leaves), new growth present, no visible pests. | Widespread yellowing/browning, crispy or mushy, active pests (aphids, whitefly, mites), mould. | Yellowing/wilting is often water stress, easily fixed. New growth means life! Pests are a huge risk for my 800 sq ft garden and can spread quickly, especially in our often humid UK climate. Widespread mushiness indicates rot. |
| Stems | Firm, mostly intact, maybe a few snapped branches. | Squishy, brittle, snapped major stems, covered in mould or mildew. | Firmness indicates structural integrity. Snapped small branches can be pruned. Squishy stems are a sign of severe root rot or disease, which is very hard to reverse. Mould/mildew can spread to healthy plants. |
| Potting Mix | Bone dry (but not rock-hard), or slightly damp. | Waterlogged, stagnant smell, fungus gnats, pulling away severely. | Bone dry is often fixable with a good soak. Waterlogged soil, especially combined with cool UK temperatures, leads to root rot quickly. Fungus gnats indicate persistent dampness and potential root issues. |
| Roots | Visible white/cream, firm, filling the pot (can be circling). | Brown, mushy, brittle, few/no roots visible, foul smell. | Healthy roots are the engine of the plant. Even if pot-bound, white roots show vitality. Brown/mushy roots mean extensive rot, which is almost impossible to recover from, particularly for plants like tomatoes or peppers that need a strong root system. |
| Overall Plant | A bit leggy, slightly lopsided, but good core structure. | Severely stunted, extremely leggy with weak stems, heavy defoliation, major broken branches. | Minor aesthetic issues can be pruned or grown out. A fundamentally weak or damaged plant structure means it will struggle to establish, especially if it then has to contend with our variable British weather. |
| Pests/Disease | None visible. | Any visible signs of pests (webs, sticky residue, insects) or fungal spots/mildew. | Absolute deal-breaker. I've learned the hard way; bringing home a diseased or infested plant risks your entire healthy garden. It's simply not worth the risk, no matter the bargain, for my small, packed garden. |
The Critical First Hours: Initial Care Upon Arriving Home
You've made your selection, paid your ridiculously low price, and now you're home with your new rescue plant. This is the critical juncture, the "plant emergency room," if you will. The first few hours and days are absolutely vital for giving your stressed find the best possible chance of recovery here in your UK garden. I've had plants that looked on the brink of death bounce back beautifully because of prompt, careful attention, and others that withered away because I got this stage wrong.
One mistake I made early on was immediately repotting a severely stressed plant into a huge new container and drenching it. It was too much shock, too soon, and the plant just sat there, sulking, then eventually expired. I've since learned a more measured approach.
Here's my routine the moment a discounted plant enters my 800 sq ft Midlands garden:
Isolation is Key (My Greenhouse is My Ward): This is non-negotiable. Before anything else, your new plant needs to be isolated from your existing plants. I take mine straight into my greenhouse, but a shed, a spare room, or even a corner of the patio away from others will do. Why? Pests and diseases. You don't want to risk introducing anything nasty to your thriving garden. Even after a thorough check at the nursery, things can be hidden.
Initial Re-Assessment & Gentle Watering: Now that it's home, out of the busy garden centre environment, give it another close inspection. Then, address its immediate needs, which is almost always water. If the soil is bone dry, I place the whole pot in a tray of water for 20-30 minutes, letting it soak up from the bottom. This rehydrates the soil thoroughly without washing away nutrients from the top or compacting the soil. For slightly damp but still stressed plants, a gentle top watering with room-temperature water is fine. Avoid overwatering a plant that's already soggy – let it dry out a bit first.
To Repot or Not to Repot? (That is the Question): This is where careful judgment comes in.
- Wait: If the plant is severely wilted, barely clinging to life, or the roots look okay but the foliage is very stressed, I usually wait a day or two. Let it recover from the shock of transport and get some moisture.
- Repot Immediately: I'll repot straight away if the pot is severely damaged, roots are completely exposed, or if the plant is extremely root-bound (roots circling so tightly it's a solid mass, though still healthy). When I do repot, I choose a pot only one size larger (e.g., from a 9cm to an 11cm), not a huge jump. Use a good quality, fresh, peat-free multi-purpose compost suitable for UK conditions. I've found a brand like John Innes No. 2 works wonders for most of my rescues.

Caption: Gently repotting a stressed plant into fresh compost, ensuring minimal disturbance to the existing root ball.
Pruning for Recovery: Carefully snip off any completely dead, crispy, or diseased leaves and stems. Use sharp, clean secateurs. This isn't about cosmetic improvement; it's about directing the plant's limited energy towards new, healthy growth rather than trying to sustain dying parts. Don't go overboard; leave as much healthy foliage as possible for photosynthesis.
Location, Location, Location: Once watered and potentially repotted, place your rescue plant in a sheltered, semi-shady spot. Avoid direct, harsh sunlight for the first few days, even if it's been in full sun at the nursery. Its system is in shock, and intense light can exacerbate stress. My greenhouse provides the perfect environment – bright but protected from the elements, especially our often chilly British winds.
No Feeding Yet: Resist the urge to fertilise! A stressed plant isn't ready for a nutrient boost. It needs time to recover its root system and adjust. Feeding too soon can actually burn delicate roots and cause more harm than good. I typically wait at least a week, often two, before considering a very diluted feed.
Pest Patrol (Round Two): While it's in isolation, continue to monitor daily for any signs of pests or diseases. Catching them early is crucial. I keep a small spray bottle with a mild horticultural soap solution handy, just in case.
These first few hours set the stage. With a little patience and the right initial care, you'll be amazed at how quickly these discounted finds can perk up and begin their journey towards becoming productive, happy members of your UK garden.
Rehabilitation Regime: Nurturing Your Plant Back to Health
Once your bargain plant has settled in after that crucial initial care, it's time to kickstart its rehabilitation. This isn't about rushing; it’s about gentle, consistent care tailored to its needs. Think of it like a convalescence period – they need a bit of TLC before they’re ready to sprint. I've learned this the hard way many times, trying to push a struggling plant too fast. Slow and steady really does win the race here in my UK garden.
The core pillars of rehabilitation are light, water, and appropriate nutrition, all whilst keeping a close eye out for any lingering pests.
Light and Location: Finding the Sweet Spot
For most stressed plants, direct, harsh sunlight can be too much initially. Their leaves might be scorched or simply not ready for the intensity. I usually start them in a bright, but indirect spot – perhaps on a bench in my greenhouse where the light is filtered, or in a sheltered, north-facing spot outside if the weather is mild here in the Midlands. After a week or so, once I see signs of new growth, I'll gradually introduce them to more light, bit by bit. For example, a sun-loving tomato I rescued might spend a few days under the greenhouse staging before moving to the main bench.
Watering Wisdom: Not Too Much, Not Too Little
This is where many new gardeners (and I’ve been there!) make mistakes, especially with sad-looking plants. Our instinct is to drown them in kindness, but overwatering can be just as fatal as underwatering, leading to root rot. I always check the soil moisture by sticking my finger a good inch or two deep. If it feels damp, I leave it. If it’s dry, I water thoroughly until it drains from the bottom, then let it dry out again. For a really waterlogged plant, I might even gently remove it from its pot, wrap the rootball in newspaper for a few hours to wick away excess moisture, then repot it into slightly drier compost.
Feeding for Recovery: A Gentle Boost
A stressed plant doesn’t need a massive shot of high-nitrogen feed. It needs gentle encouragement to produce new roots and leaves. I usually wait a week or two after bringing them home before I feed, and then I opt for a diluted, balanced liquid feed. Something like a seaweed extract or a general-purpose organic feed at half strength works wonders. It provides essential trace elements without overwhelming their systems. I’ve found that a strong chemical feed can sometimes shock them further, especially in our often-variable British climate.
Pest Patrol: Don't Let Them Linger
Those bargain bins are notorious for harbouring hitchhikers. Keep checking your plants daily for any signs of aphids, whitefly, or spider mites. If you spot anything, act fast. I usually start with a strong jet of water to dislodge them or use a homemade garlic spray. For persistent problems, a gentle insecticidal soap, applied correctly, can save the day. The sooner you deal with them, the less stress on your recovering plant – and the less chance they have of spreading to your established garden residents!
Here’s a quick comparison of the rehabilitation steps:
| Aspect | Initial (First 2-3 Weeks) | Moderate (Weeks 3-6, or until stable growth) |
|---|---|---|
| Location | Sheltered, bright indirect light (e.g., shaded greenhouse corner, north-facing patio) | Gradually introduce to more sunlight, moving towards its final light preference. |
| Watering | Check soil daily, water only when top 1-2 inches are dry. Ensure good drainage. Avoid soggy soil. | Continue checking soil moisture. As plant recovers, it may need slightly more frequent watering. |
| Feeding | None for the first week. Then, a highly diluted (quarter to half strength) balanced liquid feed (e.g., seaweed extract). | Increase feed strength to half or full strength, depending on product. Focus on promoting root and leaf growth. |
| Pest/Disease | Daily inspection. Treat immediately with organic or gentle methods (water spray, soap spray). | Continue regular checks. Maintain vigilance as plant strengthens. |
| Repotting | Only if root-bound or in truly terrible compost. Go up one pot size. | Consider if needed for continued growth, or if roots are clearly outgrowing the pot. |
Preparing for Their Forever Home: Acclimatisation and Planting Out
Once your rescued plant is showing clear signs of robust new growth – healthy leaves, perhaps even a flower bud or two – it’s time to think about its permanent spot in your garden. This transition is crucial, especially here in the UK with our often-unpredictable weather. You can't just plonk a greenhouse-reared plant straight into a blustery, cold garden border!
The Art of Hardening Off: A UK Must-Do
Hardening off is the process of gradually acclimatising your plant to outdoor conditions. It makes them tougher, more resilient to wind, rain, and temperature fluctuations. I learned this the hard way one spring when I put out some lovely courgette plants too early – a sudden cold snap here in the Midlands left them stunted and sad.
My routine usually spans 7-10 days:
- Day 1-3: Place the plant outside in a very sheltered, shady spot for a few hours during the warmest part of the day. Bring it in overnight.
- Day 4-6: Move it to a slightly brighter, still sheltered spot, leaving it out for longer periods, perhaps even overnight if there’s no frost predicted. I keep a close eye on the overnight temperatures, especially in early May here in my garden.
- Day 7-10: Leave it out day and night in a spot similar to its final destination.
During this time, keep watering regularly, as plants dry out faster outside. After about a week, they should be ready for their new home.
Soil Preparation: Setting the Stage for Success
While your plant is hardening off, get its new home ready. For my raised beds, this means digging in plenty of well-rotted compost or manure – about a bucketful per square metre. This improves drainage, adds nutrients, and creates a lovely, friable soil structure that roots love. If you're planting into pots, choose one that's a good size for the mature plant and fill it with a high-quality, peat-free multi-purpose compost. I always add a handful of slow-release organic fertiliser to my raised beds at this stage, giving my plants a gentle, long-term nutrient boost.
Planting Out: The Big Move
Once hardened off and the soil is ready, it’s time for planting!
- Dig a Hole: Make it twice as wide as your plant's rootball and just as deep.
- Remove from Pot: Gently tap the plant out of its temporary pot. If the roots are circling tightly, tease them out gently with your fingers to encourage them to spread into the new soil.
- Position: Place the plant in the hole so that the top of its rootball is level with the surrounding soil. For tomatoes, I often plant them a little deeper to encourage more root growth along the stem.
- Backfill: Fill the hole with the prepared soil, firming gently around the base of the plant to remove any air pockets.
- Water In: Give it a really good drink immediately after planting. This helps settle the soil around the roots and gives the plant a vital boost.

Thriving Beyond the Bargain: Long-Term Care and Continued Success
Getting your discounted find into its forever home is a huge milestone, but the journey doesn't end there. Now it's about helping it truly thrive, becoming a productive and beautiful member of your UK garden. I always feel an extra sense of pride watching a plant I've rescued flourish – it's a testament to perseverance, both the plant's and mine!
Consistent Care: The Foundation of Growth
- Watering: Establish a consistent watering routine. Most plants prefer deep, infrequent watering over shallow, frequent sprinkles. Stick your finger in the soil – if it feels dry, water. During hot, dry spells here in the UK, especially for plants in pots or my thirsty greenhouse tomatoes, I might be watering daily.
- Feeding: As your plant grows, its nutritional needs will increase. I usually switch to a feed tailored to the plant's stage – a tomato feed once my 'Moneymaker' plants start flowering, or a general balanced feed for herbs and leafy greens every couple of weeks.
- Pest and Disease Watch: Stay vigilant! Regular checks mean you can catch problems early. I often walk around my 800 sq ft garden with a cup of tea, just observing. Slugs are a constant battle here in the Midlands, especially after rain, and I find a nightly patrol with a head torch surprisingly effective!
Training and Support: Guiding Their Growth
For many plants, especially vegetables like my beloved heirloom tomatoes or climbing beans, ongoing training and support are essential. I use canes, stakes, or string to support my greenhouse tomatoes as they grow, pinching out side shoots to direct their energy into fruit production. For bushy plants, judicious pruning can improve air circulation and encourage more flowers or fruit. Don't be afraid to snip – it often leads to a healthier, more productive plant in the long run.
Celebrating the Wins (and Learning from the Losses)
Not every bargain plant will make it. I’ve definitely had my share of losses over the years, from a 'Cherokee Purple' tomato that just wouldn't recover from root rot to a sad-looking rosemary that simply couldn’t cope with our damp British winter. And that’s okay! Each failure is a learning opportunity. What went wrong? Could I have done something differently? Did I push it too hard, or not hard enough?
But when they do thrive, oh, the joy! There’s nothing quite like harvesting the first plump tomato from a plant you saved from the brink, or seeing a rescued lavender bush buzzing with bees. It's not just about saving money; it’s about the satisfaction of nurturing life, of seeing potential where others saw only waste.
Conclusion: The Ultimate Gardening Satisfaction
Saving discounted nursery plants is more than just a frugal gardening hack; it’s a deeply rewarding experience that taps into the very heart of what it means to be a gardener. From the initial thrill of spotting a survivor in the bargain bin to the meticulous care you give it at home, and finally, to watching it flourish in your own UK garden – every step is a testament to your passion and skill.
Remember my key takeaways: evaluate carefully at the nursery, provide critical initial care immediately, follow a thoughtful rehabilitation regime, harden off diligently for our British climate, and commit to consistent long-term care.
So, next time you're at the garden centre, don't shy away from that sad-looking trolley. Arm yourself with these tips, trust your instincts, and embrace the challenge. You might just unearth your next favourite plant, bring it back from the brink, and add another beautiful success story to your gardening journey here in the UK. Happy rescuing, fellow gardeners!
