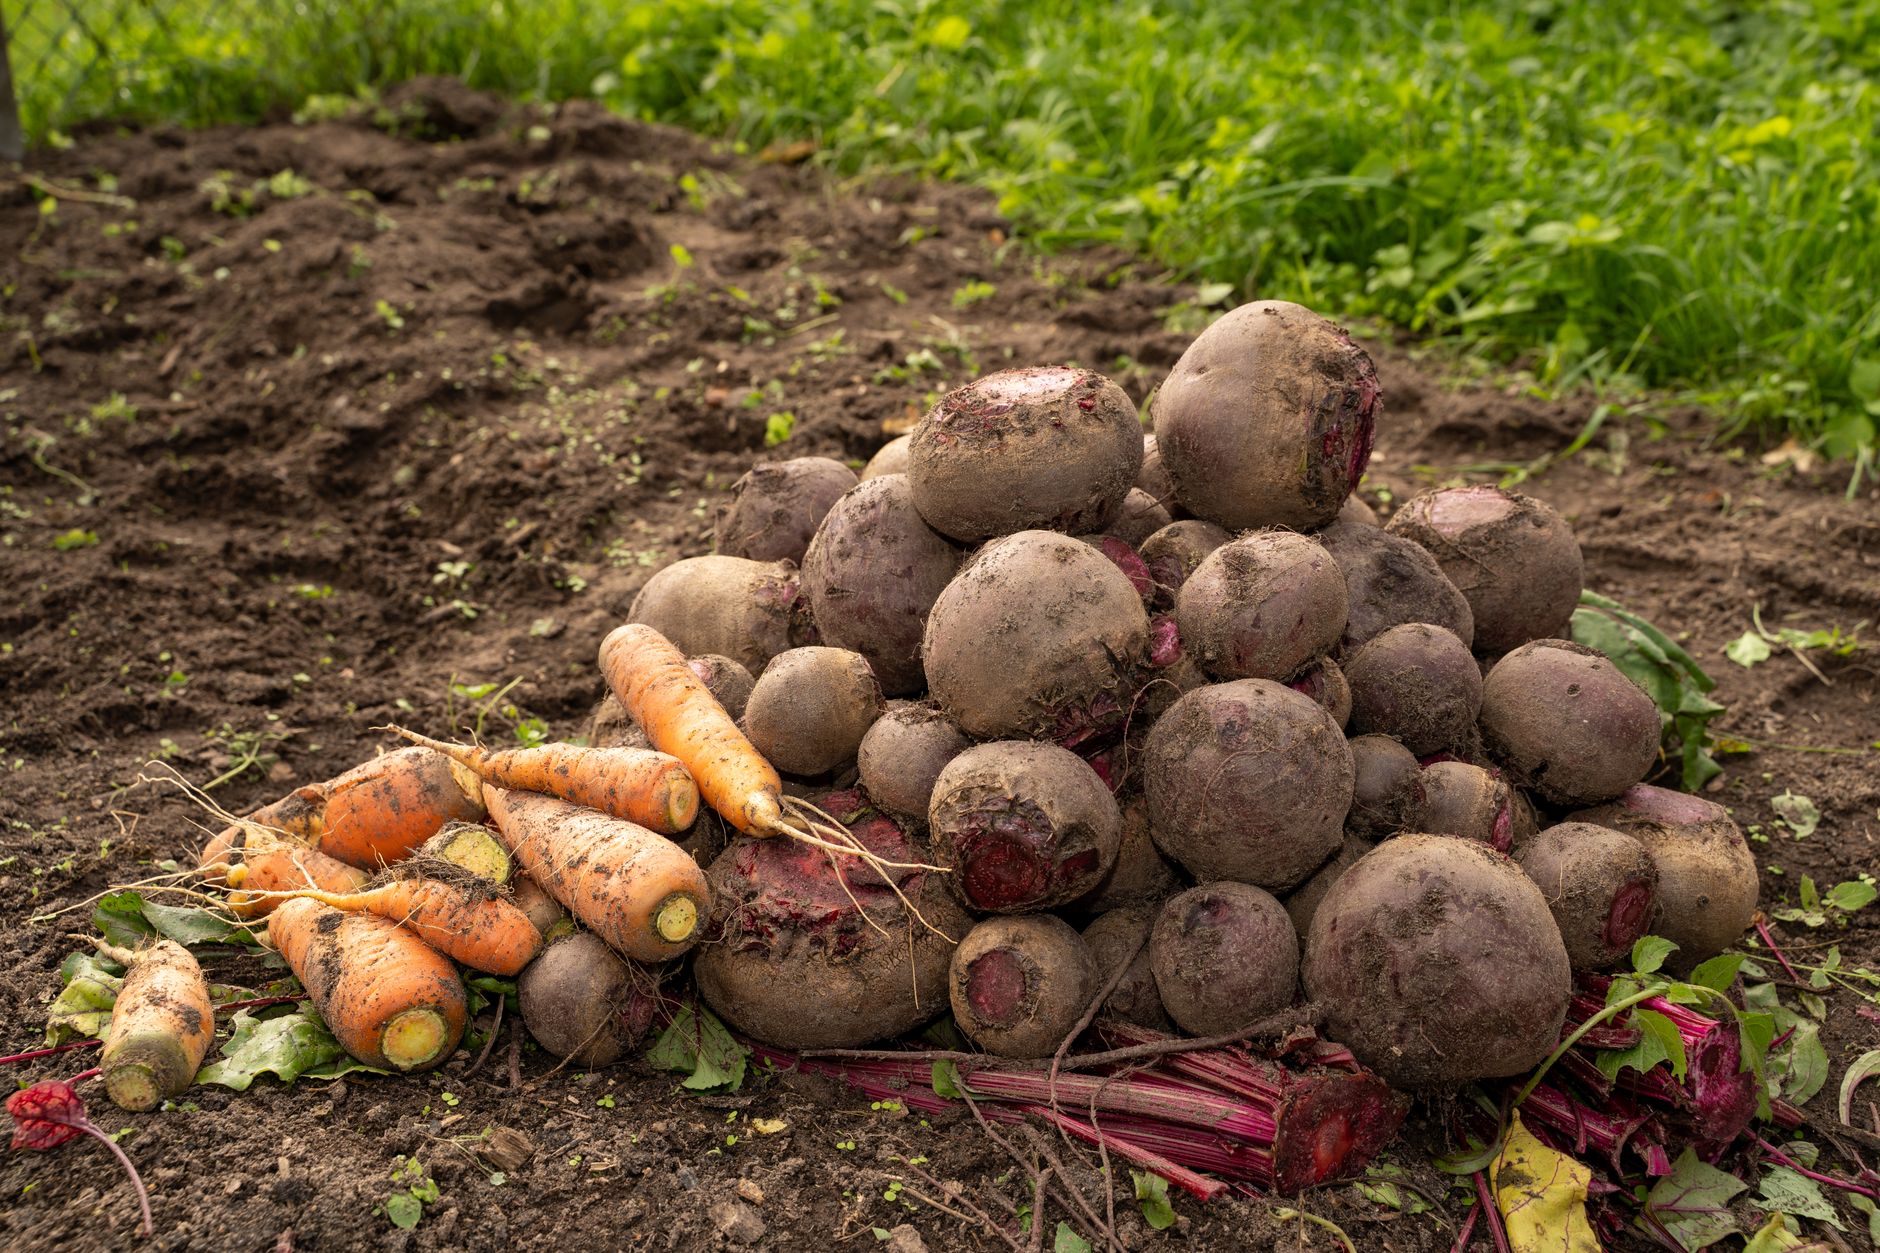
Introduction: The Rewards of Saving Biennial Vegetable Seeds in Your UK Garden
When I first traded my keyboard for a trowel five years ago, leaving the world of IT behind, I had no idea the depths of satisfaction gardening would bring. Initially, it was all about growing fresh food in my 800 sq ft Midlands backyard, packed with raised beds and my beloved greenhouse. But then I discovered seed saving, and it genuinely transformed my approach. There's a profound joy in knowing the entire life cycle of your food, from a tiny seed you saved yourself, right through to the plate. For annuals, it's straightforward, but biennials – oh, they're a different beast here in the UK, and that's where the real adventure begins.
Saving seeds from biennial vegetables like carrots, beets, and parsley might seem like a bit of a faff, especially with our notoriously unpredictable British weather throwing curveballs. Believe me, I've had my share of failures, from roots rotting in a sodden winter to plants bolting too early or not at all. But when you finally succeed, when those delicate seed heads mature and you harvest your own homegrown, perfectly adapted seeds, it's an incredible feeling of self-sufficiency. It’s a challenge that, in my experience, deepens your connection to the garden and helps you cultivate varieties that truly thrive in our particular UK climate. I’m here to share what I’ve learned, often the hard way, about coaxing these two-year wonders into producing seeds right here in the heart of Britain.
Understanding Biennials: The Two-Year Life Cycle of Carrots, Beets, and Parsley
To successfully save seeds from biennials, you first need to get your head around their unique two-year life cycle. Unlike annuals, which complete their entire journey from seed to flower to seed within a single growing season, biennials take their sweet time. In their first year, these plants focus all their energy on vegetative growth – that's the part we usually harvest and eat. For carrots and beets, this means developing those delicious, nutrient-packed roots. For parsley, it’s all about producing those lush, aromatic leaves.
It’s in their second year that the magic happens. After experiencing a period of cold – a process called vernalisation – the plant shifts its focus from storage to reproduction. This is when they send up a tall flower stalk, known as 'bolting', eventually producing seeds. Understanding this crucial two-year rhythm is key, especially in our temperate UK climate where the winter cold is often just enough to trigger this response. I’ve found that giving them the right conditions to overwinter successfully is half the battle won, ensuring they have the vigour to bolt beautifully come spring.
Biennial Vegetable Life Cycle Comparison
| Feature | Carrots (e.g., 'Autumn King', 'Early Nantes') | Beets (e.g., 'Detroit Dark Red', 'Boltardy') | Parsley (e.g., 'Moss Curled', 'Italian Giant') |
|---|---|---|---|
| Year 1 Focus | Root development (storage of energy, sugars) | Root development (storage of energy, sugars) | Leafy growth (culinary use, energy storage in crown) |
| Winter Trigger | Vernalisation (exposure to cold temperatures, typically 0-10°C) | Vernalisation (exposure to cold temperatures, typically 0-10°C) | Vernalisation (exposure to cold temperatures, typically 0-10°C) |
| Year 2 Focus | Bolting, flowering, seed production | Bolting, flowering, seed production | Bolting, flowering, seed production |
| Seed Head | Umbels of tiny white flowers, producing small, barbed seeds | Tall stalks with small, greenish flowers, producing clusters of seeds ('seed balls') | Umbels of tiny greenish-yellow flowers, producing small, ridged seeds |
| Harvest Time | Late summer to early autumn (Year 2) | Mid to late summer (Year 2) | Mid to late summer (Year 2) |
| My Experience | 'Autumn King' overwinter well with mulch in my raised beds. 'Early Nantes' can be trickier. | 'Boltardy' is excellent for resisting early bolting in Year 1, then seeds reliably. | 'Moss Curled' needs good protection; often bring a pot into the greenhouse for insurance. |
Overwintering Parent Plants in the UK: Protecting Carrots, Beets, and Parsley for Seed Production
This is arguably the most critical stage for successful biennial seed saving in the UK. Getting your chosen parent plants through the British winter alive and healthy, ready to bolt in spring, requires a bit of planning and sometimes a bit of luck with the weather. I've learned this the hard way after losing a whole bed of 'Autumn King' carrots during a particularly harsh Midlands winter a few years back – it was soul-destroying! The key is providing just enough protection to prevent them from freezing solid, while still allowing them to experience that vital vernalisation period.
For carrots and beets, the goal is to keep their roots from rotting in wet soil or freezing solid. In my raised beds, I've found a thick layer of mulch is invaluable. Once I've selected my healthiest, most true-to-type 'Detroit Dark Red' beets and 'Autumn King' carrots in late autumn, I'll usually leave them in the ground. Then, I pile on at least 15-20cm (about 6-8 inches) of straw, well-rotted compost, or even shredded leaves right over the top. This acts as an insulating blanket, protecting the roots from the worst of the frosts we get here in the UK. It also helps to regulate soil moisture, preventing waterlogging which is a big killer for roots. What works here in Britain is ensuring the soil drainage is excellent to begin with; raised beds are a huge advantage for me in this regard.
Parsley is a little different. While it can often survive mild winters outdoors, a really sharp frost can easily kill it off. I tend to grow a few 'Moss Curled' parsley plants specifically for seed saving in pots. This way, as the temperatures really start to drop in late autumn, I can move them into my unheated greenhouse. They get the cold they need for vernalisation, but are protected from the biting winds, heavy snow, and prolonged hard frosts that can be lethal outdoors. If you don't have a greenhouse, a cold frame or even a sheltered spot close to the house with some fleece protection can make all the difference. Last season, I had a pot of 'Italian Giant' parsley overwinter perfectly in the greenhouse, and it bolted beautifully the following spring, giving me a fantastic crop of seeds.
Encouraging Bolting: Strategies for Second-Year Flower and Seed Production
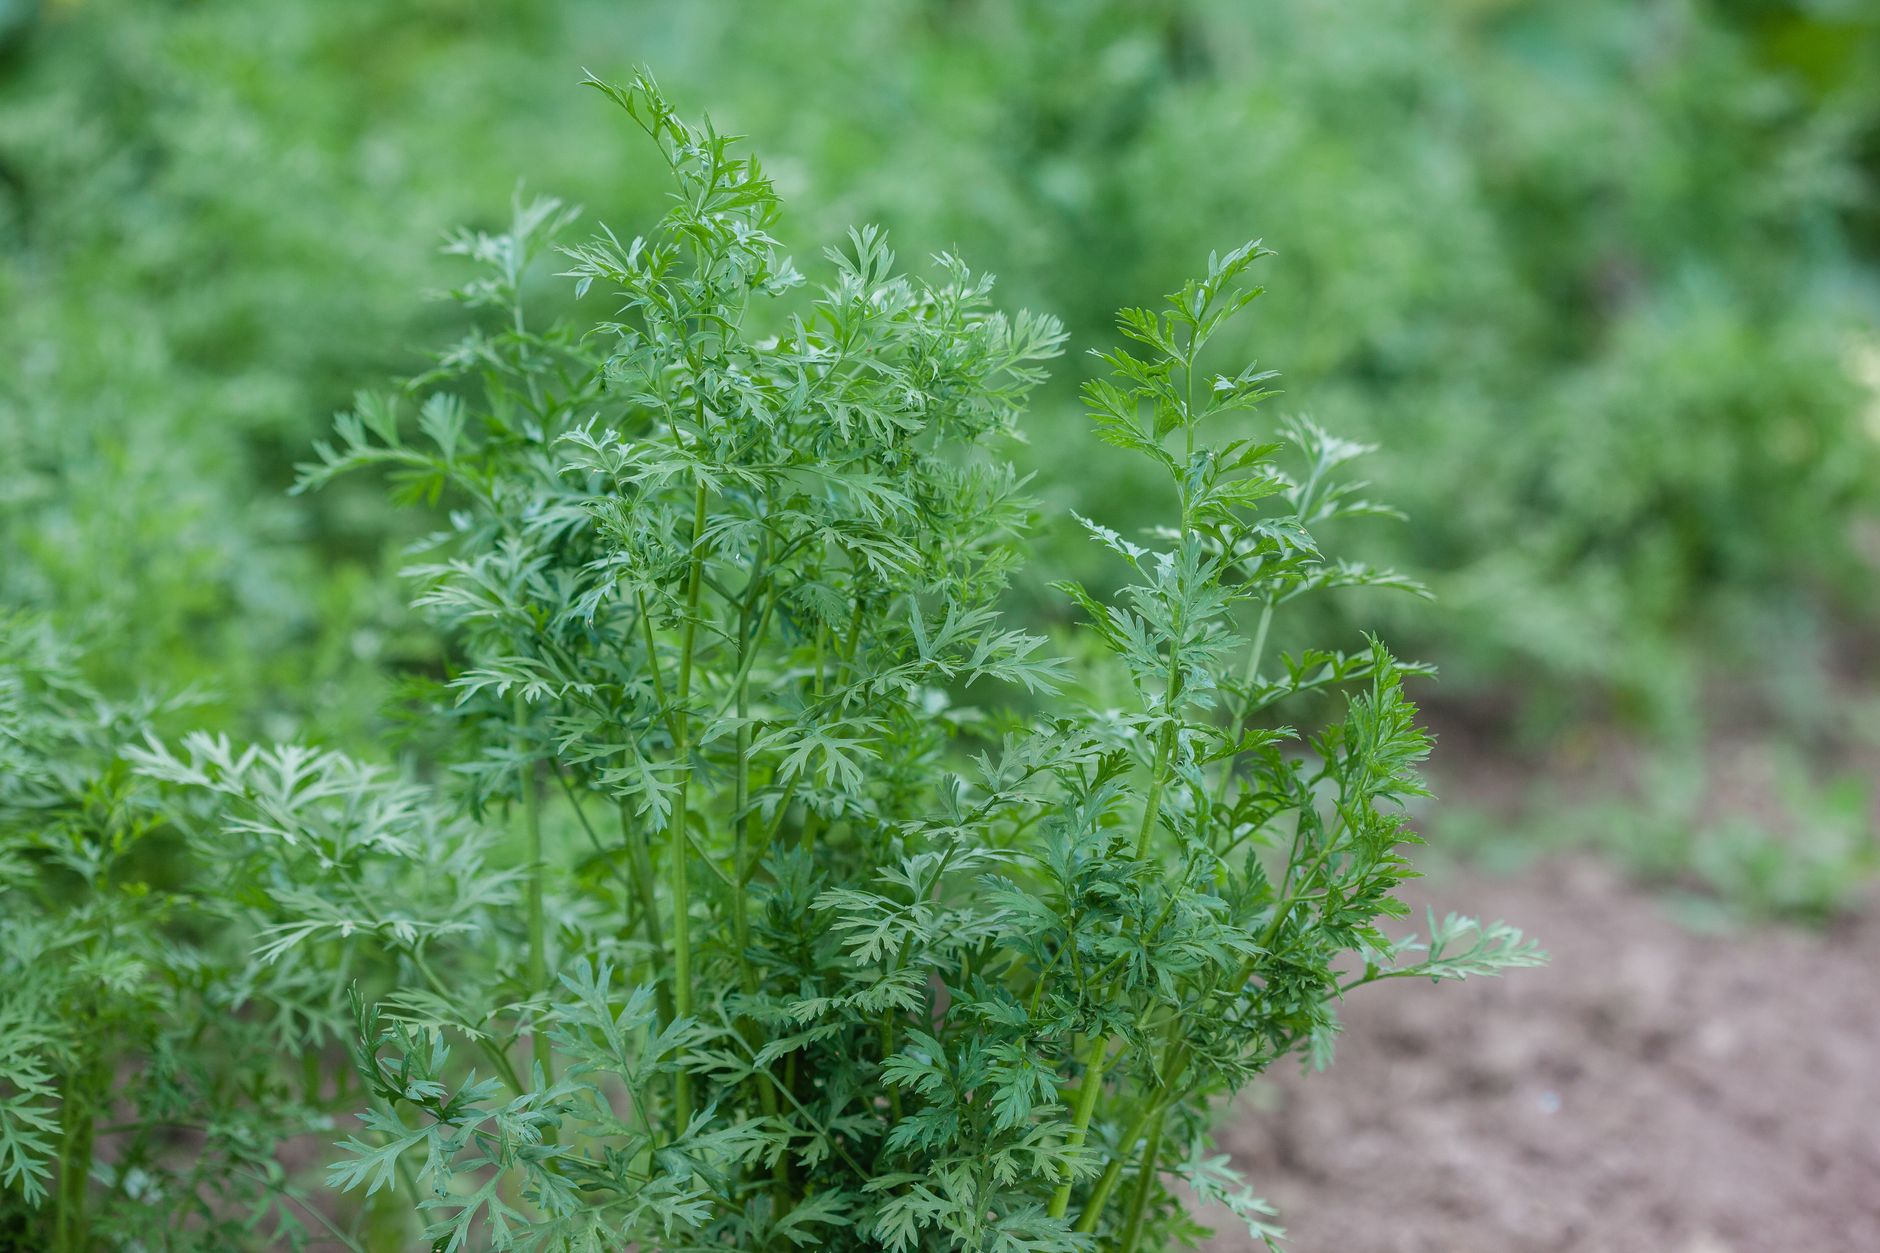
Once your biennial parent plants have successfully navigated the UK winter, the next exciting phase is encouraging them to 'bolt' – that is, to send up their flower stalks and produce seeds. This isn't always as simple as just letting nature take its course, especially with our often-hesitant British springs. The vernalisation period they just went through is key, but now they need the right triggers to transition from leafy growth to reproduction.
For carrots and beets, after their winter slumber under mulch, I'll gradually remove some of the heaviest mulching material as spring truly begins to assert itself, usually around late March or early April here in the Midlands. This allows the soil to warm up more quickly and signals to the plant that it's time to get going. You'll start to see new leafy growth emerging from the crown, followed by the appearance of a central, thicker stem – that's your bolting stalk! I've found that giving them a good drink of water and a light feed with a balanced liquid fertiliser once they show signs of active growth helps immensely. The goal is to encourage strong, healthy flower stalks capable of producing plenty of viable seeds.
Parsley, having potentially overwintered in a greenhouse or cold frame, will also need cues to bolt. As the days lengthen and temperatures consistently rise in spring, I make sure they're getting plenty of sunlight and regular watering. Parsley will send up a tall, sturdy stem from its centre, topped with those characteristic umbels of tiny flowers. One common mistake I made early on was harvesting too many leaves from my seed-saving parsley plants in their second year. While it's tempting, remember their energy now needs to go into seed production, so keep leaf harvesting to a minimum or stop it entirely once the flower stalk appears. It’s a waiting game, but seeing those flower heads emerge after all that overwintering effort is incredibly rewarding.
Bolting Strategies Comparison for Biennials
| Vegetable | Post-Winter Care | Signs of Bolting | My Bolting Tips (UK Specific) | Common Pitfalls (UK) |
|---|
| Feature | Carrots (e.g., 'Autumn King', 'Early Nantes') | Beets (e.g., 'Detroit Dark Red', 'Boltardy') | Parsley (e.g., 'Moss Curled', 'Italian Giant') |
|---|---|---|---|
| Early Spring Action | Gradually remove heavy mulch as frost danger subsides (March/April). Ensure good drainage. | Gradually remove heavy mulch, ensure good drainage. | Move from sheltered spot/greenhouse to full sun, if applicable. |
| Watering | Regular, consistent watering as new growth appears. Avoid waterlogging. | Regular, consistent watering. | Consistent moisture, especially as flower stalks emerge. |
| Feeding | Light feed with balanced liquid fertiliser once active growth begins. | Light feed with balanced liquid fertiliser. | A light feed can help, but avoid excessive nitrogen. |
| Signs of Bolting | Central, thicker stem emerging from the root crown, followed by branching. | Tall, branching flower stalk growing from the top of the beet. | Tall, sturdy flower stalk rising from the centre, topped with flat-topped clusters. |
| My Tips (UK) | Patience is key! Don't rush removing mulch if hard frosts are still possible. Support tall stalks with canes. | Choose strong, healthy roots for overwintering – they'll have more energy for bolting. | Don't harvest leaves once bolting starts. Ensure good air circulation to prevent fungal issues in humid UK weather. |
| Common Pitfalls | Removing mulch too early leading to frost damage. Insufficient watering during dry spells. | Overwatering, leading to root rot. Harvesting too much of the root in spring. | Harvesting too many leaves, depleting energy. Lack of sun or too much shade. |
Preventing Cross-Pollination: Maintaining True-to-Type Biennial Seeds
Now, this is where things can get a little bit tricky, especially in a bustling home garden like my 800 sq ft plot here in the Midlands. We want to save seeds that are "true-to-type," meaning they'll grow into plants just like their parents. The main challenge? Cross-pollination. This happens when pollen from one variety of a plant fertilises another, leading to hybrid offspring you might not expect.
Understanding the Risks for Biennials
Carrots (Daucus carota), beets (Beta vulgaris), and parsley (Petroselinum crispum) are all open-pollinated, meaning they'll happily cross with other varieties of the same species.
- Carrots: These are the trickiest! They can cross with wild carrot, also known as Queen Anne's Lace, which is incredibly common in the UK countryside. If you have any growing within a mile of your garden, you’re at risk. I learned this the hard way when my 'Purple Haze' carrots produced some rather bland, pale offspring after a season where I didn't isolate them properly.
- Beets: These are wind-pollinated, which makes physical barriers even more crucial. They'll cross with chard, sugar beet, and even other beet varieties. If you're growing 'Detroit Dark Red' for seed, make sure it's the only Beta vulgaris flowering in your garden.
- Parsley: Less prone to crossing with wild relatives in the UK, but different parsley varieties (flat-leaf, curly-leaf) will readily cross with each other.
Randy's Strategies for Isolation in a Small UK Garden
In my compact garden, achieving the recommended isolation distance (often half a mile to a mile) is simply impossible. So, I rely on a combination of practical techniques:
- Isolation by Time: This involves staggering your planting so that different varieties flower at different times. For example, I might plant 'Autumn King 2' carrots for seed, allowing them to flower in June, and then ensure I don't have any other carrot variety bolting until August. This works in theory, but our unpredictable British spring and summer weather can often throw flowering times out of sync. I've found it's a gamble.
- Physical Barriers (My Go-To): This is the most reliable method for me in a small space.
- Bagging Umbels (Carrots & Parsley): Just before the flower heads (umbels) on your carrots or parsley start to open, I carefully slip an organza bag over them. These breathable bags allow air and pollinators in, but prevent unwanted pollen from outside sources. I secure them gently with a drawstring or soft tie. I usually bag a few of the primary umbels on each plant. Once the flowers are pollinated and start to set seed, I remove the bags to allow better air circulation, unless I'm worried about birds.

- Caging (Beets): Since beets are wind-pollinated, bagging individual flowers is impractical. For my prized 'Chioggia' beets, I've sometimes built a small, fine mesh cage around the entire plant before it starts to flower. It's a bit of a faff, and you need to ensure the mesh is fine enough to block pollen but still allows air flow. Honestly, for beets, if I'm serious about saving seed, I usually just grow one variety in a season to minimise risk.
- Greenhouse Isolation: My greenhouse is usually packed with heirloom tomatoes, but I have, on occasion, dedicated a small corner to a single, special variety of parsley for seed saving. It offers excellent protection from external pollen, but space is always a premium!
- Bagging Umbels (Carrots & Parsley): Just before the flower heads (umbels) on your carrots or parsley start to open, I carefully slip an organza bag over them. These breathable bags allow air and pollinators in, but prevent unwanted pollen from outside sources. I secure them gently with a drawstring or soft tie. I usually bag a few of the primary umbels on each plant. Once the flowers are pollinated and start to set seed, I remove the bags to allow better air circulation, unless I'm worried about birds.
The key is to be proactive. Once flowering starts, it's too late. It takes a bit of planning and effort, but knowing your seeds will come true-to-type is incredibly satisfying.
Harvesting and Processing Biennial Vegetable Seeds for Storage
You’ve nurtured your biennial parents through winter, encouraged them to bolt, and protected them from unwanted dalliances. Now comes the moment of truth: collecting those precious seeds! This stage is crucial, and our often damp UK climate adds an extra layer of challenge. I've learned a few lessons the hard way about timing and drying.
When to Harvest: The Golden Window
Timing is everything. Too early, and the seeds won't be fully mature or viable. Too late, and they might shatter and fall to the ground, especially with our unpredictable British winds.
- Look for Dryness and Colour: The seed heads should be mostly brown and dry, not green and fleshy. The seeds themselves should feel hard and brittle. For carrots and parsley, the entire umbel will turn a papery brown. For beets, the clusters of seeds along the stalk will dry and harden.
- The Shake Test: Gently shake a seed head over your palm. If seeds easily fall out, they're ready! If you have to really tug at them, give them more time.
- UK Weather Considerations: This is where I often make adjustments. If a prolonged wet spell is forecast in late summer/early autumn, I might harvest a little earlier than ideal to avoid mould and shattering, and finish drying indoors. Last year, a surprise week of heavy rain in late August nearly ruined my 'Cylindra' beet seeds – I quickly harvested what I could and brought them into the greenhouse to finish drying.
Harvesting Techniques
- Carrots and Parsley:
- I typically cut the entire stalk, or at least a good portion of it, once the primary and secondary umbels are mostly dry. I use sharp secateurs to make a clean cut.
- Often, the different umbels on a single plant mature at slightly different rates. I usually aim for when the majority (say, 70-80%) of the seed heads are ready.
- Beets:
- Beet plants can get quite large and woody. I cut the entire seed stalk when the majority of the seeds along its length are dry and hard. Again, sharp secateurs are your friend.
Drying: The Most Critical Step for UK Gardeners
Once harvested, your seeds must be thoroughly dried before storage. Any residual moisture is an invitation for mould and will drastically reduce viability, especially in our humid UK climate.
- Air Circulation is Key: I bring the harvested stalks indoors or into my greenhouse (if it's dry and warm) and hang them upside down in loose bunches. An old sheet or tray placed underneath will catch any seeds that drop.
- Warm, Dry, and Airy: A garage, a spare room, or even a well-ventilated shed during a dry spell works. Avoid damp basements or sheds during wet weather. I learned this the hard way when a batch of carrot seeds went mouldy after I left them in my unheated, slightly damp shed during a prolonged rainy period.
- Duration: Drying can take anywhere from one to three weeks, depending on the plant material and ambient conditions. You'll know they're truly dry when the seeds feel brittle and snap, rather than bend.
Threshing and Winnowing: Separating the Wheat from the Chaff
Once completely dry, it's time to separate the seeds from the chaff (the bits of plant material).
- Threshing:
- Carrots & Parsley: I usually rub the dried seed heads vigorously between my hands over a large bowl or tray. Sometimes I use an old rolling pin or a sturdy bottle to gently crush them if they're particularly stubborn.
- Beets: These are a bit tougher. I usually strip the dry seed clusters from the stalks, then crush them with my hands or gently with a pestle and mortar to break the clusters apart into individual seeds.
- Winnowing: This is the process of removing the lighter chaff from the heavier seeds.
- The "Two Bowl" Method: This is my favourite. On a calm, slightly breezy day (or in front of a gentle fan indoors), I pour the threshed material from one bowl into another, allowing a slight breeze to carry away the lighter chaff while the heavier seeds drop into the second bowl. It takes a bit of practice to get the hang of the height and pour speed, but it's incredibly satisfying when you get a clean batch.
- Sieves: A set of different-sized sieves or kitchen strainers can be invaluable. I start with a coarse sieve to remove larger debris, then move to a finer one that allows the seeds to fall through while retaining smaller bits of chaff.
You’ll be left with a beautiful pile of clean, dry seeds, ready for storage. It’s a bit of work, but holding those seeds, knowing you’ve brought them through two growing seasons, is an incredible feeling.
Storing Your Saved Biennial Seeds: Longevity and Viability Tips for UK Gardeners
You’ve put in all that hard graft – the overwintering, the bolting, the careful harvesting and processing. Now, the final, crucial step: storing your seeds properly to ensure they remain viable for future seasons. Here in the UK, with our often damp and fluctuating temperatures, this stage is particularly important. I've learned that overlooking proper storage can negate all your previous efforts.
The Enemies of Seed Viability: Heat, Light, and Moisture
These three factors are the arch-nemeses of any seed saver.
- Moisture: This is the biggest threat in the UK. Even a tiny bit of moisture can encourage mould growth or premature germination, killing the embryo. Seeds must be bone dry before storage.
- Heat: High temperatures deplete a seed's energy reserves more quickly, shortening its lifespan. Consistent cool temperatures are ideal.
- Light: Exposure to light can also degrade seeds over time, especially for light-sensitive varieties.
Optimal Storage Conditions
I aim for a cool, dark, and very dry environment.
- Temperature: Ideally, seeds should be stored at a consistent temperature below 10°C (50°F). My shed, while dark, isn't ideal due to significant temperature swings throughout the year. A cool cupboard in the house, away from external walls, usually works best for me.
- Humidity: This is paramount. The drier, the better. I always include a desiccant in my seed containers to absorb any lingering moisture.
My Go-To Storage Containers
- Airtight Jars: These are my absolute favourite. Small, clean glass jars with tight-fitting lids (like jam jars or spice jars) are perfect. They're airtight, protect from moisture, and are easy to label. For me, they just feel right for holding something so precious.
- Mylar Bags: For larger quantities or longer-term storage, food-grade Mylar bags are excellent. They offer superior protection against moisture, light, and oxygen. I use a heat sealer to seal them completely.
- Paper Envelopes (Short-term only): While I use paper envelopes initially for drying or for very short-term storage (say, until the end of the season), they aren't airtight and aren't suitable for long-term viability, especially in our British humidity.
The Desiccant Secret for UK Gardeners
This is a game-changer for me here in the Midlands. Even if you think your seeds are dry, a desiccant provides extra insurance against residual moisture.
- Silica Gel Packets: I collect these from shoe boxes, vitamin bottles, or electronics packaging. You can also buy them online. I pop one or two small packets into each jar or Mylar bag.
- Dried Milk Powder: A budget-friendly alternative. Wrap a tablespoon of dried milk powder in a tissue or small square of cloth and place it in the container with your seeds. Replace it every six months or so.
Labelling: Don't Skip This!
I learned this the hard way when I ended up with a mystery patch of what might have been 'Flat-leaf Italian' parsley, or perhaps 'Moss Curled'. Now, every container gets a clear label:
- Variety Name: (e.g., 'Autumn King 2' Carrot)
- Date Harvested: (e.g., Aug 2023)
- Any Notes: (e.g., "From F2 generation," "Isolated with organza bags")
Freezing for Longevity (Advanced)
For seeds you want to keep for many, many years, freezing is an option. However, it comes with a critical caveat: seeds must be absolutely bone-dry before freezing. Any moisture will expand and damage the embryo.
- Pre-Freeze Drying: Ensure seeds are dried with a desiccant for at least two weeks before freezing.
- Airtight Containers: Place the dried seeds in robust, airtight containers (e.g., small plastic vials, Mylar bags) within a larger freezer bag to prevent freezer burn.
- Thawing: When you want to use them, remove the container from the freezer and let it come to room temperature before opening it. This prevents condensation from forming on the cold seeds.
Randy's Biennial Seed Longevity Table
Based on my experience in my UK garden, here's a rough guide to how long you can expect your seeds to remain viable under good storage conditions:
| Vegetable | Typical Longevity (Good Storage) | Randy's Experience (UK Garden) |
|---|---|---|
| Carrot | 3-4 years | I've had good germination up to 5 years from properly dried 'Nantes 2' seeds. |
| Beet | 4-6 years | My 'Detroit Dark Red' seeds often stay strong for 6-7 years. |
| Parsley | 2-3 years | Parsley tends to lose viability quicker; I aim to use it within 2-3 years. |
Ultimately, saving seeds from biennials is a fantastic way to deepen your connection to your garden, preserve cherished varieties, and embrace a more self-sufficient approach to growing.
Conclusion: The Enduring Joy of Biennial Seed Saving
There you have it – my comprehensive guide to saving seeds from biennial vegetables right here in our often-challenging UK climate. From the first tentative steps of overwintering your parent plants to the careful art of harvesting and storing those precious seeds, it’s a journey that truly connects you to the full life cycle of your food.
For me, coming from an IT background, this hands-on, deeply satisfying process has been one of the most rewarding aspects of my gardening life. It's more than just getting free seeds for next year (though that's a brilliant bonus!). It's about preserving the unique traits of heirloom varieties, adapting plants to thrive in your specific UK soil and weather, and gaining a profound understanding of how your garden truly works.
Yes, our British weather can throw a spanner in the works – a sudden cold snap in spring, a prolonged damp autumn, or the constant threat of slugs – and preventing cross-pollination in a small garden requires a bit of ingenuity. I've certainly had my share of failures and lessons learned the hard way. But the rewards, my friends, far outweigh the frustrations.
Imagine sowing seeds that you carefully nurtured from tiny seedlings, protected through a Midlands winter, watched bolt into magnificent flower stalks, and then diligently harvested yourself. It’s a tangible link to the past and the future of your garden, a whisper of generations of gardeners before us who relied on these very skills.
So, I wholeheartedly encourage you to give it a go. Don't feel you need to start with every biennial in your patch. Perhaps pick a favourite carrot variety, a trusty beet, or that wonderfully fragrant parsley you can’t get enough of. Start small, observe, experiment, and don't be afraid to make mistakes – that's how we truly learn in the garden. The joy of seeing those tiny seedlings emerge from seeds you’ve saved yourself is an unparalleled delight.
Have you saved biennial seeds in your UK garden? What varieties worked best for you, and what challenges did you face with our British weather? Share your experiences and tips in the comments below – I'm always keen to learn from fellow UK gardeners!
Happy seed saving, fellow green thumbs!
