Introduction: Why Spreading Fruit Tree Limbs is Crucial for UK Gardens
Alright, fellow UK gardeners! Randy here from my little 800 sq ft slice of heaven in the Midlands. If you're anything like me, your heart probably skips a beat when you see those first blossoms on your fruit trees in spring. But that joy can quickly turn to dread when you imagine those precious branches groaning under the weight of a bumper crop, especially after a classic British summer downpour or a blustery autumn day. I've been there, watching a favourite branch on my 'Greengage' plum tree snap under the combined pressure of heavy fruit and a sudden gust of wind, and it's absolutely heartbreaking.
That's why I'm so passionate about limb spreading. It's a fundamental technique that often gets overlooked, but in our often unpredictable UK climate, it's nothing short of crucial. Over my five years of intensive gardening, I’ve learned that simply letting a young fruit tree grow naturally can lead to structural weaknesses that will inevitably cause problems down the line. We put so much effort into nurturing our trees – from careful planting to diligent feeding – so why wouldn't we invest a little time in ensuring their long-term strength and productivity? Spreading those young limbs isn't just about preventing future breakage; it's about setting your tree up for a lifetime of abundant, healthy harvests, right here in your British garden.
Understanding Crotch Angles: The Foundation of Strong Fruit Tree Structure
When we talk about strengthening fruit tree branches, we're really talking about something called the "crotch angle." Now, before you giggle, let me explain! A crotch angle is simply the angle formed where a side branch meets the main trunk or a larger scaffold branch. This seemingly small detail is actually the single most important factor in determining the structural integrity of your fruit tree.
In my own garden, I learned this the hard way with a young 'Discovery' apple tree I planted a few years back. I was so excited about its potential, but I didn't pay enough attention to its early growth. Many of its branches were growing at very acute, narrow angles – almost parallel to the trunk. I thought it looked neat and compact. Fast forward to a particularly wet August, and with a decent crop of apples swelling on those branches, a narrow-angled limb, loaded with fruit, simply split right down to the main trunk. It wasn't rot, it wasn't disease – it was a structural weakness caused by a poor crotch angle.
So, what's the difference between a good angle and a bad one?
- Narrow Crotch Angles (less than 45 degrees): These are your troublemakers. When a branch grows at a sharp, acute angle, the bark from the trunk and the branch often get trapped between the two, creating what's known as "included bark." Instead of the wood tissues fusing together strongly, you end up with bark pressing against bark. This makes the connection incredibly weak, like a hinge waiting to snap, especially under the stress of fruit weight, strong winds, or heavy rain – all common occurrences in our British weather.
- Wide Crotch Angles (ideally 45-60 degrees): These are what we strive for! Branches growing at wider angles form a strong, woody connection with the trunk. The wood fibres interlace and knit together, creating a much more robust union that can easily support heavy fruit loads and withstand the elements. Think of it like a sturdy scaffold supporting a building, rather than a flimsy lean-to. By actively encouraging these wider angles in young trees, we're literally building a stronger, more resilient framework for their entire lifespan.
Optimal Timing for Spreading: When to Act for Best Results in the UK Climate
Knowing when to spread your fruit tree limbs is almost as important as knowing how. Get the timing wrong, and you could be working against the tree's natural growth, or worse, causing damage. Through trial and error in my Midlands garden, I've discovered that the sweet spot for spreading depends heavily on our UK seasons and the tree's growth cycle.
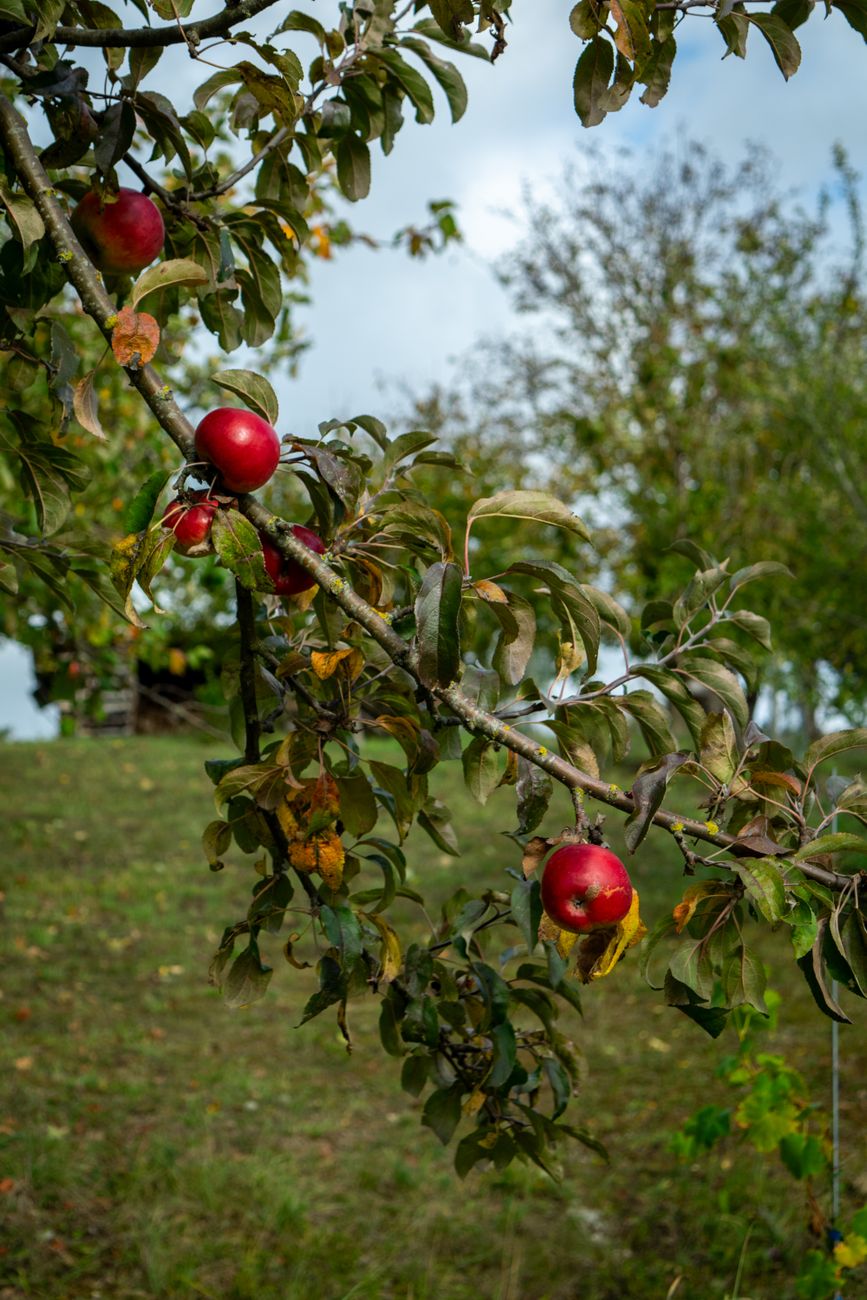
Generally, the best time to spread limbs is when the tree is actively growing, but the wood is still young and flexible. For most deciduous fruit trees here in Britain, that means late spring to early summer.
- Late Spring (April to June): This is my prime window. The tree has broken dormancy, sap is flowing vigorously, and new growth is emerging. The wood is pliable, making it easy to reposition branches without snapping them. The tree is also actively laying down new wood, so it will "set" the new angle quickly and strongly. I usually aim for late May for my 'Bramley' apple and 'Conference' pear, as they're putting on good growth but haven't started developing significant fruit weight yet.
- Early Summer (June to July): You can still spread limbs during this period, especially if you missed the earlier window or notice new branches developing narrow angles. However, as the season progresses, branches become stiffer, and the risk of snapping increases. Plus, you want to get this done before the fruit starts to size up significantly, as the added weight makes spreading harder and riskier.
One mistake I made in my first year was trying to spread a particularly stubborn branch on a young 'Stella' cherry in late winter. The wood was brittle, and despite my best efforts, I ended up cracking a small section of bark. It healed, thankfully, but it taught me a valuable lesson about working with the tree's natural flexibility, not against it. Our cold, damp UK winters make the wood less forgiving.
Here's a quick guide to help you decide:
| Timing Window | Pros for UK Climate | Cons for UK Climate | My Randy's Take (Midlands Experience) |
|---|
Step-by-Step Guide: Safely Spreading Young Fruit Tree Branches
Alright, we’ve talked about the why and the what, now let’s get down to the how! This is where the magic happens, transforming those narrow-angled youngsters into strong, productive members of your UK garden. Remember, patience and a gentle touch are your best tools here.
Choosing Your Target Branches
First things first, take a good look at your young fruit tree. I usually start with my 'Discovery' apple tree or my 'Conference' pear in late spring, just as the leaves are fully out but before the fruit sets too heavily. Look for those vigorous, upright branches that are growing at an acute angle to the main trunk or other scaffold limbs. These are your prime candidates. I aim for branches that are still flexible – typically those that have grown in the last one to two seasons. If they’re too woody, you risk snapping them, and trust me, I've learned that lesson the hard way trying to force an older branch.
Placing Your Spreaders or Weights
Once you’ve identified a branch, it’s time to apply your chosen spreading method.
For Commercial Spreaders: Take your spreader and position one end against the main trunk or a sturdy, established scaffold branch. Gently bend the target branch outwards and then place the other end of the spreader firmly against the underside of the branch. The goal is to achieve an angle between 45 and 60 degrees. Don't push too hard; if it feels like it's going to snap, ease off. You can always adjust it more next week. I often use these on my younger apple trees, like the 'Egremont Russet', as their branches are quite pliable.
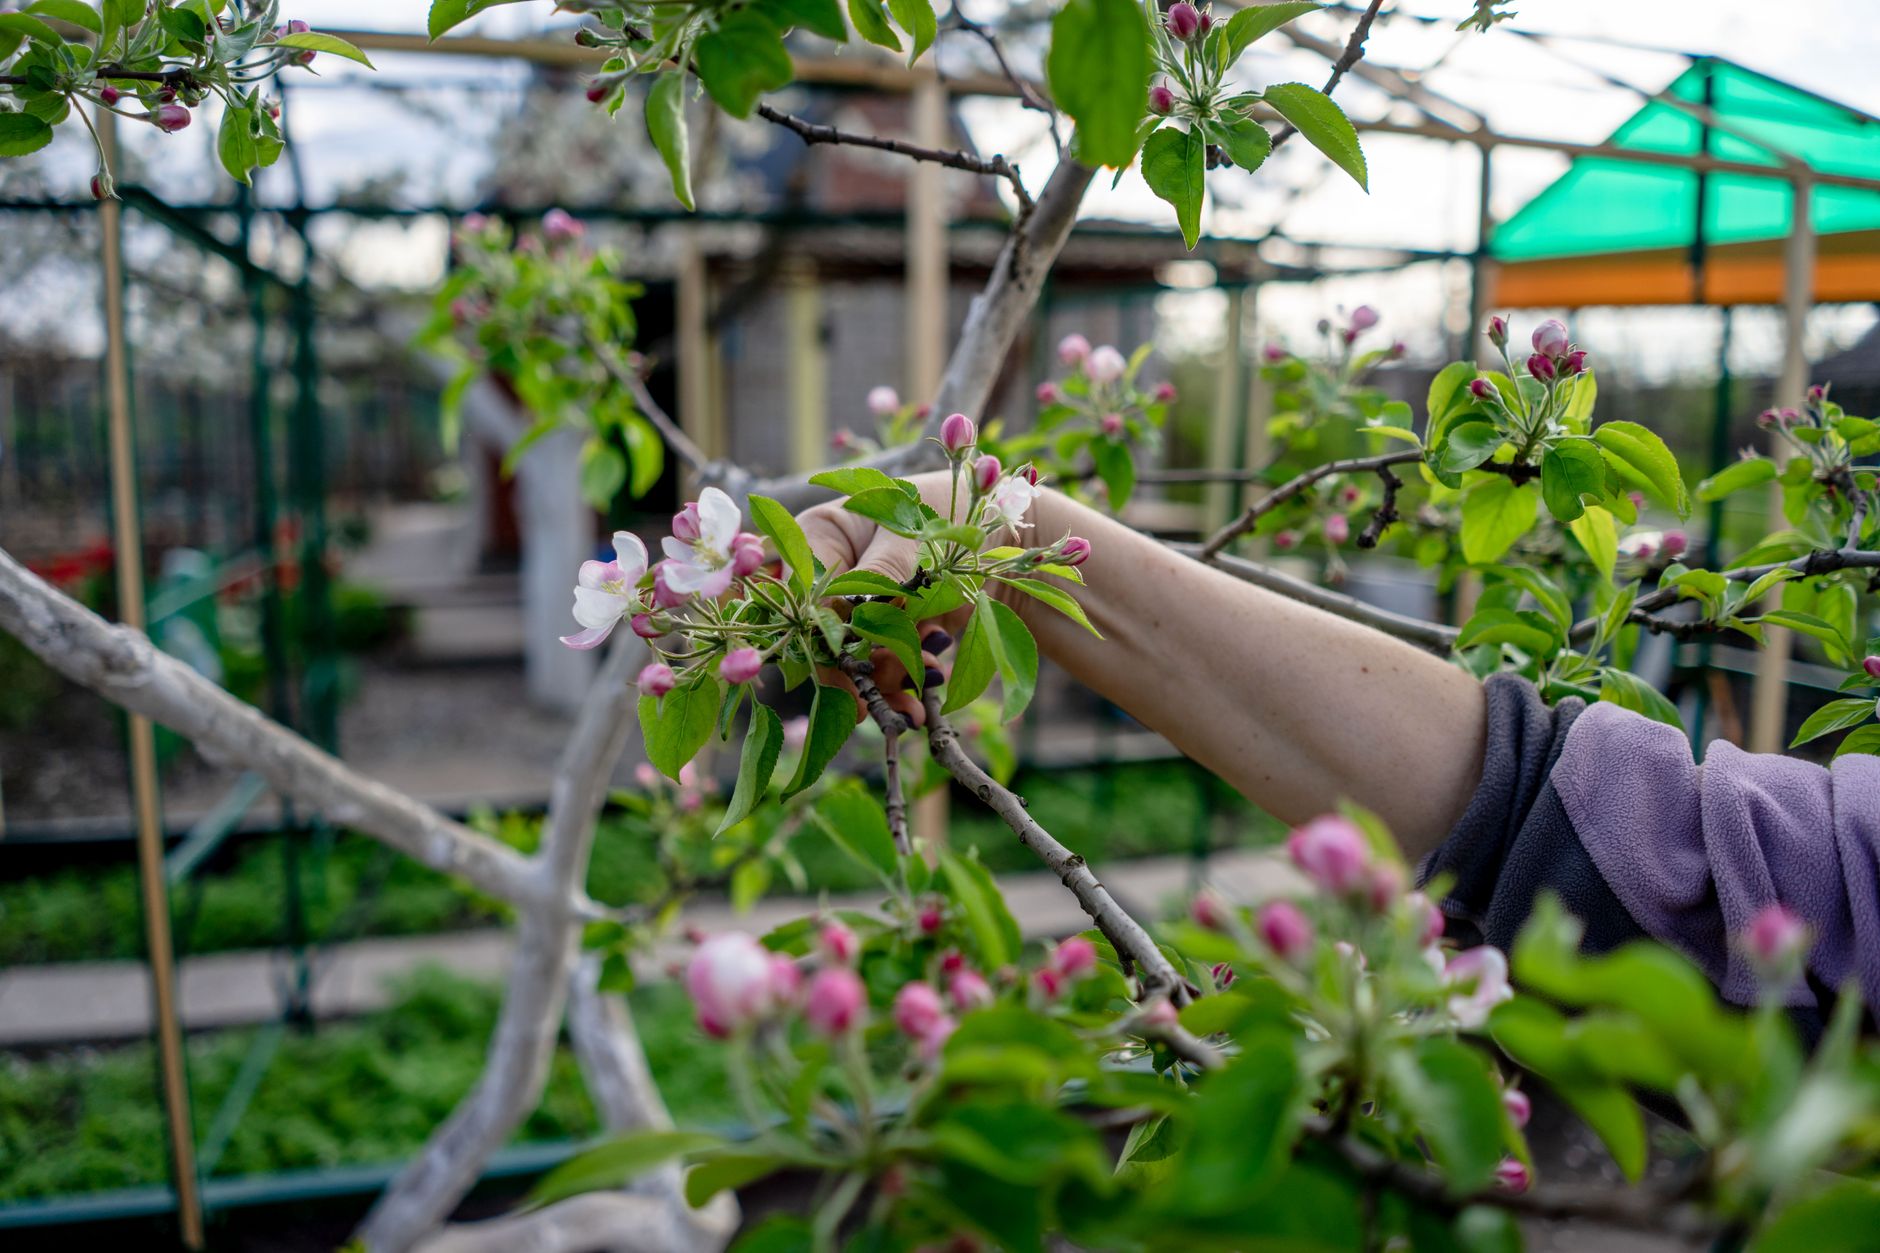
For Weights (my preferred method for many branches): This is what I often use for slightly more flexible branches, especially on my plum trees. Tie a piece of twine or soft fabric strip (old t-shirts work a treat!) loosely around the branch you want to spread. Make sure it's loose enough not to girdle the branch as it grows. Then, attach your weight (a small plastic bottle filled with sand or water, or a stone wrapped in cloth) to the other end of the twine. Let the weight hang down, gently pulling the branch towards the desired angle. I start with lighter weights and gradually increase them over a few days if needed, especially with my 'Victoria' plum, which can be a bit dramatic if forced too quickly!
For Tie-Downs: If you have a sturdy anchor point nearby – perhaps a tent peg hammered into the ground, a lower branch, or even a raised bed frame – you can use soft twine to gently pull the branch down and outwards. Again, ensure the twine is tied loosely around the branch and secured without causing any rubbing or constriction. I find this method excellent for branches that need a specific angle adjustment in a tight space in my 800 sq ft garden.
Checking the Angle and Ensuring Comfort
After placement, step back and observe. Does the branch look like it’s at a good angle? Is the spreader firmly in place without digging into the bark? Is the twine loose enough? This is crucial. I check from multiple angles, imagining how the branch will look when laden with fruit. I've learned that a slightly less aggressive spread initially is better than a broken branch. The tree will eventually "set" in that position.
Monitoring & Adjusting: Ensuring Healthy Branch Development and Preventing Damage
Putting those spreaders in place is only half the battle, my friend. Here in the Midlands, with our wonderfully unpredictable British weather, you absolutely cannot just set it and forget it. Monitoring is key to healthy branch development and preventing any unintended damage.
Regular Check-Ups
I make it a habit to check my fruit trees at least once a week, especially during the active growing season from late spring through summer. After any significant weather event – a particularly blustery afternoon or a heavy downpour – I'm out there checking again. One year, we had an unexpected late spring gale, and several of my carefully placed weights on my young 'Cox's Orange Pippin' apple were swung violently, causing some bark damage. It taught me to be extra vigilant, especially with our strong winds!
What am I looking for during these check-ups?
- Bark Damage: Crucially, check where the spreader or twine touches the branch. Is it digging in? Is the bark being rubbed raw? If so, adjust its position, add some padding (like a piece of old cloth), or switch to a different type of spreader. Girdling is a real risk, and it can seriously harm or even kill a branch.
- Branch Health: Is the branch itself showing any signs of stress? Wilting, discolouration, or cracking are all red flags. If you see these, ease off the pressure immediately. Sometimes, a branch just isn't ready for that much spreading, or perhaps it's a bit too old.
- Spreader Stability: Are the spreaders still firmly in place? Have the weights shifted or fallen off? Our local squirrels sometimes get a bit too curious in my garden and can dislodge things, so I'm always checking!
- Desired Angle Achieved: Over time, you'll notice the branch gradually holding its new position. The wood actually starts to "set" in this new angle.
When to Remove and Adjust
The general rule of thumb is to leave spreaders in place for at least one full growing season, or until the branch has lignified (hardened) into its new position. For me, that usually means putting them in around May and removing them in late autumn, perhaps October or November, once the leaves have dropped and the tree is heading into dormancy.
Sometimes, you might need to adjust the spreader or weight if the branch hasn't reached the ideal angle, or if it's overshot it. It's a gradual process, not a one-and-done job. I've often found myself making minor tweaks on my 'Concorde' pear tree, nudging a branch an extra few degrees over a couple of weeks to get it just right. The aim is to encourage the tree to grow into a strong, open structure naturally, not to force it.
Common Mistakes and How to Avoid Them When Spreading Limbs
Believe me, I've made my fair share of mistakes in my 5+ years of intensive gardening here in the UK, and spreading fruit tree limbs is no exception! Learning from my own blunders (and the odd success!) has been a huge part of my journey from IT worker to full-time garden enthusiast. Here are some common pitfalls I’ve encountered and how to steer clear of them.
Over-Aggressive Spreading
This is probably the most common mistake, and one I certainly made early on with a young 'Spartan' apple. I was too eager to get that perfect angle immediately and pushed a branch too far, too fast. Result? A hairline crack at the crotch angle. Luckily, it healed, but it was a stark reminder.
How to Avoid: Be gentle. Aim for gradual changes over days or weeks, rather than a single drastic bend. If you feel resistance, stop. The tree will tell you what it can handle. A 45-60 degree angle is the ideal, but getting there slowly is better than snapping.
Using the Wrong Materials
In my early days, before I discovered proper limb spreaders, I experimented with all sorts. I once used a piece of old electrical wire tied around a branch on my 'Morello' cherry, thinking it would be fine. It wasn't. As the branch grew, the wire dug in, girdling the branch and causing significant damage.
How to Avoid: Always use materials that are soft, wide, and non-abrasive. Purpose-made spreaders are excellent. If using twine or rope, choose soft, natural fibres (like jute) and ensure they are wide enough not to cut into the bark. Always check regularly for signs of girdling.
Neglecting Regular Monitoring
As I mentioned earlier, our British climate can be a bit of a wildcard. I once left some weights on my 'Queen Cox' apple for a few weeks without checking, only to find that a prolonged period of rain and subsequent strong winds had caused the weights to rub against the bark, creating an open wound.
How to Avoid: Make monitoring a non-negotiable part of your routine, especially after any significant weather changes. Adjust, re-pad, or even remove if you see any signs of stress or damage.
Spreading Too Late
While we covered timing, it bears repeating. Trying to spread thick, woody branches that have been in place for several years is an exercise in frustration and often leads to breakage. I learned this when I tried to correct an older, established branch on my 'Williams' pear that had been neglected.
How to Avoid: Focus on young, flexible branches – typically those that have grown in the current or previous season. The younger the branch, the easier and safer it is to spread.
Here’s a quick comparison of common mistakes and their solutions:
| Common Mistake | Why it's a problem | How to Avoid / My Solution (UK Gardener's Perspective) |
|---|---|---|
| Too Aggressive Spreading | Damages or breaks branches, leading to wounds and disease. | Be Patient, Go Gradual: I start with a slight bend and check weekly. Over a few weeks, I might adjust spreaders to increase the angle. Our UK trees respond well to gentle persuasion. |
| Using Harsh Materials | Girdles the bark, restricting nutrient flow, can kill branch. | Soft & Wide is Key: I use purpose-made spreaders or old t-shirt strips for tying weights. Never wire! I learnt this with a 'Morello' cherry – the wire cut right in. |
| Forgetting to Monitor | Damage goes unnoticed, leading to girdling, rubbing, breaks from wind. | Weekly Checks, Especially After Weather: After a blustery Midlands day, I'm out checking. Rubbing against spreaders can happen quickly, especially with our damp climate encouraging fungal growth in wounds. |
| Spreading Old, Woody Branches | High risk of snapping the branch or creating large wounds. | Focus on Young Growth: I only tackle branches from the current or previous season. My 'Williams' pear taught me this; trying to bend a 3-year-old branch was a disaster. Stick to the flexible youngsters! |
| Ignoring UK Weather Conditions | Wind can dislodge spreaders, rain can cause rubbing damage to worsen. | Anticipate & Adapt: I secure weights well, use sturdy spreaders, and check them more frequently before and after predicted storms. I even add extra padding to prevent chafing during windy spells on my exposed 'Worcester Pearmain' apple. |
Conclusion: Cultivating Stronger, More Productive UK Fruit Trees
So there you have it, fellow UK gardeners! Spreading the limbs of your young fruit trees might seem like an extra chore, but I promise you, it's one of the most rewarding tasks you can undertake in your orchard. From my own 800 sq ft patch in the Midlands, I've seen firsthand the incredible difference it makes. Those wide, open crotch angles aren't just pretty; they're the foundation of a resilient, productive tree that will grace your garden with abundant harvests for years to come.
By taking the time to gently guide your tree's growth, you're not just preventing future breakage from heavy loads of fruit or our often-fierce British winds. You're also encouraging better light penetration and air circulation, which means healthier wood, fewer disease issues, and ultimately, more delicious fruit. I've found that my 'Cherokee Purple' tomatoes in the greenhouse might be my obsession, but my outdoor apples and pears thrive thanks to this kind of foundational care.
Remember, gardening is a journey of learning and experimentation, especially here in our often-challenging British climate. Don't be afraid to try this technique, starting small and being patient. Observe your trees, learn from them, and don't worry if you make a mistake or two – I certainly have! The joy of growing your own fruit, nurtured by your own hands, is truly unparalleled.
So, grab your spreaders, your twine, or even some old t-shirts, and step out into your garden with confidence. Your young fruit trees, and your future harvests, will thank you for it. Happy spreading!
