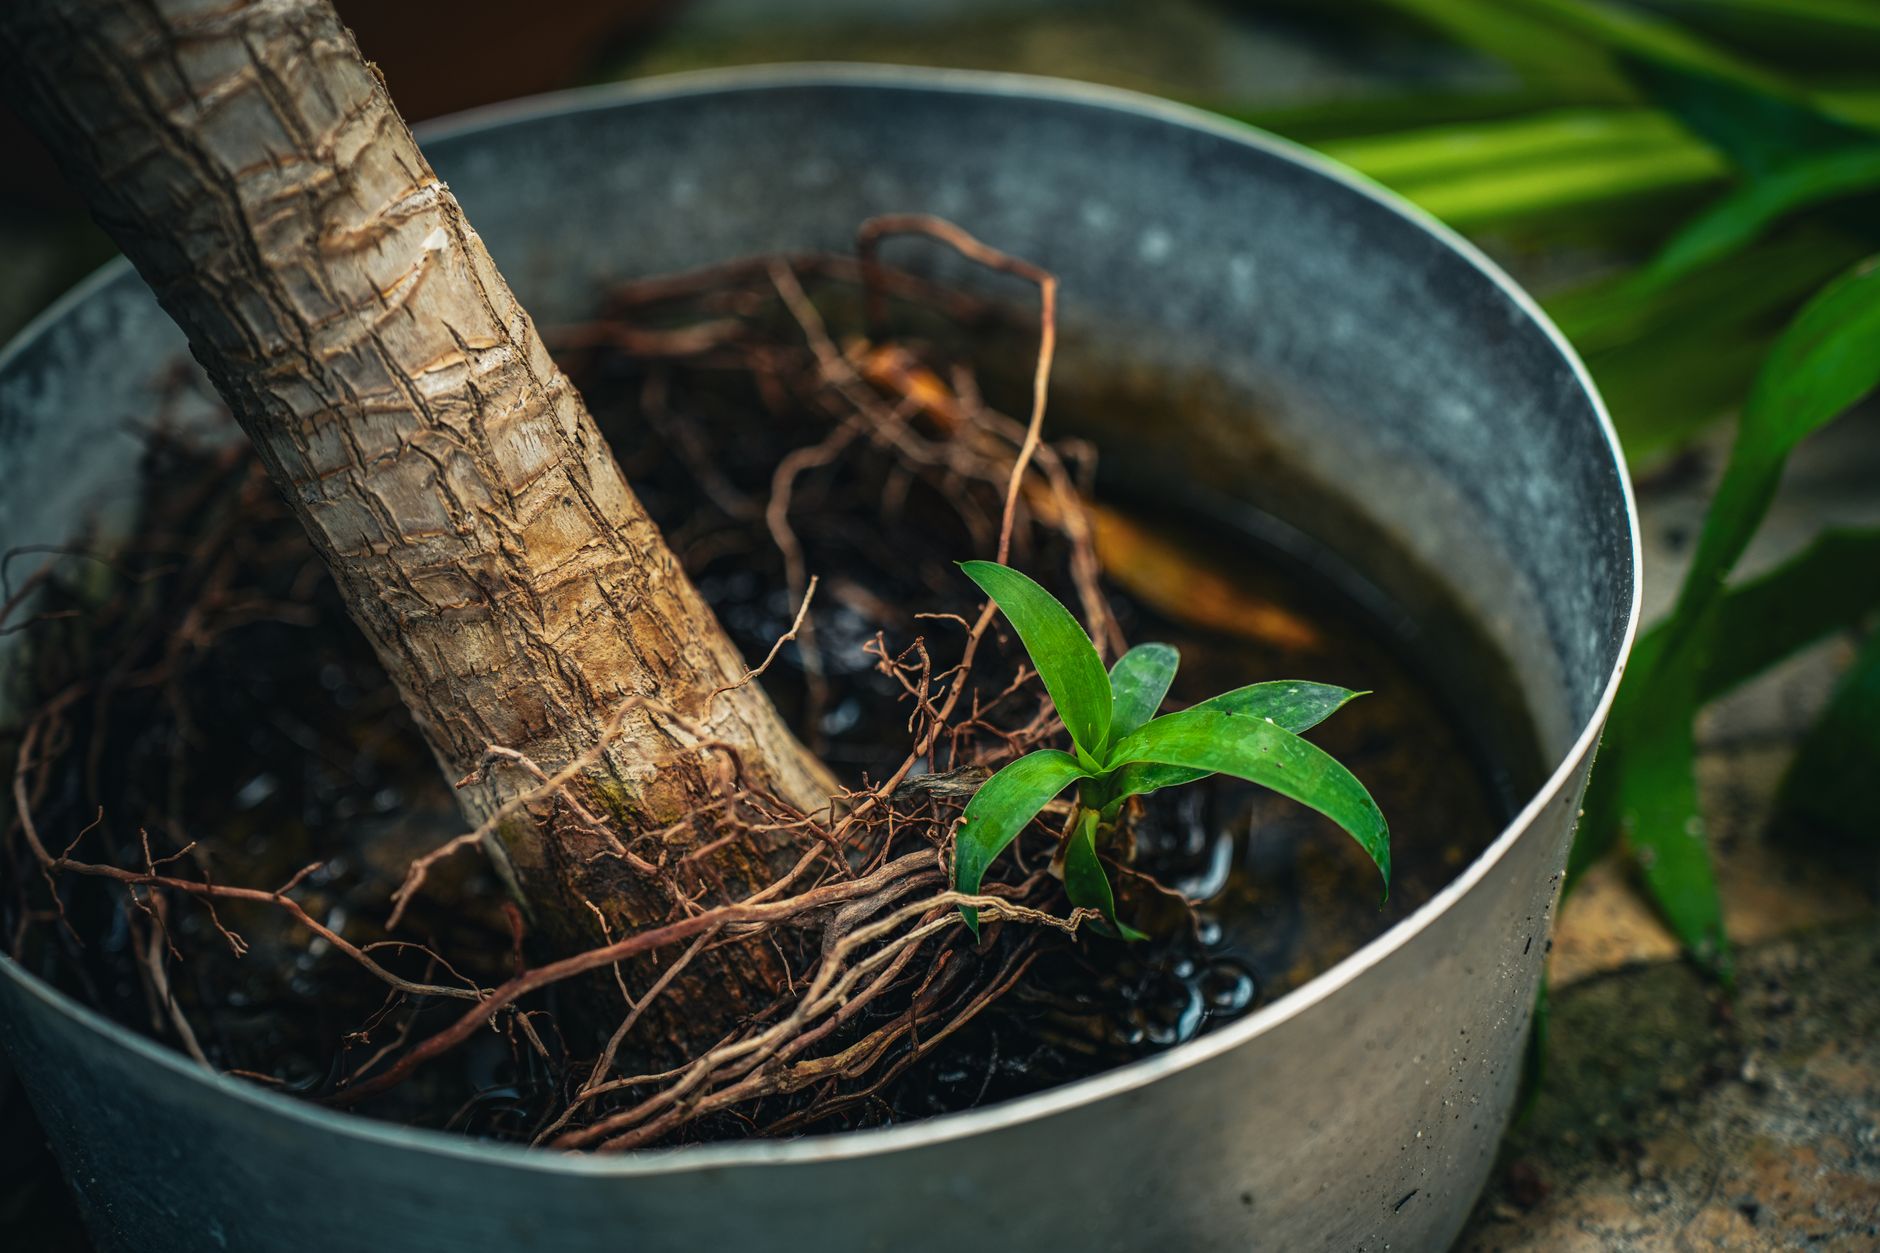
Alright, fellow gardeners! Randy here from my little patch of green in the UK Midlands. If there's one thing I've learned in my five-plus years of intensive, sometimes slightly obsessive, home gardening, it's that plants are master escape artists. Especially their roots. You put them in a lovely raised bed, a fancy fabric pot, or a sturdy plastic container, thinking you've got them precisely where you want them, only to discover, weeks later, a tangled mess of roots reaching out, down, and beyond their designated boundaries. It's like they've got a secret mission to colonise the entire garden!
I’ve had my fair share of root-related dramas in my 800 sq ft backyard, believe me. From vigorous squashes tunnelling out of their containers and anchoring themselves firmly into the notoriously damp British soil, to my prize heirloom 'Cherokee Purple' tomato roots trying to sneak out of their greenhouse pots and tap into the underlying paving stones. It's frustrating, often detrimental to the plant's health, and frankly, a bit of a nightmare when it comes to moving or harvesting. But don't despair! I've experimented, I've failed, and I've learned a whole lot about "Taming Escaped Roots" here in my UK garden. This article is all about sharing those real-world, muddy-hands-on experiences to help you prevent and manage those rogue root adventurers, keeping your container gardening truly controlled.
Why Roots Roam: Understanding the Drive to Escape Their Confines
Plants, bless their green hearts, are programmed for survival, and their roots are the ultimate explorers. They're constantly searching for life's essentials: water, nutrients, and a stable anchor. When you put a plant in a container, whether it's a raised bed filled with lovely compost or a fabric pot brimming with a nutrient-rich mix, those roots will quickly colonise the available space. But once they hit the sides or bottom of that container, their quest doesn't simply stop.
Think about it from the plant's perspective. Here in the UK, especially with our unpredictable weather, a pot can dry out surprisingly quickly on a hot summer's day, even if the surrounding garden soil is moist. Or, conversely, a heavy downpour can leach nutrients faster than you'd like. Roots sense this, and they'll push through drainage holes, porous fabric, or even tiny gaps, desperate to tap into the wider world. In my greenhouse, I've seen 'Sungold' cherry tomatoes, which are incredibly vigorous, send roots through the smallest crack in a plastic pot, seeking the cool, damp earth beneath the paving. One year, I had a fantastic butternut squash plant in a large fabric pot; it was doing brilliantly until I tried to move it and found it had rooted so deeply into the grass below that I practically needed a spade to sever its connection. It was a proper battle, and I swore then and there I'd find a better way! This natural drive, coupled with environmental factors, is why our carefully placed plants often go rogue.
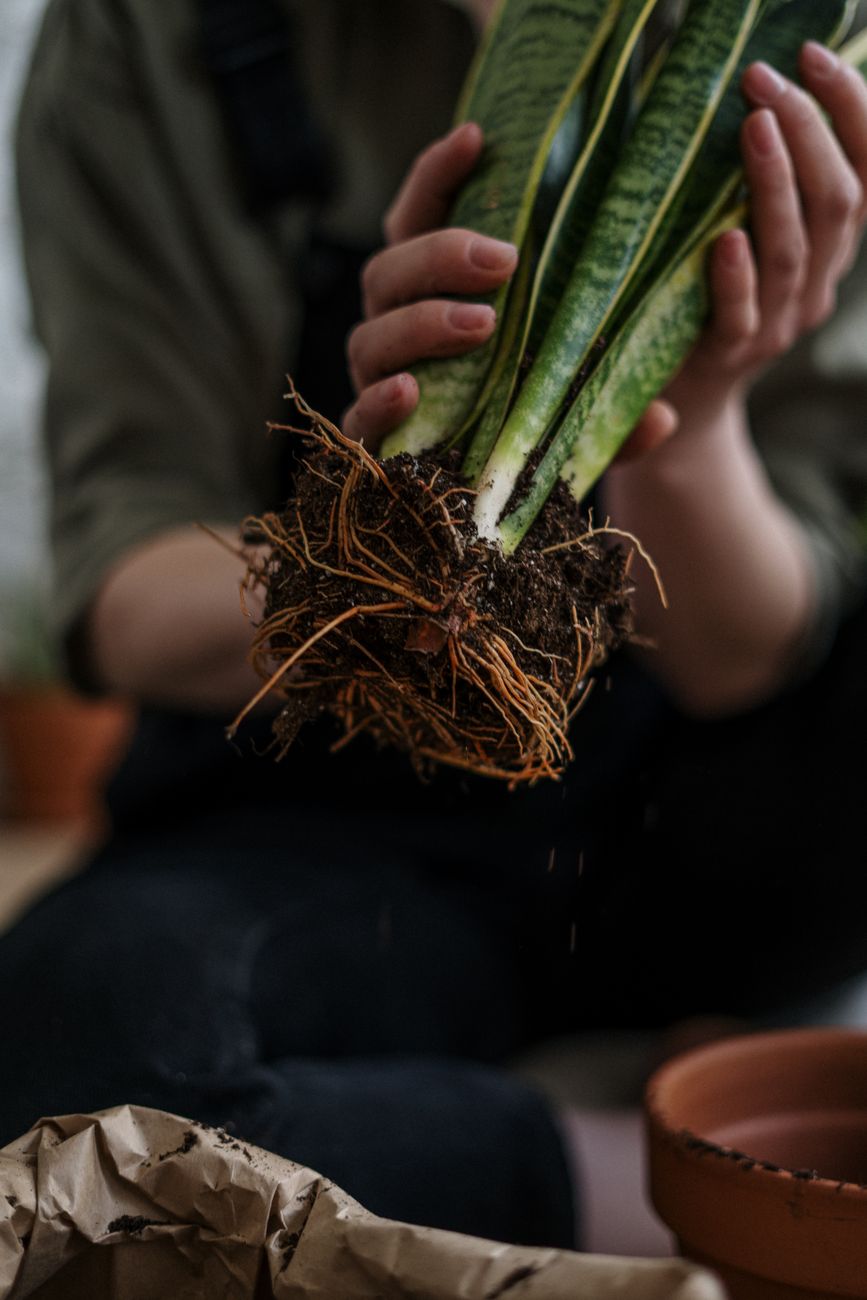
Building a Root Barrier: Proactive Prevention for Raised Beds
Raised beds are a staple in my Midlands garden – I have five of them, all varying sizes, packed with everything from carrots to cabbages. They're brilliant for controlling soil quality and drainage, especially with our often heavy clay soil here in the UK. However, without a proper barrier, they can become magnets for roots from the underlying soil (weeds, trees, or even established shrubs nearby) trying to steal nutrients from your carefully prepared beds. Equally, your own vigorous plants, like my potatoes or courgettes, can push their roots through the bed and into the wild beyond, making harvesting a real pain and potentially stressing the plant.
When I first built my raised beds five years ago, I naively thought the wooden sides were enough. Big mistake! Within a year, I was pulling up potato plants with roots that had burrowed deep into the clay beneath, making them almost impossible to harvest cleanly. And don't even get me started on the perennial weeds that found their way up into my pristine vegetable patch! I quickly learned that a good root barrier at the bottom of a raised bed is non-negotiable for controlled gardening. It's all about separating your cultivated growing medium from the underlying ground, giving you complete control over your soil and making sure your plants' roots stay exactly where you want them.
Here's a comparison of some popular root barrier options I've either used or thoroughly researched for UK conditions:
| Root Barrier Type | Pros (for UK Gardeners) | Cons (for UK Gardeners) | My Experience/Recommendation (UK Midlands) |
|---|---|---|---|
| Heavy-Duty Weed Fabric | Affordable, widely available in UK garden centres. Allows water drainage, preventing waterlogging (crucial for our damp climate). Good for stopping most weeds. | Not fully impervious to aggressive tree roots or very deep-rooted weeds over time. Can degrade faster than other options, especially with UV exposure or harsh UK winters. | I used this in my first small raised bed. It was okay for a few years, but some persistent bindweed eventually found its way through. It's a decent budget option for annuals or less invasive plants, but I wouldn't rely on it long-term if you have vigorous trees or weeds nearby. Make sure it's 'heavy-duty' – the flimsy stuff is useless. |
| Thick Plastic Sheeting | Very effective barrier against roots and weeds. Retains moisture within the bed, which can be a double-edged sword in wet UK summers. Readily available. | Can prevent drainage if not adequately perforated, leading to waterlogged soil and root rot – a real risk with our British downpours. Not breathable. Can become brittle with frost/UV over time. | I tried this once in a smaller bed for a single season. While it stopped roots, I had to be super careful with drainage holes, and I still found the soil slightly too damp after prolonged rain. I wouldn't recommend it unless you're very confident in your drainage setup or have exceptionally sandy soil. |
| Pond Liner (EPDM Rubber) | Extremely durable, flexible, and completely impenetrable to roots. Long-lasting, resistant to UV and frost (ideal for perennial raised beds here in the UK). Great for holding moisture if you want to. | More expensive upfront. Requires careful installation to avoid punctures. No inherent drainage, so absolutely must be perforated for raised beds unless you're specifically creating a bog garden (which isn't ideal for most veg). | This is my preferred choice for my more permanent vegetable raised beds. I line the bottom, bring it up a few inches on the sides, and then carefully pierce it with a fork every 10-15cm for drainage. It's an investment, but it gives me peace of mind that my compost and plants are protected. My oldest raised bed has had this for four years, and it's still perfect. |
| Purpose-Built Root Barrier Fabric | Specifically designed to block aggressive roots while allowing water and air transfer. Often made from woven polypropylene or similar materials with a special coating. Very effective and durable. | Can be more expensive and harder to source than general weed fabric. May not be readily available in all local UK garden centres; often an online purchase. | |
| Concrete/Stone Slab | Extremely durable and permanent. Provides a solid, stable base. Completely blocks roots. | Costly. Difficult to install. Zero drainage. Very heavy. Permanent. |
Untangling the Problem: Managing Already Escaped Roots
Right, so we've talked a lot about preventing those sneaky roots from making a break for it. But what happens when you discover they've already gone rogue? Trust me, it's happened to me more times than I care to admit, especially in the early days when I was still figuring out the nuances of container gardening here in my Midlands garden. I remember one season, I had a fantastic 'Marmande' tomato plant in a large fabric pot in the greenhouse. It was thriving, loaded with fruit, and I felt smug. Then, during a routine watering, I noticed it was feeling a bit too stable. A quick lift (or rather, a strong heave!) revealed thick, white roots that had snaked through the fabric, burrowed into the gravel base, and were well on their way into the soil beneath. Panic stations!
When you find escaped roots, the first thing to do is not to despair. It's a sign your plant is happy and wants to grow – just a bit too enthusiastically!
Here's my go-to approach for managing already escaped roots:
- Gently Liberate the Pot: If the pot is light enough, carefully lift it. If the roots are shallowly anchored, you might hear a gentle tearing sound – don't worry, the plant can usually recover from minor root damage. For larger, heavier pots, you might need help. Try to rock the pot gently to loosen the roots before lifting.
- Assess the Damage: Once the pot is free, turn it on its side or lift it to inspect the bottom. You'll see the escaped roots. If they're thin and sparse, a simple trim might suffice.
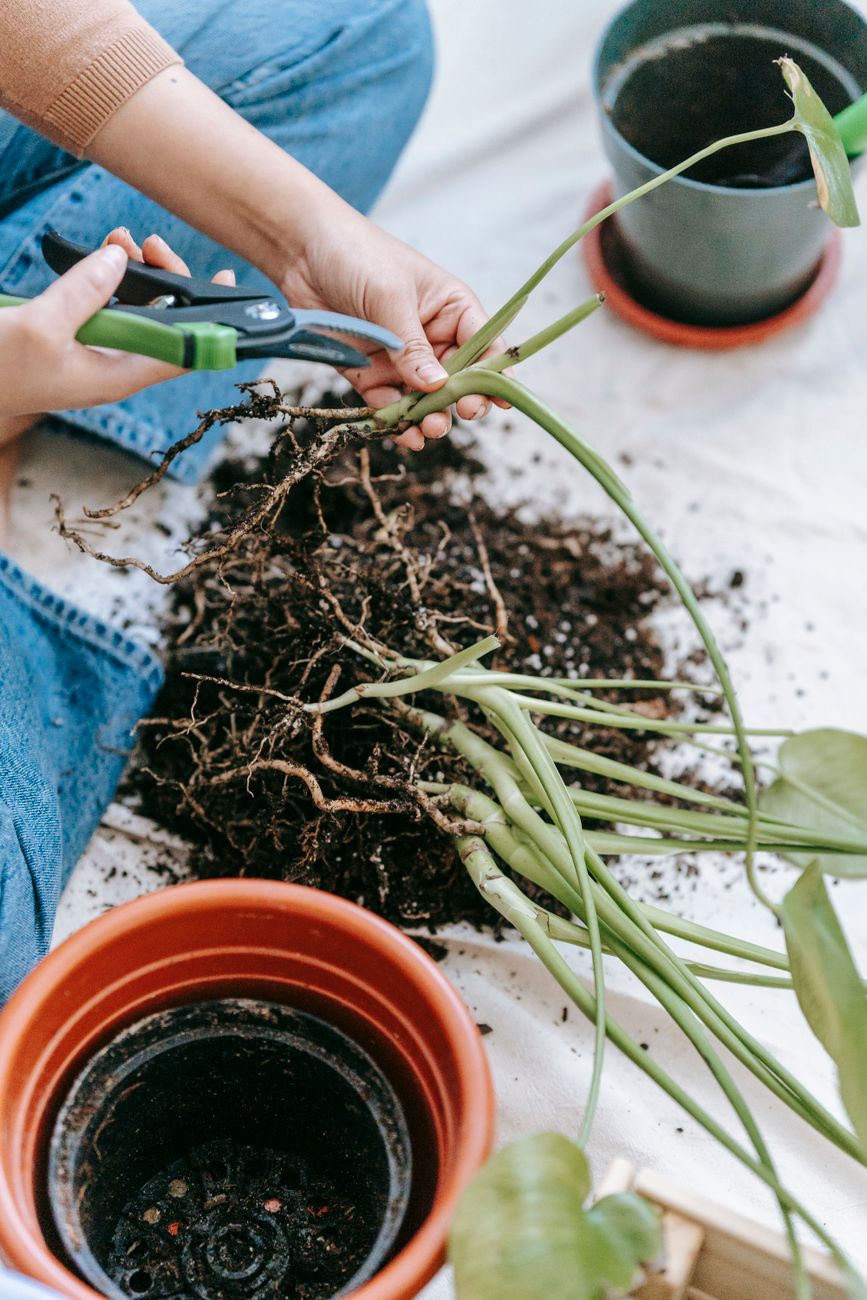
- The Root Prune (Carefully!): For thicker, more established escaped roots, you'll need to prune them. Use a clean, sharp pair of secateurs. Cut the roots as close to the pot as possible. I usually aim for a clean cut rather than tearing. This is a bit like giving your plant a haircut – it encourages new, healthier root growth within the pot. Don't go overboard; remember, these roots were feeding your plant.
- Check the Container: After pruning, inspect the container itself. Are there specific holes the roots are escaping from? Is the fabric pot degrading? This might be a sign it’s time to upgrade or add an internal barrier.
- Reposition with Prevention: Crucially, don't just put the pot back in the same spot without addressing why the roots escaped. This is where those elevation and barrier solutions we talked about come in. Place it on pot feet, a sturdy slab, or a root barrier mat. My 'Marmande' tomato, after its surprise root trim, went straight onto a heavy-duty paving slab with some sturdy pot feet underneath to ensure maximum airflow. It continued to produce wonderfully, proving plants are remarkably resilient!
- Monitor Post-Pruning: Keep a close eye on your plant for a week or two after pruning. It might show signs of stress, like wilting leaves, as it adjusts to the reduced root mass. Ensure it's well-watered (but not waterlogged) and perhaps give it a gentle feed with a balanced liquid fertiliser to encourage new growth.
UK Gardener's Toolkit: Choosing the Best Barriers and Elevation Solutions
Over my five years of intensive gardening here in the UK, I've tried just about every trick in the book to keep roots in check. What works best often depends on the type of container, the plant, and where it's located in my 800 sq ft backyard. From my raised beds for potatoes and carrots to my greenhouse full of 'Sungold' and 'Black Krim' tomatoes, I've got a system for each.
Here's a detailed look at the solutions I've found most effective for our British climate, along with my honest assessment:
| Solution | Pros (UK Context) | Cons (UK Context) | Best For (UK Specific Plants/Situations) | Randy's Rating |
|---|---|---|---|---|
| Heavy-Duty Paving Slabs | Readily available at any UK DIY store, incredibly durable, provides a solid, level base. Excellent for heavy pots. | Can be heavy to move, can retain moisture underneath in wet UK weather if not elevated slightly. Less airflow than feet. | Large patio pots (e.g., blueberries, small fruit trees), base for very heavy raised beds, areas prone to waterlogging. | 4/5 |
| Dedicated Pot Feet | Excellent airflow and drainage, minimal impact on aesthetics. Available in various materials (terracotta, plastic). | Can be flimsy for very large pots, easy to lose (especially with kids/pets!), can sink into soft ground after heavy UK rain. | Smaller to medium decorative pots, herbs, tender annuals on patios or greenhouse staging. | 3/5 |
| Pot Trolleys/Caddies | Allows easy movement of heavy pots (great for bringing tender plants indoors in winter!), provides elevation. | Can be expensive, wheels can degrade over time, less stable on uneven ground. Some designs offer poor airflow. | Greenhouse tomatoes/peppers that need to be rotated, tender citrus plants moved seasonally, containers on a patio that needs regular cleaning. | 4/5 |
| Thick Pond Liner | Impermeable, very durable, can be cut to size. Excellent as an internal barrier for raised beds. | Can be expensive in large quantities, doesn't breathe, can trap water if not installed with drainage in mind. | Lining raised beds that might sit on very rooty ground, creating bespoke barriers under specific containers. | 4/5 |
| Root Barrier Fabric | Specifically designed to stop roots, allows water and air through. Durable and long-lasting. | Can be costly for large areas, needs proper installation to be effective, not always aesthetically pleasing. | Lining the bottom of raised beds, creating an impermeable layer under greenhouse staging, preventing tree roots from invading. | 5/5 |
| DIY Brick/Block Stands | Very stable, excellent airflow, uses readily available materials (often cheap or free from reclamation yards). | Can be bulky and unattractive in some settings, requires some physical effort to build. | Permanent placement for large containers (e.g., half-barrels for potatoes), sturdy bases for greenhouse benches. | 4/5 |
In my garden, I use a combination. For my outdoor raised beds where I grow things like 'Charlotte' potatoes and 'Autumn King 2' carrots, I've lined the bottom with a heavy-duty root barrier fabric. It's been a game-changer, stopping tree roots from my neighbour's huge oak from invading. Inside the greenhouse, my heirloom tomatoes like 'Cherokee Purple' sit on sturdy pot trolleys, which means I can rotate them for even light and easily check for escaped roots. For my smaller herb pots and decorative containers on the patio, I rely on a mix of terracotta pot feet and repurposed old bricks to keep them elevated and airy.
Sustaining Control: Long-Term Strategies for a Root-Free Container Garden
Taming escaped roots isn't a one-and-done job; it's an ongoing commitment, much like weeding or pruning. In my 800 sq ft of gardening chaos, I've learned that consistency is key. Our unpredictable British weather, with its sudden downpours and occasional heatwaves, can stress plants and encourage roots to seek moisture wherever they can find it.
Here's how I integrate root management into my regular gardening routine for long-term success:
- Regular Visual Inspections: Every time I water my containers, especially during the peak growing season from spring to late autumn here in the Midlands, I do a quick visual check. I glance under the pots, look for any tell-tale roots snaking out of drainage holes, or feel for any abnormal stability. This takes seconds but can prevent a major problem.
- The "Lift and Check" Routine: For my heavier pots, I aim to lift and check them properly at least once a month, or more frequently if the plant is a vigorous grower like a courgette or a large tomato. If it feels stuck, I know there's likely an issue. I've found that doing this just before a heavy rain is perfect, as the soil is usually moist enough to allow for easier lifting without stressing the plant too much.
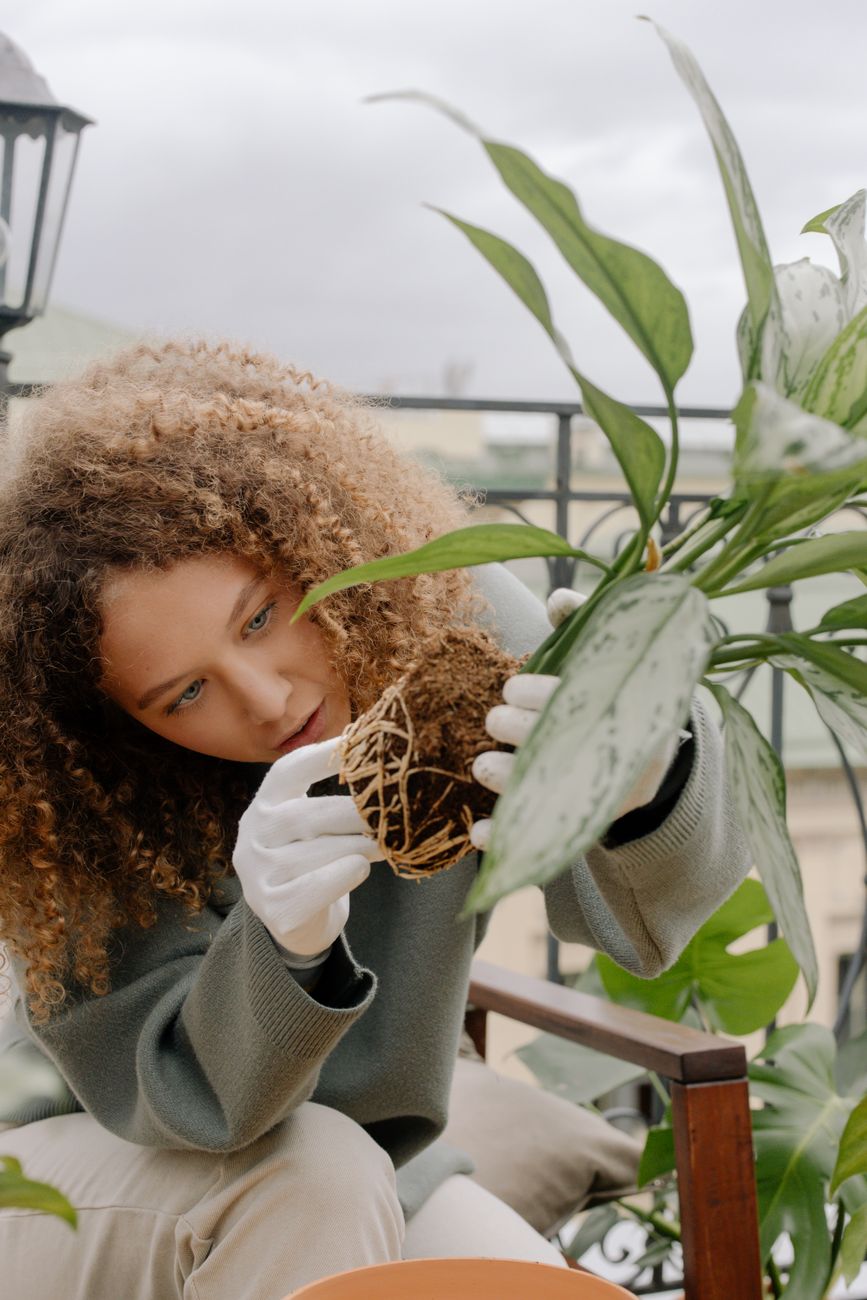
- Seasonal Overhaul: At the end of the growing season, before I put my pots away for winter or prepare them for next year's crops, I give every single container a thorough inspection. This is when I do any major root pruning, clean out old compost, and re-evaluate my elevation and barrier solutions. For my perennial plants in pots, like my blueberries or my 'Pink Sapphire' chilli plant that I overwinter, I might even unpot them to check their root ball health and trim any circling roots.
- Crop Rotation in Raised Beds: Even with root barriers, I practice crop rotation in my raised beds. This isn't directly for escaped roots, but it keeps the soil healthy and prevents nutrient depletion, which in turn leads to healthier plants less likely to desperately seek nutrients outside their designated area.
- Understanding Plant Habits: Over time, I've learned which plants are the biggest "root escapers." My tomatoes and courgettes are always the worst offenders, closely followed by some of my more vigorous herbs like mint (which I always grow in a pot, buried in the ground, to contain its enthusiasm!). Knowing this helps me be extra vigilant with those specific plants.
It might sound like a lot of work, but honestly, it becomes second nature. It's just another aspect of nurturing your plants, much like feeding or pest control. A little bit of proactive effort throughout the season saves a huge headache down the line.
Conclusion: Embrace the Control, Enjoy the Rewards
So, there you have it, fellow gardeners! We've journeyed through the sneaky world of escaped roots, from understanding why they roam to implementing clever barriers and managing the ones that have already made a break for it. What I've learned from my years of trial and error in my UK backyard is that controlled container gardening isn't about stifling your plants; it's about providing them with the best possible environment to thrive within the boundaries you set.
Whether you're battling a tree root invasion in your raised beds or preventing your prize-winning 'Costoluto Fiorentino' tomatoes from anchoring themselves into your patio, the principles remain the same: prevention through thoughtful placement and effective barriers, coupled with vigilant monitoring and timely intervention.
It’s about understanding your plants, respecting the space you've given them, and adapting to our wonderfully unpredictable British climate. By taking these steps, you'll not only protect your infrastructure but also ensure your container plants are happy, healthy, and producing abundant harvests.
I absolutely love the challenge and the satisfaction of a well-managed garden, and I hope these insights from my own experiences here in the Midlands help you achieve a truly root-free, flourishing container garden. Happy growing, everyone! Don't forget to share your own root-taming triumphs (or even your comical failures!) in the comments below. I'm always keen to hear what works for you!
