
Introduction: Unearthing the Truth About Buried Root Flares and Crowns
Alright, fellow green-fingered friends! Randy here, from my bustling 800 sq ft patch right here in the UK Midlands. You know that feeling, don't you? You've nurtured a plant, maybe a lovely ornamental shrub, a promising young fruit tree, or even a well-established perennial, for months, even years. You've fed it, watered it, chatted to it (admit it, we all do!), and given it all the love in the world. Yet, it just… isn't thriving. It's putting out lacklustre growth, the flowers are a bit 'meh', or it just seems perpetually stressed, despite your best efforts. I’ve certainly been there more times than I care to admit, especially in my early days of transforming my little backyard into the vibrant space it is today.
For ages, I'd scratch my head, blaming everything from our famously unpredictable British weather to elusive pests or nutrient deficiencies in my raised beds. I've even wondered if I’d just chosen the wrong variety for our often-damp Midlands climate. But through five years of intensive experimentation and, let’s be honest, a good few gardening blunders, I've uncovered a surprisingly common, yet often overlooked, culprit: the buried root flare or crown.
This isn't some exotic disease or a complicated soil chemistry problem; it's a simple, physical issue that can silently suffocate your plants. Think of it as wearing a tight collar that restricts breathing – your plants are essentially being choked at their most vital connection to the soil. It's a "hidden killer" that I’ve learned to spot and rectify in my own garden, from struggling 'Conference' pear trees to underperforming lavender bushes. And trust me, once you understand what to look for and how to gently intervene, you'll be amazed at the renewed vigour you can bring back to your established garden residents. So, grab a cuppa, and let's dig into how you can diagnose and gently unearth this problem for a healthier, happier garden.
The Silent Suffocation: Why Deep Planting Harms Your Garden's Health
When I first started gardening, fresh out of the IT world and brimming with theoretical knowledge but little practical experience, I honestly thought "deeper is better" for stability. Especially with the gusty winds we get here in the Midlands, I figured a little extra soil over the base of a young plant couldn't hurt. Oh, how wrong I was! This mistake, known as deep planting, is one of the most common, yet most damaging, errors a gardener can make, and it’s a lesson I learned the hard way with a weeping cherry I planted too deeply. It never truly flourished, always looking a bit sickly, until I finally realised the root flare was completely submerged.
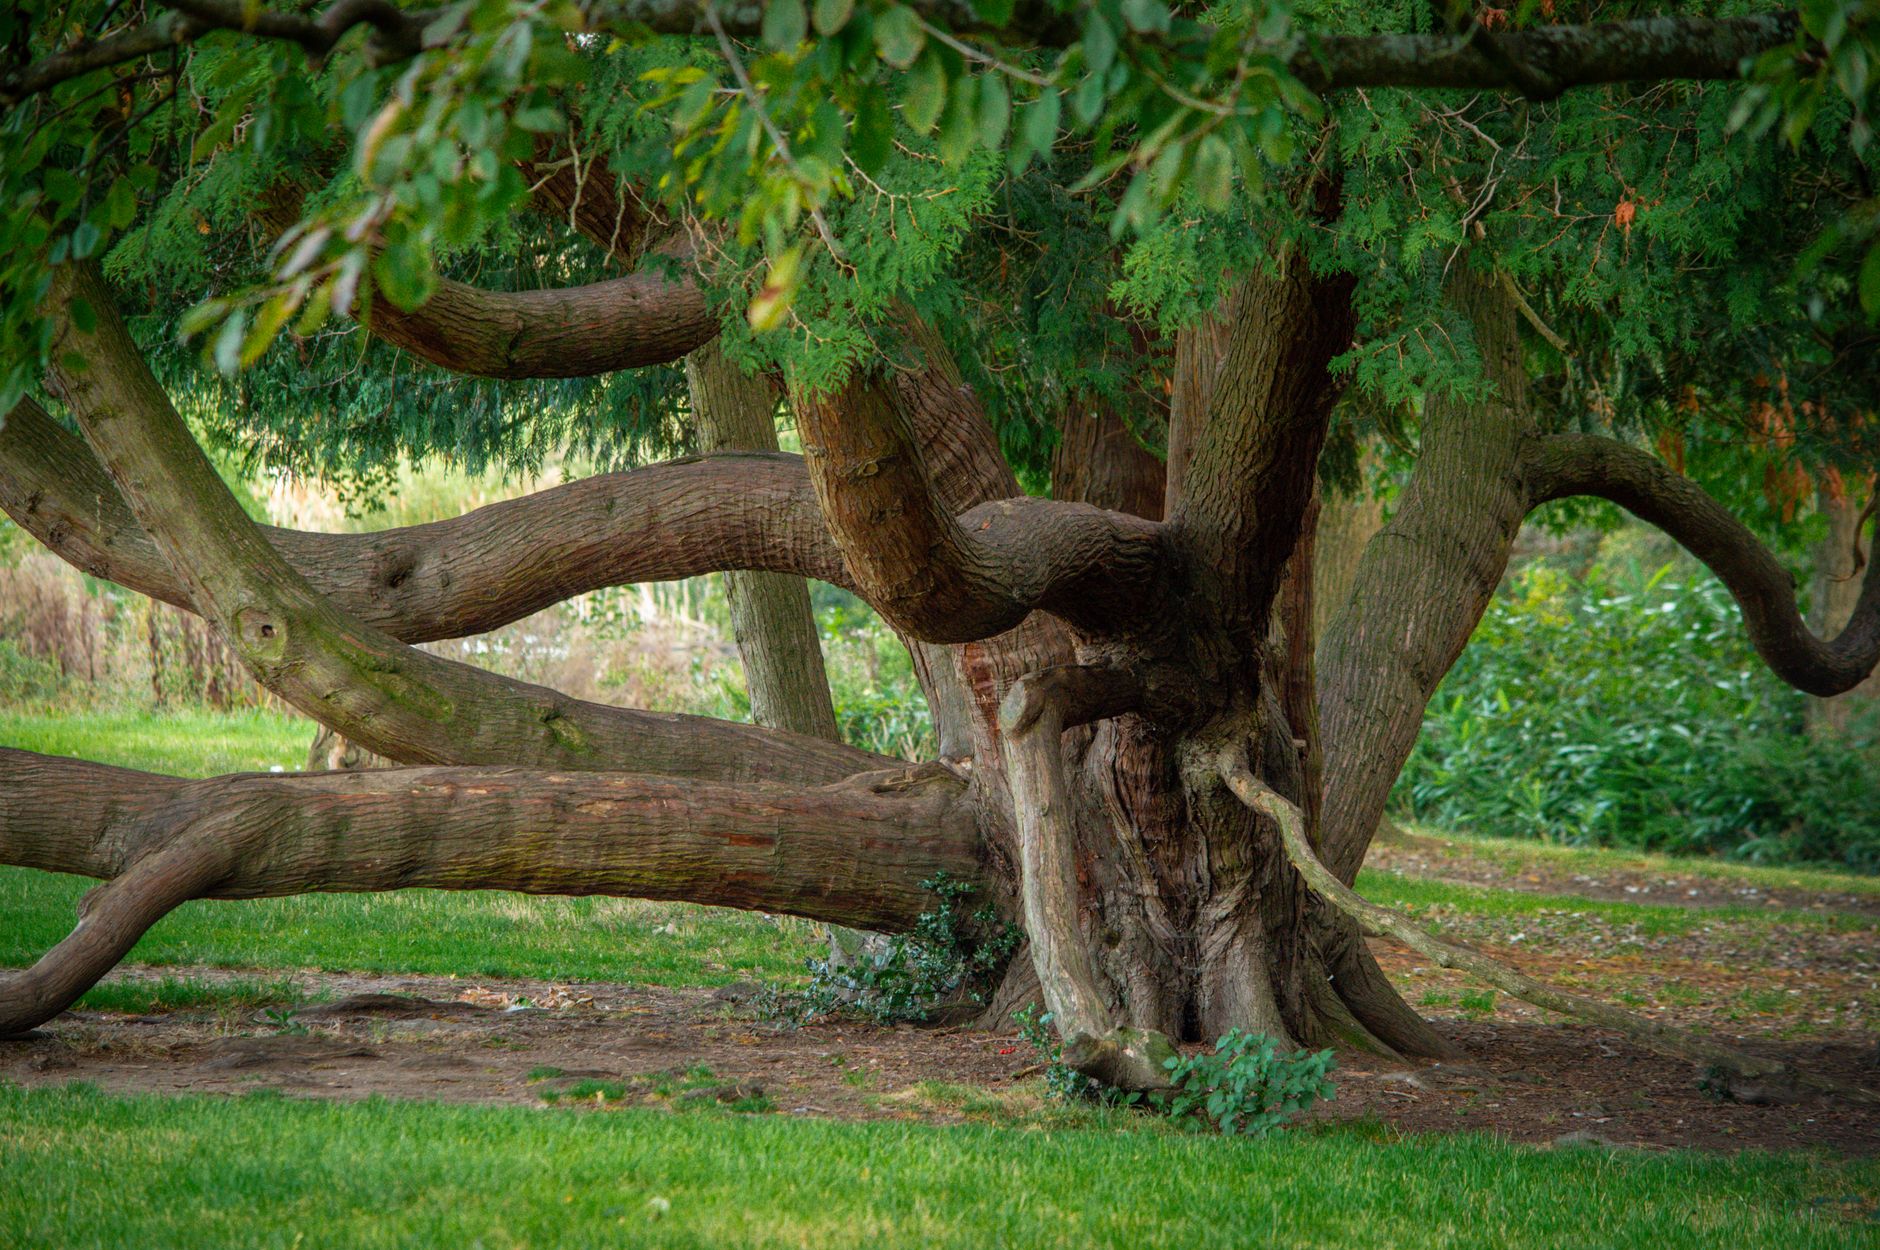
The root flare (for trees and shrubs) or the crown (for herbaceous perennials) is the critical junction where the plant's stem or trunk transitions into its root system. This area is biologically designed to be at or just above the soil surface, exposed to air. When it's buried, it's like a person trying to breathe through a snorkel that's too long and keeps filling with water.
Here in the UK, with our often-heavy clay soils and variable rainfall, deep planting becomes an even bigger issue. Buried root flares and crowns are constantly exposed to excessive moisture, which starves the roots of oxygen. This leads to anaerobic conditions, encouraging fungal diseases like crown rot and root rot, which are particularly prevalent in damp British conditions. The bark on the buried stem, which isn't meant to be underground, becomes soft and susceptible to decay. What's more, the plant will often try to compensate by growing new, adventitious roots higher up on the buried stem. These roots are typically weaker, less efficient, and can girdle the main stem over time, effectively strangling the plant from the inside out. I've seen this happen with my own eyes on a struggling 'Ribes sanguineum' (flowering currant) that I rescued from a corner of my garden.
Understanding this vital difference is the first step to a healthier garden.
Healthy vs. Buried Root Flare/Crown: A Quick Comparison
Here's a breakdown of what you should ideally see and what happens when things go wrong:
| Feature | Healthy Root Flare/Crown (Optimal) | Buried Root Flare/Crown (Problematic) |
|---|---|---|
| Location | Visible at or slightly above soil level. | Completely covered by soil, mulch, or even turf. |
| Appearance | Trunk/stem widens visibly at soil line, like an elephant's foot. | Trunk/stem goes straight into the ground like a telephone pole. |
| Bark/Stem | Healthy, firm bark, designed for air exposure. | Often discoloured, soft, decaying, or showing signs of fungal growth. |
| Root Growth | Strong, radial roots originating from the flare, growing outwards. | Weak, adventitious roots growing from buried stem; potential girdling roots. |
| Oxygen Access | Excellent, allowing for healthy root respiration. | Severely restricted, leading to anaerobic conditions. |
| Moisture Reg. | Drains well, allowing the base to dry out between watering/rain. | Stays consistently wet, increasing risk of rot, especially in UK's dampness. |
| Nutrient Uptake | Efficient, strong roots absorb nutrients effectively. | Impaired, weaker roots struggle to take up water and nutrients. |
| Overall Vigor | Robust growth, abundant flowering/fruiting, good pest/disease resistance. | Stunted growth, yellowing leaves, poor flowering/fruiting, susceptible to stress. |
Diagnosing the Deeper Problem: Key Signs of Buried Root Flares and Crowns
Now that you know why it's a problem, how do you spot it in your own garden? I’ve become quite adept at this, often giving new plants a quick check-up even before they go in the ground now. But it's the established plants that truly present the diagnostic challenge. One particularly stubborn 'Rose de Rescht' rose bush in my perennial bed was a classic case. For two seasons, it had yellowing leaves, sparse flowering, and just looked generally unwell, despite being in good soil. I initially thought it was blackspot or rust, common problems in our damp UK summers, but no amount of treatment helped. It was only when I decided to dig around its base that I found its crown was an inch too deep.
The signs can be subtle, mimicking other plant ailments, which is why this "hidden killer" often goes undiagnosed. Here in the UK, especially after a particularly wet winter or a sustained period of heavy rain, these symptoms can be exacerbated, as the waterlogged conditions stress the plant further. Keep an eye out for these tell-tale signs:
Symptoms of a Troubled Plant Due to Buried Root Flare/Crown
| Symptom Category | What You Might See | Why it Happens (Randy's UK Garden Insight) |
|---|---|---|
| Overall Vigor | - Stunted growth, smaller leaves, lack of new shoots. | Roots are suffocating, can't efficiently supply the canopy with water/nutrients. Our cool, damp UK springs make this worse. |
| - General decline, lack of energy, looking "unhappy." | Chronic stress weakens the entire plant system. | |
| Foliage Issues | - Yellowing leaves (chlorosis), especially between veins. | Iron and other micronutrient deficiencies due to poor root function in wet, anaerobic soil. Common in our alkaline Midlands soil. |
| - Premature leaf drop, especially in summer. | Plant shedding leaves to reduce water demand from struggling roots. | |
| - Smaller, paler leaves than usual for the variety. | Insufficient nutrient uptake impacts leaf development. | |
| Branch & Stem | - Dieback of branches, starting from the tips. | Severely stressed root system can't support outer branches; often mistaken for frost damage in the UK. |
| - Weak, spindly growth. | Lack of energy and resources for robust stem development. | |
| Flowering/Fruiting | - Poor or absent flowering. | Plant prioritises survival over reproduction. My greenhouse tomatoes ('San Marzano Redorta') would never fruit well if buried! |
| - Small, misshapen, or prematurely dropping fruit. | Inadequate resources for fruit development. | |
| Pest & Disease | - Increased susceptibility to common UK pests (aphids, scale). | Stressed plants emit signals that attract pests; weakened immune system. |
| - Frequent fungal infections (powdery mildew, root rot, collar rot). | Constantly damp conditions at the base are a breeding ground for fungi, particularly with our humidity. | |
| Physical Base | - Trunk/stem enters ground like a straight pole (no flare). | The most obvious visual cue – the root flare is hidden. |
| - Soil mounded up around the base over time. | Accumulation of mulch, leaves, or shifting soil can bury the flare gradually. | |
| - Bark at the base looks dark, soft, or has fungal growth. | Decay from constant moisture and lack of air. |
Essential Tools for a Gentle Excavation: What You'll Need
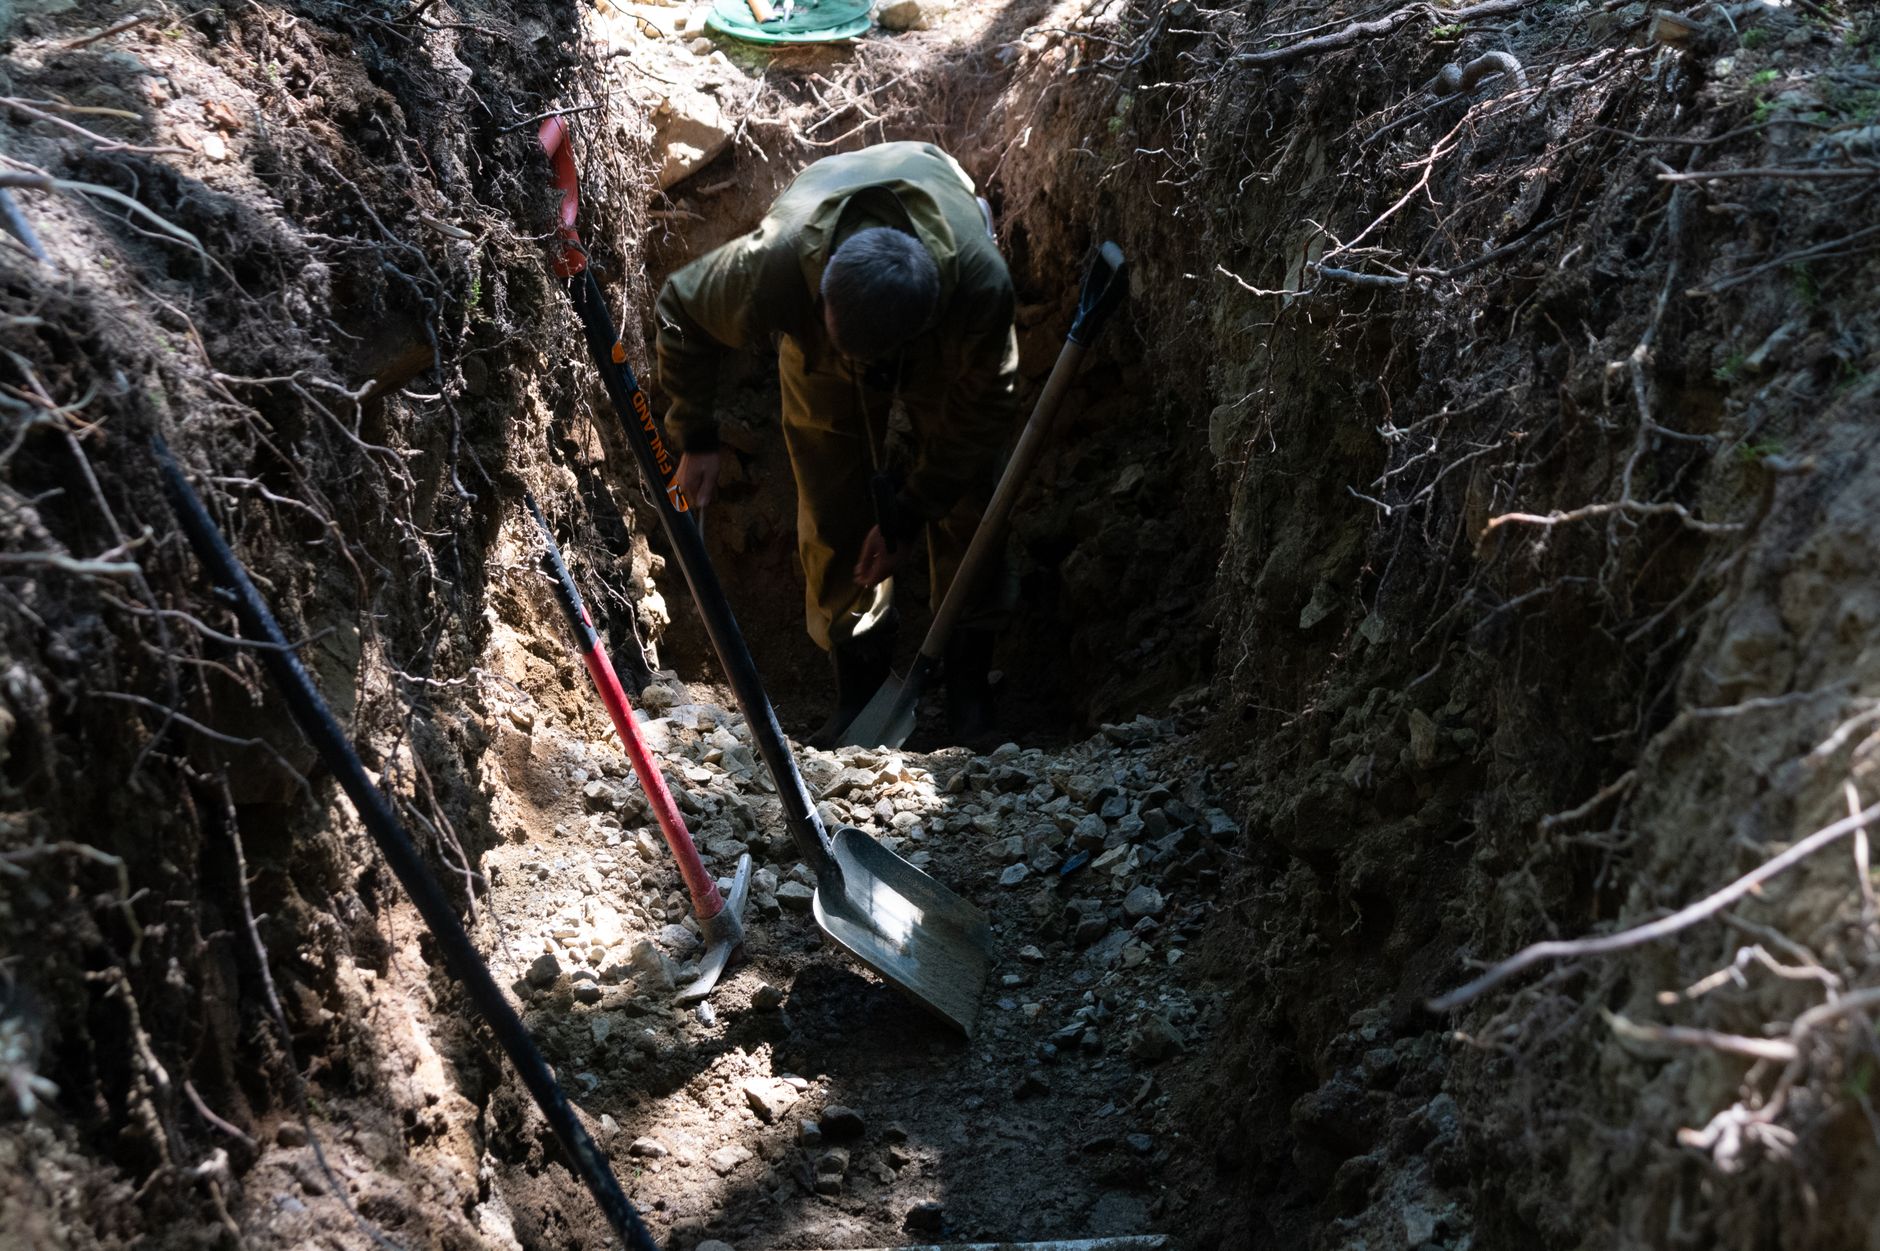
Once you’ve identified a potential buried root flare or crown, the next step is to gently, carefully, uncover it. This isn't a job for a spade and brute force; think of yourself as an archaeological conservator, delicately revealing a precious artifact. The goal is to remove the excess soil or mulch without damaging the sensitive bark or the fine feeder roots just below the surface. I’ve refined my toolkit over the years, and I promise you, having the right gear makes all the difference, especially when you’re working around established plants in varying UK soil conditions.
Here’s what I keep handy for this delicate operation in my Midlands garden:
- Hand Trowel (Small & Sturdy): Forget your big digging trowel. You need something precise. I favour a smaller, strong stainless-steel trowel with a sharp point. It’s perfect for carefully scraping away soil without too much leverage that could damage roots.
- Hand Fork (Three-Pronged): This is brilliant for loosening compacted soil around the base without cutting into major roots. The prongs allow you to gently tease the soil away. Mine’s a trusty carbon steel one that’s seen many seasons.
- Root Pick/Dandelion Weeder: These have a long, slender, often forked end. They're fantastic for getting into tight spots and carefully pulling away stubborn soil or small, adventitious roots. I use mine almost like a dental tool!
- Stiff Brush (e.g., small scrubbing brush, old paintbrush): Once you get down to the actual root flare, a stiff brush (or even an old, firm paintbrush) is invaluable for gently dusting away the last layers of soil and debris without scratching the bark. It allows you to really see what you’re doing.
- Gloves: Essential for protecting your hands, especially if you encounter any sharp roots or rough bark.
- Kneeling Pad or Mat: Trust me on this one. You'll be spending a fair bit of time on your knees, so save them the agony! My cheap foam pad has been one of my best gardening investments.
- Bucket or Tarp: To collect the excavated soil and any removed roots. You don't want to just leave it piled around the plant, as it will likely get washed back in. I often reuse this soil elsewhere, perhaps for potting up some 'Marmande' tomato seedlings.
- Watering Can (Optional, but recommended): A light watering after excavation can help settle any disturbed soil and wash away loose particles, giving you a clearer view of the newly exposed root flare. It also helps reduce transplant shock if you've had to remove any significant girdling roots.
Having these tools ready means you can approach the task with confidence and care, ensuring you're helping your plant, not harming it further.
Step-by-Step Guide: Gently Exposing Root Flares and Crowns for Trees, Shrubs, and Perennials
Right, you've got your tools, you know what you're looking for, and you're ready to get stuck in. This isn't a race; it's a careful, methodical process – a bit like defusing a tiny, green bomb, but with much more satisfying results! Patience is your best friend here. I’ve learned this the hard way, rushing a job on a struggling 'Conference' pear tree only to realise I'd been too aggressive. Take your time, listen to the plant, and let's get those roots breathing.
Choosing Your Moment and Preparing the Area
First off, timing. Here in the UK Midlands, I usually aim for late autumn after leaf fall, or early spring before bud burst. This is when the plants are dormant or just waking up, meaning they're less stressed by root disturbance. Avoid doing this in the heat of summer, especially if we're having one of our rare heatwaves, as it can be a huge shock to the system.
Before you even touch a tool, gently clear away any loose mulch, fallen leaves, or debris from around the base of the plant. You want a clear workspace so you can see what you're doing.
The Initial Dig: Working Outwards and Downwards
This is where the hand trowel and possibly a small hand rake come in. Start by carefully scraping away the top layer of soil, about 15-30 cm (6-12 inches) away from the stem or main crown. You're working outwards from the plant, not directly down next to the stem. The idea is to find the point where the main roots begin to flare out from the trunk or stem, or where the individual stems of a perennial emerge from the soil.
- For Trees and Shrubs: Imagine a funnel shape. You’re looking for the top, widest part of that funnel where the trunk transitions into the main root system. This is the root flare.
- For Perennials: You’re looking for the crown – the central growing point where stems and leaves emerge from the root mass. It's often a bit more compact than a tree's flare.
Locating the Flare or Crown: The Gentle Reveal
Once you've cleared a bit of the surface, switch to your smaller hand tools – a soft brush, a chopstick, or even just your fingers. This is precision work.
- Scrape, Don't Dig Deep: Gently scrape away soil in thin layers. As you get closer to the plant, you'll start to see the top of those main roots or the distinctive 'knuckle' of the crown.
- Follow the Roots: Once you find a root, follow it outwards and downwards. You want to expose the entire upper surface of the root flare or crown. It’s a bit like archaeological work, slowly revealing the ancient structure beneath.
- Water if Needed: If your soil is particularly compacted or stony (like some of my raised beds can get after a wet winter here in the Midlands), a gentle spray of water from a hose on a low setting can help wash away soil without damaging delicate roots. I’ve used this method on my 'Blackcurrant Ben Lomond' bushes when the soil was stubbornly clinging.

Clearing Away the "Hidden Killer"
Continue this careful excavation until the entire root flare (for trees/shrubs) or the top of the crown (for perennials) is exposed. You should be able to see the point where the main trunk or stem widens and divides into the first major roots. For perennials, you should see the entire crown sitting level with or just above the soil surface.
- No More Soil Against the Stem: The goal is to have no soil directly touching the main trunk or stem above the root flare/crown. This prevents moisture buildup and allows vital gas exchange.
- Remove Girdling Roots: As you expose the flare, keep an eye out for any roots that are circling the trunk or growing over other roots. These are called girdling roots, and they can slowly strangle the plant. If you find any, and they're not too thick, carefully prune them away with your sharp, sterilised secateurs. I had to do this with a young 'Victoria' plum tree that I’d inadvertently planted too deep; removing a couple of pencil-thick girdling roots made a world of difference to its vigour the following season.
The Finished Look
When you're done, the root flare of your tree or shrub should be visible, resembling the base of a wine glass or a bell, sitting proudly at or slightly above the soil line. For perennials, the crown should be clearly visible and at the correct planting depth, with the individual stems emerging without being buried. It might look a bit stark initially, but trust me, your plant will thank you for it.
After the Dig: Post-Unearthing Care and Preventing Future Burials
You've done the hard work, now it's time to ensure your plant makes a full recovery and stays healthy. This crucial stage is all about gentle aftercare and setting up long-term prevention strategies to stop that "hidden killer" from striking again.
Immediate Aftercare: Nurturing Your Newly Exposed Plant
Once you've finished the excavation, resist the urge to immediately pile soil back on. The whole point was to get those roots some air!
- Water Thoroughly: Give the plant a good, deep drink of water. This helps settle any disturbed soil around the newly exposed roots and reduces transplant shock. Even though we haven't moved it, exposing the roots can be a bit of a jolt. I usually give my plants a good soak with rainwater from my butt, especially after any root disturbance.
- Apply a Thin Layer of Mulch (Correctly!): This is where many of us (and I include myself in past mistakes!) get it wrong. A light layer of mulch is beneficial, but it absolutely must not touch the exposed root flare or crown.
- "Donut, Not Volcano": Picture a donut around the base of your plant. The hole in the middle is where the root flare/crown is, and the mulch forms the ring around it. Aim for a gap of 5-10 cm (2-4 inches) between the mulch and the plant's base.
- Depth: Keep the mulch layer to about 5-7 cm (2-3 inches) deep. Too much, and it can still create a damp, suffocating environment or become a haven for pests.
- Monitor Closely: For the next few weeks and months, keep a close eye on your plant. Look for signs of renewed growth, healthier leaf colour, or improved flowering/fruiting. Be patient; it might take a full growing season for some plants to show significant improvement. My 'Cox's Orange Pippin' apple took almost a year to really bounce back after I unburied its flare, but now it's thriving.
Preventing Future Burials: Long-Term Strategies
The best cure is prevention, and this holds true for buried root flares. Once you've gone to the effort of unearthing them, you want to make sure they stay exposed.
- Correct Planting Depth (Going Forward): This is fundamental. Always ensure that the root flare or crown of any new plant you put in your UK garden is at or slightly above the soil line. This is the single most important preventative measure. I always check the plant in its pot before planting; if the root flare is already buried in the nursery pot, I expose it before putting it in the ground.
- Mindful Mulching: As detailed above, always apply mulch in a 'donut' fashion, keeping it away from the plant's base. Regularly check your mulch layer; over time, it can settle and creep closer to the stem.
- Avoid Piling Soil: Be careful when weeding, adding compost, or working around the base of your plants. It's easy to inadvertently pile up soil, especially in raised beds where I'm constantly amending the soil. A quick check after adding any soil amendments ensures you haven't re-buried anything.
- Address Soil Erosion/Buildup: If you have areas prone to soil erosion or where soil naturally accumulates (e.g., at the base of a slope), consider planting species that tolerate deeper planting or implement erosion control measures. For my sloped herb bed, I’ve used small rocks to create mini-terraces, which stops soil from washing down and burying the thyme and oregano crowns.
Mulch Comparison for Root Flare Protection (UK Focus)
Choosing the right mulch is vital. Here’s a quick comparison of common mulches and how they perform specifically for preventing root flare burial in our British climate.
| Mulch Type | Pros (UK Specific) | Cons (UK Specific) | Best Use for Root Flare Protection |
|---|---|---|---|
| Bark Chips | - Excellent weed suppression. - Slow to break down, offering long-lasting coverage. - Good insulation against winter cold and summer heat. - Readily available in UK garden centres. | - Can acidify soil over time (monitor pH for sensitive plants). - Can float away in heavy rain on sloped areas. - Some types (e.g., fresh conifer bark) can temporarily deplete nitrogen as they decompose. | Ideal for trees and shrubs. Provides a stable, long-lasting barrier. Ensure a clear gap around the flare and check annually for settlement. My 'Red Duke of York' apple loves this. |
| Compost | - Enriches soil as it breaks down. - Improves soil structure and water retention. - Great for feeding hungry plants. - Often homemade (free!). | - Breaks down relatively quickly, needing frequent replenishment. - Can add to soil height if continually topped up, potentially re-burying flares/crowns. - Can introduce weed seeds if not properly made (for homemade). | Good for perennials and annuals, but use very sparingly around the crown. Best to incorporate into the soil away from the crown, or use a thin layer that's regularly checked for buildup. |
| Straw | - Excellent for vegetable beds (e.g., around my greenhouse tomatoes and courgettes). - Decomposes relatively quickly, adding organic matter. - Inexpensive and widely available (farm shops). | - Can be blown away in windy UK weather. - Can harbour slugs and snails, especially in damp conditions. - Needs regular topping up, which can lead to burying if not careful. | Best for annuals or temporary mulching in veg beds. Less suitable for long-term root flare protection on established trees/shrubs due to its light nature and potential for shifting. |
| Leaf Mould | - Fantastic soil conditioner, improves structure. - Free if you have deciduous trees. - Very beneficial for soil microbes. | - Can be slow to produce in sufficient quantities. - Can compact if too wet, potentially creating a suffocating layer. - May contain weed seeds if leaves are not fully composted. | Excellent for enriching soil, but use as a thin layer or incorporate into the soil rather than piling directly over flares/crowns. I use it heavily in my raised beds. |
Renewed Vigor Awaits: Empowering Your Established Plants for a Healthier UK Garden
So, there you have it. Unearthing buried root flares and crowns might sound like a niche, slightly intimidating task, but I promise you, it’s one of the most impactful things you can do for the long-term health and vitality of your established plants. It’s a bit like giving them a much-needed breath of fresh air after years of slowly suffocating.
I’ve seen firsthand the incredible transformation this simple intervention can bring. That struggling 'Ribes' bush in my garden, which hadn't fruited properly in years, burst into life with an abundance of currants the season after I exposed its crown. My 'Cherokee Purple' tomatoes, which once suffered from stunted growth despite being in the greenhouse, now reward me with magnificent, flavourful fruit every year, thanks to getting their crowns at the correct level.
This isn’t just about making your plants look better; it’s about understanding their fundamental needs. By ensuring their root flares and crowns are exposed, you’re preventing a whole host of problems – from fungal diseases and pest infestations to nutrient deficiencies and weakened structure. You're giving them the very best chance to thrive, to truly flourish in our sometimes-challenging British climate.
It might seem like a bit of faff, a small detail in the grand scheme of UK gardening. But trust me, the results in my 800 sq ft Midlands garden speak for themselves. There's nothing quite like seeing a plant, that you thought was on its way out, burst back into life with renewed vigour. It's empowering for the plant, and incredibly rewarding for us gardeners.
So, grab your trowel, pop the kettle on for a well-deserved brew afterwards, and get ready to give your established trees, shrubs, and perennials the gift of fresh air. Your garden, and your plants, will absolutely thank you for it! Happy digging!
