Introduction: Unlocking the Potential of Your Dry Shade Garden
Alright, fellow UK gardeners! If you're anything like me, you've got that one spot in your garden – probably under a big, beautiful, but utterly dominant tree – that just refuses to cooperate. It’s dry, it’s dark, and frankly, it often feels like a botanical wasteland. For years, I stared at the barren ground beneath the old sycamore in my 800 sq ft Midlands garden, scratching my head and wondering if it was even worth the effort. I've tried everything, from stubbornly planting things that loved sun (spoiler: they didn't last) to just giving up and calling it 'the moss feature'.
But you know what? As a former IT worker who swapped code for compost, I thrive on a good challenge. And after five years of intensive experimenting, some glorious successes, and a fair few heartbreaking failures (our British weather certainly keeps you on your toes!), I've learned that dry shade isn't a curse; it's an opportunity. It just needs a bit of understanding, some strategic planning, and the right plant pals. This isn't about fighting nature; it's about working with those magnificent trees to create a lush, thriving underplanting that brings year-round interest. Trust me, if I can turn my stubborn patch into something beautiful, you absolutely can too. Let's dig in!
Diagnosing the Dry Shade Dilemma: Root Competition, Nutrient Theft, and Lack of Light Explained
Before we even think about buying a single plant, we need to understand why dry shade is such a formidable opponent. It’s not just a bit dark; it’s a triple threat to most plants. I learned this the hard way, thinking a bit of extra water would solve everything under my neighbour's huge oak – boy, was I wrong!
The Silent Battle: Root Competition
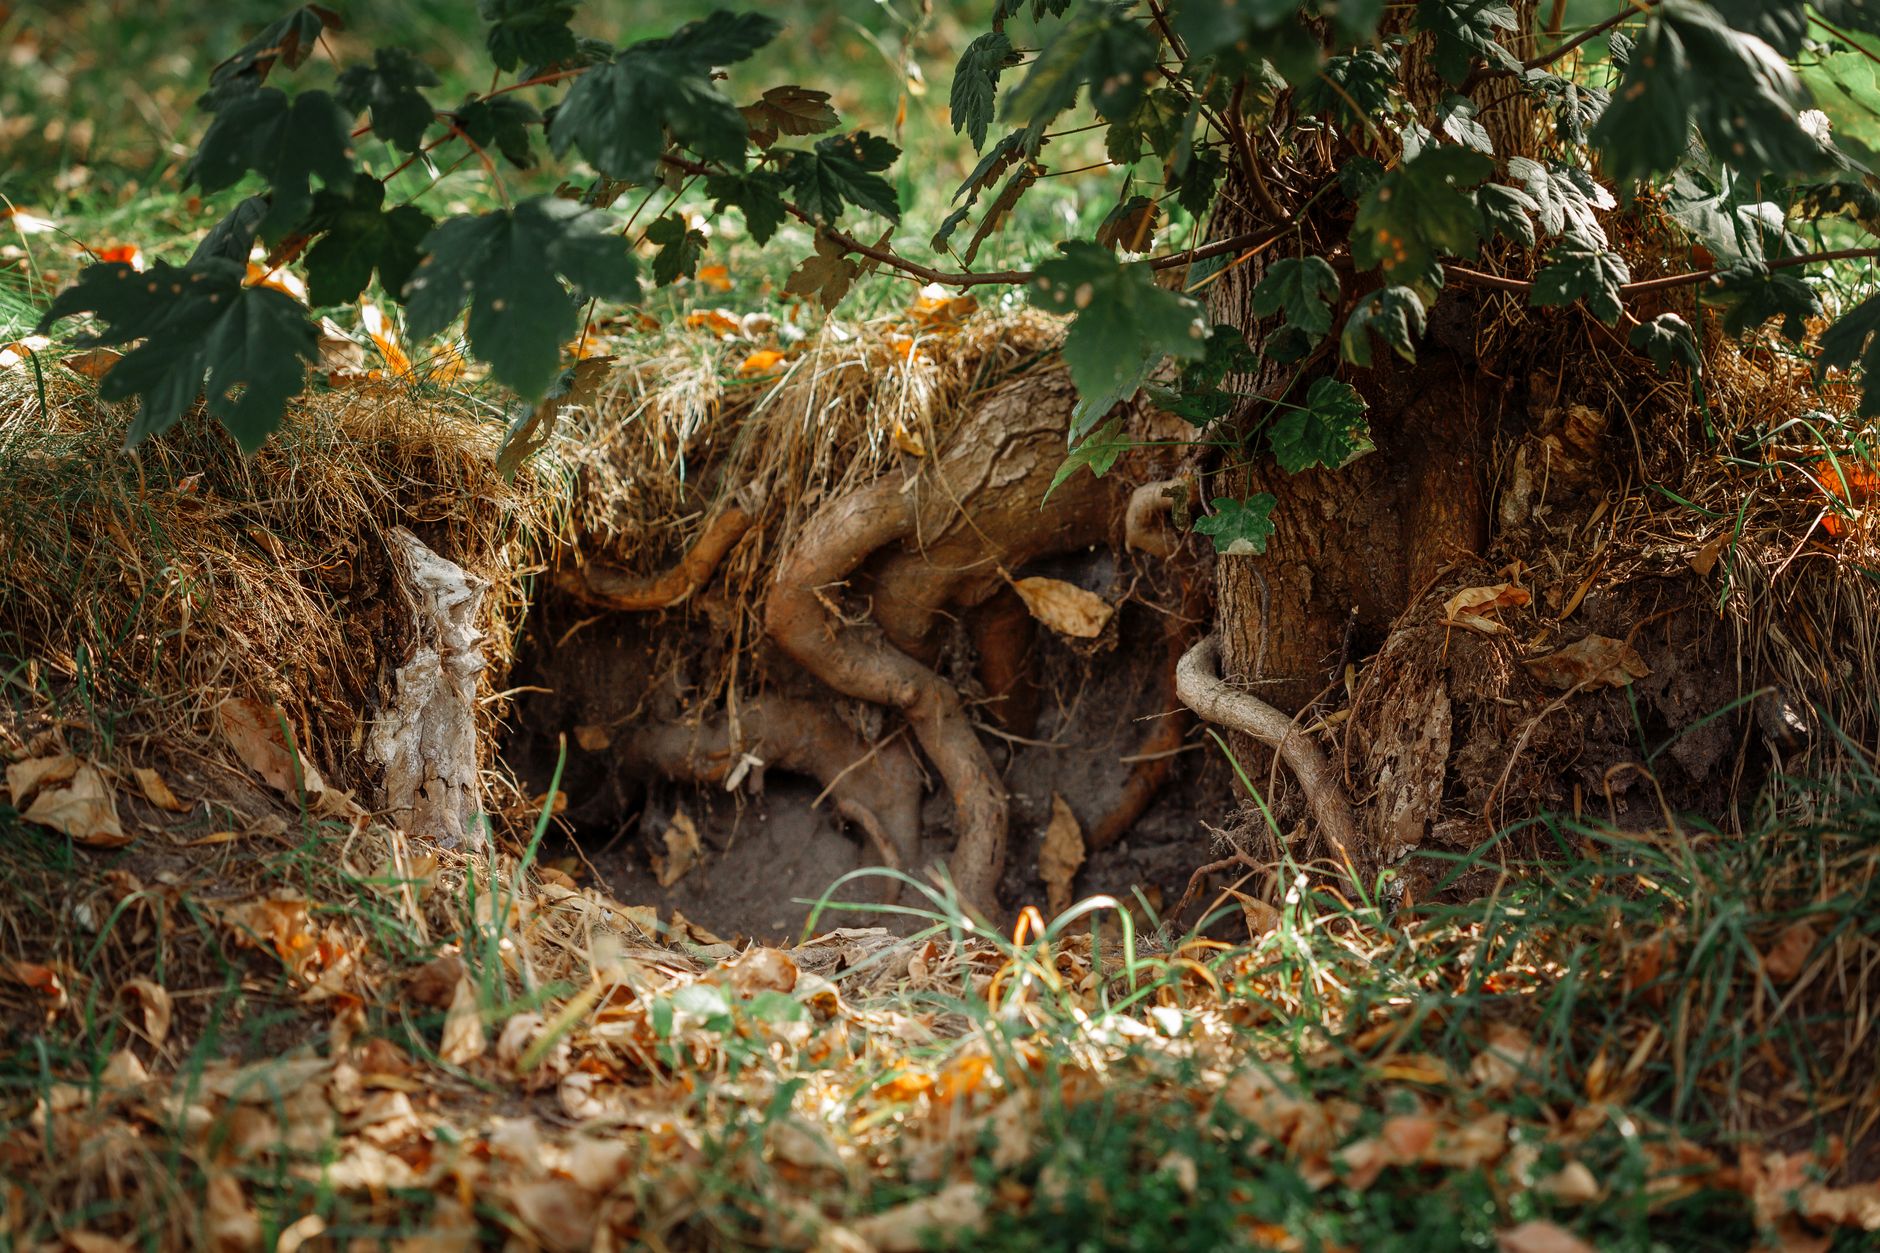
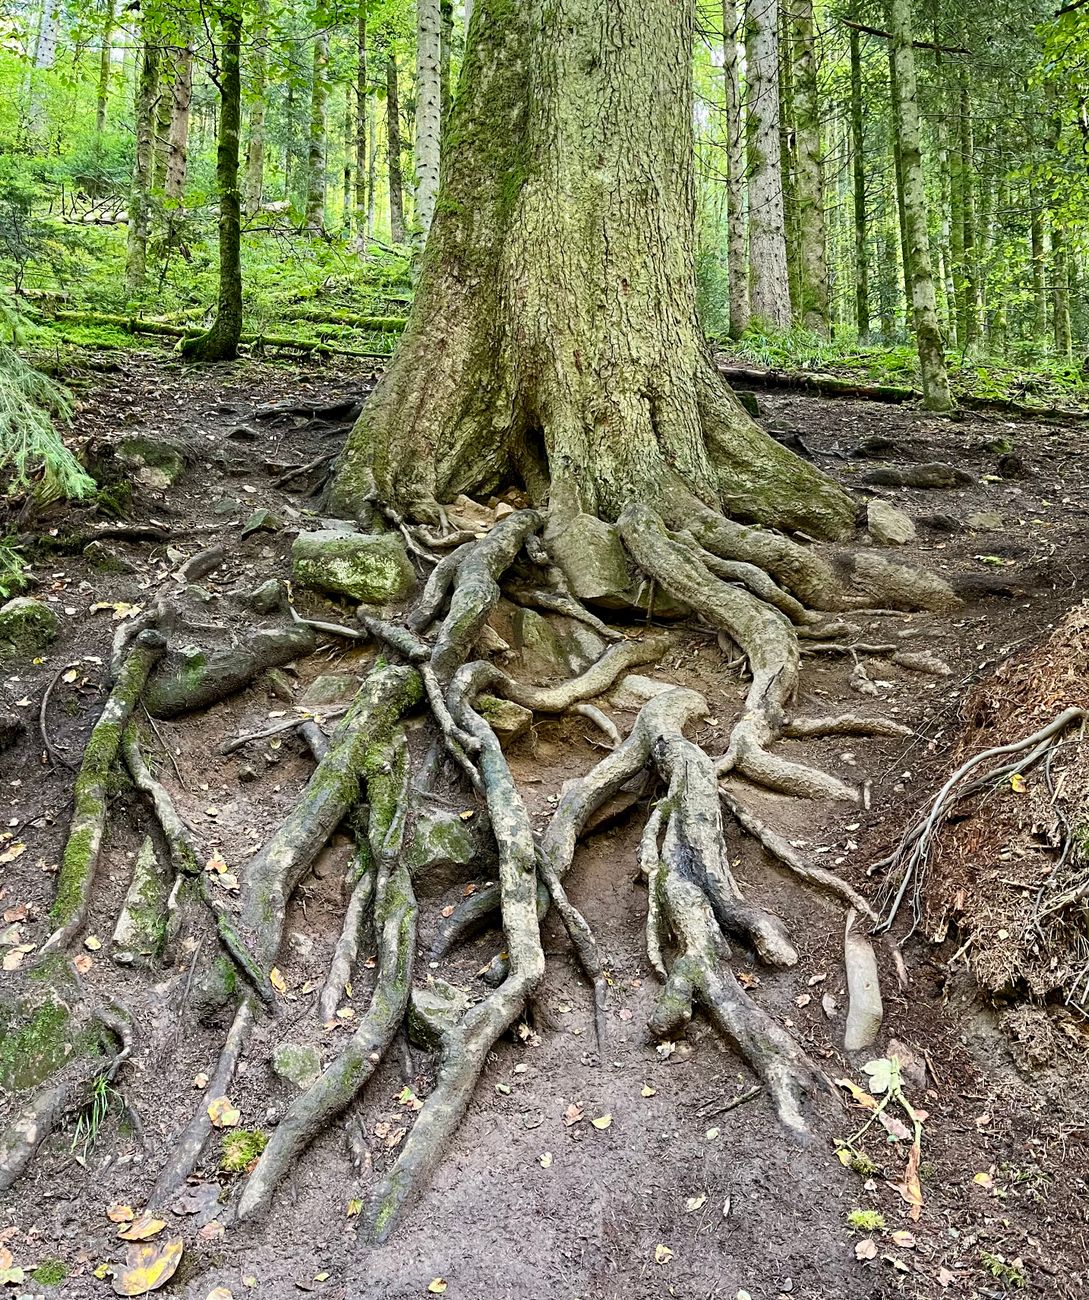
The biggest, most insidious problem under established trees is the relentless root competition. Think about it: that magnificent tree has been there for decades, perhaps even centuries. Its roots are everywhere, forming a dense, intricate network that acts like a highly efficient sponge, sucking up every last drop of moisture and nutrient from the soil. In my UK garden, especially during our drier spells (yes, we do get them, even in the Midlands!), I've seen how quickly the soil under the sycamore dries out compared to the rest of the garden. Those tree roots are masters of survival, and they'll always outcompete smaller, shallower-rooted plants. I once tried to plant some dainty primroses directly into the root zone, only to find them shrivelled within a week, their tiny root balls completely overwhelmed. It was a tough lesson in understanding who's boss.
The Nutrient Thieves: Why Nothing Gets Enough to Eat
Hand-in-hand with root competition comes nutrient scarcity. Those dominant tree roots aren't just hogging the water; they're also grabbing all the available nutrients. Trees need a massive amount of food to sustain their growth, especially mature specimens. This means that the topsoil, where most underplantings would typically feed, is often stripped bare of essential minerals. Even if you diligently add compost, much of it will be quickly claimed by the tree. It's like trying to feed a small child at a buffet when a professional rugby team is already there – the little one just won't stand a chance! This is why simply digging in some fertiliser often has limited, short-term benefits; the tree will simply gobble it up.
The Shadowy Realm: Lack of Light
Finally, and perhaps most obviously, there's the lack of light. The dense canopy of a mature tree creates a permanent, deep shade. While many plants tolerate some shade, deep dry shade is a whole different beast. Photosynthesis, the process plants use to create food, relies on sunlight. Plants that evolved in full sun simply cannot perform their vital functions efficiently in low light. When I first started gardening, I'd get so excited about a new plant, only to watch it stretch, become leggy, and eventually fade away under the sycamore. It was a rookie mistake born of enthusiasm, but I quickly learned that understanding your light levels – and accepting them – is paramount. Here in Britain, even on a cloudy day, the light under a tree is significantly reduced, so choosing plants adapted to these conditions is non-negotiable.
Strategic Site Preparation: Gentle Soil Improvement and Root-Friendly Techniques
Right, so we know the challenges. Now, how do we tackle them without damaging our beloved trees? This isn't about waging war on tree roots; it's about creating pockets of opportunity. I've found that a gentle, no-dig approach is absolutely essential here in the UK, especially in my compacted Midlands clay. Aggressive digging is a big no-no; it can harm tree roots, leading to potential health problems for the tree itself, and honestly, you'll just end up severing roots and getting nowhere fast.
Gentle Soil Improvement: Layering for Life
My golden rule for dry shade is never to dig deeply. Instead, I focus on building up the soil with layers of organic matter. This achieves two crucial things: it improves moisture retention (vital!), and it provides a slow-release source of nutrients without directly competing with the tree's main root system.
Last autumn, after the leaves had fallen, I spent a good weekend spreading about 5-7cm of homemade leaf mould and well-rotted compost over the designated underplanting area. I just carefully worked it around any visible surface roots. Over winter, the worms and natural soil processes slowly incorporate it. This doesn't just feed the plants; it creates a 'buffer zone' of richer, moisture-retentive soil above the most competitive tree roots. I've found this approach gives new plants a much better head start in our variable British climate.
Root-Friendly Techniques: Giving Plants a Fighting Chance
Beyond just adding organic matter, there are a few other tricks I've picked up in my garden that make a real difference:
- Mulching, Mulching, Mulching: After planting, a good, thick layer (again, 5-7cm) of organic mulch is your best friend. I use leaf mould, wood chip, or even spent mushroom compost. This dramatically reduces moisture evaporation, suppresses weeds (which would also compete with your new plants!), and slowly breaks down to add more organic matter. Just remember to keep it a few centimetres away from tree trunks to prevent rot.
- The Power of Raised Beds (Shallow Ones!): For particularly stubborn spots or for plants I really want to establish, I've successfully used very shallow raised beds. We're talking 15-20cm high, made from reclaimed timber. This creates a dedicated planting zone with controlled soil, giving plants a head start above the most aggressive tree roots. However, be warned: tree roots will eventually find their way in, so it's not a permanent solution, but it buys you crucial establishment time. I've used this for Hellebores and some choice ferns, giving them a bit of extra pampering.
- Targeted Watering & Moisture Retention: Initially, new plants in dry shade will need consistent watering. I don't just blast them with the hose; I use a watering can with a rose, ensuring the water slowly soaks into the root zone. Incorporating water-retaining granules (the organic, biodegradable kind!) into the planting holes can also help. And remember, a good mulch is your best weapon against the soil drying out too fast.
Here’s a quick comparison of some common dry shade preparation techniques I've tried:
| Technique/Material | Description | Randy's Experience (UK context) | Pros for Dry Shade | Cons/Challenges |
|---|---|---|---|---|
| Leaf Mould | Decomposed autumn leaves, a fantastic soil conditioner. | "My favourite! I make huge batches from our street's leaves. Best free soil amendment for our Midlands gardens." | Excellent water retention, improves soil structure, slowly releases nutrients, very root-friendly. | Takes time to produce (1-2 years), can be messy to apply, needs consistent supply. |
| Well-Rotted Compost | Fully decomposed organic matter, homemade or bought. | "Always in my compost bins! Essential for a nutrient boost, especially where our British soil can be a bit depleted." | Rich in nutrients, improves soil structure, boosts microbial life, holds moisture well. | Quality varies, can be expensive to buy in bulk, needs to be well-rotted to avoid nutrient lock-up. |
| No-Dig Approach | Layering organic matter on the surface instead of digging it in. | "Crucial under any established tree. I learned the hard way that digging just damages roots and gets you nowhere." | Minimises root disturbance, builds soil naturally over time, less physical effort. | Can take longer to see significant soil improvement, initial top-ups might be needed for new plantings. |
| Shallow Raised Beds | Building low borders (15-20cm high) to create a contained planting area. | "Used these for my prized Hellebores and some rare ferns. Gives them a crucial head start, but roots still invade eventually." | Creates a controlled environment, better soil choice, initially less root competition. | Can look unnatural, still requires careful watering, tree roots will eventually penetrate from below. |
| Organic Mulch (Wood Chip) | Layer of wood chips or bark applied to the soil surface. | "Great for long-term moisture retention and weed suppression after plants are established. I top it up every spring." | Excellent moisture retention, weed suppression, slowly breaks down, insulates soil. | Can initially 'steal' nitrogen as it breaks down (mitigate with compost layer first), can look too uniform. |
Smart Planting Strategies: Giving New Additions the Best Start Under Mature Trees
Right, you’ve picked your plants, prepped the soil (gently, of course, because we’re not waging war on tree roots!), and you’re ready to get them in the ground. This is where the rubber meets the road, and a smart approach here can make all the difference to whether your new additions thrive or simply survive. I've learned this the hard way over the years, especially with some of the more delicate groundcover I tried to establish when I first started gardening in my Midlands plot.
The biggest mistake I made early on was treating planting under a tree like planting in an open border. It’s not. Those tree roots are still there, lurking, ready to steal any moisture and nutrients they can get their grabby little tendrils on.
The Gentle Approach to Digging and Planting
When you're digging your planting hole, remember the "strategic site preparation" we talked about. You're not trying to excavate a crater. Aim for a hole that's only slightly wider than your plant's root ball, and just as deep. If you hit a substantial tree root, don't chop it unless it's absolutely unavoidable and very small. Instead, try to work around it. I often find myself digging an irregular-shaped hole just to avoid a thicker root – it might look a bit daft, but it works!
Once your hole is ready, gently tease out the roots of your new plant. This is crucial for encouraging them to grow outwards into their new home rather than continuing to circle the pot. I always give them a little tickle and loosen them up. Place your plant in the hole, ensuring the top of the root ball is level with the surrounding soil. You don't want it too deep, or too shallow, especially with our often-wet UK winters encouraging rot.

Backfilling and Initial Watering: The Critical First Drink
Now for backfilling. Use the enriched soil you prepared earlier – that lovely mix of your garden soil, compost, and perhaps a touch of grit if your soil is heavy clay like mine can be. Gently firm the soil around the base of the plant with your hands. You want good soil-to-root contact, but you don't want to compact it so much that water can't penetrate.
This next bit is absolutely non-negotiable in my experience: water deeply and thoroughly immediately after planting. And I mean really deeply. Don't just give it a quick sprinkle. In my garden here in the Midlands, I usually use a watering can without a rose, or a slow trickle from the hose, letting the water soak right down. This settles the soil around the roots, removes any air pockets, and gives your plant that vital first drink in its new, often challenging, environment. It also helps to attract the tree roots, allowing them to form a symbiotic relationship with your new plant rather than outright competing. I’ve seen plants fail purely because they didn’t get enough water at this critical stage.
For smaller plants or those particularly susceptible to drying out, I sometimes create a small soil berm around the edge of the planting hole. This creates a basin that helps hold water directly over the root zone, preventing it from running off. It's a simple trick but incredibly effective, especially during a dry spell in late spring, which we often get here in Britain before the inevitable summer deluges.
Ongoing Nurturing: Watering, Feeding, and Mulching for Enduring Beauty
You've done the hard work of planting, but the journey doesn't end there. Establishing plants under mature trees, especially in dry shade, requires consistent, thoughtful ongoing care. It’s not a plant-it-and-forget-it situation, at least not for the first year or two. I've learned that patience and persistence are your best friends here.
The Art of Deep, Infrequent Watering
This is perhaps the most crucial aspect of ongoing care. Remember, you're competing with a tree for water. Frequent, shallow watering encourages surface roots, both on your new plants and the tree, making the problem worse. What you need to do is train your new plants' roots to go deep, searching for moisture.
My strategy? Water deeply, but less frequently. For the first growing season, especially during dry spells (and yes, we get them even in the UK!), I aim to give my underplanting a good soak once or twice a week, rather than a light sprinkle every day. How much water? Enough that you feel the soil is moist several inches down. I use my finger to check – if it’s dry, it needs a drink.
In my UK garden, I've found that early morning is the best time to water. This allows the plants to absorb the moisture before the sun gets too strong, and any excess on the foliage has time to dry, reducing the risk of fungal diseases. If we get a long, dry spell, which is becoming more common even here in the Midlands, I might even invest in a leaky hose or a drip irrigation system for these areas to ensure consistent, deep watering without constant manual effort. It’s a game-changer for water efficiency.
Thoughtful Feeding: Little and Often
Nutrient scarcity is a real issue under trees. The tree roots are hungry, and they'll take their share first. So, your underplanting will appreciate a little extra help. However, don't go overboard with strong chemical fertilisers; these can damage delicate roots and potentially harm the tree.
I prefer a "little and often" approach with organic matter. A top-dressing of well-rotted compost or leaf mould every spring is fantastic. I’ve found that a layer about an inch thick works wonders. It slowly releases nutrients, improves soil structure, and encourages beneficial soil life. For a quick boost, especially for hungry plants like hostas or ferns, I sometimes use a diluted liquid feed (like a seaweed extract) every few weeks during the growing season. This provides readily available nutrients without overwhelming the soil. I always make sure to water well before and after applying any feed, especially in dry conditions.
The Power of Mulch: Your Dry Shade Ally
If there’s one non-negotiable for dry shade planting, it’s mulching. Mulch is your secret weapon against moisture loss, fluctuating soil temperatures, and even weed competition. In my garden, I use a generous layer of organic mulch – typically well-rotted garden compost, bark chips, or leaf mould – around my underplanting.
I aim for a layer about 2-3 inches deep, keeping it a few inches away from the base of the plant stems to prevent rot. This insulates the soil, keeping it cooler in summer and warmer in winter, which is a huge benefit with our unpredictable British weather. More importantly, it dramatically reduces evaporation, meaning your deep watering efforts last much longer. I usually apply a fresh layer in early spring, after the ground has warmed up a bit and I’ve done my initial feeding. It also suppresses weeds, which is another form of competition you absolutely want to avoid in these challenging spots. I learned this when I first tried to establish some epimediums; without mulch, they struggled massively against the persistent bindweed that plagues my plot.
Conclusion: Transforming Challenges into Opportunities for a Lush Understory
So, there you have it. What might seem like the most challenging corner of your garden – that dry, shady patch under an established tree – is actually brimming with potential. I know when I first looked at the huge Sycamore in my 800 sq ft Midlands garden, I saw a problem. But with a bit of learning, a lot of experimentation, and a good few mistakes along the way, I now see an opportunity.
We've delved into understanding the unique challenges: the relentless root competition, the scarcity of nutrients, and the often-diminished light. But more importantly, we’ve armed ourselves with the strategies to not just cope, but to thrive.
From the gentle art of strategic site preparation, respecting those magnificent tree roots, to the careful selection of plants that genuinely relish these conditions (think our fantastic native ferns, hardy hellebores, and vibrant epimediums), every step is about working with nature, not against it. We’ve talked about the smart planting techniques that give your new additions the best possible start, and the ongoing nurturing – the deep, infrequent watering, the thoughtful organic feeding, and the indispensable power of a good mulch – that ensures their long-term success.
It’s not an overnight transformation, and our unpredictable British weather will always throw a curveball or two. I’ve had plants struggle through a particularly dry summer, or disappear entirely after a cold, wet winter. But that’s part of the joy and the learning process of gardening, isn't it? Each little victory, each new plant that flourishes, is incredibly rewarding.
By embracing these principles, you can turn that overlooked, seemingly barren patch into a vibrant, lush understory – a cool, calming oasis in your garden. It adds depth, texture, and interest, extending your planting palette and making the most of every square foot. So, go on, take a look at that dry shade. See the potential. And let’s get growing!
