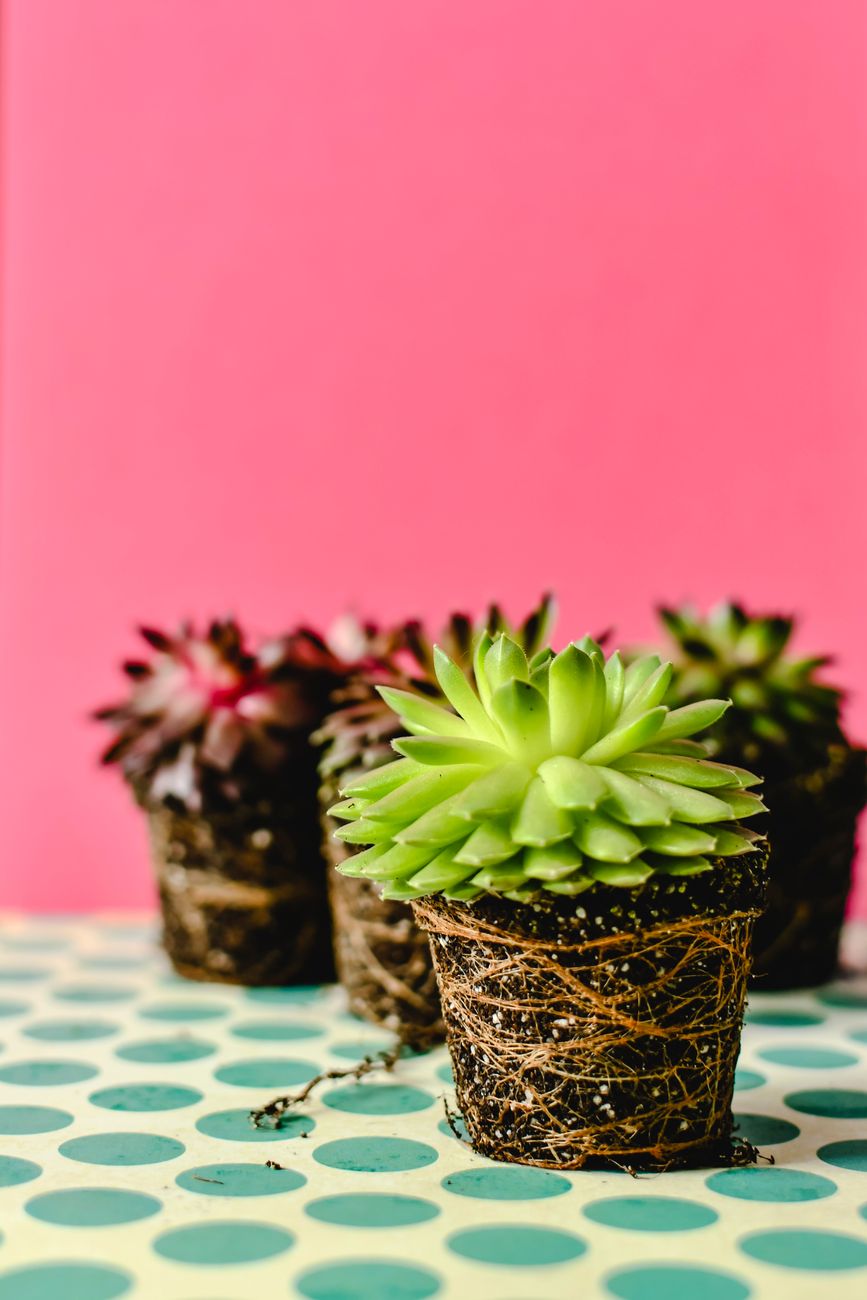
Reclaiming Your Leggy Succulents: A Guide to Fuller Displays
Hands up if you’ve got a succulent that looks more like a wonky, bare stick with a little tuft of leaves on top, rather than the plump, compact beauty it once was? Believe me, I’ve been there – more times than I care to admit, especially in my early days of gardening here in the UK. My living room windowsill, usually a hub of vibrant life, often hosted an Echeveria or a Sedum that had stretched desperately towards the weak winter sun, looking less like a botanical wonder and more like it was trying to escape.
For years, I’d just accept it as part of the deal, figuring our British climate and indoor light conditions just weren't cut out for those picture-perfect succulents you see online. But after five years of intense experimenting in my 800 sq ft Midlands garden – moving from an IT desk to digging in the dirt – I’ve learned that resignation isn't an option. My passion for growing everything from heirloom tomatoes in the greenhouse to a vibrant herb patch has taught me that with a bit of strategic intervention, we can absolutely transform those leggy, bare-stemmed succulents into lush, full displays right here in our UK homes.
This isn't just about snipping off a bit and hoping for the best; it’s about understanding why they stretch, and then applying a few game-changing techniques: strategic re-rooting, mastering deep planting to hide those woody stems, and even clever companion pairing to create eye-catching arrangements. I’ve made plenty of mistakes along the way, lost a few precious plants to rot or frost (oh, that unpredictable British weather!), but I’ve also discovered what truly works. So, let's roll up our sleeves and get those succulents looking their best.
Understanding the Stretch: Why Succulents Become Bare-Stemmed
Before we grab the secateurs, let's chat about why our beloved succulents decide to go all spindly on us. It’s a phenomenon known as etiolation, and it’s essentially your plant screaming for more light. Succulents, by nature, are sun-worshippers. They thrive in bright, intense sunlight, which helps them maintain their compact, rosette-like forms and vibrant colours.
Here in the UK, especially during those long, grey winter months, our indoor light levels can be a real challenge for them. Even a south-facing window might not provide the intensity they need, leading them to stretch their stems, elongating the space between their leaves (the internodes) in a desperate attempt to reach a brighter spot. I've watched my gorgeous Echeveria 'Lola' go from a tight, powdery blue rosette to a gangly tower in a matter of weeks, its leaves spaced out like missing teeth. It’s not a sign of bad parenting, but rather a natural survival instinct.
While lack of light is the primary culprit, other factors can contribute to legginess. Overwatering, for example, can encourage rapid, weak growth, especially if combined with insufficient light. An oversized pot might also lead to the plant focusing too much energy on root development rather than maintaining a compact top, though this is less common than light-starvation. What I've found in my own UK garden is that consistent, bright light (or supplementing with a grow light in winter) is the absolute best preventative measure. But once they've stretched, there's no going back – that woody stem isn't going to magically shrink. That’s where our transformative techniques come in.
The Art of the Chop: Strategic Re-Rooting for a Fresh Start
When I first heard about 'beheading' a succulent, I was absolutely terrified. It felt like plant butchery! My first victim was a very leggy Graptopetalum 'Ghost Plant' that had grown so tall and top-heavy it kept toppling over. I hesitated for weeks, convinced I’d kill it. But one drizzly autumn afternoon, I bit the bullet, and honestly, it was one of the biggest breakthroughs in my succulent journey.
Strategic re-rooting is about giving your leggy plant a fresh start, essentially propagating a new, compact plant from the healthy top. It's incredibly satisfying and surprisingly simple once you get past the initial fear. Here’s how I tackle it in my UK home:
- Choose Your Cut: Look for a healthy section of stem with several good leaves, ideally at least 2-3 inches below the lowest healthy leaves. Make sure your cutting includes a couple of inches of bare stem below the leaves – this is where the new roots will form.
- Make a Clean Cut: This is crucial. I always use a sharp, sterile knife or a pair of small, sharp secateurs. Sterilise the blade with rubbing alcohol before and after each cut to prevent any fungal or bacterial issues – a lesson I learned the hard way when I lost a precious Haworthia to stem rot one damp summer.
- Callus Time: This is perhaps the most important step, especially with our often-humid British climate. After making the cut, resist the urge to plant immediately. Place your cutting in a dry, airy spot, out of direct sun, for anywhere from 3 days to a week, or even two weeks for thicker stems. You're waiting for the cut end to form a dry, protective scab, or 'callus'. This prevents rot when it's eventually planted. I usually leave mine on a dry windowsill in my spare room, away from the fluctuating temperatures of the greenhouse.
- Planting Your New Start: Once callused, prepare a small pot (just slightly larger than the rosette) with a very well-draining succulent or cactus mix. I always add extra perlite or grit to my compost for my succulents – usually a 50/50 mix of gritty sand/perlite and good quality potting compost. Gently insert the callused stem into the soil, just deep enough to keep it upright.
- The Waiting Game (and Watering): This is where patience comes in. Don't water immediately! Wait at least a week, sometimes two, to allow the plant to start sending out roots. When you do water, do so sparingly – just enough to moisten the top inch or two of soil. Overwatering a plant trying to root is a surefire way to invite rot, especially in our cooler UK temperatures. I check for roots by gently tugging on the plant; if there's resistance, it's rooted. In my experience, a good root system usually establishes within 3-6 weeks, though it can be slower in winter.
I've successfully re-rooted countless succulents this way, from the sprawling Sedum morganianum (Donkey's Tail), which roots incredibly easily, to the more delicate Echeverias. It's a fantastic way to rejuvenate your plants and even get multiple new plants from one leggy specimen.

Burying the Past: Mastering Deep Planting to Hide Woody Stems
While re-rooting is brilliant for creating entirely new, compact plants, sometimes you don’t want to start from scratch, or maybe your plant isn't quite leggy enough for a full chop. This is where deep planting becomes a real hero, and it's a technique I’ve used extensively to tidy up established plants in my greenhouse and on my windowsills. It's all about strategically burying those bare, woody stems to give the illusion of a full, healthy plant, while also encouraging new root growth along the buried stem.
I first stumbled upon this idea a couple of years ago when I had a particularly robust Aeonium 'Kiwi' that had developed a thick, bare stem. I didn't want to cut it back completely, but it looked so unbalanced. I decided to try planting it much deeper in its pot, removing the lower leaves to ensure only healthy foliage was above the soil line. To my delight, not only did it instantly look better, but it also started to put out new roots along the buried stem, giving it a much stronger foundation.
Here’s how I approach deep planting:
- Preparation is Key: First, gently remove any dry, shrivelled, or unhealthy lower leaves from your succulent's stem. You want a clean, bare section of stem that you intend to bury. The length of stem you can bury depends on the plant and the pot, but aim for at least 2-3 inches if possible.
- Choose the Right Pot: You might need a slightly deeper pot than the one it's currently in to accommodate the buried stem. Ensure it has excellent drainage holes.
- Soil Matters: Just like with re-rooting, a well-draining, gritty succulent mix is paramount. I use my standard 50/50 mix of compost and perlite/grit. Good drainage is essential to prevent rot, especially when you have a significant portion of the stem buried.
- The Planting Process:
- Add a layer of your gritty soil mix to the bottom of the pot.
- Place your succulent in the pot, positioning it so that the desired amount of bare stem is below the soil line.
- Carefully backfill around the stem with more gritty soil, gently firming it down to keep the plant stable. Ensure the soil level is a good inch or so below the rim of the pot to allow for watering.
- The goal is to have the lowest healthy leaves sitting just above the soil surface, creating that desired compact look.
- Post-Planting Care: Resist the urge to water immediately. Wait a few days to a week to allow any minor root damage from transplanting to heal. When you do water, do so thoroughly but infrequently, allowing the soil to dry out completely between waterings. This encourages the plant to send out new roots along the buried stem in search of moisture.
Deep planting offers an immediate visual improvement and strengthens the plant over time. It's less disruptive than a full re-root and ideal for those plants that are a bit leggy but still have a good root ball.
Here's a quick comparison of re-rooting and deep planting, based on my experiences in my UK garden:
| Feature | Strategic Re-Rooting (The Chop) | Deep Planting (Burying the Stem) |
|---|---|---|
| Speed of Transformation | New, compact plant over weeks/months. Instant visual change for the top. | Immediate visual improvement of the existing plant. |
| Suitability for Legginess | Best for severely leggy plants with very long, bare stems. | Good for moderately leggy plants or those with woody but shorter stems. |
| Root Development | Develops an entirely new root system. | Encourages new roots along the buried stem, augmenting existing roots. |
| Risk of Rot (UK climate) | Moderate, especially if not callused properly or overwatered. | Low, if soil is well-draining and watering is controlled. |
| Time Commitment | Requires patience for callusing and rooting (3-8 weeks typically). | Quicker to execute, but still requires careful post-care. |
| My UK Experience | Excellent for rejuvenating tired plants; reliable results even in cooler UK conditions if callused well. | Great for tidying up plants without a full restart; effective for thicker-stemmed varieties like Aeonium. |
Friends in Pots: Choosing Companion Plants for Fuller Displays
Now, getting those rejuvenated succulents looking truly magnificent often means thinking beyond just the succulent itself. In my 800 sq ft Midlands garden, I’m always looking to maximise visual impact, and that often means creating little communities of plants. For succulents, companion planting is an absolute game-changer for hiding those remaining woody bits or just generally making a pot look lush and full. It’s about creating a living tapestry, really.
When I first started, I just chucked a few different succulents together in a pot. It looked okay, but a bit… spiky and sparse. I wanted that overflowing, abundant look you see in magazines, but adapted for our often-damp UK climate. The trick, I've learned through a few soggy failures, is choosing companions that enjoy similar conditions – excellent drainage, plenty of light, and not too much fuss. You don't want something that needs daily watering next to a succulent that thrives on neglect!
I’ve found that low-growing, drought-tolerant plants with fine textures or contrasting foliage work a treat. They fill in the gaps beautifully without competing for root space too aggressively or overshadowing your star succulents. Here are a few I’ve had success with in my UK pots, even through our notoriously unpredictable British weather:
| Companion Plant | Why it Works (UK Context)
