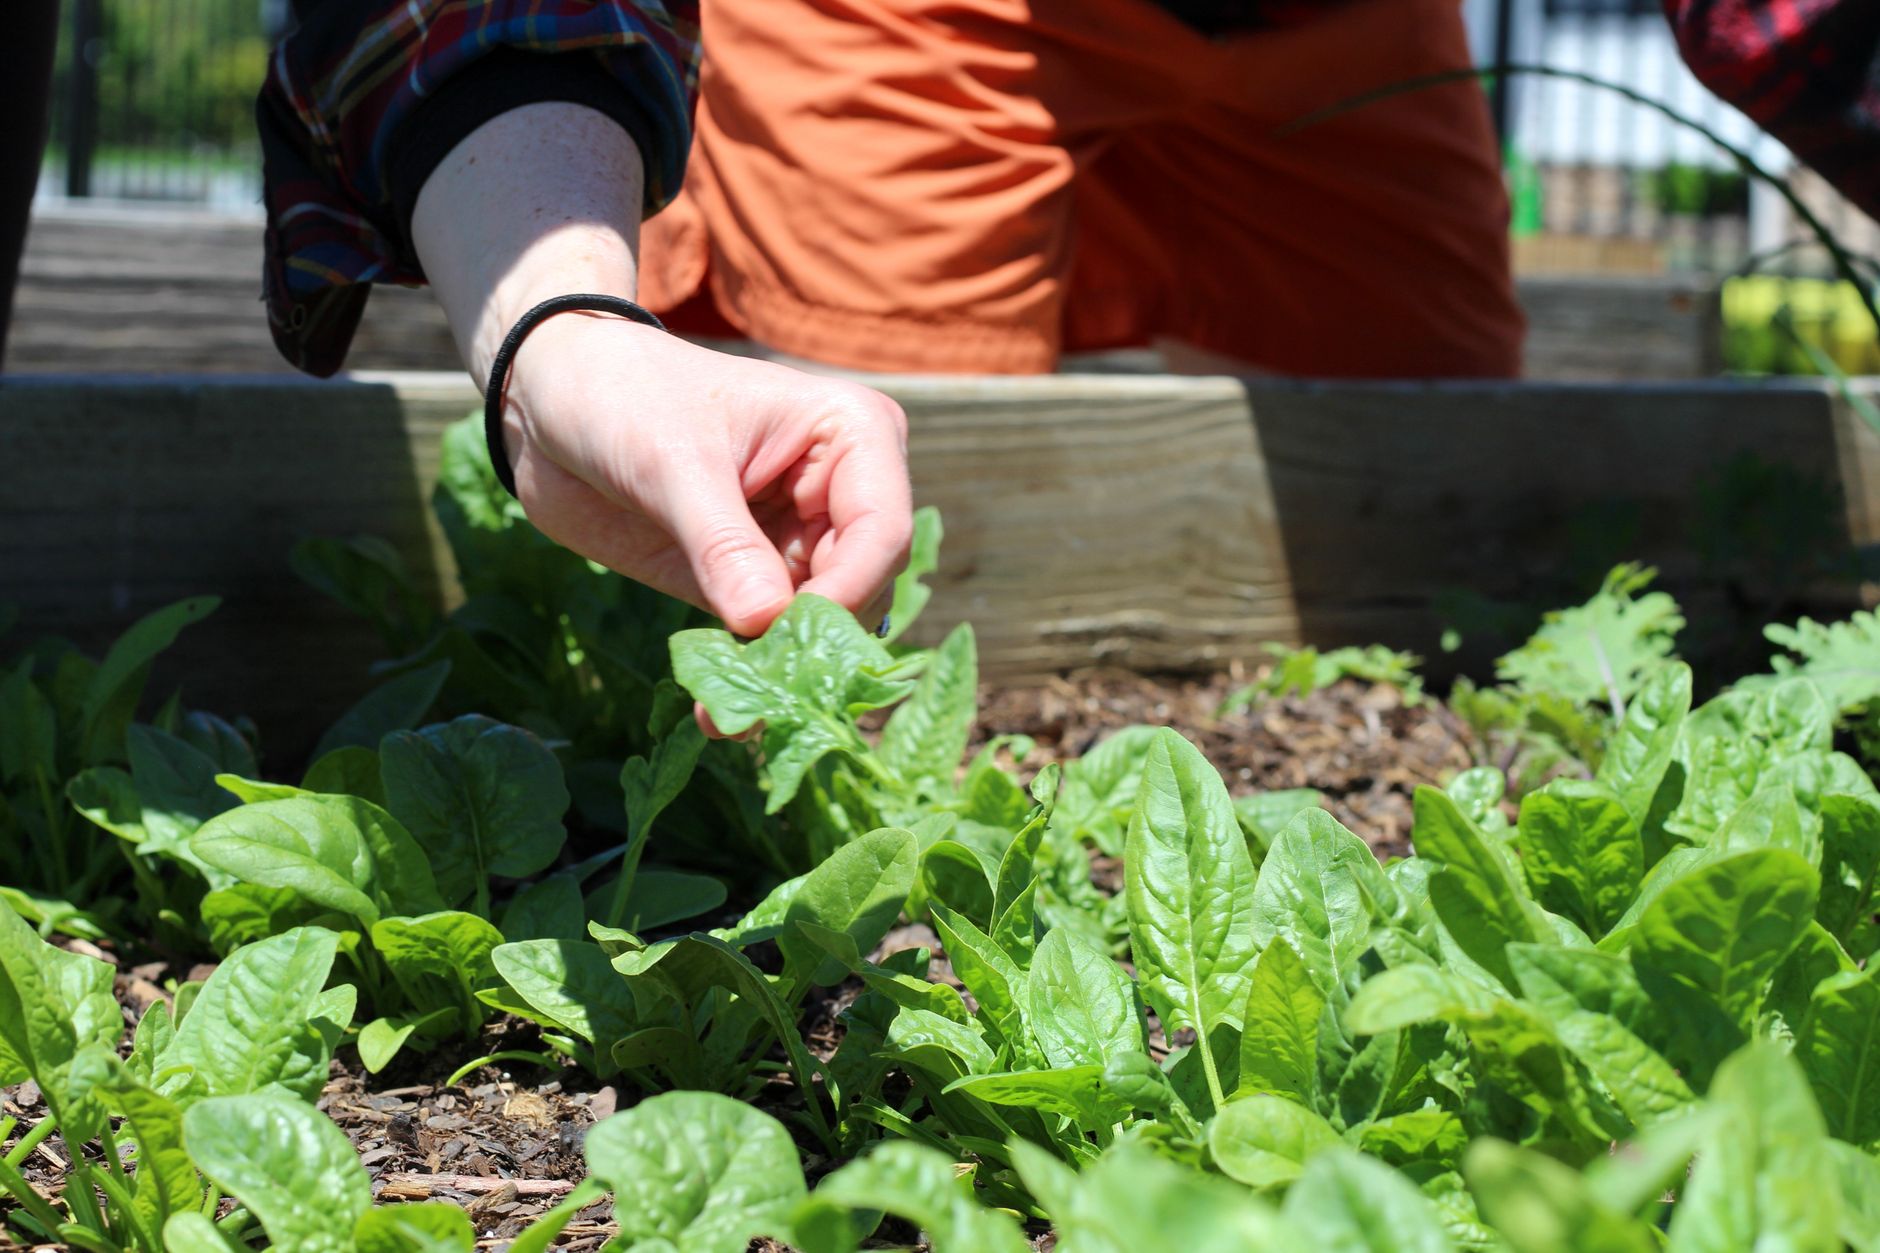
You know that feeling, don't you? You’ve put in the hours, battled the slugs, nurtured your seedlings through our typically dodgy British spring, and finally, your established garden beds are looking magnificent. You’re feeding them, watering them, talking to them even – doing everything by the book. Yet, despite all your love and effort, some of your plants start to look... off. Leaves yellowing, stunted growth, maybe even a bit of purpling. You scratch your head, reach for the feed again, perhaps a different one this time, but nothing seems to work. It’s like they're starving, even though they're sitting in a feast.
I’ve been there, more times than I care to admit, especially in my first couple of years when I was still finding my feet after leaving the IT world for the garden. I’d pore over charts, convinced I had a potassium deficiency in my 'Sungold' cherry tomatoes in the greenhouse, or a magnesium problem in my runner beans. I'd add more of what I thought they needed, only to see the problem stubbornly persist, sometimes even get worse! It was incredibly frustrating, especially after all the effort I'd put into building up my 800 sq ft backyard here in the Midlands. What I eventually learned, often the hard way through trial and error (and a fair few lost crops), was that the issue wasn’t a lack of nutrients in the soil. Oh no, the nutrients were probably all there, bound up and unavailable. The silent killer lurking in my established garden beds was nutrient lockout.
The Silent Killer: Understanding Nutrient Lockout in Your Established UK Garden
Nutrient lockout is one of those sneaky problems that can plague even the most experienced UK gardener, especially in beds that have been in active production for a few seasons. It's essentially when essential plant nutrients are present in your soil, but your plants can't access them. Think of it like having a fridge full of delicious food, but the door is stuck shut – your plants are starving in the middle of plenty.
In my UK garden, I've found this is particularly prevalent in my raised beds where I grow hungry crops like brassicas and squashes year after year. The soil builds up, amendments are added, and the delicate balance can easily go awry. It's not about the quantity of nutrients, but their availability. For instance, my 'Cabbage Greyhound' plants once looked desperately pale and stunted, even though I'd composted the bed heavily. I was convinced it was a nitrogen deficiency, but adding more didn't help. It turned out the pH had shifted drastically, binding up the very nitrogen they needed.
This phenomenon usually boils down to an imbalance in the soil environment, most commonly related to pH levels. Nutrients exist in different chemical forms, and each form is only available to plants within a specific pH range. If your soil pH drifts too high or too low, certain nutrients literally become 'locked up' and inaccessible, no matter how much you add. It's a fundamental principle of soil science, and one that, as a former IT guy, I've come to appreciate for its logical, diagnostic challenge! What works here in Britain, with our often unpredictable weather and varying soil types, is understanding this underlying mechanism.
Spotting the Signs: Differentiating Nutrient Lockout from Common Deficiencies
This is where things get tricky, and where I’ve made some of my biggest mistakes in the past. Nutrient lockout symptoms often mimic individual nutrient deficiencies, which makes identifying the root cause a real head-scratcher. You'll see yellowing leaves (chlorosis), stunted growth, purpling, browning leaf edges, or poor fruit set – all classic signs of a hungry plant. The key difference, and what I've learned to look for in my own garden, is that with lockout, adding the suspected nutrient rarely, if ever, resolves the problem. In fact, sometimes it can even exacerbate the imbalance.
For example, I once had a whole row of 'Dwarf French Bean Purple Teepee' looking utterly miserable with pale, almost yellow-green leaves. My first thought was nitrogen deficiency, as beans are heavy feeders. I gave them a dilute liquid feed, but they just sat there, looking sadder by the day. It wasn't until I tested the soil that I realised the pH had become far too alkaline, locking up the iron and other micronutrients they needed, despite plenty being present.
Here’s a detailed comparison table to help you differentiate what you might be seeing in your own UK garden:
| Symptom / Indicator | Common Nutrient Deficiency | Nutrient Lockout |
|---|---|---|
| Yellowing Leaves (Chlorosis) | Nitrogen (N): General yellowing, especially older leaves. Iron (Fe): Interveinal yellowing, new growth. Magnesium (Mg): Interveinal yellowing, older leaves, sometimes purpling. | Multiple Nutrients: Often presents as a mix of deficiency symptoms across the plant, affecting both new and old growth irregularly. Persistent: Doesn't improve or even worsens after applying specific nutrient supplements. pH Imbalance: Often accompanied by a soil pH outside the optimal 6.0-7.0 range for most vegetables. |
| Stunted Growth | Phosphorus (P): Overall small size, slow growth. Zinc (Zn): Shortened internodes. | Chronic: Plants remain small and fail to thrive despite adequate watering and perceived feeding. Root Health: May be accompanied by unhealthy-looking roots if pH is severely out of whack. |
| Leaf Discoloration | Phosphorus (P): Purpling of leaves, especially undersides. Potassium (K): Brown or yellow leaf margins, often on older leaves. | Mixed/Unusual: Can show a combination of purpling, bronzing, or unusual mottling that doesn't fit a single deficiency pattern. Progressive: Symptoms often spread and intensify across the plant, rather than just affecting one specific type of leaf (e.g., only old vs. only new). |
| Poor Fruit/Flower Set | Boron (B): Poor fruit development. Calcium (Ca): Blossom end rot (e.g., in tomatoes). | General Weakness: Overall plant weakness leading to reduced vigour, poor flowering, and lack of fruit development, even if specific nutrient levels appear adequate. No Improvement: Adding specific nutrients for fruit/flower set doesn't help. |
| Response to Feeding | Positive: Symptoms improve within days or a week of applying the correct nutrient. | Negative/None: Symptoms persist or worsen; adding more of the suspected nutrient can sometimes exacerbate the problem by throwing the soil further out of balance. This is a huge red flag for lockout in my experience. |
| Soil pH | Typically within optimal range (6.0-7.0) or slightly off. | Significantly Outside Optimal Range: Often very acidic (below 5.5) or very alkaline (above 7.5), making many nutrients unavailable. This is the biggest indicator I look for in my Midlands soil. |
Root Causes: Unmasking the Culprits Behind Nutrient Lockout in Mature Garden Beds
Understanding why lockout happens is half the battle. In my 5+ years of intensive gardening here in the UK, I've seen a few common culprits emerge, especially in established beds that have been worked hard.
- Extreme pH Levels: This is, hands down, the biggest offender. Most vegetables thrive in a slightly acidic to neutral pH range (around 6.0 to 7.0). If your soil becomes too acidic (common in areas with high rainfall, or if you've added a lot of peat or acidic compost) or too alkaline (often due to over-liming, using very hard water, or naturally alkaline soil like some chalky parts of the UK), nutrients simply become insoluble. For example, iron and manganese become unavailable in alkaline conditions, while phosphorus can get locked up in both very acidic and very alkaline soils. I learned this the hard way with my 'Ailsa Craig' onions one year; they just wouldn't size up, and my soil pH was a shocking 5.2!
- Over-Fertilisation and Salt Buildup: This is a mistake I’ve made more than once, especially when I first started out and thought "more is better." Applying too much synthetic fertiliser, particularly those with high salt content, can lead to a buildup of mineral salts in the soil. This salt buildup makes it harder for plant roots to absorb water and nutrients, effectively 'locking' them out through osmotic pressure. It can also throw the nutrient ratios out of balance, causing antagonistic interactions where an excess of one nutrient prevents the uptake of another. My greenhouse tomatoes, 'Shirley' and 'Moneymaker', are particularly sensitive to this in their pots if I get trigger-happy with the feed.
- Mineral Imbalances: Even if the pH is okay, an excessive amount of one nutrient can sometimes prevent the uptake of another. For instance, too much potassium can hinder magnesium uptake, and too much phosphorus can tie up zinc and iron. This is especially relevant in established beds where you might have been adding the same compost or fertiliser blend for years, slowly building up certain elements. I've found this to be an issue in my herb bed, where I used a specific chicken manure pellet for years, leading to an imbalance that affected my 'Rosemary Miss Jessup'.
- Poor Drainage and Compaction: While not a direct cause of chemical lockout, compacted soil or poor drainage can indirectly lead to it. Waterlogged soil leads to anaerobic conditions, which stresses roots and impairs their ability to absorb nutrients. It can also alter the soil chemistry, making some nutrients less available. Here in the Midlands, with our often heavy clay soil, compaction can be a real issue if I'm not careful with my no-dig approach.
- Water Quality: Something often overlooked! If you're consistently watering with very hard tap water (high in calcium and magnesium), it can gradually increase your soil pH over time, especially in containers or raised beds. This is less of an issue for open ground with good rainfall, but for my greenhouse setup and my 'Bush Sugar Baby' watermelons in raised beds, I've had to consider rainwater harvesting to avoid pH creep.
Your Diagnostic Toolkit: Practical Soil and Water Testing for UK Gardeners
So, how do you actually figure out if lockout is the problem in your established UK garden? You've got to play detective, and your best tools are soil and water tests. Gone are the days of just guessing and hoping!
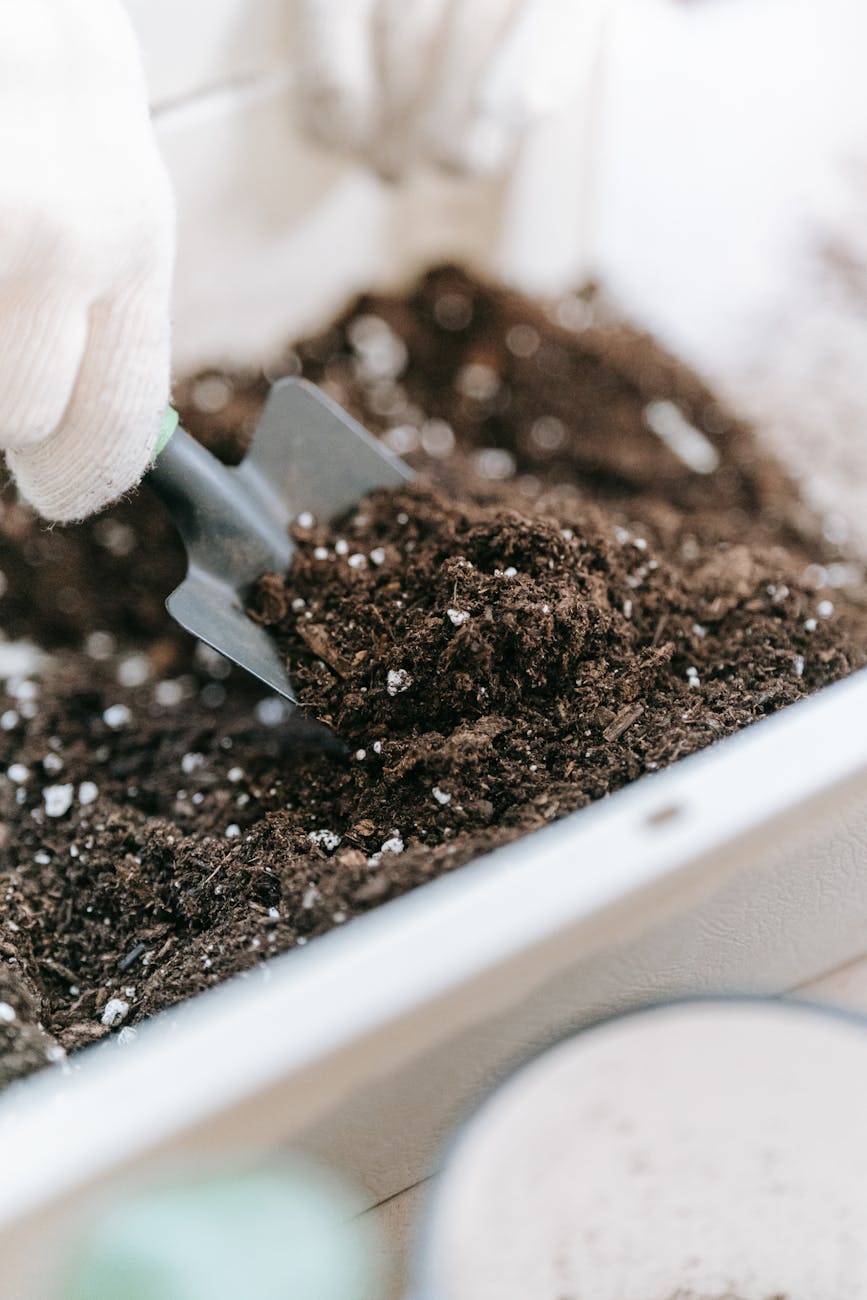
First things first, get yourself a reliable soil pH test kit. Forget those cheap probes; I've found them notoriously inaccurate. Instead, opt for a chemical test kit where you mix soil with a solution and compare the colour change. They're readily available at most UK garden centres or online.
 (https://example.com/soil-ph-test-kit-uk-garden.jpg)
I always keep one of these in my shed. I test my beds every spring before planting, and again in mid-summer if I notice any unusual symptoms. It’s a simple process: take several small samples from different spots in the bed, mix them together, and then follow the kit instructions. This will give you a clear reading of your soil's pH, which is the single most important indicator of potential nutrient lockout. If it's outside the optimal 6.0-7.0 range, you've found a major clue!
Beyond pH, consider a more comprehensive soil test from a specialist lab if you're consistently struggling. Services like those offered by the RHS or independent agricultural labs in the UK can provide detailed reports on your soil's nutrient levels (nitrogen, phosphorus, potassium, and micronutrients), organic matter content, and even texture. This is invaluable, as it tells you not just the pH, but what nutrients are present and in what quantities. I sent off a sample from my main vegetable bed two years ago when my 'Charlotte' potatoes were looking dismal, and the report confirmed a surprising excess of phosphorus, which was tying up other trace elements.
Don't forget your water! If you're using tap water, especially in a greenhouse or for container plants, it's worth checking its pH and hardness. You can buy simple aquarium pH test kits that work perfectly well for this, or your local water company website might even publish water quality reports for your area. Here in the Midlands, our water can be quite hard, so I've found collecting rainwater for my more sensitive crops like blueberries and my greenhouse tomatoes ('Gardener's Delight' does particularly well with rainwater) has made a noticeable difference in preventing pH creep in their growing media. It's a small detail, but one that can prevent a lot of headaches down the line.
Targeted pH Correction: Safe Strategies for Adjusting Acidity and Alkalinity in Established Beds
Right, so you've done your soil tests, you've got your readings, and now you know your pH is out of whack. Don't panic! The key here, especially in established beds where you’ve got plants already trying to thrive, is gradual adjustment. I learned this the hard way when I first got my pH meter five years ago. I was so keen to 'fix' things that I tried to drop the pH of one of my brassica beds too quickly. I added too much elemental sulphur, thinking faster was better. My 'January King' cabbage seedlings just sat there, looking utterly miserable for weeks. It was a proper rookie error and taught me a vital lesson: soil changes take time, just like everything else worthwhile in the garden.
The aim isn't to hit a specific pH overnight, but to nudge it gently towards the ideal range for your chosen plants. This often means applying amendments in smaller doses over several months, or even a year, retesting as you go. What works here in Britain, with our often unpredictable rain, is to ensure you apply amendments when the soil isn't waterlogged but also isn't bone dry. A good watering in after application helps it integrate properly.
Here's a breakdown of common amendments I've used in my 800 sq ft Midlands garden, depending on whether my soil is leaning too acidic or too alkaline:
| Amendment Type | Target pH Change | How I Use It in My UK Garden | My Experience (Pros & Cons for UK) |
|---|---|---|---|
| To Raise pH (Make More Alkaline) | |||
| Dolomitic Lime | Gradual increase | I usually sprinkle this in autumn or early spring, aiming for about 250-500g per square metre, then gently fork it into the top few inches. | Pros: Slow-acting, provides calcium and magnesium (great for preventing blossom end rot in my greenhouse tomatoes like 'Marmande'). Cons: Can take months to show results, so plan ahead. Needs regular retesting. Easy to over-apply if impatient. |
| Calcified Seaweed | Gentle increase | A lighter option, I use this for a more immediate but less drastic pH boost, especially in my herb beds where a slightly higher pH is beneficial. | Pros: Quicker acting than lime, adds trace elements. Great for sandy soils here in the UK. Cons: Less powerful than lime for significant shifts. Can be pricier. |
| Wood Ash (untreated) | Mild, short-term increase | I only use this sparingly, from our wood burner. Sprinkled lightly around established plants that like a higher pH, like my 'Defender' courgettes. | Pros: Quick boost of potassium and trace elements. Cons: Very potent, easy to over-apply. Needs to be from untreated wood only. Only a temporary fix for pH. |
| To Lower pH (Make More Acidic) | |||
| Elemental Sulphur | Gradual decrease | My go-to for acid-loving plants. I apply 30-100g per square metre, depending on the severity, again, gently incorporating it. | Pros: Long-lasting effect as soil microbes convert it slowly. Cons: Very slow to act (can take 6-12 months). Requires patience and consistent monitoring. |
| Acidic Composts/Pine Needles | Mild, temporary decrease | I layer these thickly around my blueberries in pots and my acid-loving bed. They offer a temporary shift and improve soil structure. | Pros: Natural, adds organic matter, improves soil life. Cons: Only offers a mild, often temporary pH adjustment. Requires consistent reapplication. |
| Sphagnum Peat Moss | Moderate decrease | I've used this in the past for my blueberries, but I’m now trying to move away from it due to environmental concerns, favouring more sustainable options. | Pros: Effective at lowering pH. Cons: Not environmentally friendly. Can compact soil if used excessively. |
Remember, consistency and observation are your best friends. After each amendment, give your soil time, maybe a month or two, before retesting. This slow approach will save you a lot of headache and heartache in the long run.
Beyond pH: Cultivating Optimal Soil Structure and Microbial Health for Nutrient Availability
While pH is a massive player in nutrient lockout, it's not the whole story. Think of your soil as a bustling city – pH is like the traffic light system, directing where nutrients can go, but soil structure and microbial health are the roads, the vehicles, and the workers that actually move everything around. Here in the Midlands, with our often heavy clay, I've seen firsthand how crucial good soil structure is. When I first started, I used to dig, dig, dig, trying to break up that clay. All I did was destroy the natural aggregates and make it even more prone to compaction and poor drainage, locking up nutrients even if the pH was 'right'.
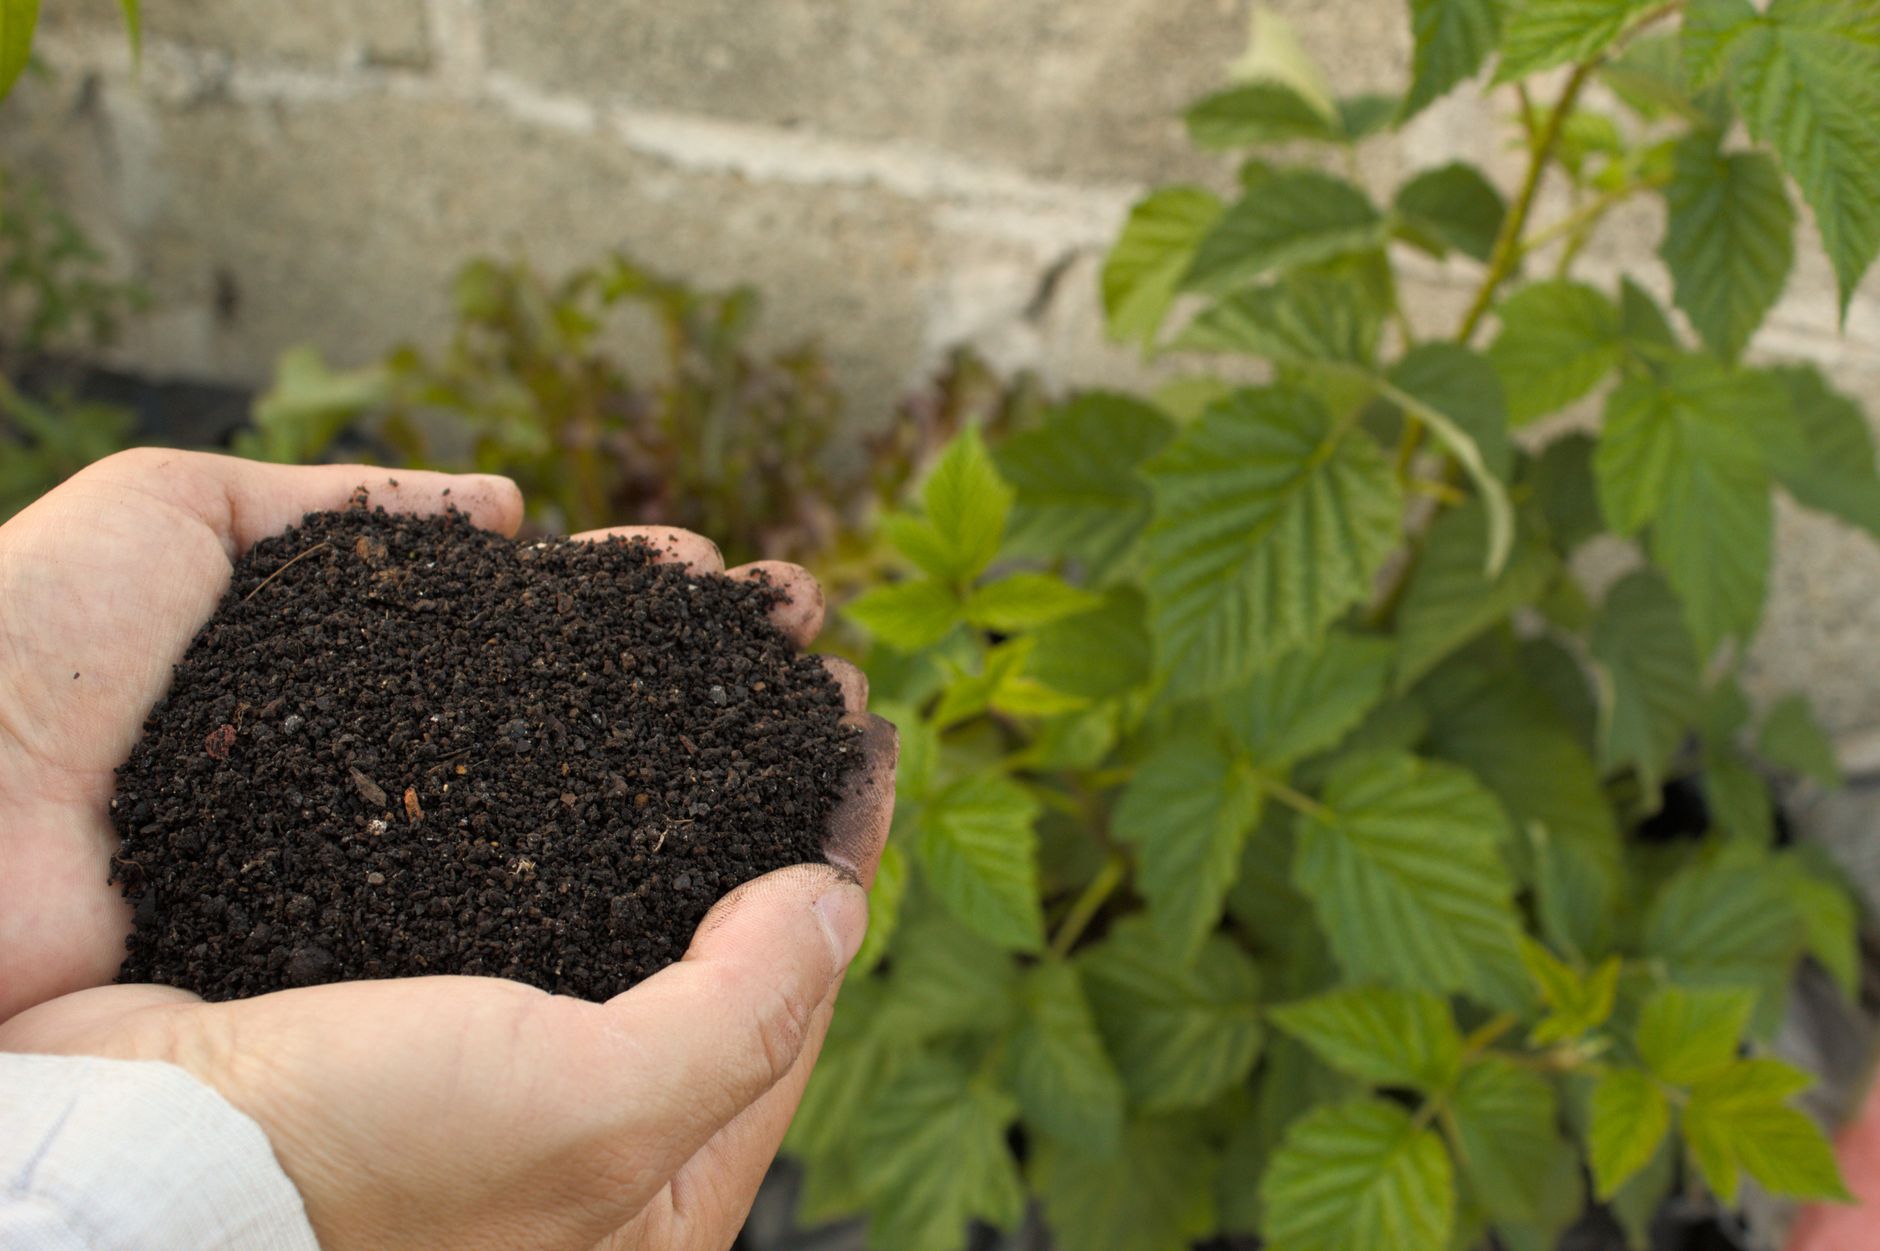
My biggest breakthrough came when I embraced a no-dig approach in my raised beds. Instead of turning the soil, I focus on building it up from above with layers of organic matter. This has completely transformed the texture of my soil, turning that dense clay into something crumbly and alive.
The Power of Organic Matter
Adding copious amounts of organic matter is hands down the most impactful thing you can do for soil health. It acts like a sponge, improving water retention in sandy soils and drainage in heavy clays. It also provides a steady, slow-release buffet for your soil microbes, which are the unsung heroes of nutrient availability. These microscopic workers break down organic material, converting nutrients into forms that plants can easily absorb.
I'm obsessed with my compost bins – I’ve got two big ones constantly bubbling away. Every autumn, after I’ve harvested the last of my 'Costoluto Fiorentino' tomatoes from the greenhouse and cleared my main beds, I top them up with a good 2-3 inches of homemade compost. This not only feeds the soil but also encourages a thriving microbial ecosystem. I've found that adding well-rotted manure, especially from local farms, works wonders too, particularly for hungry crops like my 'Charlotte' potatoes.
Avoiding Compaction: Let the Soil Breathe
Compacted soil is a death sentence for nutrient availability. It crushes the air pockets that roots need, and it makes it impossible for water and nutrients to move freely. I learned this when I accidentally trod on a newly planted bed last spring – the plants in that patch were noticeably stunted compared to the rest.
- Stick to paths: In my 800 sq ft garden, I’m strict about staying on designated paths. Even in raised beds, I avoid stepping directly on the soil.
- Broadforking: Instead of deep digging, I use a broadfork occasionally in my established beds. It loosens the soil without inverting it, preserving that precious soil structure and fungal networks. I usually do this in early spring, before planting.
- Mulching: A thick layer of mulch (straw, wood chips, shredded leaves) not only suppresses weeds and conserves moisture but also protects the soil from the compacting force of heavy British rain. Plus, as it breaks down, it adds more organic matter!
Supporting Your Microbial Allies
Your soil's microbiome is a living, breathing network. The healthier it is, the better your plants will be at accessing nutrients.
- Minimise chemical inputs: I avoid synthetic fertilisers and pesticides in my garden. They can harm beneficial soil organisms, disrupting that delicate balance. I've found that a healthy soil ecosystem provides most of what my plants need naturally.
- Cover crops: Even in a small UK garden like mine, cover crops can be incredibly beneficial. Over winter, I'll often sow a green manure like 'Crimson Clover' or 'Field Beans' in beds that would otherwise be bare. They protect the soil, add organic matter when dug in (or chopped and dropped in a no-dig system), and some even fix nitrogen. Last winter, I experimented with 'Phacelia' and was amazed at how much life it brought to the soil when I turned it over in spring.
By focusing on these aspects – building rich organic matter, preventing compaction, and nurturing the microbial life – you create a resilient, self-sustaining system where nutrient lockout becomes far less likely.
Future-Proofing Your Garden: Long-Term Strategies for Preventing Nutrient Lockout
Battling nutrient lockout once is enough to make you want to prevent it ever happening again! After my initial struggles, I've developed a proactive approach to keep my garden beds happy and healthy, especially with our notoriously changeable British weather. It’s all about creating a robust, resilient system that can handle the occasional curveball.
Regular Soil Testing: Your Garden's Annual Health Check
This is non-negotiable for me now. Every autumn, after the last of my 'Sungold' tomatoes are picked from the greenhouse and the main beds are cleared, I take my soil samples. It's become a ritual, almost like debugging a tricky bit of code, but far more rewarding! This gives me a baseline and lets me identify any pH drift or nutrient imbalances before they become a problem. It allows me to plan my amendments for the coming season, making sure I'm adding exactly what's needed, rather than guessing.
Crop Rotation: The Natural Balancer
I practice a strict crop rotation in my raised beds. This isn't just about pest and disease prevention; it's also crucial for nutrient management. Different plants have different nutrient demands. For example, my brassicas ('Romanesco' broccoli, 'Red Russian' kale) are hungry for nitrogen, while my root crops ('Amsterdam Forcing' carrots, 'Purple Haze' parsnips) prefer more potassium and phosphorus. By rotating them through different beds, I prevent any single nutrient from being depleted or accumulating excessively in one spot. It’s a simple, ancient technique that works wonders here in the UK.
Mindful Watering: Quality Over Quantity
Our British climate often brings plenty of rain, but sometimes we get those dry spells, or you’re growing in a greenhouse like I am. Overwatering, especially with hard tap water, can contribute to nutrient lockout by washing away beneficial microbes and essential nutrients, or by introducing excess salts. Underwatering stresses plants, making them more susceptible to problems.
I always aim for deep, infrequent watering rather than shallow, frequent sprinkles. This encourages roots to grow deeper, making them more resilient. I also collect rainwater in a butt, which is naturally softer and free of chlorine – a much better option for my plants, especially my heirloom tomatoes in the greenhouse. Using mulches also significantly reduces my watering needs, which is a blessing during a dry British summer.
Balanced Fertilisation: Less is Often More
It’s tempting to lavish our plants with fertiliser, thinking more must be better. I certainly made that mistake early on, especially with my hungry squash plants. But over-fertilisation, particularly with synthetic salts, can be a major cause of nutrient lockout by creating an imbalance in the soil solution. The excess of one nutrient can literally block the uptake of another.
Now, I mostly rely on building healthy soil with organic matter. When my plants do need a boost, I opt for balanced, organic feeds, applied sparingly and according to the plant's specific needs. For my chillies and peppers, I might use a dilute liquid seaweed feed, but I always err on the side of caution. Slow-release organic granular feeds are also fantastic as they mimic nature's pace.
Companion Planting: Nature's Little Helpers
I'm a big fan of companion planting. It's not just about deterring pests; certain plant combinations can actually improve soil health and nutrient availability. For instance, planting nitrogen-fixing legumes like dwarf beans ('Borlotto Firetongue') near heavy feeders can provide a natural nitrogen boost. Marigolds, while known for pest control, also encourage beneficial soil fungi. It’s all part of creating a balanced, biodiverse ecosystem where plants can support each other.
Conclusion: Empowering Your Garden for Robust Growth
Well, there you have it – my journey through the often-frustrating, but ultimately solvable, world of nutrient lockout. It’s a silent killer that can really set back your established garden beds, but it doesn’t have to be a mystery. From spotting the subtle signs on my 'Aunt Ruby's German Green' tomato leaves to understanding the underlying causes of pH imbalances and poor soil structure, I’ve learned that knowledge, patience, and a bit of elbow grease are your best tools.
Here in my 800 sq ft Midlands garden, I've had my fair share of challenges, from our notoriously soggy springs to surprisingly dry summers. But by diligently testing my soil and water, carefully adjusting pH, and absolutely committing to building vibrant, living soil through organic matter and smart practices, I've seen my plants truly thrive.
The biggest takeaway I want you to remember is this: your soil is alive, and it's constantly changing. It's not a static medium but a dynamic ecosystem. By understanding its needs and proactively supporting its health, you empower your plants to unlock the full spectrum of nutrients they require for robust growth. Don’t be afraid to get your hands dirty, experiment, and learn from both your successes and your 'happy accidents'. Gardening is a continuous journey of discovery, and every challenge, including nutrient lockout, is just another opportunity to deepen your connection with your patch of green. So go on, get out there, observe your plants, test your soil, and create the most vibrant, productive garden you can imagine. Happy growing!

