
Alright, pull up a chair, grab a cuppa, and let's have a proper chat about something that's often overlooked but can make or break your garden's future: the hidden world beneath your plants.
The Silent Threat: Why Healthy Roots are Your Tree's Lifeline
There’s nothing quite like the satisfaction of planting a new tree or shrub in your UK garden, is there? I remember the first time I put in a 'Conference' pear in my 800 sq ft Midlands plot – full of hope, dreaming of homegrown fruit. We spend so much time thinking about what’s above ground: the perfect spot, the right soil, whether it’ll cope with our notoriously unpredictable British weather. But what about what's happening beneath the surface, where the true magic – or misery – begins?
I’ve learned, often the hard way in my five years of intensive gardening, that a plant is only as healthy as its roots. It’s a simple truth, but one that’s easy to forget when you’re presented with a beautiful, leafy specimen at the nursery. I used to just plonk them straight into the ground, convinced I was doing my best. What I didn’t realise was that many of those seemingly healthy plants were ticking time bombs, their roots silently struggling with defects that would stunt their growth, reduce their resilience, and potentially lead to their early demise. It’s a bit like building a house on shaky foundations; it might stand for a bit, but it won’t weather the storms. Here in the Midlands, with our sometimes brutal winters and surprisingly dry summers, robust roots aren't just an advantage, they're essential for survival.
This isn’t about being an expert horticulturist; it’s about giving our beloved garden residents the best possible start. I’ve spent countless hours in my backyard, experimenting with everything from 'Sungold' tomatoes in my greenhouse to hardy herbs in my raised beds, and what works across the board is good root health. Let's dig into these subtle, yet deadly, root defects and how we, as diligent UK gardeners, can spot and fix them.
Unmasking J-Hooks, Kinks, and Circling Roots: What They Look Like and Why They Form
When I first started to properly inspect the roots of new plants, it felt a bit like being an IT detective, which, given my past career, felt strangely familiar! You’re looking for those hidden bugs in the system. These root defects are incredibly common in nursery stock, and once you know what to look for, you’ll start spotting them everywhere. They mostly form because plants are grown in pots for too long, or in pots that are too small, forcing the roots into unnatural patterns.
Here’s a breakdown of the main culprits I’ve encountered in garden centres across Britain:
J-Hooks
Imagine a root growing downwards, hitting the bottom of its pot, and then bending sharply upwards or sideways, forming the shape of a 'J'. That's a J-hook. It’s a clear sign the plant has outgrown its container vertically. I've seen this often with taller shrubs or young trees that have been sat on the nursery bench for a while.
Kinks
A kink is a sharp, often abrupt, bend in a major root. This usually happens when a root grows outwards, hits the rigid side of its pot, and then has to change direction sharply. Sometimes, it can also be caused by compacted soil or even damage during potting. I once dug up a struggling 'Blueberry Muffin' hydrangea in my border and found a main root with a sharp 90-degree bend right near the trunk – a classic kink from its nursery days.
Circling Roots
Perhaps the most common defect I see, especially in smaller plants or those that have been particularly pot-bound. Circling roots are exactly what they sound like: roots that grow in a spiral pattern around the inside edge of the pot. They can become so dense they form a solid mat, completely choking the centre of the root ball. I almost always find these on greenhouse tomatoes I buy in spring if I don't pot them up quickly enough; those 'Black Krim' seedlings are fast growers!
Here’s a handy table I put together for my own reference, which I think every UK gardener should keep in mind:
| Defect Type | Appearance | Likely Cause | Impact on Tree Health |
|---|---|---|---|
| J-Hook | Root bends sharply upwards or sideways after growing down. | Root hits the bottom of the pot and deflects. | Restricts downward growth, poor anchorage, reduced water/nutrient uptake. |
| Kink | Sharp, unnatural bend in a main root. | Root hits the side of the pot or encounters an obstruction. | Creates a choke point, impedes flow of water/nutrients, weakens structural integrity. |
| Circling Roots | Roots grow in a spiral pattern around the pot's edge, often forming a dense mat. | Plant left too long in pot; roots have nowhere to go but around. | Strangles the trunk/other roots, poor outward growth, reduced water/nutrient absorption, eventual girdling. |
From Subtle Snags to Stunted Growth: The Hidden Dangers of Root Defects in UK Gardens
I’ve experienced the frustration of nurturing a plant for years, only for it to never quite thrive, despite all my efforts. In my early days, I planted a lovely young 'Damson' plum tree – perfect for our UK climate – and it just languished. It grew slowly, fruited sparsely, and always looked a bit yellow, even with regular feeding. Eventually, after three years of disappointment, I dug it up. What I found was a disaster: a dense, woody mass of circling roots that had effectively strangled the tree at its base. It was a proper "D'oh!" moment, but a valuable lesson learned.
These hidden root defects are more than just cosmetic issues; they directly impact the long-term health and vigour of your plants, especially here in Britain where our weather can be so demanding.
- Stunted Growth and Poor Vigour: This is the most obvious sign. Roots are the plant's mouth and anchor. When they're tangled or kinked, they can't efficiently absorb water and nutrients from the soil. This leads to slow growth, smaller leaves, and a general lack of oomph. My damson tree was a prime example.
- Reduced Drought and Stress Tolerance: Our British summers, though often wet, can throw us curveballs with unexpected dry spells. A tree with a compromised root system simply can't reach deep for water or access enough moisture from the surrounding soil. This makes it far more susceptible to drought stress, leaf scorch, and wilting when the sun truly decides to shine in the Midlands.
- Poor Anchorage and Wind Rock: This is a big one for any tree or larger shrub, especially in exposed UK gardens. J-hooked roots don’t spread outwards to provide a stable base, and circling roots often don't penetrate the surrounding soil effectively. This leaves the plant vulnerable to strong winds, a common occurrence across the UK. I've seen smaller plants literally rocked out of their spot by a blustery autumn day.
- Increased Disease Susceptibility: A struggling plant is a stressed plant, and stressed plants are like open invitations for pests and diseases. When a tree can't get the nourishment it needs, its natural defenses are weakened, making it an easier target for everything from fungal infections to aphid attacks.
- Premature Decline and Death: Ultimately, these defects can act like a slow strangulation, eventually leading to the plant's premature death, sometimes years after planting. This is the true "time bomb" effect – the plant limps along for a while, but never fully recovers or reaches its potential before giving up.
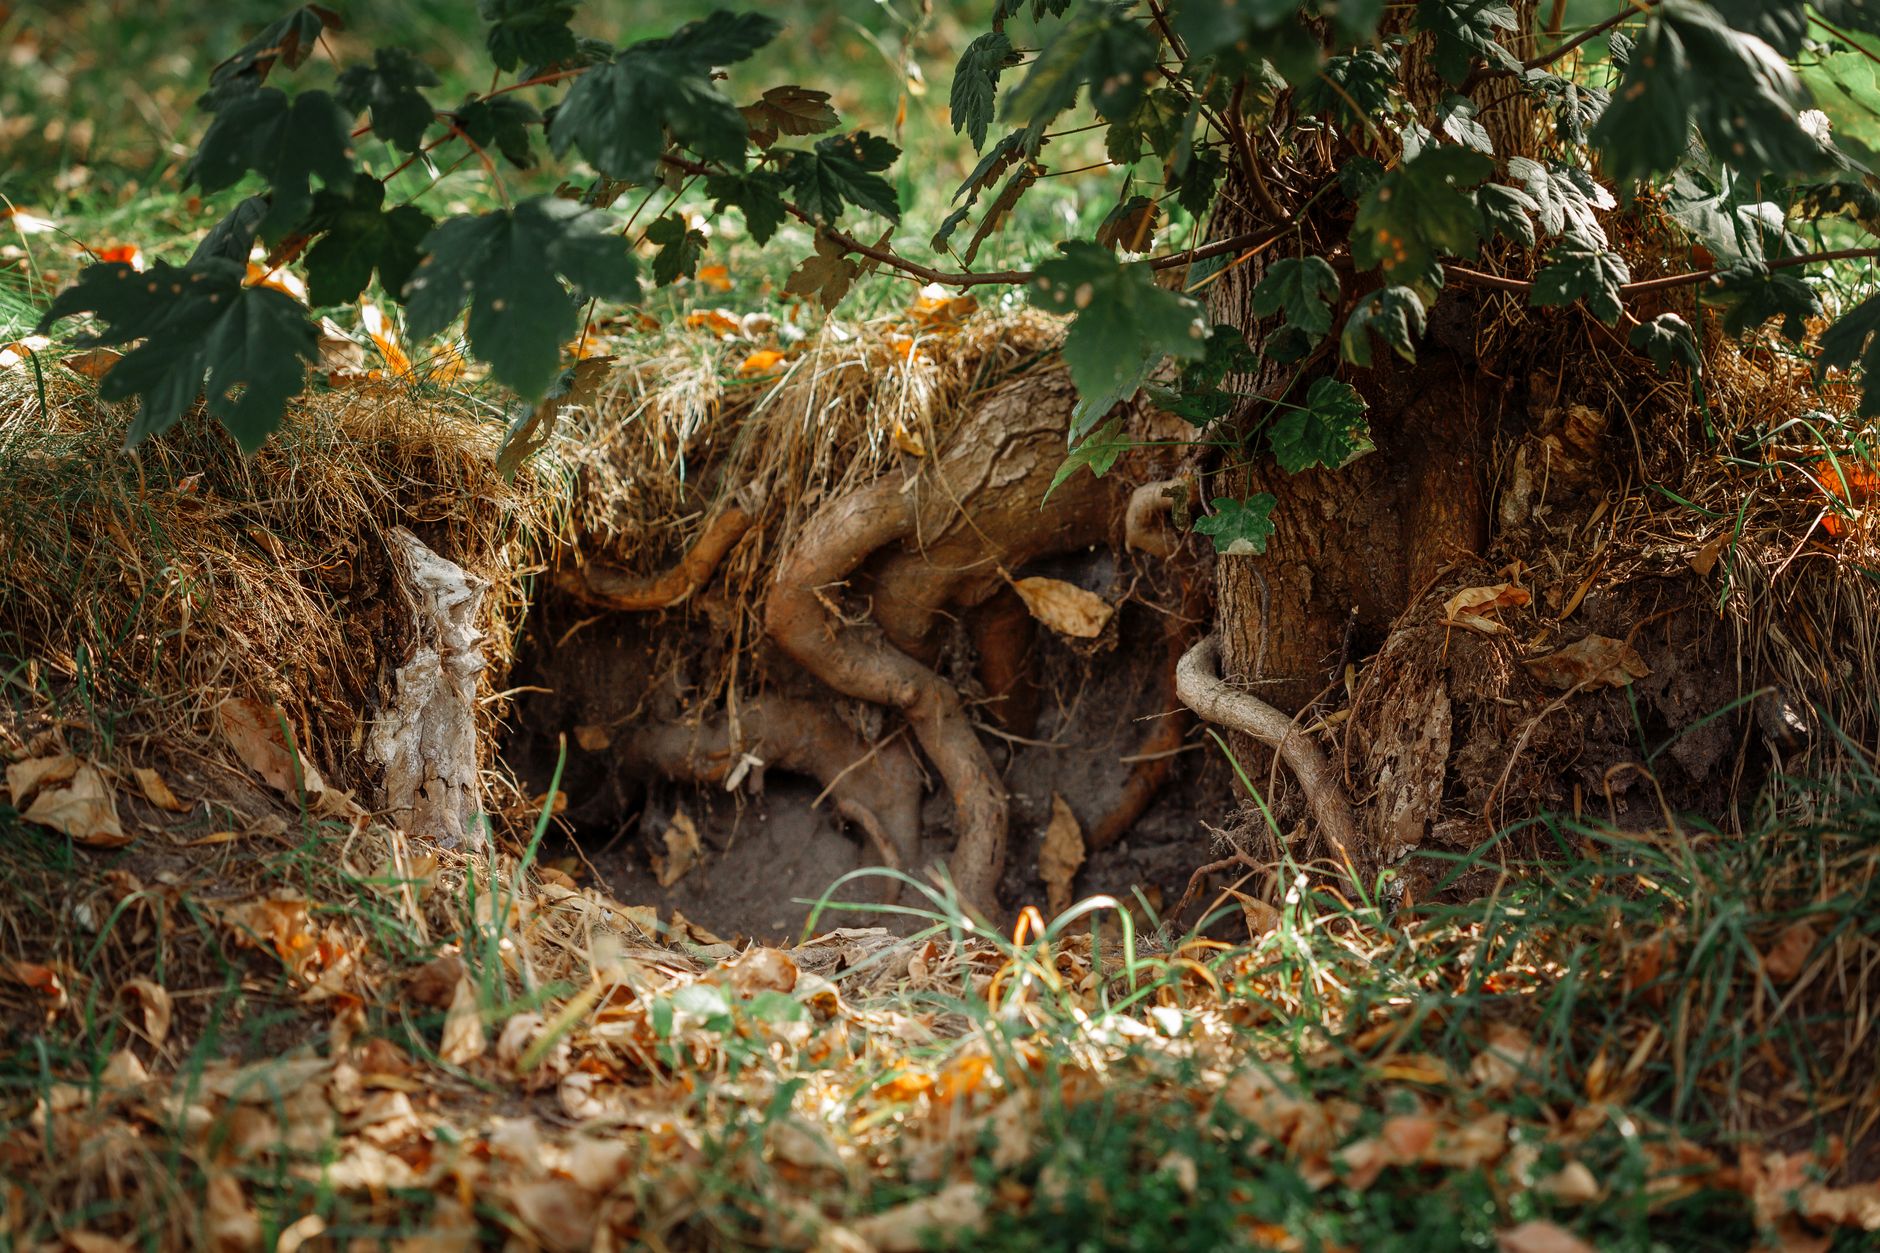
Your Pre-Planting Root Check-Up: A UK Gardener's Guide to Inspecting Nursery Stock
Now, don't let all this talk of hidden dangers put you off! The good news is that diagnosing and correcting these issues is surprisingly straightforward once you know what you’re looking for. This is where your pre-planting root check-up comes in – a crucial step I now perform with every single tree and shrub that enters my Midlands garden. It's become a non-negotiable ritual, like checking the forecast before planting out my tender 'Gardener's Delight' tomatoes.
The "Lift and Look" Method
Before you even think about digging a hole, you need to gently remove the plant from its pot. Don't be shy! Most reputable UK nurseries use flexible pots that allow this. Simply turn the pot on its side, give it a gentle squeeze, and slide the plant out, supporting the root ball. If it’s stuck fast, it’s a big red flag for being severely pot-bound.
Once out, it’s time to play detective:
- Healthy Roots: You want to see a network of fine, fibrous roots that are generally light in colour (white or tan) and smell earthy and fresh. They should be growing outwards, not just circling.
- The Smell Test: Seriously, give it a sniff. A healthy root ball smells like fresh soil. If it smells sour, stagnant, or like anything unpleasant, it could indicate root rot or poor drainage, often linked to circling roots.
- Visually Inspect for Defects: Refer back to our table above. Look closely for J-hooks at the bottom, kinks along the major roots, and especially for any dense mat of circling roots around the outside or bottom.
Randy's Nursery Stock Inspection Table
This is my personal checklist when I'm at the garden centre or bringing a new plant home. It helps me decide whether to buy, reject, or rescue.
| Inspection Point | What to Look For (Good) | What to Look For (Bad) | Randy's Advice for UK Gardeners |
|---|---|---|---|
| Pot Removal | Plant slides out easily, root ball stays intact. | Plant is stuck, or crumbles apart. | A struggle means severe root issues or poorly rooted. Avoid if stuck. |
| Root Colour/Texture | Light coloured, firm, numerous fine feeder roots. | Dark, mushy, brittle, or very few roots. | Dark/mushy roots indicate rot. Brittle means very dry. Avoid. |
| Root Smell | Fresh, earthy, damp soil smell. | Sour, stagnant, or unpleasant odour. | A bad smell means problems under the surface. Walk away. |
| Circling Roots | Roots spread evenly, some touching the pot edge but not wrapping. | Dense mat of roots circling the entire root ball. | Mild circling can be teased out (see future section!). Severe circling (solid mat) is a big problem; consider avoiding. |
| J-Hooks/Kinks | Main roots growing downwards and outwards without sharp bends. | Visible sharp bends in major roots, especially at the bottom. | J-hooks and kinks are tough to correct. If severe, especially in a main root, it’s often best to find another specimen. |
| Overall Root Density | Healthy balance of soil and roots, not overly dense. | Solid, impenetrable mass of roots with little soil visible. | A truly solid root ball is severely pot-bound. Unless you're prepared for major surgery, choose a less dense plant. |
Remember, even from the most reputable UK nurseries, these issues can crop up. It's not necessarily a sign of poor quality, but rather a consequence of plants being grown in pots. By taking just a few minutes for this vital check-up, you'll be setting your new garden additions up for a lifetime of health and happiness in our wonderful, if sometimes challenging, British climate.
Corrective Surgery: Step-by-Step Solutions for Untangling and Pruning Problematic Roots
Right, so you've done your detective work, you've unmasked a J-hook, a kink, or a swirling mass of roots. Don't panic! This isn't a death sentence for your plant; it's just a call for a bit of careful, well-aimed surgery. I've been there, trowel in hand, looking at a pot-bound mess and wondering if I'd ruin it. But trust me, a few calculated snips now mean a much happier, healthier plant later, especially when dealing with our often-challenging British weather.
My very first 'patient' was a 'Conference' pear whip I bought on a whim. The roots were an absolute coiled disaster, a proper J-hook that would have strangled it within a few years. I felt a bit like a nervous surgeon, but I knew I had to act. Here’s what I’ve learned works best in my UK garden:
The Gentle Untangle:
- Preparation is Key: First, get your tools ready. A clean, sharp pair of secateurs is non-negotiable – I always sterilise mine with isopropyl alcohol between plants to prevent spreading any nasties, especially important with our damp climate encouraging fungal issues. A root hook or even an old blunt fork can be really handy too.
- Soak if Dry: If the rootball is bone dry, give it a good soak in a bucket of water for 15-30 minutes. This makes the roots more flexible and easier to separate without snapping. I learned this the hard way with a dried-out rose rootball once – lots of unnecessary breakage!
- Loosen and Expose: Gently tease away the potting mix from the outside of the rootball. I usually start at the bottom and work my way up. You want to expose the main structural roots and see the full extent of the problem. Don't be afraid to remove a fair bit of that nursery compost; it's often not the best quality anyway.
- Untangle with Care: This is where the root hook (or fork) comes in. Slowly and carefully work your way around the rootball, untangling any circling roots. For J-hooks, try to gently straighten the main root. If it's too rigid, you'll need to prune. For kinks, try to relieve the pressure around the bend. Patience is your best friend here. I often take a break if I feel myself getting frustrated – better to do it right than rush it.
The Corrective Prune:
Once you've untangled what you can, it's time for the strategic snips. This is where you remove the roots that simply cannot be coaxed into a healthy direction.
- Circling Roots: Any roots still stubbornly circling the outside of the rootball, especially those thicker ones, need to go. Make clean cuts back to where they originate or to a healthy, outward-growing side root. Don't leave stubs. I once tried to just 'bury' a few circling roots on a 'Crimson Crush' rose, thinking they'd sort themselves out. They didn't. The plant struggled for a season until I dug it up and did the job properly.
- J-Hooks and Kinks: If you couldn't straighten a J-hook, you'll need to cut the offending part of the root. For larger, thicker roots, make the cut just above the bend, encouraging new, outward-growing roots. For kinks, if the root is severely constricted or damaged at the bend, it's best to remove the section up to healthy tissue. Again, clean cuts are crucial for quick healing and preventing disease, especially in our often-damp UK soil.
- Dead or Damaged Roots: While you're in there, snip off any roots that are clearly dead, mushy, or broken. They're just an invitation for rot.
- Balance is Key: Aim to remove no more than about 20-30% of the root mass, especially for younger plants. You're trying to correct major structural issues, not devastate the plant's ability to take up water and nutrients. I remember going a bit overboard on a 'Moneymaker' tomato plant once – it sulked for weeks! Learn from my enthusiastic but misguided past.

After your 'surgery,' your tree or shrub might look a bit... sparse below the soil. That's okay! It's now primed to send out new, healthy roots in all the right directions once it's in its new home.
Beyond the Fix: Best Practices for Planting and Post-Planting Care for Lifelong Health
So, you've done the hard work, you've corrected those dodgy roots. Fantastic! But the job isn't over yet. How you plant and care for your tree or shrub in its first year is absolutely critical for its long-term health, especially here in the UK with our famously variable weather. Getting this right is like setting up a robust IT system – a good foundation prevents a whole host of future headaches.
I've made my share of planting mistakes over the years. From planting too deep in my heavy Midlands clay to forgetting to water consistently during a sneaky dry spell, each error taught me something valuable. Now, I approach planting with a bit more reverence, knowing that this is the moment to really set the plant up for success.
The Planting Process: Giving Your Corrected Roots the Best Start
- Dig a Wide, Not Deep, Hole: This is crucial. Dig a hole that is at least two to three times wider than the corrected rootball, but only as deep as the rootball itself. The goal is to give those newly freed roots plenty of loose soil to expand into horizontally. For my clay soil, I often make it even wider to break up the surrounding compaction.
- The Root Collar is King: When you place your tree or shrub in the hole, ensure the root collar (the flare where the trunk meets the roots) is level with or slightly above the surrounding soil line. This is probably the most common mistake I see, and one I made myself early on with some blueberry bushes. Planting too deep leads to root rot, especially in our often-wet UK winters.
- Backfill Carefully: Gently backfill the hole with the soil you removed, breaking up any large clumps. Avoid adding too much compost or rich soil to the hole itself unless your soil is truly awful. You want the roots to venture out into the native soil, not stay pampered in a small pocket. Gently firm the soil around the roots to remove air pockets – I usually use my hands, never my feet, to avoid compaction.
- Water, Water, Water: Immediately after planting, give the plant a deep, thorough watering. This settles the soil around the roots and provides essential moisture. This isn't just a dribble; it's a proper soak that reaches the bottom of the hole.
- Mulch for Moisture: Apply a 2-3 inch (5-7.5 cm) layer of organic mulch (like wood chips or well-rotted compost) around the base of the plant, keeping it a few inches away from the trunk. This helps retain soil moisture, suppress weeds, and regulate soil temperature – all vital in our unpredictable climate. I swear by a good mulch layer, especially during those surprise summer droughts we seem to get here in the Midlands.
Post-Planting Care: The First Year is Critical
The first year after planting is often called the "establishment period." This is when your tree or shrub is busy extending its roots into its new home. Consistent care during this time is paramount.
- Consistent Watering: This is non-negotiable, especially during dry spells. Even with mulch, young plants need regular moisture. Check the soil moisture regularly by sticking your finger in about 2 inches deep. If it's dry, water deeply. I've lost more than one new planting to thinking our "British weather" would take care of it, only to find a parched rootball after a week of sun.
- Support if Needed: For taller trees, a stake might be necessary for the first year to prevent windrock, which can damage new roots. But remember, staking too rigidly can hinder the development of a strong trunk. Allow some sway.
- Pest and Disease Watch: Keep an eye out for any signs of stress, pests, or diseases. A healthy, well-rooted plant is much more resilient, but young plants can be vulnerable.
Here's a quick comparison of what works (and what doesn't!) for planting in our UK conditions:
| Aspect | Good Practice for UK Climate | Common Mistake/Poor Practice (Randy's Past Lessons!) |
|---|---|---|
| Planting Hole | Wide (2-3x rootball), only as deep as rootball. | Deep, narrow hole; ignoring existing soil structure. |
| Planting Depth | Root collar at or slightly above soil level. | Planting too deep; burying the root collar. (My blueberry mistake!) |
| Soil Amendment | Backfill with native soil; minor compost if soil truly poor. | Filling hole with pure compost/potting mix; creating a 'pot-in-the-ground' effect. |
| Watering After Planting | Immediate, deep soak to settle soil and hydrate. | Light sprinkle; assuming rain will do the job. (Lost a few things to this!) |
| Mulching | 2-3 inches organic mulch, kept away from trunk. | No mulch; piling mulch against the trunk (invites rot). |
| First Year Watering | Consistent, deep watering during dry spells. Finger-test soil moisture. | Relying solely on rain; infrequent, shallow watering. (The 'parched rootball' problem!) |
| Staking | Use only if necessary, allow some sway, remove after 1 year. | Over-staking; staking too tightly; leaving stakes on for years (weakens trunk). |
Invest in Roots, Reap the Rewards: A Foundation for a Thriving UK Garden
Phew! We've covered a fair bit, haven't we? From the silent threat of root defects to the empowering steps of diagnosing, correcting, and properly planting, I really hope this journey has been as enlightening for you as it has been for me over the years. Gardening, for me, is a continuous loop of learning, experimenting, and sometimes, yes, making mistakes – especially when our British weather throws a curveball!
The biggest takeaway, in my book, is this: your plant's health begins and ends with its roots. They are the unsung heroes, the hidden network supporting everything you see above ground. Ignoring subtle defects, those J-hooks and kinks, is like trying to build a beautiful greenhouse (like mine, packed with heirloom tomatoes!) on a shaky foundation. It might stand for a bit, but eventually, it's going to struggle, underperform, or even collapse.
I've seen it time and again in my 800 sq ft Midlands garden. The plants I take the time to inspect, untangle, and plant correctly thrive, shrug off a bit of mildew, and produce bountiful harvests, even when the summer is a wash-out or the spring is unexpectedly frosty. My 'Sungold' tomatoes, for example, which I carefully root-prune every year, always outperform the ones I rush. It's that initial investment in their root health that pays dividends.
As a former IT worker, I often think of it like debugging a system. You can have the most beautiful interface (the foliage), but if the underlying code (the roots) is full of bugs and errors, the whole thing will eventually crash. By taking the time to 'debug' those roots, you're optimising your plant for lifelong performance.
So, the next time you bring home a new tree or shrub from the nursery, pause. Take a moment. Gently slide it out of its pot. Inspect those roots with a critical but caring eye. Don't be afraid to get your hands dirty, to untangle, and to make those corrective snips. It’s a small effort now that will make a monumental difference to the vitality and longevity of your beloved plants.
Your UK garden, whether it's a sprawling allotment or a tiny patio, is a living, breathing ecosystem. By understanding and nurturing its most fundamental parts – the roots – you're not just planting a tree or a shrub; you're investing in a future of vibrant growth, bountiful harvests, and enduring beauty. Go on, give those roots the attention they deserve. Your garden will thank you for it!
