
Understanding Why Your Established Perennials Are Struggling
There’s nothing quite like the satisfaction of watching a perennial clump mature, is there? You plant a little plug, give it a few seasons, and suddenly you’ve got a thriving, generous plant that just gets better every year. That’s the dream, anyway. But then, one day, you step out into your UK garden, ready for your morning cuppa and a stroll, and you spot it: a favourite, established perennial looking a bit… thin. The middle is sparse, the growth is weak, and it just doesn’t have that usual vigour. It’s a proper head-scratcher, isn't it? Especially when it's a plant you've nurtured for years.
I’ve been there, more times than I care to admit! After five years of intensive gardening in my 800 sq ft Midlands plot, experimenting with everything from heirloom tomatoes in my greenhouse to packed raised beds, I’ve learned that even the most reliable perennials can throw a wobbler. And when they start to die out in the middle, it’s usually a sign that something’s gone a bit awry beneath the soil. It’s incredibly frustrating, particularly with those plants you’ve come to rely on for structure and colour year after year. I remember a gorgeous clump of 'Dark Towers' Penstemon that I’d painstakingly overwintered for three years – one spring, the centre just vanished, leaving a sad donut of growth. I nearly cried!
What I've learned through a fair bit of trial and error (and plenty of digging up sad-looking plants!) is that there are usually three main culprits behind this disheartening phenomenon: crown rot, persistent pest damage, or simply overcrowding. All three can present similar symptoms from a distance, making diagnosis a bit of a challenge. But don't despair! With a bit of detective work – and I do love a good garden mystery – we can usually figure out what’s going on and, more importantly, how to fix it. Because saving a beloved perennial, especially one that’s been a stalwart in your British border, is one of the most rewarding parts of this gardening journey.
Initial Diagnosis: Spotting the Signs of Crown Rot, Pests, or Overcrowding
When I see a perennial struggling in my UK garden, especially if it's looking sparse in the middle, my first step is always to get right down on my hands and knees. You can’t diagnose properly from a standing position, believe me. I grab my hand trowel and a pair of gloves, and I start by gently probing around the base of the plant, looking for clues. It's like being a garden CSI, piecing together the evidence!
The tricky part is that crown rot, pest damage, and overcrowding can all lead to a similar-looking decline. A wilting plant, yellowing leaves, or stunted growth in the centre could be any of them. I’ve definitely made the mistake of assuming one thing, only to find out it was another. One year, I was convinced my favourite 'Patriot' Hosta in a raised bed was suffering from crown rot because the centre leaves were yellowing and collapsing. Turns out, a particularly ambitious family of slugs had set up residence right in the heart of the clump, munching away at the emerging leaf buds and causing it to thin out. Live and learn, eh? That's why a careful, systematic approach to diagnosis is key.
Here’s a quick guide to help you differentiate between the three main issues. I've found this comparison table really useful in my own garden, especially when dealing with our often unpredictable British weather and the challenges it brings.
| Symptom / Cause | Crown Rot | Pest Damage | Overcrowding |
|---|---|---|---|
| (re-emerging from the crown) or the plant just looks like it's struggling for space, then it's time to consider pests or overcrowding. |
Deep Dive into Crown Rot: Causes, Symptoms, and First Aid for Affected Plants
Crown rot is, hands down, one of the most disheartening things to find in your garden. It’s a fungal disease that attacks the plant at its very heart, the crown – that crucial point where the roots meet the stems. Once it takes hold, it can turn a vibrant, healthy perennial into a squishy, brown mess surprisingly quickly. Here in the Midlands, with our often damp springs and heavy clay soil (even in my raised beds, I have to be vigilant about drainage!), crown rot is a beast I’ve battled more times than I care to admit.
Causes of Crown Rot
The primary cause of crown rot is excessive moisture around the plant's crown, especially when combined with poor air circulation. The fungus responsible (often species like Phytophthora or Sclerotinia) thrives in these anaerobic, waterlogged conditions.
- Heavy, poorly draining soil: This is a big one for many UK gardeners. If water sits around the crown for too long, especially during a prolonged wet spell (hello, British summer!), it creates the perfect breeding ground for fungal spores. I've found that even with my raised beds, if I'm not careful to amend the soil with plenty of grit and compost, water can still pool.
- Overwatering: It sounds obvious, but it's easy to do, particularly when plants are young or if you’re trying to establish new clumps. My initial enthusiasm when I first started gardening five years ago sometimes led to a bit too much watering. I learned the hard way that less is often more, especially with established plants.
- Planting too deeply: If the crown of the plant is buried beneath the soil surface, it's constantly in contact with moisture, making it highly susceptible. Always plant perennials at the same level they were in their nursery pot.
- Excessive mulching directly against the crown: Mulch is fantastic for moisture retention and weed suppression, but piling it right up against the plant's crown traps moisture and restricts airflow. I always leave a small 'doughnut' of clear space around the crown now.
- Poor air circulation: In densely planted borders, especially with lush foliage, air movement can be limited, keeping the crown damp. This is something I'm always mindful of in my packed 800 sq ft garden.
Symptoms of Crown Rot
Spotting crown rot early can make all the difference. Keep an eye out for these signs:
- Wilting and yellowing leaves: Often the first visible symptom, even when the soil feels moist. The rot prevents water uptake.
- Stunted growth: New shoots might be weak, discoloured, or fail to emerge properly from the centre.
- Brown or black discolouration at the base of stems: This is a key indicator. The lower stems might look water-soaked or slimy.
- Mushy, soft crown: If you gently probe the crown with your fingers or a small trowel, it will feel soft, spongy, or even completely rotten. It often has a foul odour.
- Plant dying out in the middle: As the crown rots, the central growth collapses, leaving a ring of healthier-looking foliage around the outside. This is that classic "donut" effect.
First Aid for Affected Plants
If you suspect crown rot, don't panic! You might still be able to save your plant, especially if you catch it early. I’ve managed to rescue several plants, including a cherished clump of 'Flaming Katy' Helenium, by acting quickly.
- Careful Excavation: Gently dig up the entire plant. Be as careful as possible not to damage the remaining healthy roots. Shake off excess soil so you can clearly see the crown.
- Inspect and Prune: Examine the crown thoroughly. Any parts that are brown, black, mushy, or smell foul need to be cut away. Use a sharp, sterilised knife or secateurs. I always make sure my tools are clean to avoid spreading any disease. Keep cutting until you reach firm, healthy, white tissue.
- Fungicide Treatment (Optional but Recommended): If you're dealing with a particularly valuable plant or persistent issues, you can dust the trimmed crown and remaining roots with a broad-spectrum fungicide powder suitable for edibles (if it's a herb) or ornamentals. Always follow the product instructions carefully. I've had good results with copper-based fungicides here in the UK.
- Improve Drainage and Replant: This is the most crucial step to prevent recurrence.
- Amend the soil: Before replanting, dig out the planting hole wider and deeper. Incorporate plenty of coarse grit, perlite, or well-rotted compost to improve drainage. If you're in heavy clay, this is non-negotiable.
- Plant at the correct depth: Ensure the crown is at soil level, not buried.
- Consider a raised mound: For very susceptible plants, or in particularly wet areas, plant on a slight mound to encourage water to drain away from the crown.
- Don't overwater: Water sparingly after replanting until you see signs of new growth. Let the soil dry out slightly between waterings.
- Mulch properly: Apply mulch around the plant, but leave a small gap of a few inches around the crown to ensure good air circulation.
 (https://example.com/perennial-crown-rot-damage.jpg)
It takes a bit of work, but seeing that perennial bounce back after a near-fatal brush with crown rot is incredibly satisfying. It’s a harsh lesson from our British climate, but one that ultimately makes you a better, more observant gardener.
Identifying and Managing Pest Damage in Perennials: Common UK Culprits
Right, so we've talked about crown rot, that sneaky killer. But sometimes, it's not a disease causing the decline, it’s a hungry little critter having a feast on your beloved perennials. Here in my UK garden, especially with our often damp and mild conditions, pests are a constant, low-level battle. I've had my fair share of skirmishes, and I've learned that early identification is absolutely key.
One of the most insidious root munchers I’ve encountered is the vine weevil. Oh, those little white grubs with the brown heads – they are pure destruction! I learned this the hard way a few years back when my beautiful Heuchera 'Palace Purple' started looking really sorry for itself. It was wilting, despite regular watering, and when I gave it a gentle tug, it just lifted right out of the soil. The roots were gone, completely severed by the vine weevil larvae. It was a proper gut punch, I tell you.
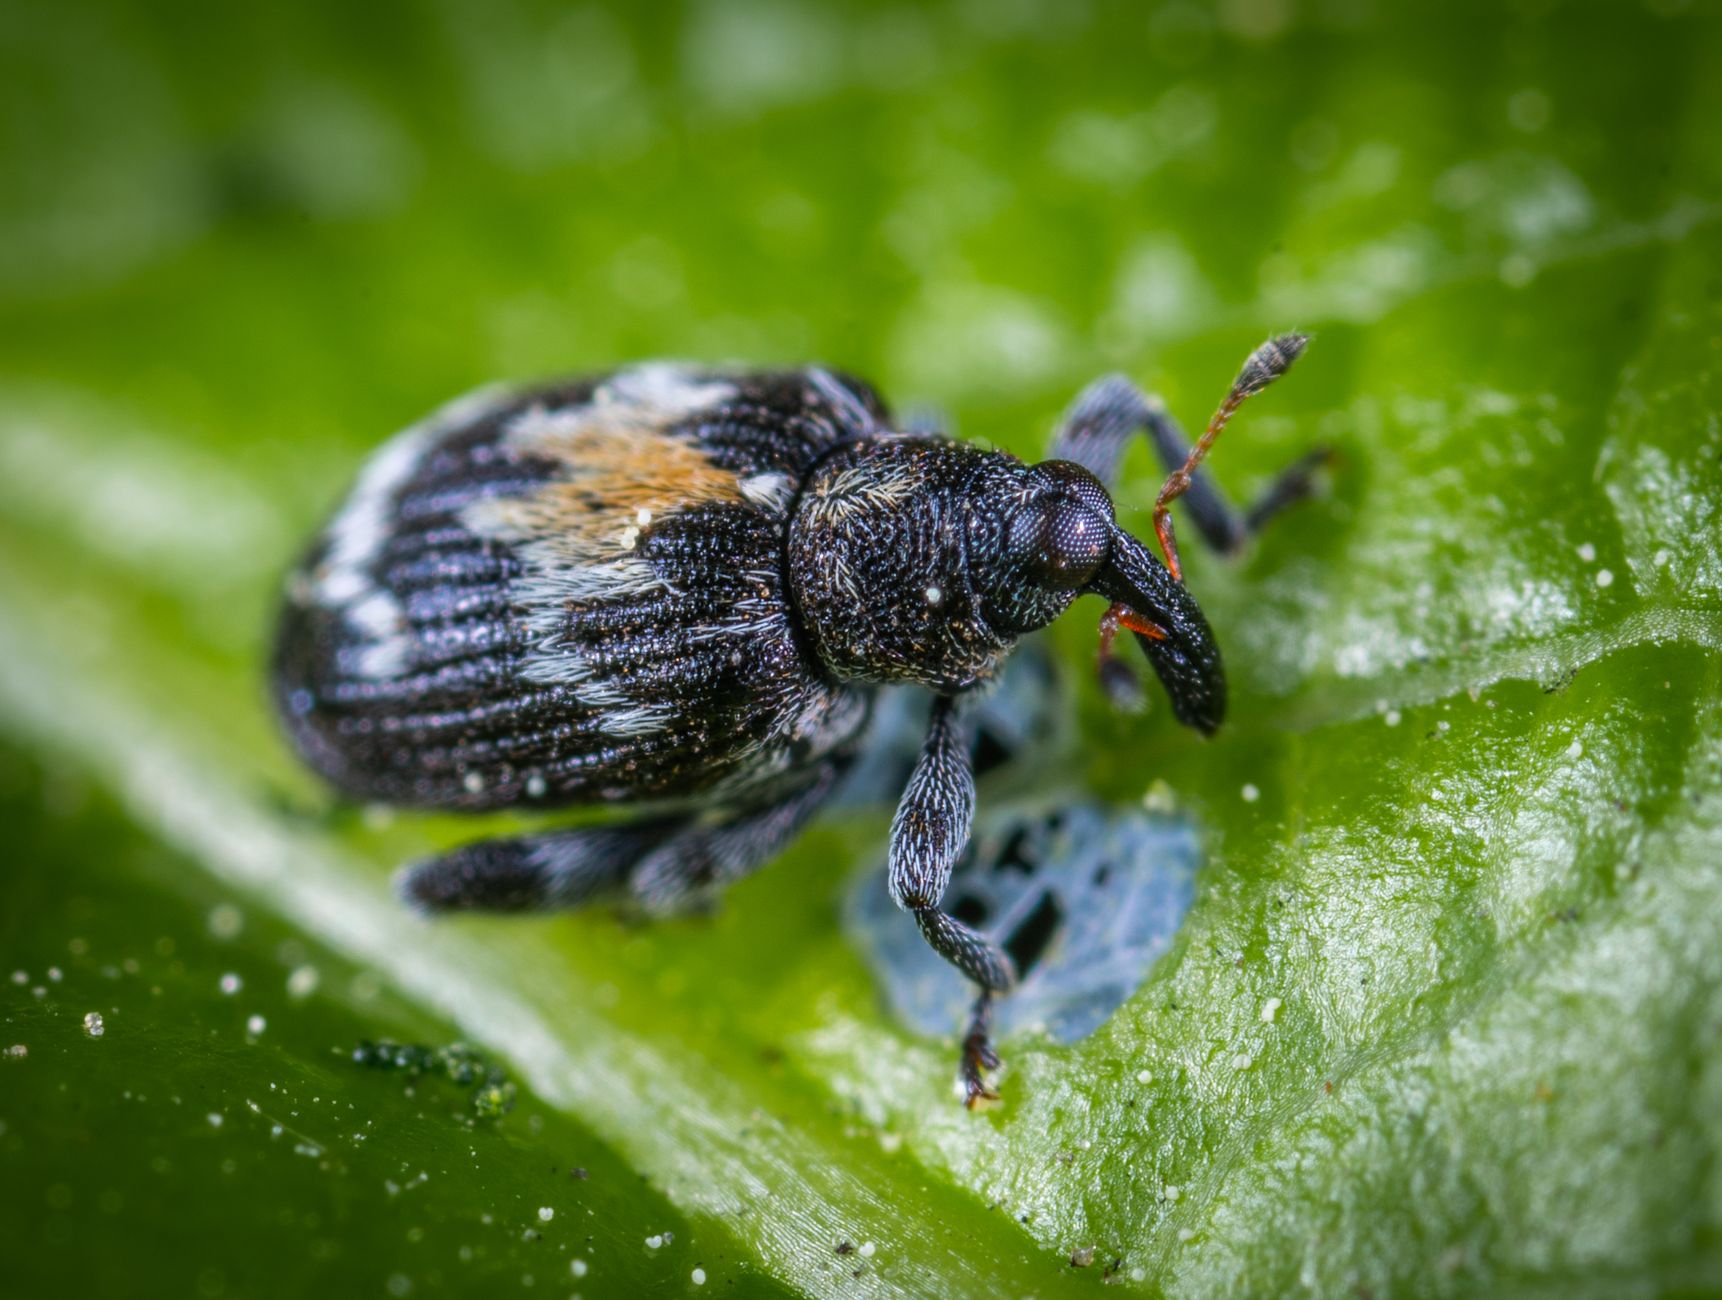
Vine weevil larvae are particularly problematic for plants in pots, but they’ll happily feast on border perennials too, especially those with fleshy roots like Heucheras, Sedums, and Strawberries. What works here in Britain for controlling them? I've found biological controls, specifically nematodes (like Steinernema kraussei), to be quite effective. You apply them to the soil when the larvae are active, usually late summer/early autumn, and they seek out and kill the grubs. It’s a natural solution, which I prefer in my organic approach. For smaller infestations, I physically check pots and root balls when repotting.
Beyond the vine weevil, we have our classic UK garden villains:
- Slugs and Snails: These slimy characters are a perennial problem, especially for new growth and plants with tender leaves like Hostas, Delphiniums, and sometimes even young Lupins. One season, my Hostas were practically lace curtains! I've tried everything from beer traps (which work to some extent) to copper tape, but what I've found most effective in my 800 sq ft Midlands garden is a combination of regular evening patrols with a head torch, and a good scattering of organic slug pellets around susceptible plants during critical periods. I also encourage natural predators like thrushes and hedgehogs.
- Aphids: While not typically root destroyers, aphids can weaken a plant significantly, especially on soft new shoots of plants like Roses, Foxgloves, and often my greenhouse tomatoes. They suck the sap, leading to distorted growth and a general lack of vigour. I usually blast them off with a strong jet of water from the hosepipe. If that doesn't cut it, a homemade garlic spray or a dilute neem oil solution (if you can get it for ornamental use here in the UK) usually does the trick. I also try to attract ladybirds, which are brilliant natural predators.
- Fritillary Larvae: These are less common, but I've seen them munching on the roots of my Erythroniums (Dog-tooth Violets) in particular. If you have lily family plants, it's worth keeping an eye out.
The key to managing pests, from my five years of intensive UK gardening, is constant vigilance. Check your plants regularly, especially the undersides of leaves and around the crown. Look for holes, slime trails, distorted growth, or any signs of wilting that don't respond to watering. Healthy, vigorous plants are also more resilient to pest attacks, which brings us nicely to our next point…
Addressing Overcrowding and Age: The Art of Dividing and Rejuvenating Perennials
Sometimes, your perennials aren't dying from disease or pests, they're simply getting old and overcrowded. Just like us, they need a bit of a refresh! Many established perennials, especially those that form clumps, eventually outgrow their space or exhaust the nutrients directly around their crown. This often leads to that dreaded "dying out in the middle" phenomenon, where the centre of the clump is bare and woody, while new growth only appears on the outer edges. Flowering can also become sparse and less impressive.
I learned this the hard way with a massive clump of Sedum 'Autumn Joy' in one of my raised beds. It was glorious for years, but then it started to flop badly, and the flowers were tiny compared to its younger days. The middle was practically bald. It was a clear sign – time for division!
Dividing perennials isn't just about making more plants (though that's a lovely bonus!), it's about rejuvenating the existing plant, promoting healthier growth, and ensuring vigorous flowering for years to come. It's essentially giving the plant a fresh start, allowing it access to new soil and nutrients.
The best time to divide depends on the plant, but generally, it's either early spring (just as new growth emerges) or early autumn (after flowering, giving them time to establish before winter). Here in the Midlands, with our sometimes unpredictable weather, I tend to favour early spring for most things, as the ground is warming up and there's less chance of a hard frost immediately after.
Here's a comparison of common division approaches I use in my garden:
| Perennial Type | Best Time to Divide (UK) | Common Method |
|---|---|---|
| :--- | :--- | :--- |
| Hardiness | Commonly Divided |

