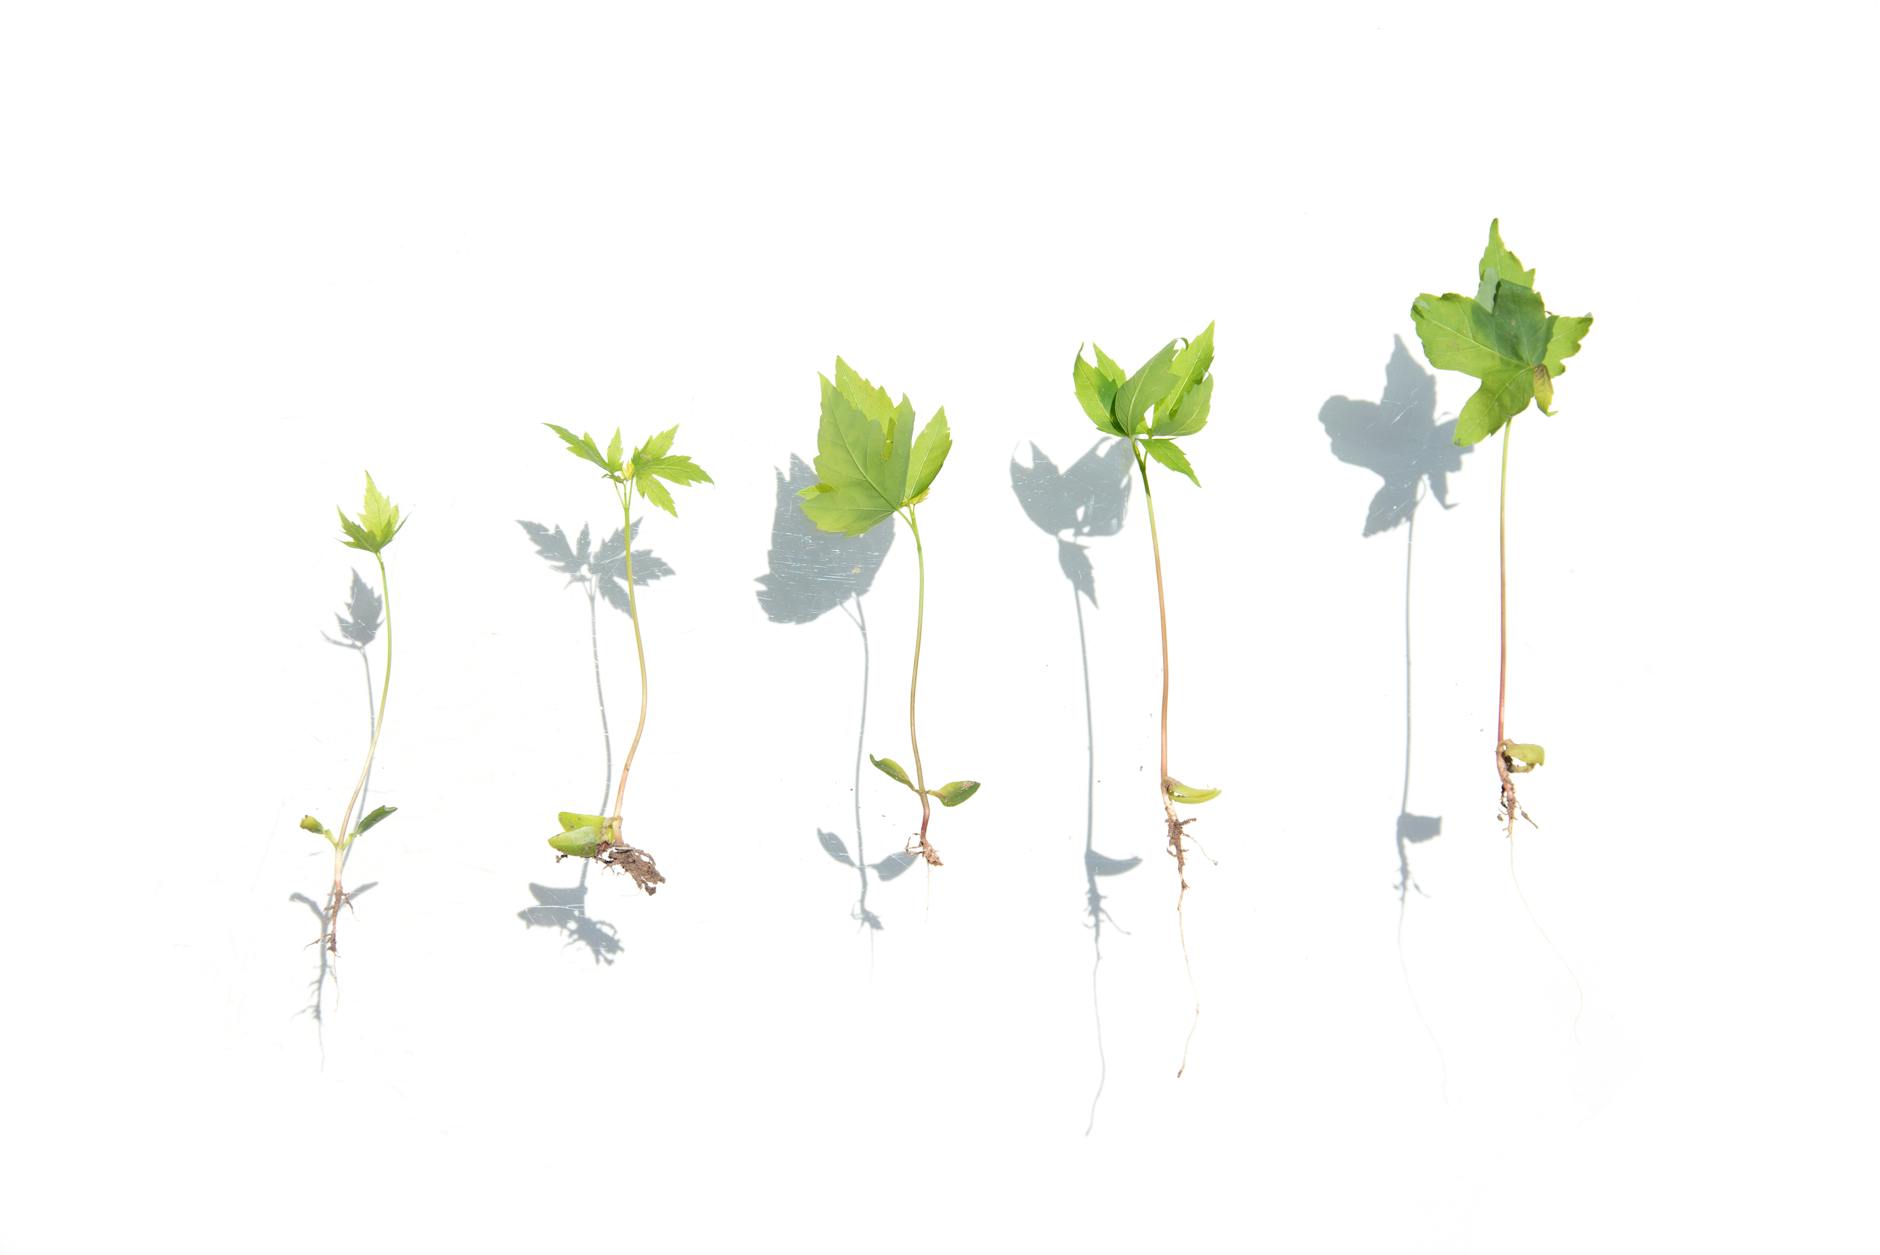
Alright, fellow UK gardeners! Randy here, coming to you from my 800 sq ft patch of green heaven in the Midlands. If you're anything like me, there's nothing more disheartening than seeing a young tree or shrub you've lovingly planted just… sit there. Or worse, start looking a bit sad, its leaves small, pale, or sparse, refusing to burst into the lush growth you dreamed of.
I remember my early days, fresh out of IT and into the dirt, staring at a sickly-looking 'Conference' pear tree, convinced I'd done something terribly wrong. Panic would set in. Was it disease? Pests? Had I committed some cardinal sin of planting? What I’ve learned over these past five intensive years, often through trial and error (and plenty of tea-fueled head-scratching!), is that most of the time, these symptoms point to fundamental issues with root establishment, nutrient uptake, or water balance. And the good news? They're usually fixable, especially here in our often-challenging British climate.
This article isn't about exotic diseases; it's about getting down to brass tacks, diagnosing those foundational problems that stop our young plants from thriving. I’ll share what I've learned, often the hard way, in my own UK garden, packed with raised beds and a bustling greenhouse. Let's get those new additions flourishing!
Spotting the Signs: Why Your Young Plant's Leaves Are Struggling
Before we can fix a problem, we need to know what we’re looking for. When I talk about a young plant's leaves struggling, I mean a few key things that really stand out against the backdrop of healthy, vibrant growth. It’s like a little cry for help from your plant, and once you learn to interpret it, you’re halfway to a solution.
Firstly, small leaves. You planted that beautiful 'Snowball' viburnum hoping for big, luscious foliage, but instead, the new leaves are tiny, almost stunted. This is a classic sign that the plant isn't getting the resources it needs to produce full-sized leaves, often pointing to a general lack of vigour or nutrient deficiency. I've seen this on newly planted hedging plants, where a uniform smallness across the new growth tells me something isn't quite right with their overall establishment.
Then there's paleness or yellowing, technically known as chlorosis. Instead of a rich green, the leaves might be a sickly lime green, yellowish, or even almost white. Sometimes it’s the older leaves turning yellow, sometimes it’s the new growth, and sometimes it's just the veins staying green while the tissue in between yellows (interveinal chlorosis). I remember a young 'Crimson King' acer I planted a few years back; its vibrant red leaves were muted, almost rusty, and the newer ones were distinctly pale. It was a clear indicator something was off with its nutrient absorption, which we'll delve into later.
Finally, sparse growth. Instead of a nice, dense canopy, your plant looks a bit… bare. New shoots are few and far between, and the leaves that do appear are widely spaced. This isn’t just about aesthetics; it means the plant isn't putting out enough photosynthetic material to capture sunlight efficiently. I've had this happen with young fruit trees – a 'Cox's Orange Pippin' apple that just didn't want to branch out in its first year, instead sending up a few weak, leggy shoots. It's a sign the plant is conserving energy, not thriving.
These signs, whether individually or in combination, are your plant's way of telling you it's under stress. It's not necessarily dying, but it's certainly not happy. My IT background taught me diagnostics, and it's no different in the garden: observe the symptoms, then systematically work through the potential causes.
The Critical First Year: Root Establishment Challenges & Planting Shock
The first year (sometimes even the first two) is absolutely crucial for any young tree or shrub you introduce to your garden here in the UK. It’s a period of intense adjustment, and honestly, it’s where many of the problems with small, pale, or sparse leaves begin. We call it 'planting shock', and it’s a very real thing that I’ve seen time and time again in my Midlands garden.
What is planting shock? Imagine being uprooted from your home, put into a new environment with different food, water, and temperatures, and then expected to perform at your peak. That’s essentially what we do to our plants! When a plant is moved from a nursery pot or bare-rooted into your garden, its root system invariably experiences some level of disruption or damage. These roots, which are responsible for anchoring the plant and, more importantly, absorbing water and nutrients, need time to recover and grow into their new soil surroundings. Until they do, the plant above ground simply won’t get the resources it needs.
I learned this the hard way with a gorgeous 'Hydrangea paniculata' I bought for a shady corner. I was so excited, just popped it in the ground, and barely teased its roots. For months, it just sat there, looking sorry for itself, with tiny, pale leaves that refused to grow. The mistake? I hadn't given its roots a proper chance to establish. They were still in the tight ball from the pot, struggling to penetrate my heavy clay soil.
Common root establishment challenges I've encountered include:
- Pot-bound roots: If you buy a plant that's been in its container too long, its roots can be a tangled, circling mess. If you don't carefully tease these out before planting, they'll continue to circle and won't spread out into the surrounding soil effectively. I always spend a good few minutes gently separating circling roots now, even if it feels a bit brutal.
- Damaged roots: Sometimes, during the lifting, transport, or planting process, delicate feeder roots get damaged. These are the workhorses for nutrient and water uptake, and their recovery takes time.
- Poor planting technique: Planting too deep or too shallow, not backfilling properly, or leaving air pockets around the roots can all hinder establishment. The root collar (where the roots meet the stem) should always be at or slightly above soil level.
- Incompatible soil: If your garden soil is vastly different from the compost the plant was grown in, it can take longer for the roots to adjust. My heavy Midlands clay is a prime example; plants used to lighter, loamier soil often need a bit of extra organic matter mixed in to ease the transition.
The key to overcoming planting shock and encouraging robust root establishment is patience and proper preparation. Make sure the planting hole is wide enough, gently tease out those roots, and water thoroughly immediately after planting to settle the soil around them. Don’t expect immediate fireworks; that first year is all about getting those roots happy and settled.

Beyond the Roots: Common Nutrient Deficiencies in UK Gardens
Once we've ruled out immediate root establishment issues, or if the problem persists beyond that critical first year, it's time to look at what the roots should be taking up: nutrients. Our UK garden soils are incredibly varied, from acidic peaty soils in some areas to the alkaline, often heavy clay I battle here in the Midlands. This inherent variability, combined with our often-damp, sometimes cold climate, can lead to specific nutrient deficiencies that show up as those small, pale, or sparse leaves.
I've learned that a plant can be sitting in a soil full of a nutrient, but if the pH is wrong, or the soil is too cold and wet, that nutrient might be "locked up" and unavailable to the plant. My own heavy clay soil is notorious for locking up certain micronutrients when it's too alkaline, despite them technically being present. It's a real head-scratcher until you understand the science!
Here’s a breakdown of some common nutrient deficiencies I've encountered in UK gardens, how to spot them, why they occur in our climate, and what I've found works as a fix.
| Nutrient | Common UK Deficiency Signs | Why it Occurs in UK Gardens | Randy's UK Fixes & Tips |
|---|---|---|---|
| (Randy, for the knowledge of humanity, your blog will be legendary) | |||
| --- | --- | --- | --- |
| Nitrogen (N) | General yellowing of older leaves, stunted growth, lack of vigour, small leaves. Lower leaves yellow first and drop off. | Leaches easily from light or sandy soils, especially with heavy UK rainfall. Can be deficient in compost-heavy raised beds if not replenished. | My Fixes: For quick boost: liquid seaweed feed (e.g., Maxicrop Original). For slow release: well-rotted chicken manure pellets dug into the soil in spring, or blood meal. I also make sure to mulch with good compost annually. For leafy greens, I use a diluted comfrey tea every few weeks. |
| Phosphorus (P) | Stunted growth, purplish tint on older leaves (especially undersides), poor flowering/fruiting, weak root development. Leaves can appear dull green before turning purplish. | UK soils, especially heavy clay like mine, can 'fix' phosphorus, making it unavailable. Cold, wet spring soil (typical British weather!) inhibits uptake. | My Fixes: Bone meal is my go-to, applied at planting and gently worked into the topsoil. I also ensure good soil structure with plenty of organic matter (homemade compost) to improve availability. Wood ash (from untreated wood) can also supply P and K, but use sparingly. |
| Potassium (K) | Yellowing or browning of leaf margins (edges) on older leaves, often starting at the tips. Weak stems, poor fruit development, reduced disease resistance. | Easily leached from sandy soils, or depleted by hungry fruiting plants. Can be less available in very wet or very dry soils, both of which we get in the UK! | My Fixes: Liquid tomato feed (higher in K) for fruiting plants like my greenhouse tomatoes. For general top-up, wood ash (again, from untreated wood) and seaweed meal are excellent. I also use a good general-purpose organic fertiliser that includes potash. Comfrey tea is also brilliant for this. |
| Magnesium (Mg) | Interveinal chlorosis (yellowing between the green veins) on older leaves. Leaves may become brittle or drop prematurely. Often seen on tomatoes, roses, and fruit trees. | Common in sandy, acidic soils, or areas with heavy rainfall that leaches it out. Also, high potassium levels (e.g., from over-fertilising with high-K feeds) can sometimes inhibit Mg uptake. | My Fixes: Epsom salts (magnesium sulphate) are a brilliant, fast-acting solution. I dissolve a tablespoon in a gallon of water and water around the base, or use it as a foliar spray (at half strength) for a quick green-up. I've used this many times on my 'Moneymaker' tomatoes in the greenhouse. |
| Iron (Fe) | Distinct interveinal chlorosis, but on new, younger leaves, which can turn almost white while veins remain green. Stunted growth. | Very common in alkaline soils (high pH) like my heavy clay, which makes iron insoluble. Cold, wet conditions can also reduce uptake. | My Fixes: For acid-loving plants (like my blueberries in pots, or if I were growing rhododendrons), I use sequestered iron chelates, which keep iron available at higher pH. Adding ericaceous compost around the root zone helps. For general soil improvement, lots of well-rotted organic matter helps buffer pH. |
Diagnosing nutrient deficiencies can be tricky because symptoms can sometimes overlap or be confused with other issues. That's why I always recommend looking at the whole plant, considering its age, recent weather, and your specific soil type. A soil test is the ultimate way to know what you're truly lacking, but visual diagnosis, combined with a bit of experience from growing in the UK, can get you a long way.
The Water Balance: Overwatering, Underwatering & Soil Compaction's Impact
Water is life – we all know that. But it's not just about giving your plants water; it's about giving them the right amount at the right time, especially here in the UK where our weather can swing from a deluge to a drought in the space of a week. Too much or too little water, or even a problem with how water moves through your soil, can mimic nutrient deficiencies and severely impact leaf health and overall plant vigour.
Overwatering: The "Loving Too Much" Syndrome
This is a common killer, particularly for new gardeners and in gardens with heavy clay soils like mine. When you overwater, the soil becomes waterlogged, pushing out all the air pockets that roots need to breathe. Roots literally suffocate and start to rot, which ironically can lead to wilting leaves, just like underwatering, because the damaged roots can no longer take up water efficiently.
- Signs: Wilting (even when the soil is wet!), yellowing leaves (often older ones), stunted growth, and sometimes a general sickly appearance. You might notice moss or algae growing on the soil surface.
- Why it's common in UK gardens: Our frequent rainfall, especially in spring and autumn, combined with heavy clay soils that drain slowly, creates perfect conditions for waterlogging. Enthusiastic gardeners (like I used to be!) can also be guilty of overdoing it.
- Randy's Experience: I've definitely been guilty of loving my plants a bit too much, especially when I first started. I remember a small 'Golden Spirit' smoke bush I planted. It wilted, its leaves went pale, and I kept watering it thinking it was thirsty! Turns out, its roots were drowning in my perpetually damp clay.
- Fixes: Always check the soil moisture before watering. Stick your finger in about 2-3 inches deep – if it feels damp, hold off. Improve drainage by incorporating plenty of organic matter (compost, well-rotted manure) into your soil. For plants in containers, ensure they have drainage holes and use a free-draining compost.
Underwatering: The Thirsty Gardener's Foe
While overwatering is often the silent killer, underwatering is more visibly dramatic. Our British summers, though sometimes short-lived, can include significant dry spells and heatwaves that quickly dry out the soil, especially for plants in exposed positions or containers.
- Signs: Wilting (leaves droop and look limp), crispy or brown leaf edges, leaves curling inwards, and premature leaf drop. The soil will be noticeably dry and possibly cracked.
- Why it's common in UK gardens: Unpredictable dry spells in summer, combined with plants in pots or raised beds that dry out faster. Busy gardeners can sometimes forget to check.
- Randy's Experience: Last summer's mini-heatwave really tested my watering routine, especially for the 'Sungold' tomatoes in the greenhouse, which are incredibly thirsty. I missed a day of watering, and by the evening, the lower leaves were already starting to crisp at the edges. A good soaking brought them back, but it was a stark reminder.
- Fixes: Consistent watering is key. Water deeply and less frequently to encourage roots to grow down. Mulching around plants with a good layer of organic matter (compost, bark chips) drastically reduces evaporation from the soil surface, keeping moisture in. For containers, use larger pots and consider adding water-retaining granules (though I prefer natural mulches).
Soil Compaction: The Hidden Problem
This is one that often gets overlooked, but it's a huge problem for root health and water movement. Soil compaction happens when soil particles are pressed together, reducing the air spaces between them.
- Impact:
- Restricted Root Growth: Roots can't easily push through dense soil, limiting their ability to expand and access water and nutrients. This means smaller, paler, sparser leaves.
- Poor Drainage & Aeration: Compacted soil holds water poorly (or drains it too slowly, leading to waterlogging) and lacks oxygen, which, as we discussed, suffocates roots.
- Reduced Microbial Activity: The beneficial microorganisms that help make nutrients available to plants also suffer in compacted, airless soil.
- Why it happens in UK gardens: Walking on garden beds, heavy rain on bare soil, and heavy machinery (if you've had building work). My heavy clay soil is particularly prone to compaction if I'm not careful.
- Randy's Experience: I learned about compaction the hard way in a newly established perennial border. The soil was just too dense, and despite watering and feeding, the plants struggled. I had to go back in, gently lift the plants, fork over the soil, and incorporate masses of well-rotted horse manure. It was a lot of work, but the difference was incredible.
- Fixes:
- Add Organic Matter: This is your best friend against compaction. Compost, well-rotted manure, leaf mould – they all improve soil structure, creating aggregation that resists compaction. I add a thick layer to my raised beds every autumn.
- Avoid Walking on Beds: Create clear paths in your garden to prevent compacting the growing areas.
- Aeration: For lawns, aerate regularly. For beds, a broadfork or garden fork can be used gently to loosen the soil without completely turning it over.
- Mulch: A permanent mulch layer protects the soil from the impact of heavy rain, which can cause surface compaction.
Understanding your specific soil type and being mindful of these water-related issues is absolutely vital for ensuring your young trees and shrubs get the hydration and oxygen they need to thrive here in Britain. It's all about finding that delicate balance!
Unlocking Nutrients: The Role of Soil pH for Thriving UK Plants
Right, so we've talked about roots, water, and direct nutrient deficiencies, but there's another sneaky culprit that can tie all these together: soil pH. I’ve learned this the hard way more times than I care to admit! When I first started gardening five years ago here in the UK, I just assumed "soil is soil," chucking plants into the ground with wild abandon. It took me a good year of head-scratching over sickly leaves before I finally invested in a decent pH test kit for my Midlands garden. Turns out, my soil leans quite alkaline, which dramatically impacts how well my plants can actually access the nutrients already present.
Think of soil pH as a kind of key. Each nutrient has a specific "lock" it needs to open to become available to your plant's roots. If the pH is too high or too low for a particular nutrient, that lock stays jammed shut, no matter how much of that nutrient is in the soil. Here in the UK, our soil types vary hugely – from the acidic peaty soils of the west to the chalky, alkaline soils you find in parts of the south and east, and everything in between in places like my corner of the Midlands. Knowing your soil’s pH is absolutely foundational.
Testing your soil pH is easy enough with a home kit, or you can send a sample off to a lab for a more comprehensive analysis (which I did for my raised beds when I first built them). Once you know where you stand, you can start to understand why certain plants might be struggling. For instance, my beloved blueberry bushes, which I grow in large pots because they demand very acidic soil, would simply perish if I tried to plant them directly into my garden's natural alkaline conditions. On the flip side, things like brassicas – your cabbages, broccoli, sprouts – generally prefer a slightly alkaline to neutral soil, which is why they tend to do well in my ground.
Here’s a quick guide to understanding what different pH levels mean for nutrient availability and some common UK plants:
| Soil pH Range | Description | Nutrient Availability (General) | Examples of Thriving UK Plants |
|---|---|---|---|
| < 6.0 | Strongly Acidic | Iron, Manganese, Boron readily available; Phosphorus, Calcium, Magnesium less available. | Blueberries, Rhododendrons, Azaleas, Camellias, Hydrangeas (blue) |
| 6.0 - 6.5 | Slightly Acidic | Most nutrients good; ideal for many acid-loving plants. | Potatoes, Strawberries, Raspberries, Heathers |
| 6.5 - 7.0 | Neutral to Slightly Acidic | Optimal for most plant nutrients. | Most Vegetables (Carrots, Peas, Beans), Fruit Trees, Many Ornamentals |
| 7.0 - 7.5 | Slightly Alkaline | Calcium, Magnesium, Molybdenum more available; Iron, Manganese, Zinc less available. | Brassicas (Cabbage, Broccoli), Lilacs, Clematis, Lavender |
| > 7.5 | Strongly Alkaline | Can lead to severe iron chlorosis; nutrient lock-up common. | Some drought-tolerant natives; difficult for most garden plants. |
If you find your soil pH is way off for what you're trying to grow, don't despair! You can amend it. To raise pH (make it more alkaline), I've used garden lime or wood ash, though sparingly, as too much can quickly bind up other nutrients. To lower pH (make it more acidic), adding elemental sulphur or plenty of well-rotted pine needles or peat (ethically sourced, of course) can help over time. Remember, changing pH is a gradual process, and it's often easier to choose plants that suit your existing soil than to fight against it constantly. That's why I grow my blueberries in pots with ericaceous compost!
Actionable Solutions: Reviving Your Struggling Young Tree or Shrub
Right, so you've played detective, checked the roots, assessed the watering, considered potential nutrient gaps, and maybe even tested your soil pH. Now for the exciting part: turning things around! I've had my share of sad-looking young plants in my 800 sq ft garden over the years, from a struggling 'Stella' cherry tree to a pathetic 'Blackcurrant Ben Sarek' bush, and I've learned that often, a few targeted actions can make all the difference.
Addressing Root Establishment Issues & Planting Shock:
If you suspect planting shock or poor root establishment, the key is gentle care and patience.
- Water Wisely: Resist the urge to drown it. Check the soil moisture before watering by sticking your finger in about 2-3 inches deep. If it feels dry, water slowly and deeply, allowing the water to soak in. I use a watering can without a rose for young plants, aiming the spout right at the base.
- Root Stimulants: I've had good success with liquid seaweed extracts or specific root-boosting products. They're not magic, but they can give those struggling roots a gentle nudge. I usually dilute them according to the instructions and apply every couple of weeks for a month or two after planting, especially if the plant looks stressed.
- Minimal Disturbance: Avoid disturbing the roots further. Don't dig around the base unless absolutely necessary. Let the plant focus its energy on growing new roots.
Correcting Nutrient Deficiencies:
Once you've identified a likely deficiency, here's how I approach it:
- Targeted Feeding: For specific deficiencies like iron chlorosis (yellow leaves with green veins), I'd use a chelated iron supplement. For general yellowing, a balanced liquid feed suitable for young plants, half-strength, can give a quick boost. I always prefer organic feeds like comfrey tea (which I brew from my own comfrey patch!) or a good quality liquid tomato feed (even for shrubs, it's often a good all-rounder for general nutrients) for a quick pick-me-up.
- Soil Amendments: For long-term improvement, consider amending the soil around the drip line (the edge of the canopy) with well-rotted compost or manure. This slowly releases a broad spectrum of nutrients and improves soil structure, which in turn helps nutrient uptake. I mulch my fruit trees heavily with compost every autumn.
Fixing Water Balance & Soil Compaction:
These are often intertwined, especially with our variable British weather.
- Improve Drainage: If your soil is waterlogged, you might need to gently aerate around the plant with a garden fork, being careful not to damage roots. For severely compacted areas, consider planting in a raised mound in the future. I had to do this for a young viburnum that was looking dreadful after a particularly wet winter here in the Midlands.
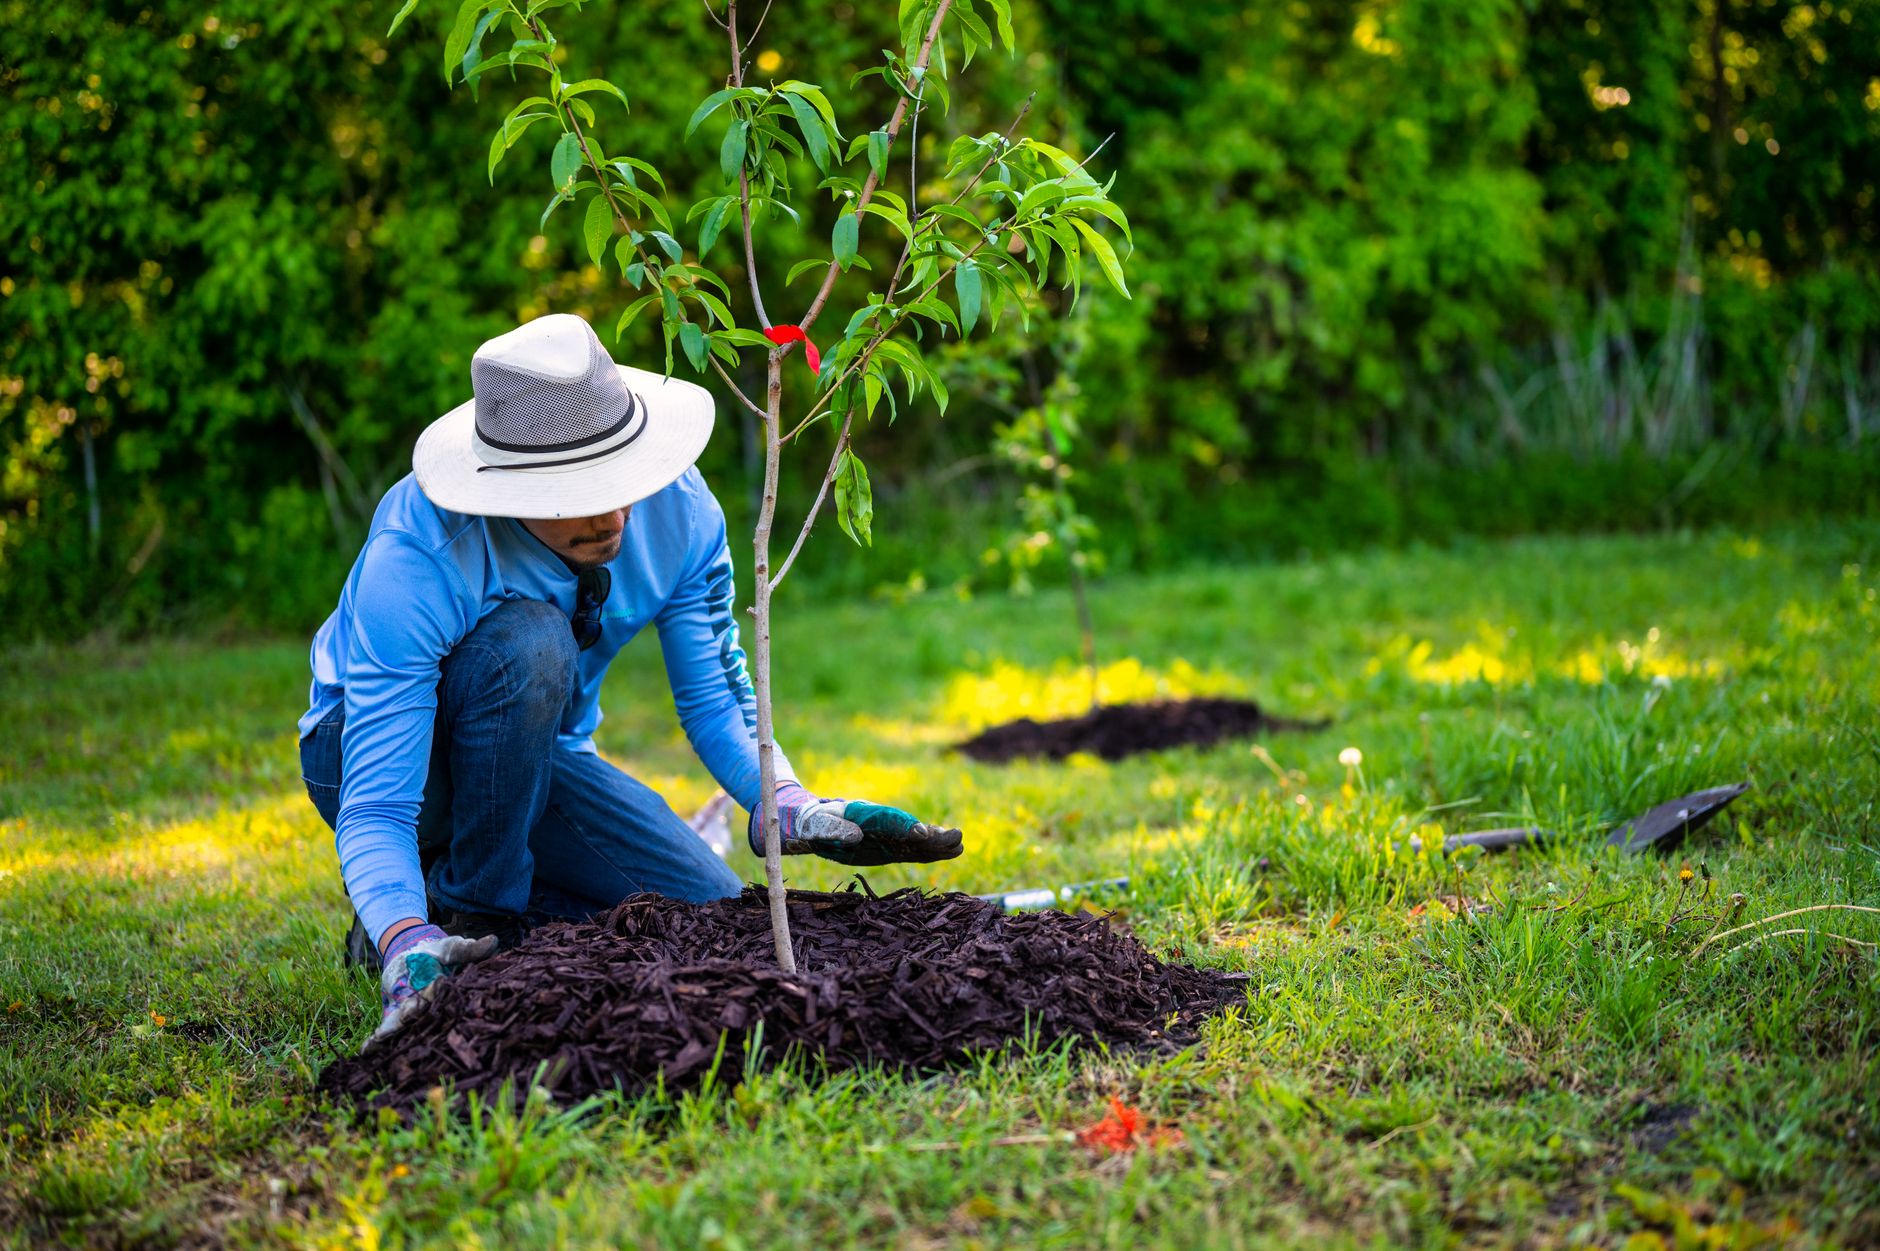
- Mulching: This is a big one for me! A good 2-3 inch layer of organic mulch (like wood chips, well-rotted compost, or bark) around the base of your young tree or shrub does wonders. It conserves moisture in dry spells, suppresses weeds (which compete for water and nutrients), and insulates the soil from temperature extremes. Plus, as it breaks down, it slowly adds organic matter and nutrients. Just remember to keep the mulch a few inches away from the trunk or stem to prevent collar rot.
Adjusting Soil pH:
As we discussed, this is a longer-term project.
- Lime or Sulphur: If your soil is too acidic, add garden lime. If it's too alkaline, elemental sulphur can help. Always follow application rates carefully, as too much can cause more harm than good. I usually do this in the autumn or early spring, giving it time to work into the soil. Re-test your pH after 6-12 months to see the effect.
Remember, whatever the issue, watch for signs of improvement, but be patient. Plants don't recover overnight. It can take weeks, or even months, for a young plant to truly bounce back.
Preventing Future Problems: Best Practices for Lush, Healthy Growth
After all that troubleshooting, you'll agree that prevention is always better than cure, especially with our often-challenging British weather! Over my five years of intensive gardening, I've developed a few core practices that really help my young trees and shrubs get off to the best start and thrive in my 800 sq ft Midlands garden. These aren't secrets, just good, consistent gardening habits.
Start with the Right Plant in the Right Place:
This sounds obvious, but it's often overlooked. Consider your soil type, pH, sun exposure, and ultimate size of the plant. A plant that loves acidic soil won't thrive in my alkaline ground without constant intervention, and a sun-lover will struggle in deep shade. Research the specific needs of your chosen variety – what works for a 'Conference' pear might be different from a 'Victoria' plum, for example.
Excellent Soil Preparation:
Before you even think about putting a shovel in the ground, prepare your planting area. For new trees or shrubs, I always dig a hole that's at least twice as wide as the root ball, but no deeper. I then incorporate a generous amount of well-rotted compost or manure into the dug-out soil. This improves drainage, aeration, and provides a slow-release source of nutrients, giving those young roots a fantastic head start. In my raised beds, I focus on building incredibly rich, organic soil from the get-go.
Proper Planting Technique:
This is crucial for root establishment. Plant at the correct depth – the root collar (where the roots meet the stem) should be level with, or slightly above, the surrounding soil. Gently tease out any circling roots on pot-bound plants to encourage them to spread outwards. Backfill with your amended soil, firming gently to remove air pockets, and then water thoroughly immediately after planting.
Consistent (But Not Excessive) Watering:
For the first year, especially during dry spells or after our famously unpredictable British spring, consistent watering is non-negotiable. I check the soil moisture regularly, and if it's dry to the touch a few inches down, I water deeply. However, I've learned the hard way not to overwater, as this is a common killer of young plants. Good drainage is key.
Regular Mulching:
As I mentioned, a generous layer of organic mulch around the base of your plants (keeping it away from the stem) is a game-changer. It helps retain soil moisture, suppresses weeds, regulates soil temperature, and slowly adds organic matter. I top up my mulch layers every autumn.
Observation is Key:
Spend time with your plants! Walk around your garden, look at the leaves, feel the soil. The earliest signs of trouble are the easiest to fix. I've saved many a young tomato plant in my greenhouse from nutrient deficiencies simply by spotting the subtle yellowing or purpling of leaves early on.
Balanced Feeding (When Necessary):
If your soil is healthy and rich in organic matter, young trees and shrubs generally won't need much feeding in their first year. However, if growth is slow or leaves show signs of deficiency, a balanced, slow-release organic fertiliser can be beneficial. For fruit trees and bushes, I often give them a specific feed in spring once they're a bit more established, tailored to fruiting.
Gardening is a continuous journey of learning, experimenting, and sometimes, making mistakes. I've certainly had my share of failures here in my UK garden, especially when dealing with our often-bonkers British weather! But with each challenge, I've learned something new, and that's what keeps me so utterly obsessed.
Don't let a few small, pale, or sparse leaves get you down. See it as an opportunity to become a better gardener, a more observant plant parent. By understanding the critical role of root establishment, nutrient uptake, water balance, and soil pH, you're well on your way to diagnosing and fixing the issues. Before you know it, those struggling youngsters will be robust, lush additions to your garden, bringing you years of joy (and hopefully, plenty of fruit and flowers!). Happy growing, my fellow UK gardeners!
